To make this toy you will need the following materials and tools:
- Paper for making a sample (paper from regular notebooks is suitable);
- Marker, pencil;
- Ruler, eraser;
- Filler (cotton wool) and tweezers;
- Fabric with light brown fur;
- White fleecy fabric;
- Beige fabric (leather is suitable);
- Scissors, needle;
- White or light brown threads;
- Needles for stabbing;
- Eyes for toys;
- Squeaker.
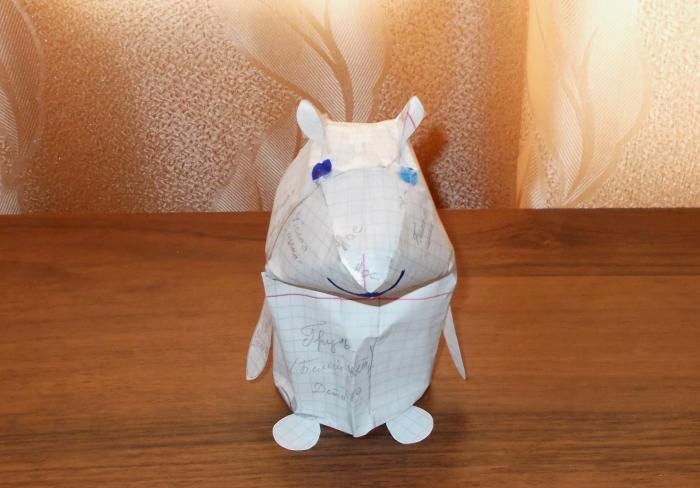
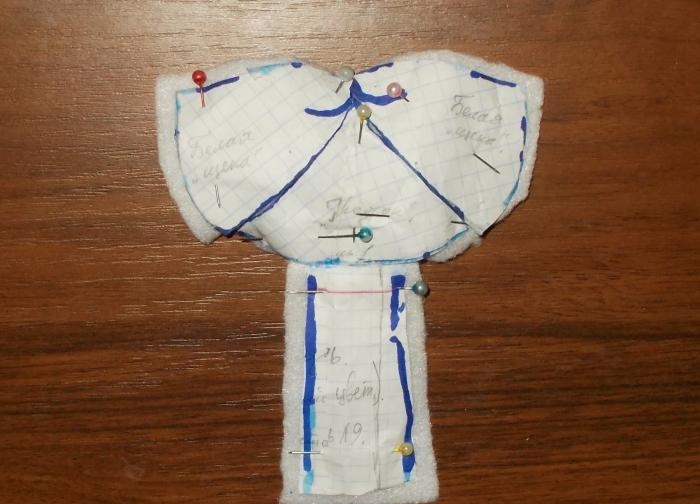
Getting started, we must first draw on paper samples of individual parts to compose crafts and cut them out. Each of the parts should be labeled and written on each of them where the top, bottom and left are on the right side.In order not to lose the cut out samples and see what the craft made from them would look like, we decided to glue all the samples together with tape:
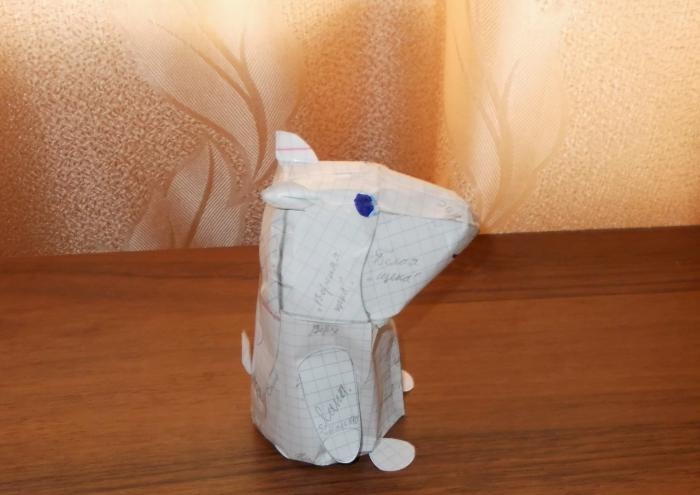
For the resulting figure, we marked the areas on the face where the eyes, ears, paws and tail should be located. At first we wanted to make a mouth, and so we drew it on a sample:
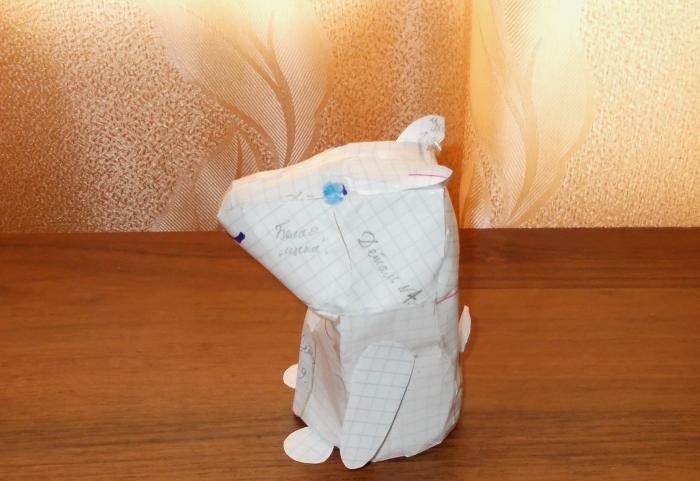
This is what the resulting figure looks like from the other (left) side:
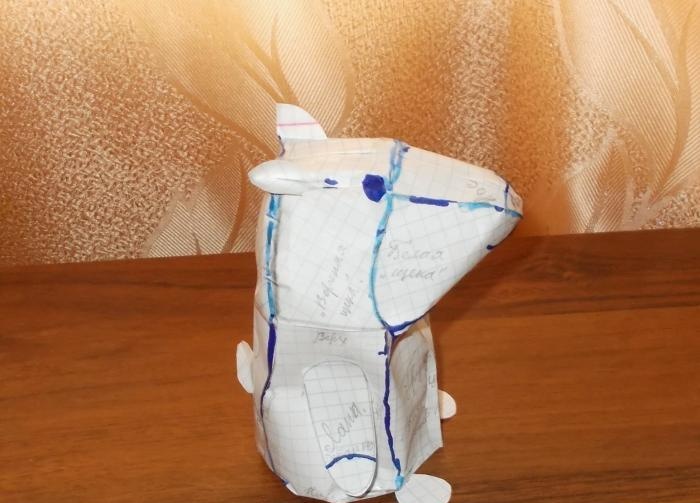
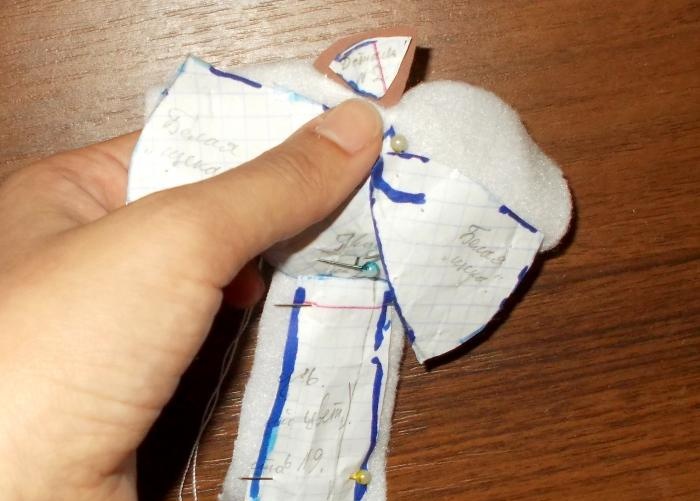
Next, we need to take a marker and draw lines on this figure, dividing it into separate parts, along which we will cut out parts from the fabric:
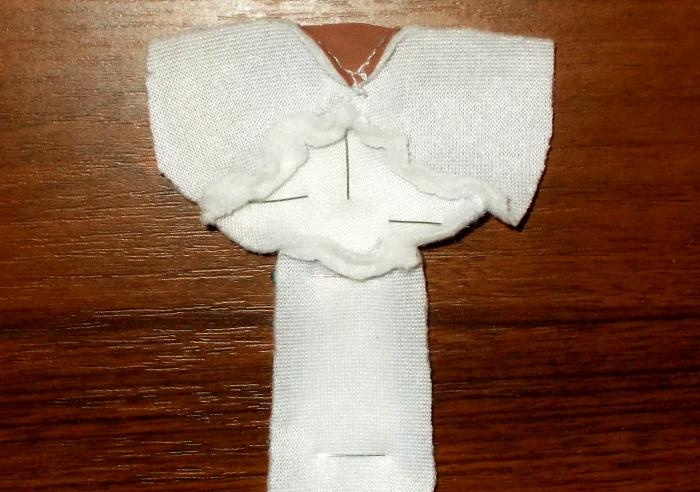
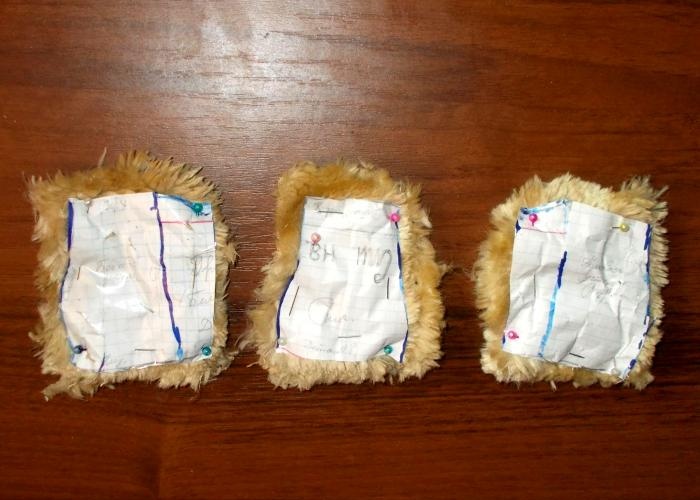
Now we take white fabric and cut out the nose part of three figures from a paper figure (two cheeks with a chin), after which we cut off the chest part (i.e., we cut out those parts that will have to be white in the craft):
Next, from this fabric we need to cut out these parts with a small area of allowance (about 0.5 cm) and join them together with seams:
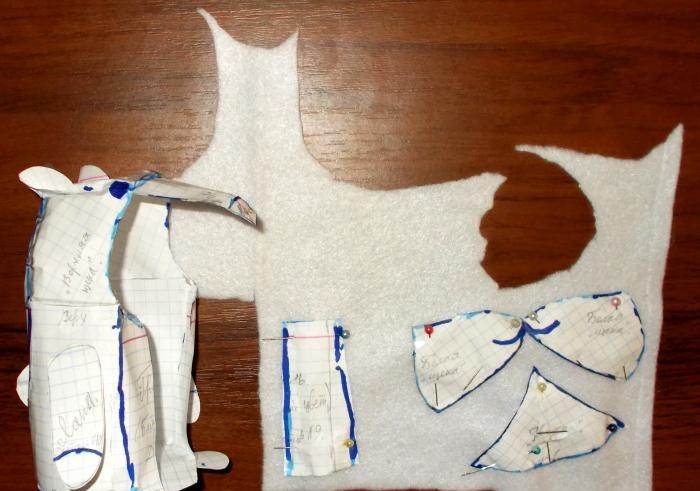
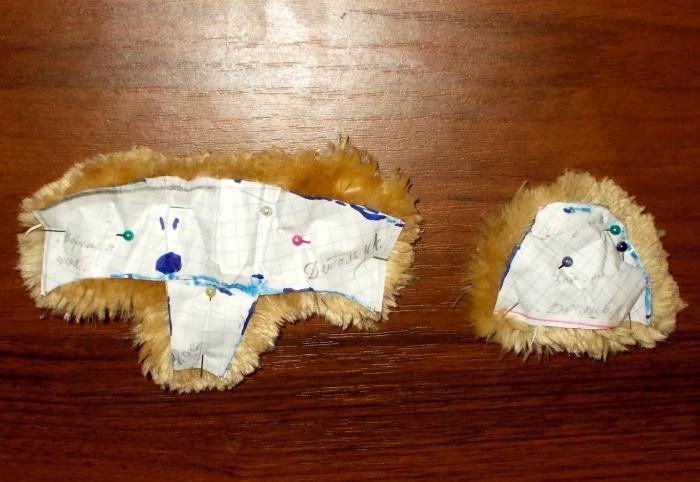
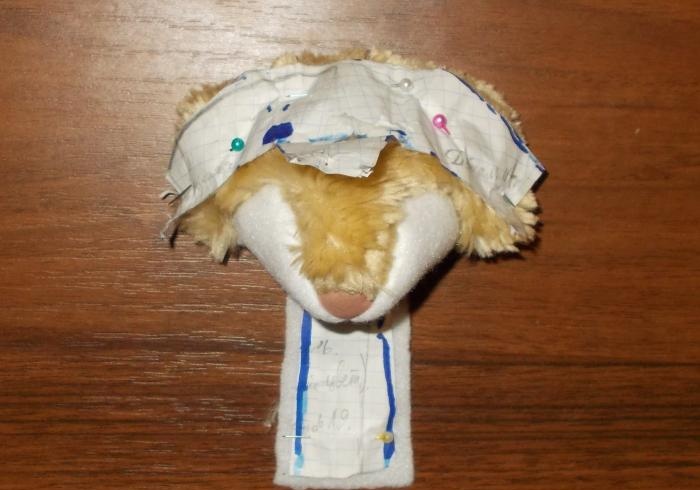
After this, we take out a light brown fur fabric and cut out from a paper figure the frontal part with the sides and nose, along with the back of the head and the top of the head, and pin these parts to the fabric:
From beige leather fabric we cut out a small nose piece and sew it to three white pieces:
This is how all the parts sewn together look on the wrong side:
Now we need to connect these parts with seams to the “frontal” part of a light brown color:
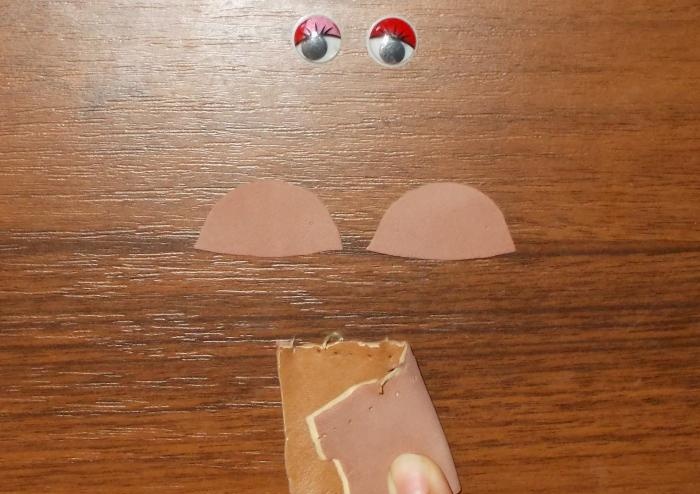
Next, we take one pair of toy eyes and cut out two ear pieces from beige leather fabric. These pieces can be made by cutting out a small circular shape from fabric and cutting it in half.We took beige leather fabric and brown fur fabric from old boots that were not suitable for wear; Our beige fabric has two layers joined together: a brown layer and a beige layer, which can be separated. But now, when making ears, these two layers should not be separated so that the finished ear parts are stronger:
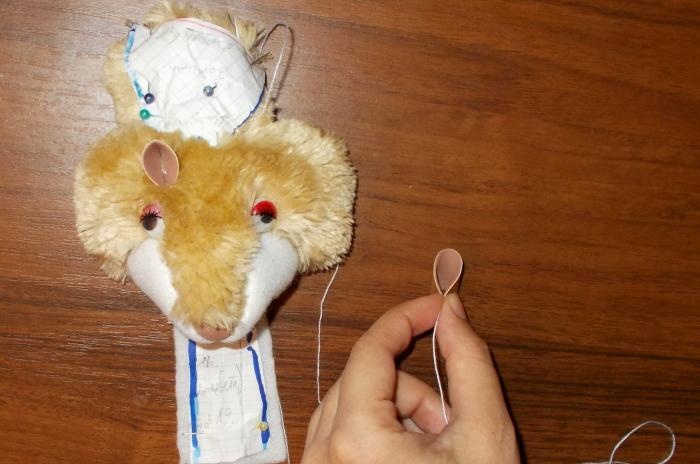
Now we glue the eyes to our craft above its white “cheeks” and sew on the ears, folding their parts in half. You can start sewing on the back of the head:
When the details of the ears and the back of the head with the crown are sewn, three body parts will need to be cut out of light brown fur fabric: two side parts and one back part:
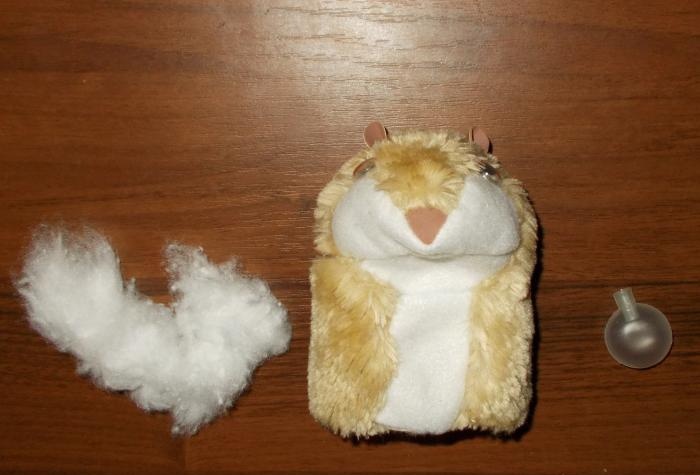
These three parts need to be sewn to our craft, connecting their sides with the white “chest”, and then fill the resulting craft with cotton wool.
At first after sewing, the toy that was not filled with cotton looked ugly and seemed too distorted. But when filled with cotton wool, its appearance suddenly changed for the better and it became more similar to those toys that are sold in stores.
Also, when filling with cotton wool, we prepared a squeaker, which should be placed inside:
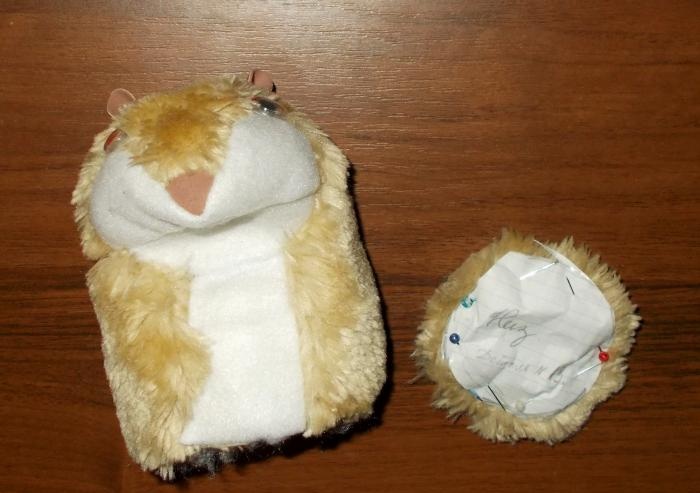
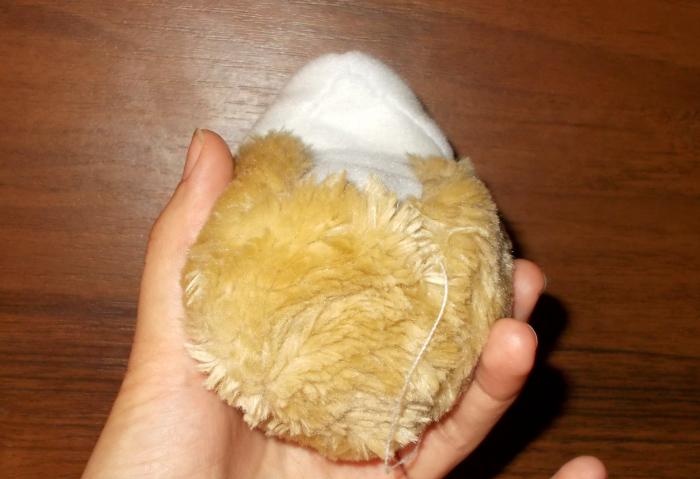
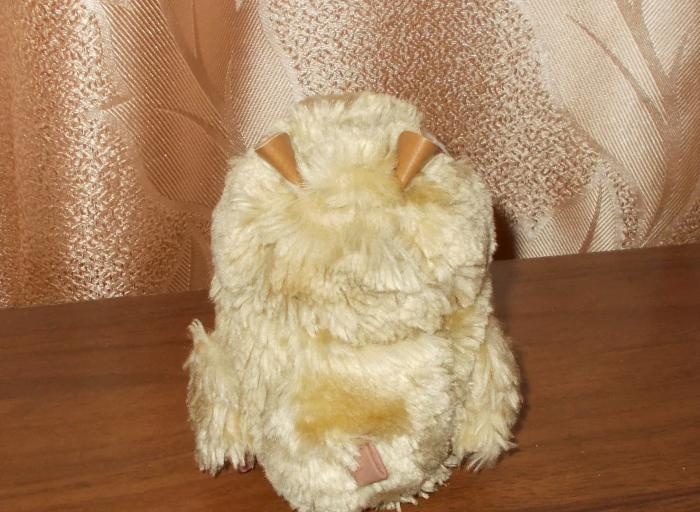
Having brought the squeaker inside the toy and filled it with cotton wool, we will have to sew up the bottom of it with a round piece cut from fur fabric according to the pattern:
We sew each of the parts by hand, without using a sewing machine:
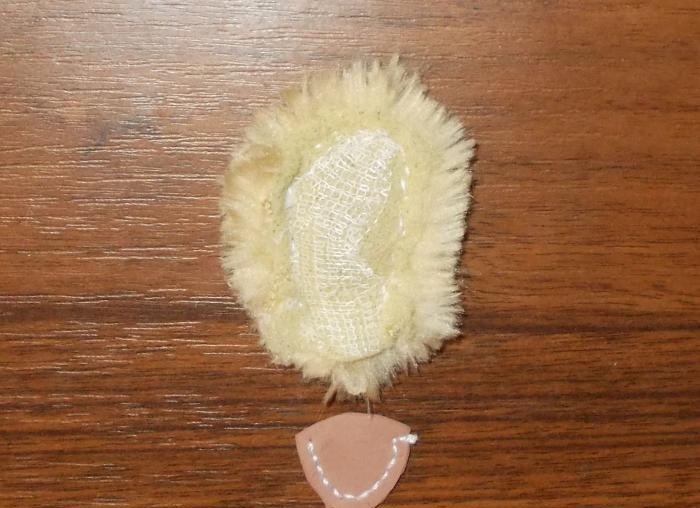
After that, we get down to making the paws. From light brown and beige fabrics we cut out two such parts in pairs:
We turn each of these parts inside out and sew them together, leaving a small free space so that we can turn the finished parts inside out and fill them with cotton wool:
Having sewn the parts, using tweezers we turn them inside out and fill them with cotton wool:
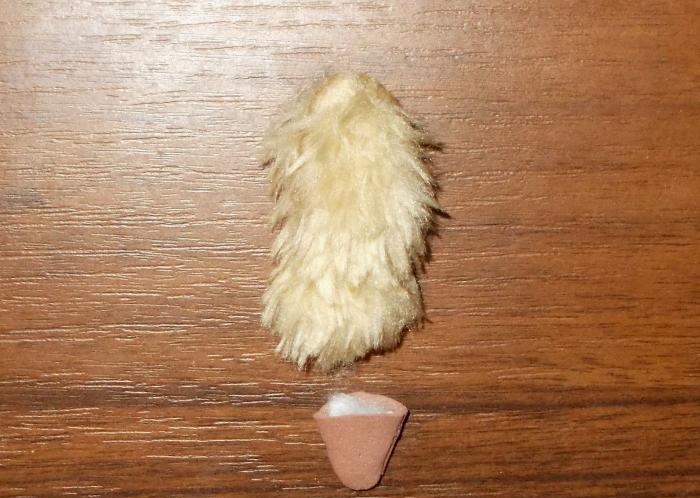
Next, we need to sew both resulting parts together.In the same way we make the second foot:
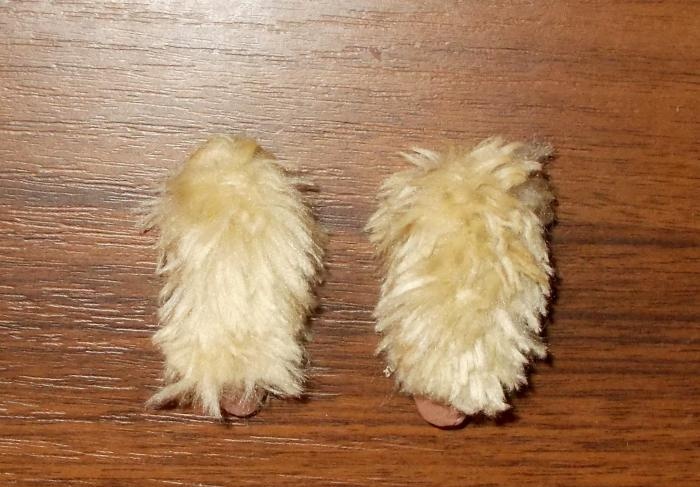
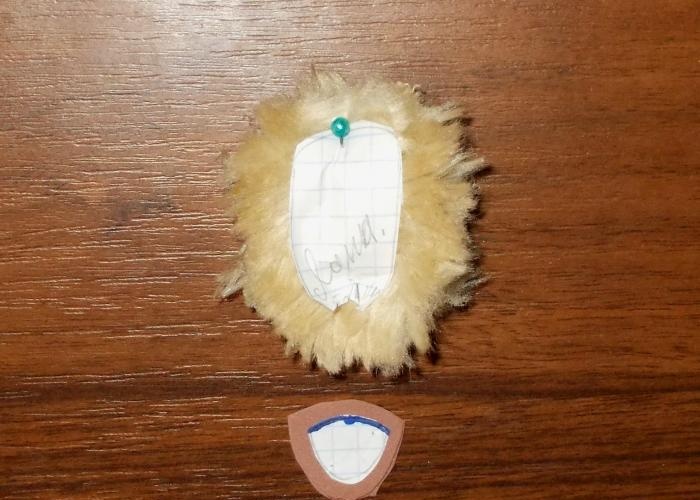
After this, we cut out two parts in pairs from beige fabric to make the lower paws and sew seams on them. From a large round shape, folded twice (into a triangle shape), we make a ponytail piece:
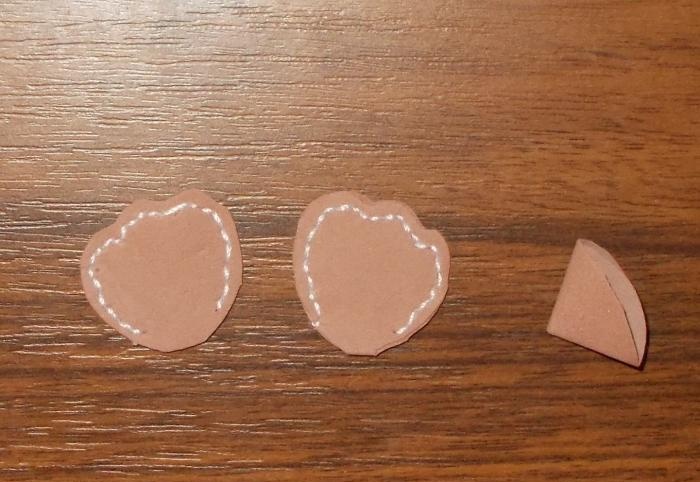
We need to turn the sewn parts of the paws inside out and fill them with cotton wool, then sew up the holes through which the filler was inserted. After this, the paws will be ready and can be sewn to the toy:
We sew the tail part from the back:
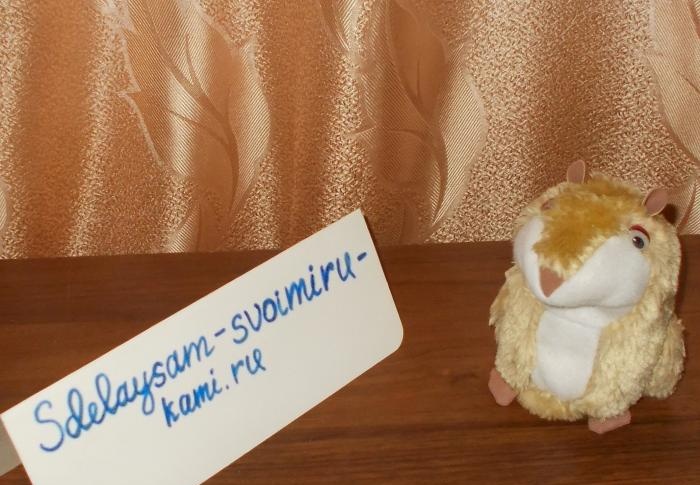
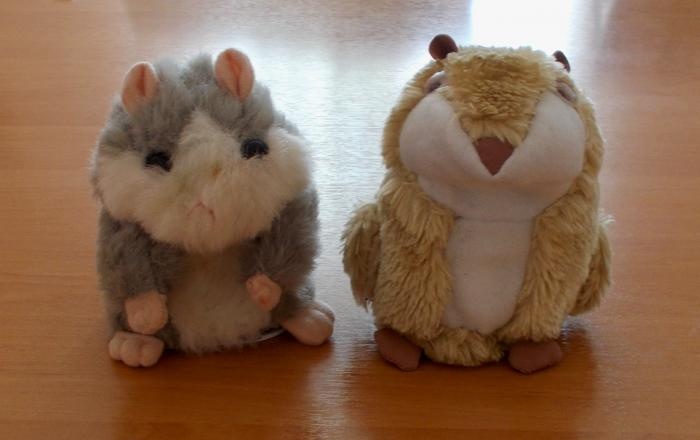
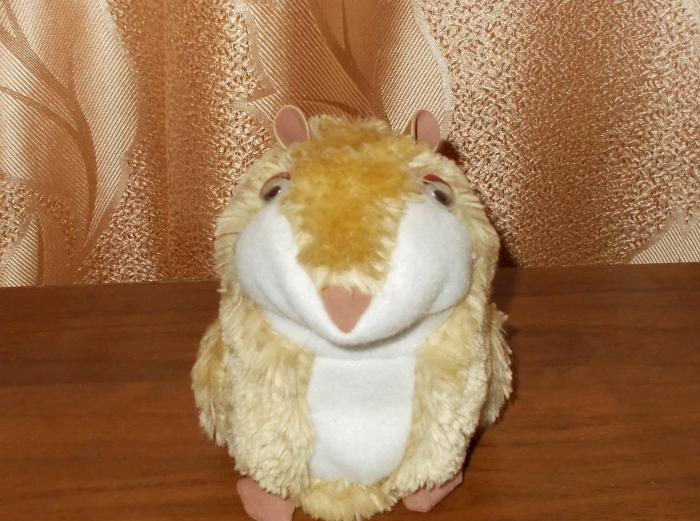
After that, that's it - our handmade hamster toy is ready:

In the photo below, to the left of it there is a second toy - a hamster, but from a factory, a real hamster - a repeater. However, the hand-made hamster seems a little more beautiful to us here:

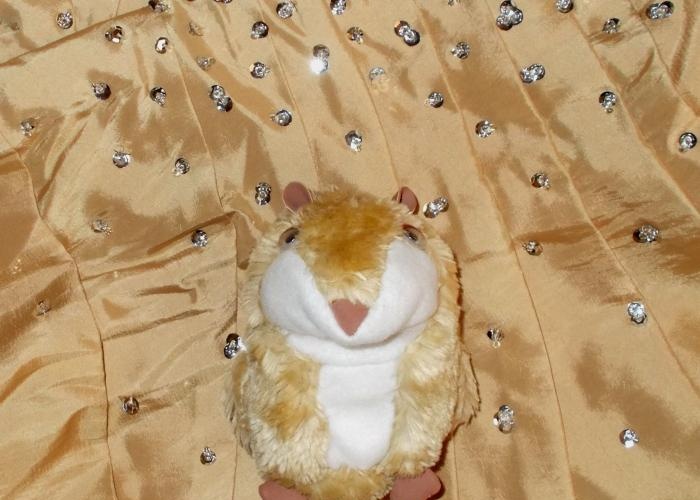
Here's a front view of the toy:
We wish you success in your creative endeavors!
Sincerely, Vorobyova Dinara.