We take the following for the master class:
• Thick cardboard: two rectangles 16.5*11.5 cm and one 16.5*5.5 cm;
• Sintepon;
• Marine cotton in two colors, white and dark blue;
• Paper for scrapbooking with a marine motif;
• Dark blue napkin made from cutting;
• Bunny cut out blue;
• Blue cotton lace 3 cm wide;
• Wooden chipboard with the inscription “Our Son” or “Mom’s Treasures”;
• Blue ribbon with pompoms;
• Double-sided tape;
• Blue brads;
• Metal steering wheel suspension;
• Watercolor paper sheet 32*37 cm;
• Glue stick;
• Ruler and eraser;
• Patterned border hole punch;
• Ink pad;
• Rep tape with anchors;
• Scissors and pencil.


We start by making a hard cover. To do this, we take thick cardboard and cut two strips of white cardboard to connect all the binding parts together into one cover. We take two pieces of cardboard 4.5 * 16.5 cm.We divide both in half and make bends so that it can be glued well between the blanks and at the same time so that it closes and opens well.


We coat the cardboard leaves with a glue stick and glue them onto the binding cardboard. First we glue one piece, and then the other, smooth it out thoroughly.


We draw more bend lines with scissors. Now we glue the padding polyester onto strips of double-sided tape.


Now let's take the fabric.


We cut off two blanks, one is slightly larger than the other, and at the junction we will sew blue lace. We iron the fabric.


We sew the fabrics together and sew our lace strip at the seam. Now we place the fabric as in the photo, right side down.


We place our cover and now, using a glue stick, we will bend the fabric and glue it to the binding cardboard.


We also use a glue stick to go along the sides, both top and bottom. Everything needs to be carefully wrapped and glued.


It turns out like this.


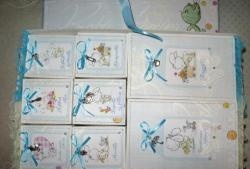
We cut two pieces of tape with anchors and glue them inside the cover with pieces of double-sided tape.


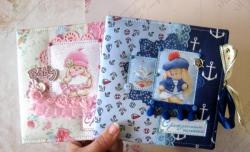
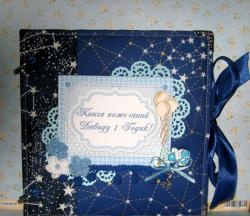
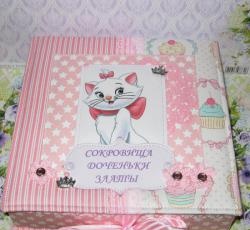
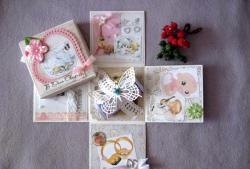
We fold our cover and decorate the front side. Cut a rectangle of 8.5*12 cm from scrap paper, take a picture and a napkin.


We glue a scrap rectangle, sew it on, then glue a napkin on it, glue it on top of the napkin and sew on a bunny with a picture.


Now we insert the pendant into the brads and attach it to the corner of the card. We also attach brads in the corners of the picture.


We cut a rectangle of scrap paper 12*22 cm and glue it inside the cover using adhesive with the effect of adhesive tape. Press and leave until completely dry.


While the cover is drying, prepare the base of the box. To do this, take a watercolor blank and divide it into parts, as in the photo. We draw bend lines under the ruler and cut off the excess.


Glue a 10.5*15 cm rectangle inside and sew it on.


We bend along the lines and glue the box along the tails. We still have scrap paper and we just need a piece of 5*16 cm and two pieces of 5*11 cm to cover the side parts of the base of our box with them. If you have a border hole punch, then on one side these blanks can be made into shapes. We also glue the sides with a glue stick.


Now we glue the base into the cover, close it and press it so that the box dries. You can put a couple of light books on top.


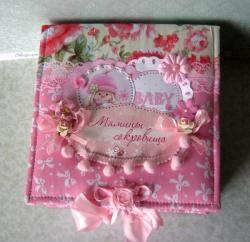
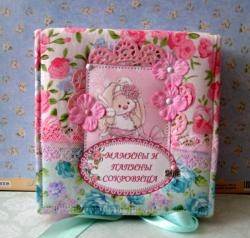
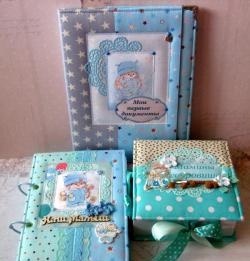
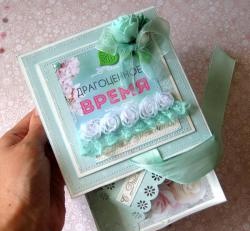
We tie the box with a bow, glue a wooden inscription and a ribbon with pom-poms.


A seaside box for children's photographs is ready. It turned out to be roomy and suitable for storing photos measuring 10*15 cm. Thank you for your attention and good luck to everyone!