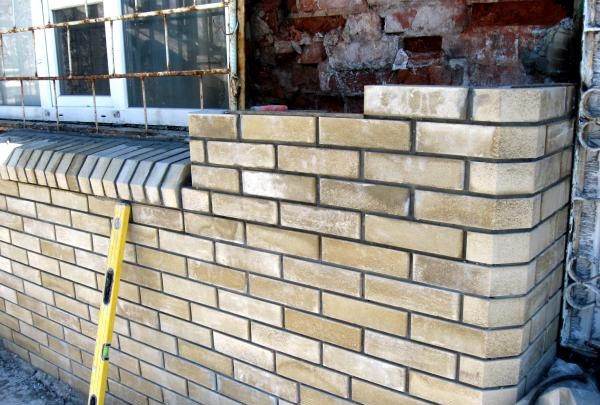
First, carefully mark the column. This is an important stage, since the quality of the work depends on it. It is necessary to decide where this architectural element will be located, how many bricks will be needed in one row, so as not to trim. In addition, it is necessary to determine the thickness of the seams.
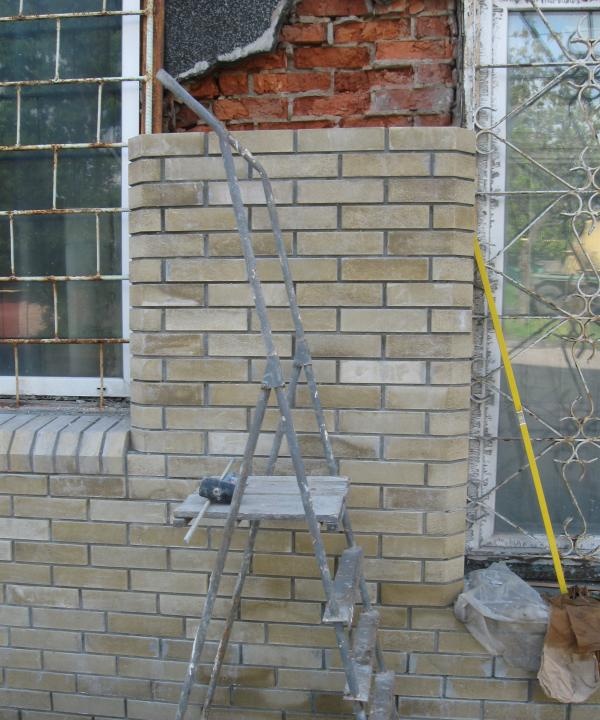
Next, you need to prepare the tools necessary for the job. To erect a column, you will need a building level, a plumb line, a fishing line, a rubber mallet, a trowel, a container for mortar, jointing, a glazing bead, and a stepladder if working at height. In addition to the tools for work, you will need cement, sand, water, a container for mixing the solution, wire, and anchors. The proportions of the masonry mortar are one part cement and three parts sand.The solution should not be liquid, but on the contrary, it is better to use a thick one.
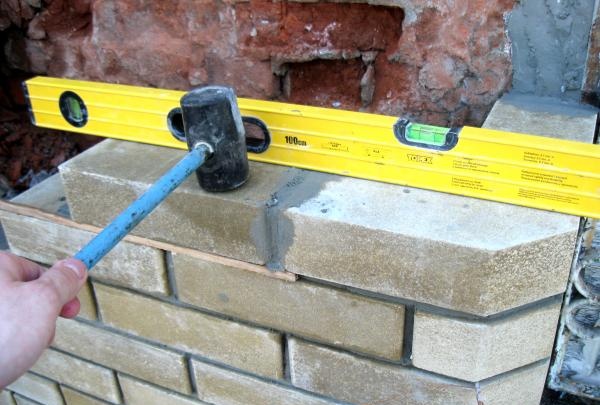
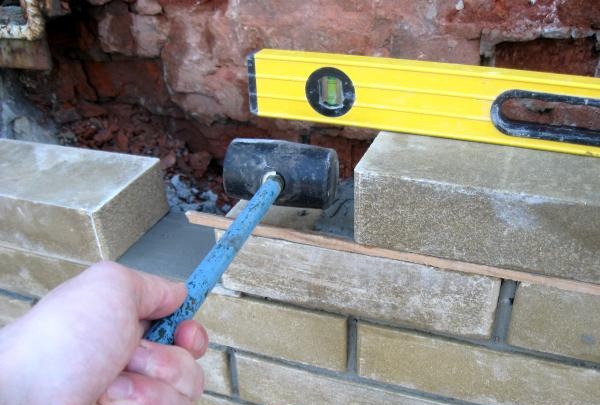
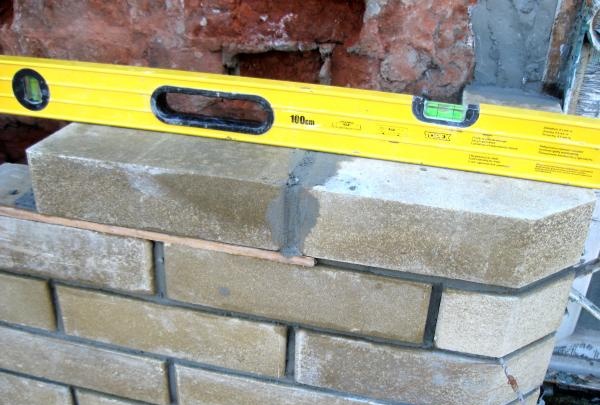
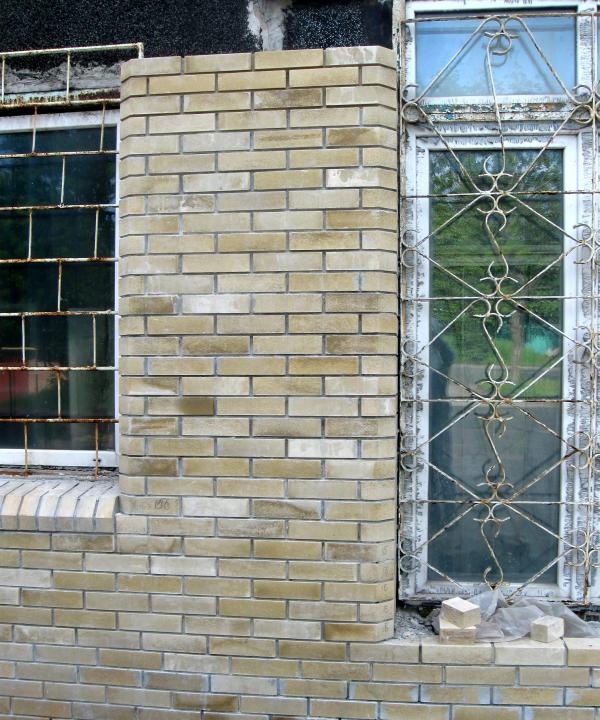
As a rule, when laying columns, it is very important to follow the lines of the corners, as well as the lines of the seams in level. To ensure that the entire structure is level, it is necessary to carefully check the level of each brick. To do this, you can use a small building level. After erecting several rows, use a large level of 1.5 m to ensure that the columns are vertically level. In order for the seams to be even, you can pull the fishing line from the two outer bricks. But since in our case there are only 4 bricks, the level will be long enough.
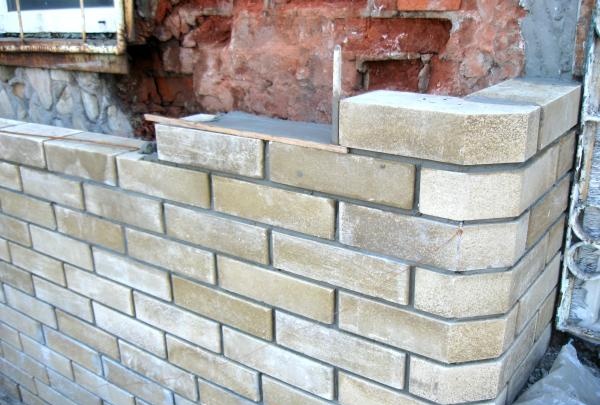
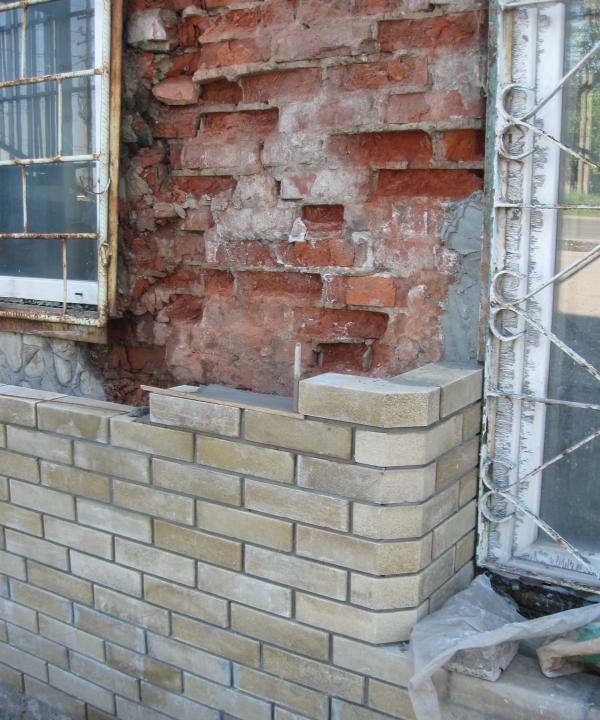
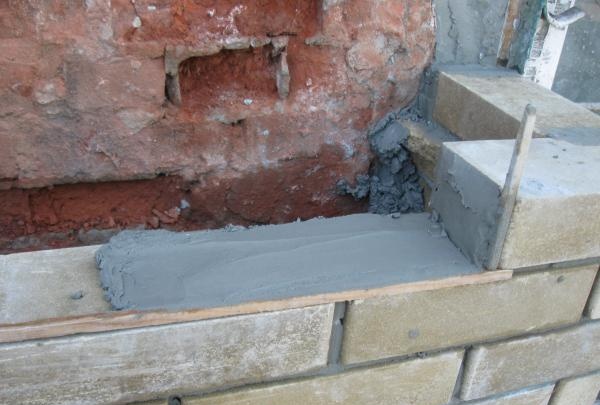
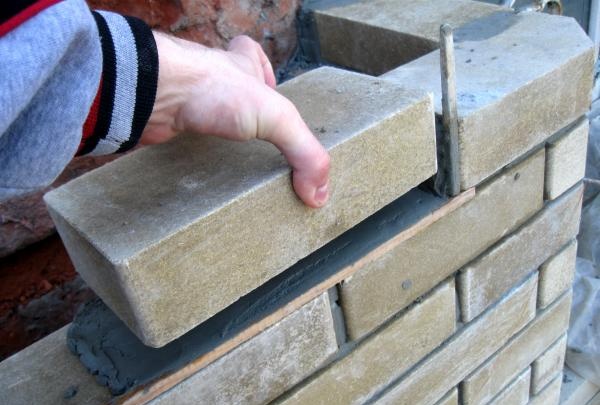
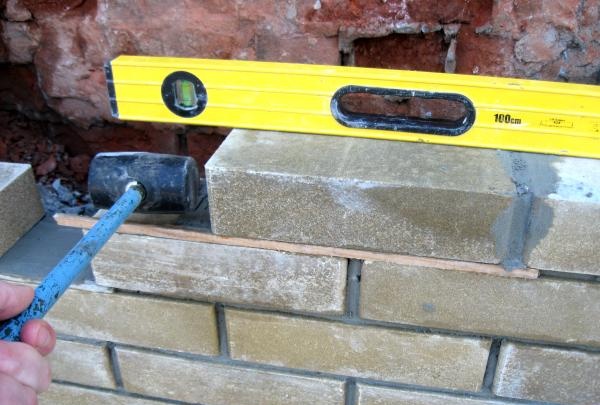
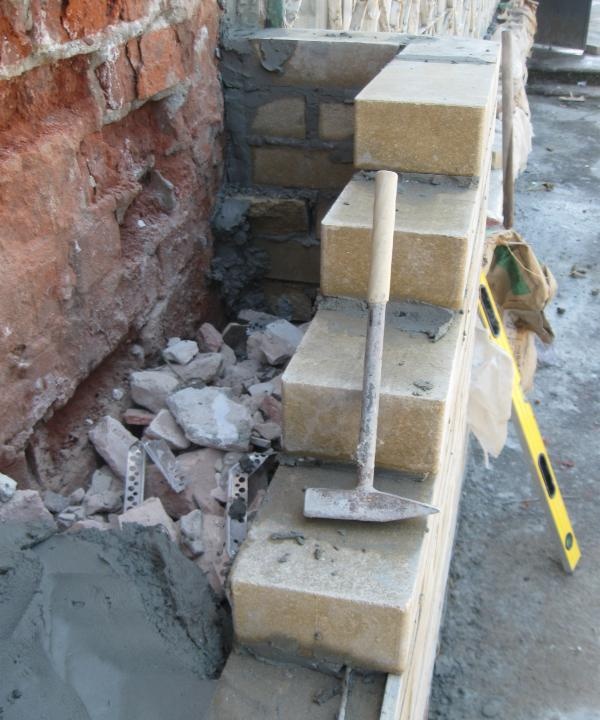
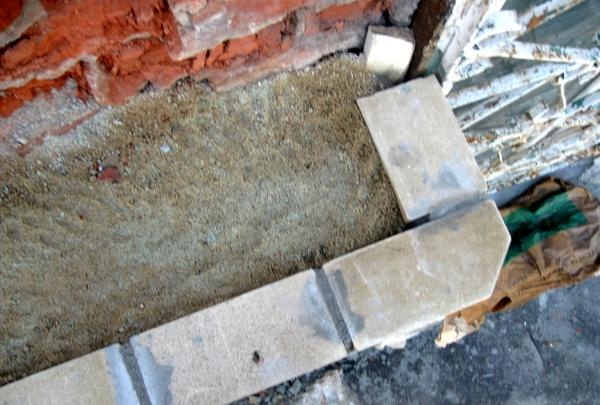
The illustration shows in detail how facing bricks are laid for jointing. First, a bead is placed on the edge of the bed of the bottom row of bricks. Then the solution is applied according to its level. If you apply more mortar, you will have to hammer the brick longer with a mallet so that it is flush with the adjacent brick. Because of this, the lower rows may sag. If you apply the mortar below the level of the bead, the brick will sag. Therefore, it is necessary to distribute the solution exactly according to the level of the bead. The brick is leveled by lightly tapping the corners of the brick with a mallet.
The void in the column can be filled with backfill. To do this, you can use a solution consisting of one part of cement, three parts of sand and one part of granulation. Stones can be used to fill the columns.
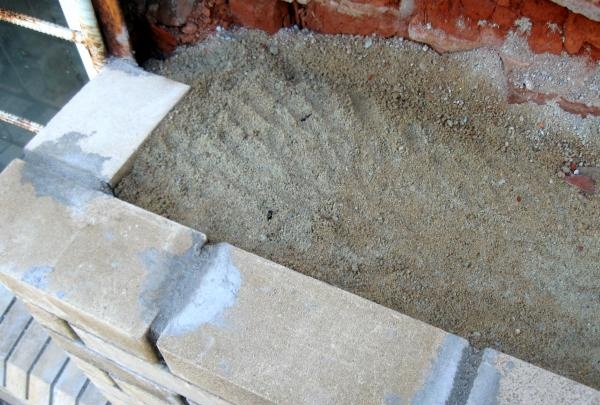
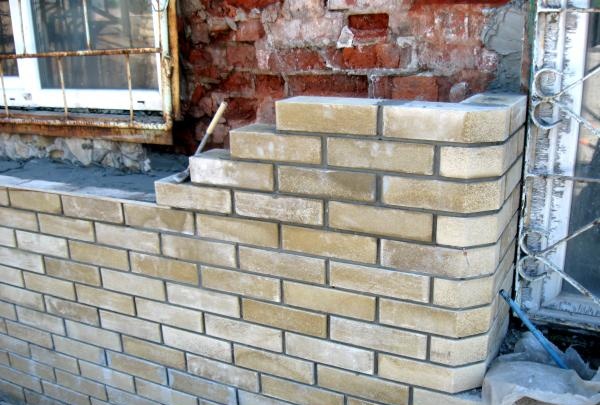
In order to give strength to the columns, metal wire must be laid every 3-4 rows. And approximately every 50 cm, anchor the column. To do this, drill a hole equal to the diameter of the anchors you are using. The anchors are screwed into the hole and welded to a wire that is pulled between the seams of the brickwork.
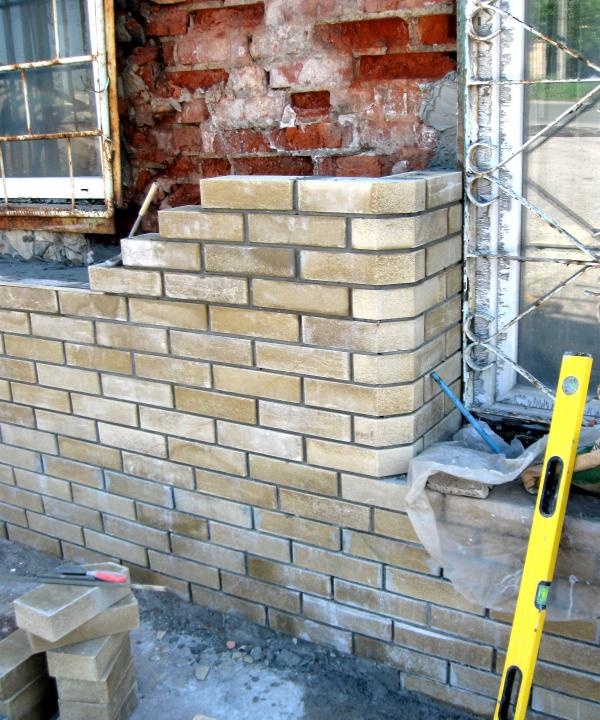
You should not build a large number of column rows in a short time, since under the mass of bricks the lower rows may sag, causing the horizontal seams to be uneven. The maximum number of rows that are recommended to be erected at one time is no more than six.