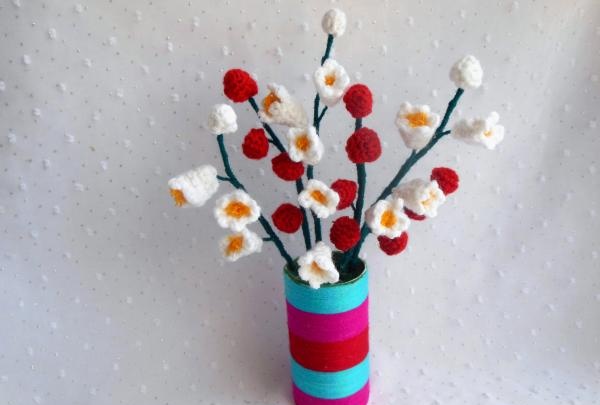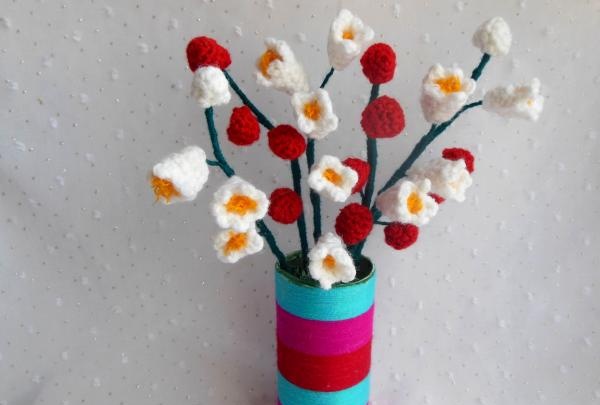
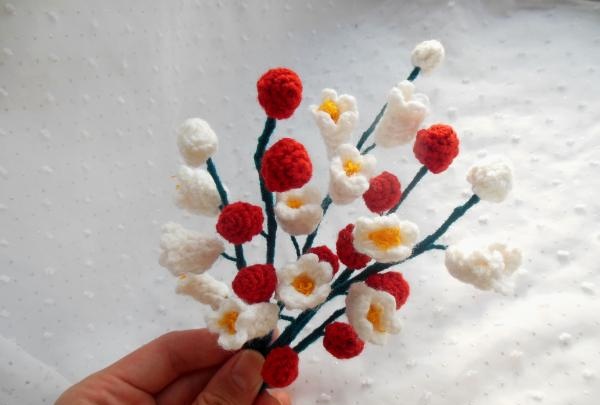
Despite the fact that all the flowers are crocheted, they do not look rough or completely unnatural. On the contrary, fine knitting once again emphasizes the grace of lilies of the valley, their subtle beauty and conveys the special charm of these small flowers.
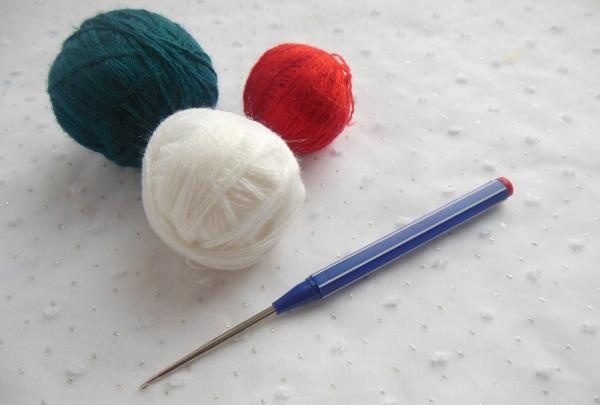
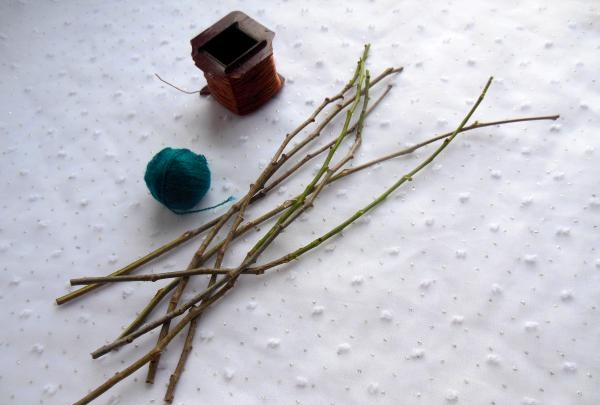
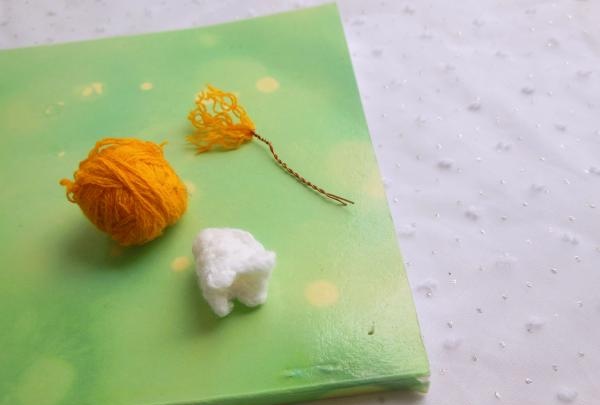
It is easy to create such a composition. It is enough to have white, yellow, red and green balls of thin yarn, a 2.00 mm crochet hook, break thin branches for the stems and prepare some copper wire.
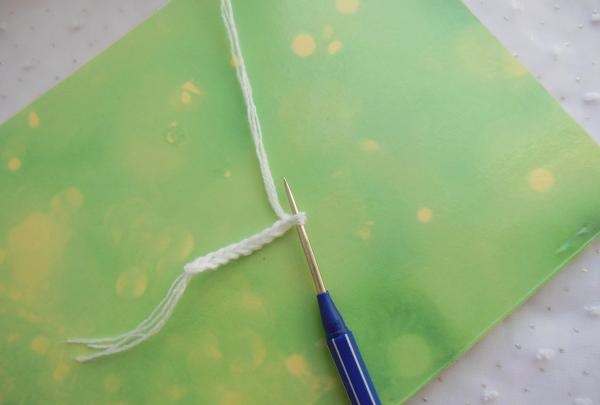
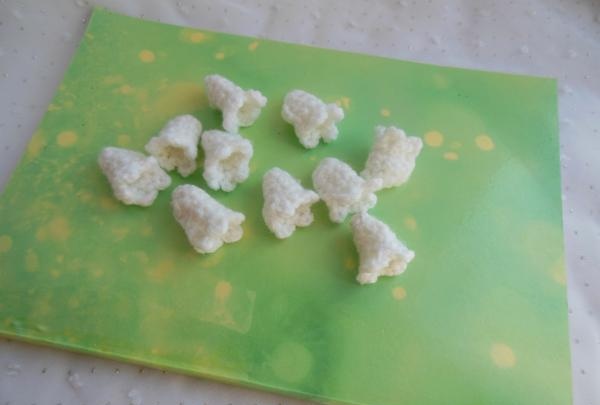
We begin the white flowers with a knitted chain of 9 chain stitches (c), each loop of which is knitted with a single crochet (dc). In total, you need to knit 4 rows of tightly planted stitches.
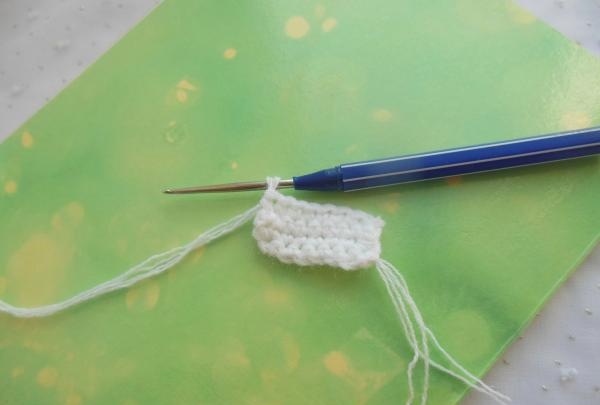
We knit the edge of the product (aka the 5th row) with arches from 3 in. n, closing each chain in the same loop from which it started.
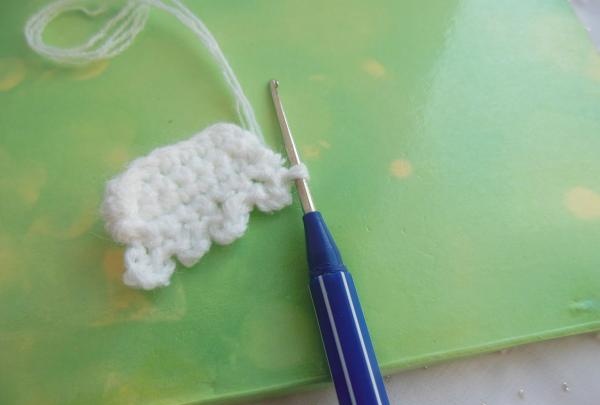
Then we fold this flower blank in half and tie the side and top sides in pairs with connecting loops. This way we will get flowers in the shape of bells.
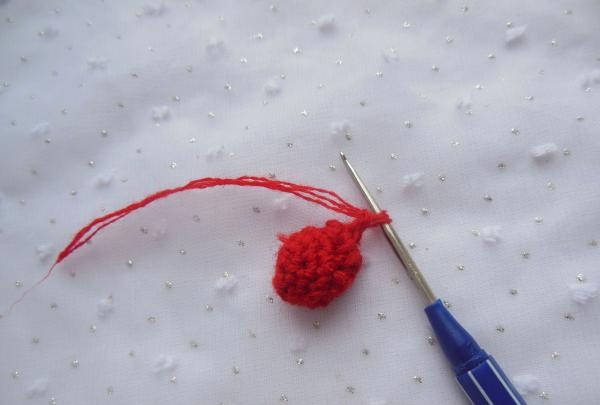
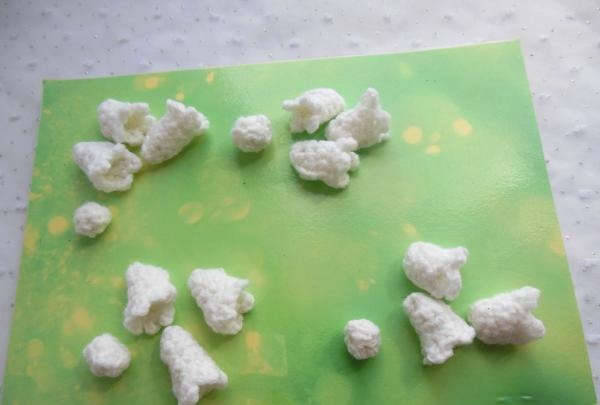
We make red berries from round blanks, but they should not be even (or rather flat), towards the end the number of columns should be sharply reduced so that the end result is voluminous balls.
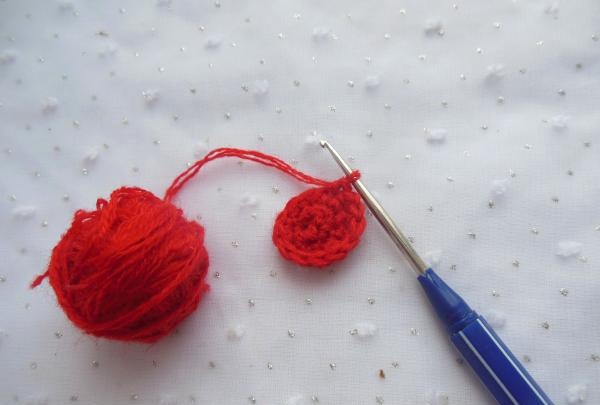

The remaining 4-6 loops are closed together. This will prevent a smooth transition and the ball will form correctly.
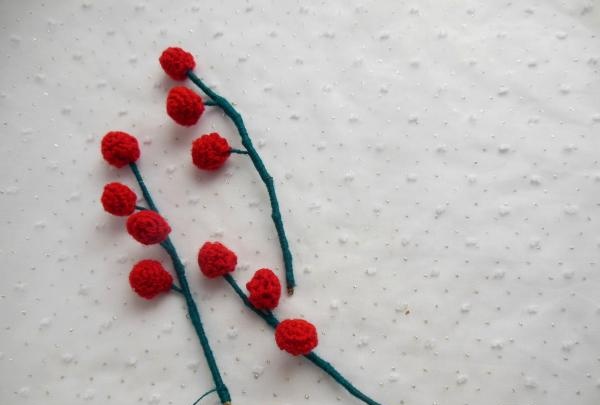
In total, one “berry” branch contains from 3 to 5 of these red balls.
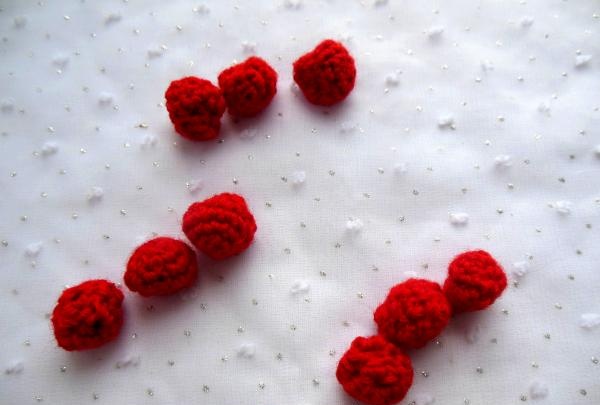
We make the same balls for flower branches. Here they will act as buds and decorate their tops.
We will attach both the berries and the flowers using wire. First, we wrap the upper end of the branch a little with green yarn, “put” the first berry/bud on the tip and begin to fill it sequentially.
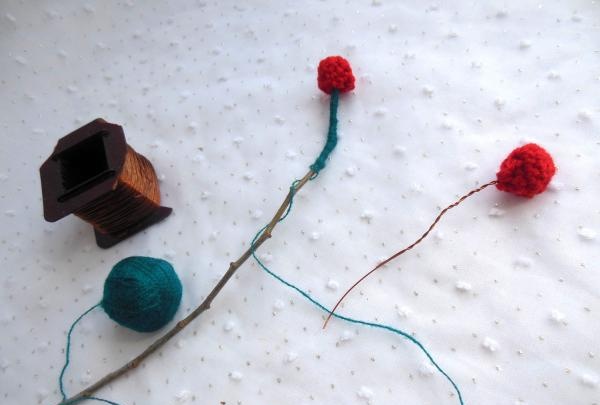
We pierce each part from below with a small piece of wire, then twist its two parts together and place them on the desired section of the branch (with a distance of 1-1.5 cm).
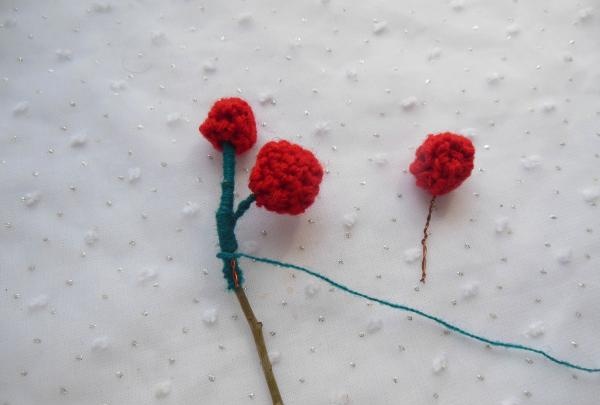
At the same time, we continue to “green” both the large branch and all its small connecting stems.
Flowers, unlike berries, do not need to be pierced. For their cores, you need to cut 2-3 strips of yellow yarn, place and secure between the ends of the wire, and then place inside the flower.
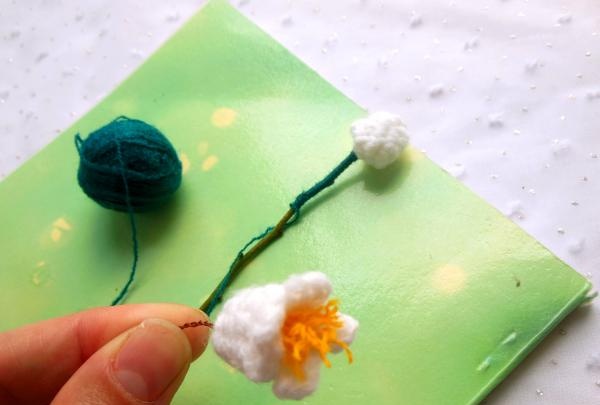
This way the flowers can not only attach well to the branch, but also look more natural.
The number of flowers on a branch should be different, so that each of them is slightly different in height. Thanks to this, the bouquet looks more natural.
You can place the composition in a small vase or flower pot, fixing the position of the bouquet with alabaster.
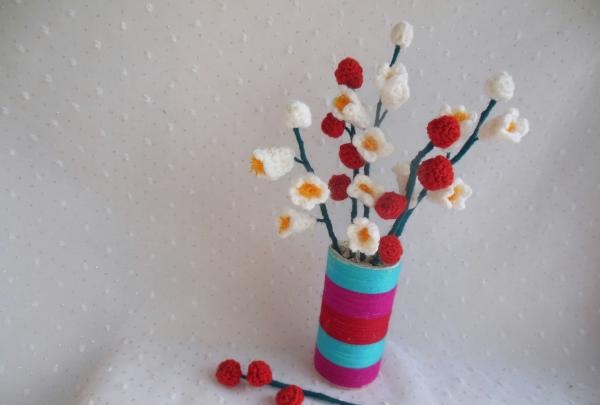
After the “soil” hardens for a short time, the vase will stand steadily, and the flowers will always be in the desired position.