Do it yourself
Life hacks, master classes, useful tips, recipes.
home » Handicraft techniques » Scrapbooking » Scrapbooking master classes » Cover for children's birth certificate
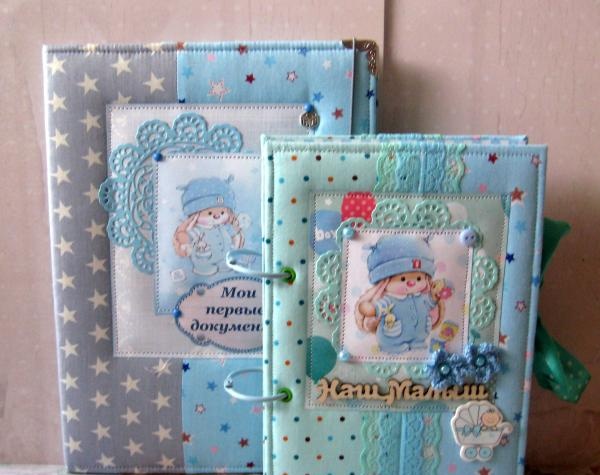
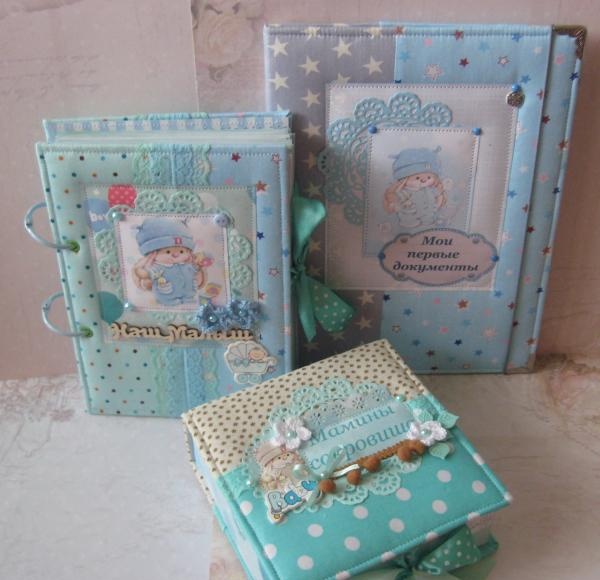
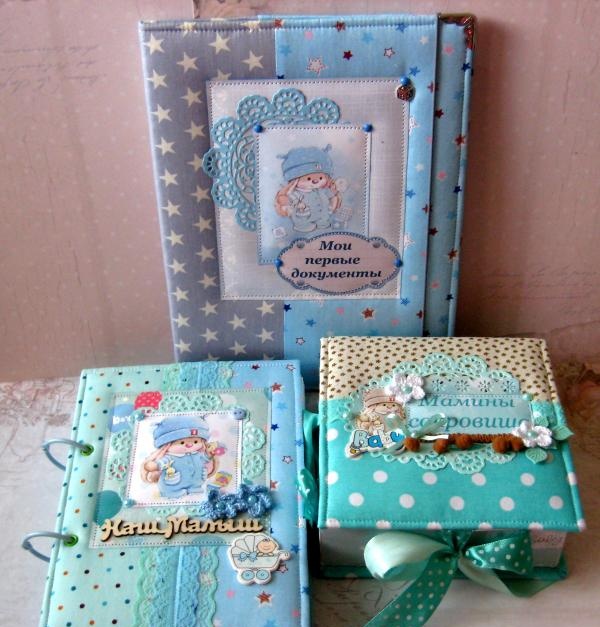
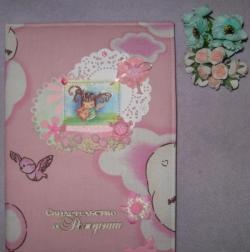
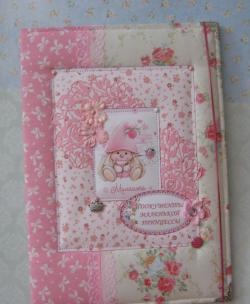
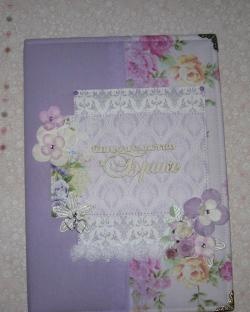
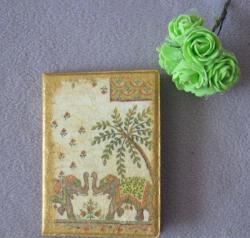
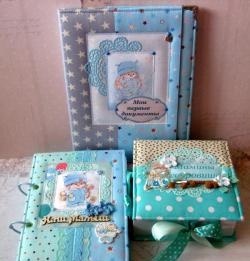
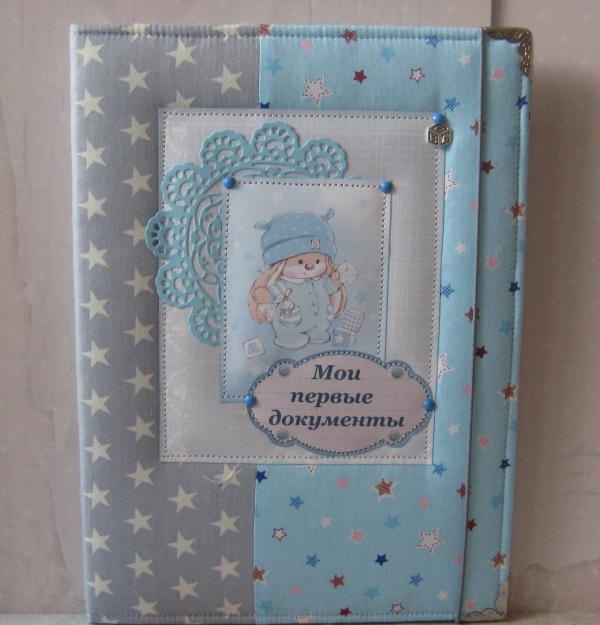
With the birth of your little son, you begin a completely new life and become responsible in life not only for yourself and your spouse, but also for your newborn son. Every mother wants the best for her child, so she tries for this and does everything possible and impossible. A newborn child is born and receives the status of a citizen of the country in which he was born, which is supported by a document called a birth certificate. This is the first and important document until the age of 16, until your son grows up to receive a passport. Now the birth certificate is of a completely different type, not the same as it was before in the form of a book, so it is very important to keep it safe and neat. The size of the birth certificate is 17*24 cm, so it requires a non-standard large cover.Buying such a cover is probably even a problem, but perhaps finding something made to order, but every mother will be able to make an interesting soft cover for a certificate herself, as soon as she gets acquainted with this master class.

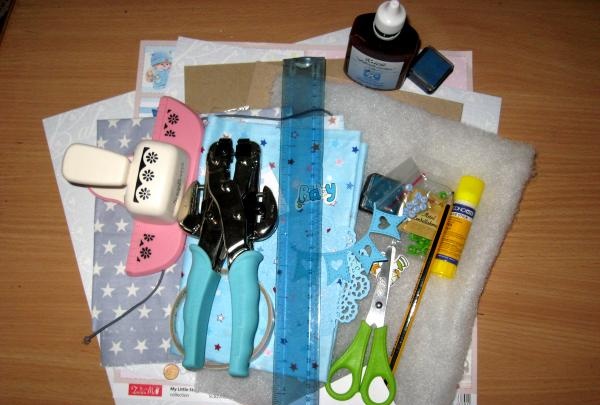
So, to sew the cover we take:
• Binding cardboard two sheets 19*26 cm;
• Sintepon;
• 100% cotton fabric in two colors with stars, one fabric on a blue background, and the second on a blue-gray background;
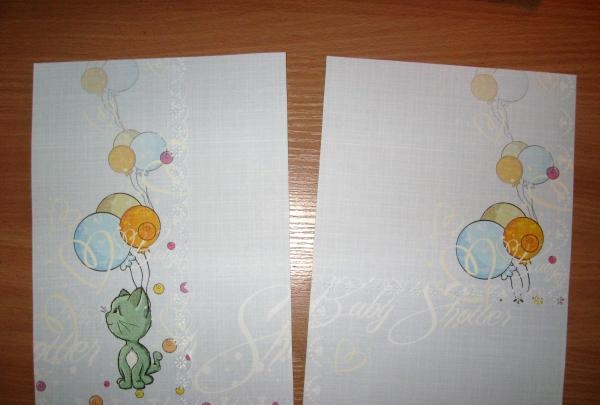
• Paper for scrapbooking from a children's set, two sheets 30*30 cm;
• Printed card “My first documents”;
• Blue die-cut napkin;
• Picture with Mi the bunny in blue;
• Silver-look metal corners, 4 pcs;
• Metal pendant cubes;
• Blue metal brads;
• Thin gray hat elastic;
• Salad eyelets and eyelet installer;
• Blue cut flags;
• A strip of white cardboard;
• Glue stick, double-sided tape;
• Adhesive “Scotch tape effect”;
• Curb hole punch;
• Scissors, a simple pencil, an ink pad for toning paper and a ruler.
Cover for children's certificate

Cover for children's certificate

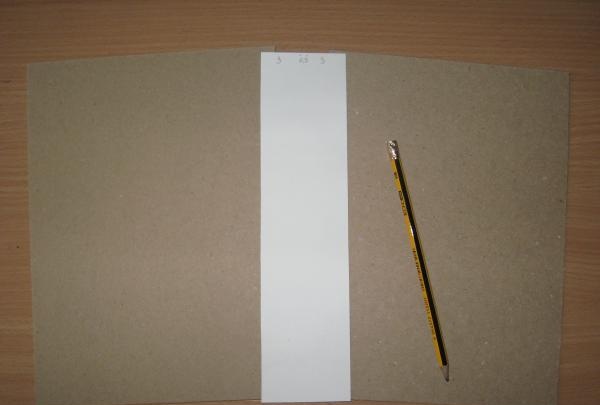
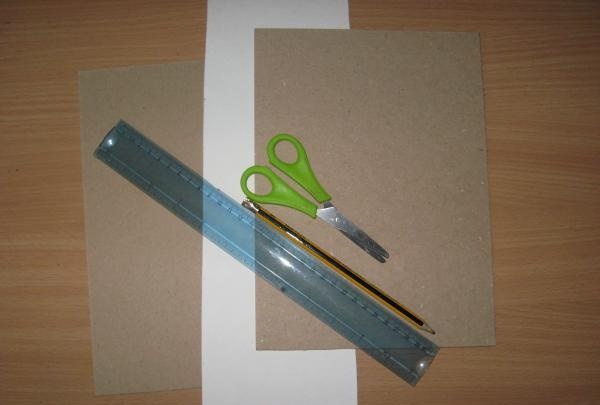
So, first we need to make a hard cover. To do this, we need to connect two sheets of binding cardboard with a strip of white.
Cover for children's certificate

Cover for children's certificate

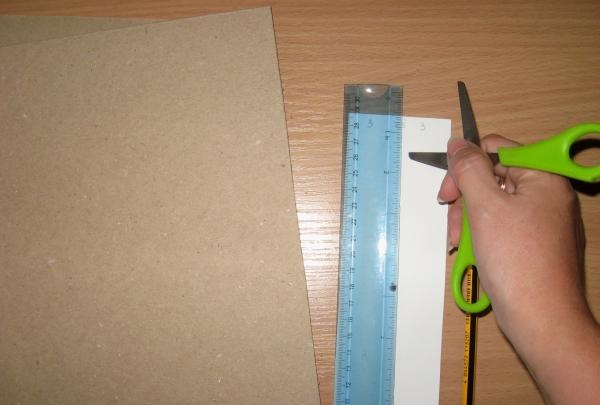
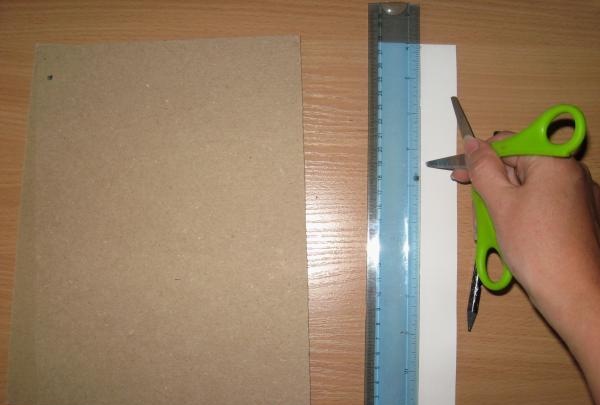
We cut a strip of white cardboard 6.5 * 26 cm. We divide this strip into three parts, 3 cm * 0.5 cm and 3 cm, respectively. Now we draw two bending lines under the ruler.
Cover for children's certificate

Cover for children's certificate

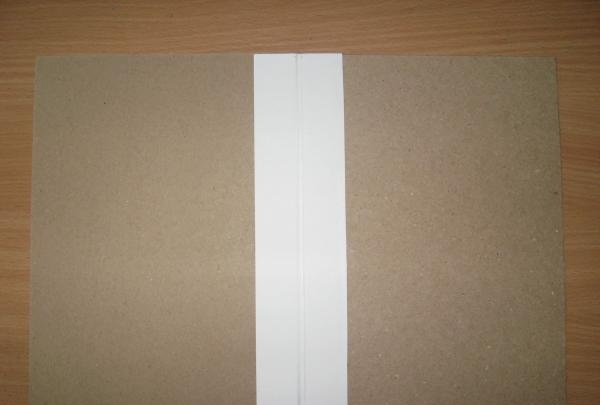
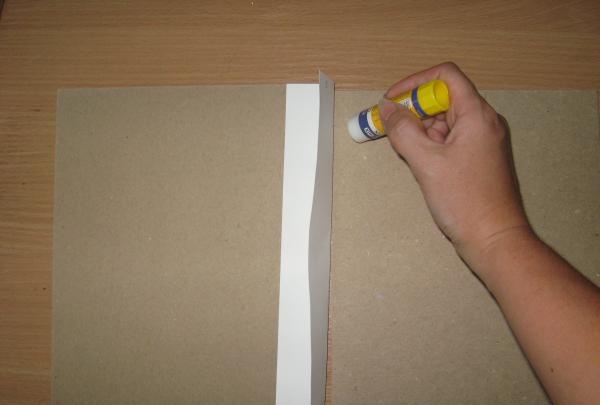
Using a glue stick, glue this strip on both sides of the cardboard, thus connecting the cover into a single whole.
Cover for children's certificate

Cover for children's certificate

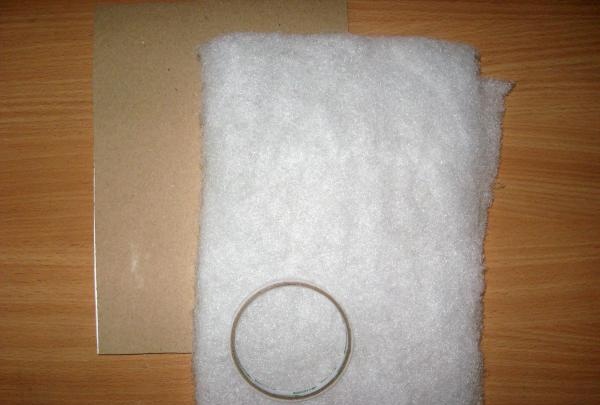
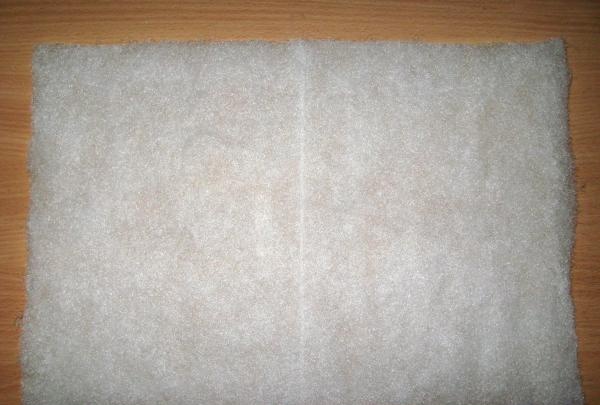
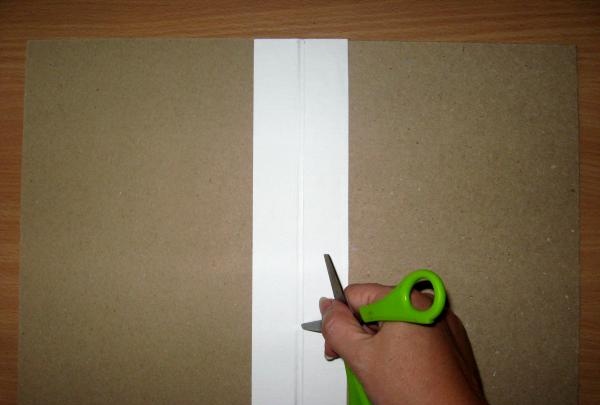
Now we draw lines with scissors so that the cover closes well. Cut the padding polyester onto the open cover.
Cover for children's certificate

Cover for children's certificate

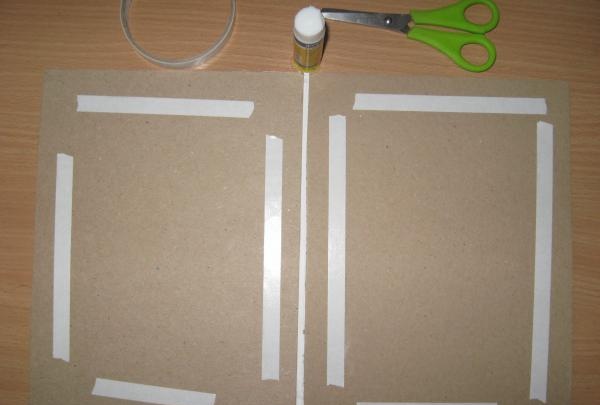
We glue strips of double-sided tape and glue the padding polyester.
Cover for children's certificate

Cover for children's certificate

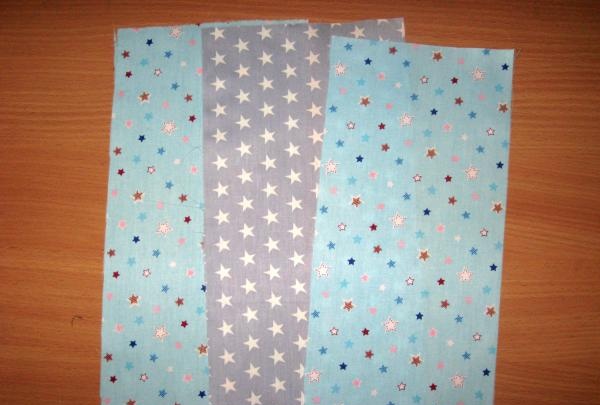
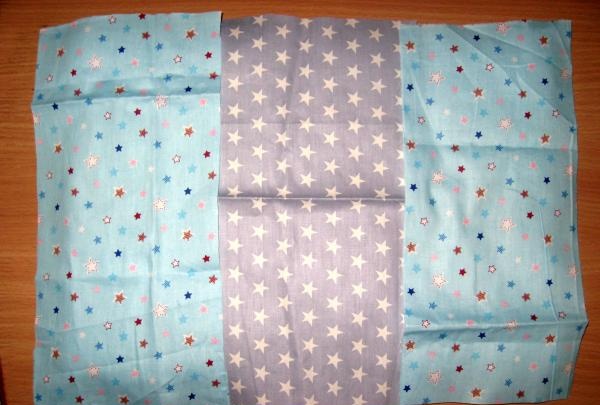
We have softened the cover, now we take the fabric and cut three pieces.We immediately make provisions for cutting so that we can tuck the fabric later.
Cover for children's certificate

Cover for children's certificate

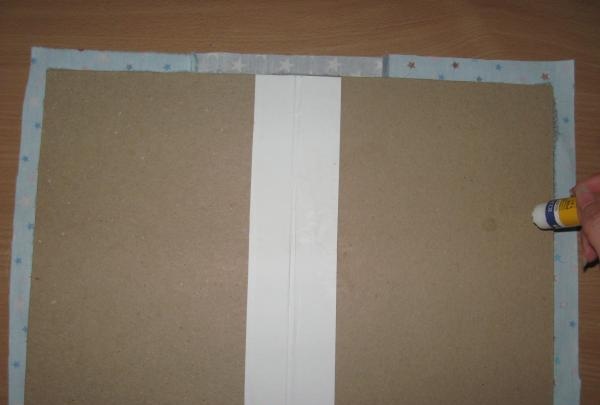
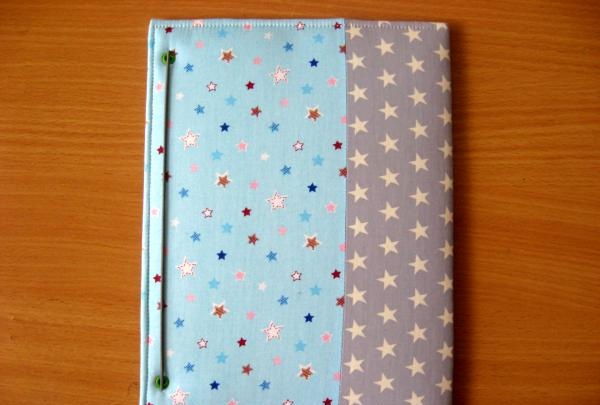
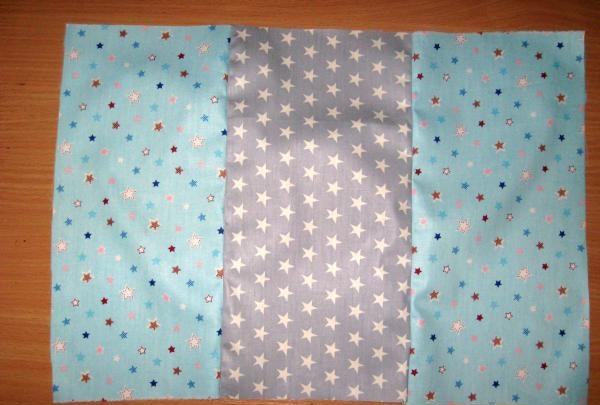
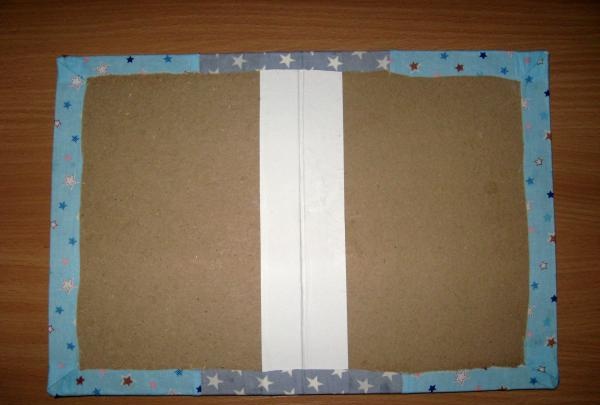
We iron the fabric and sew the pieces together. Now we lay it out and place the binding base with the padding polyester down. We smear the edges with a glue stick, wrap the fabric and glue it, carefully wrap the corners.
Cover for children's certificate

Cover for children's certificate

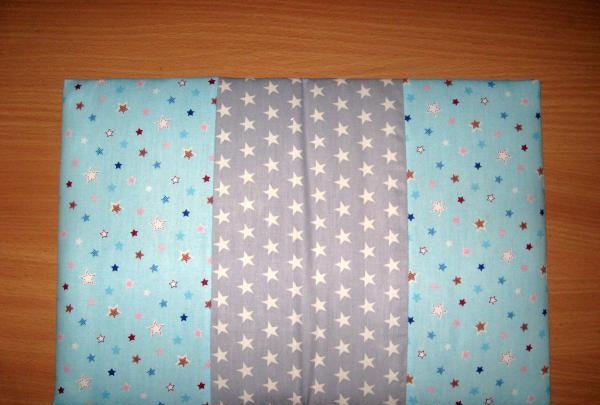
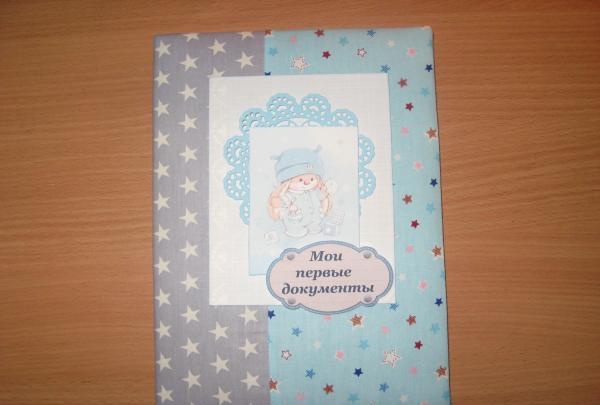
This is what our preform looks like, covered in fabric.
Cover for children's certificate

Cover for children's certificate

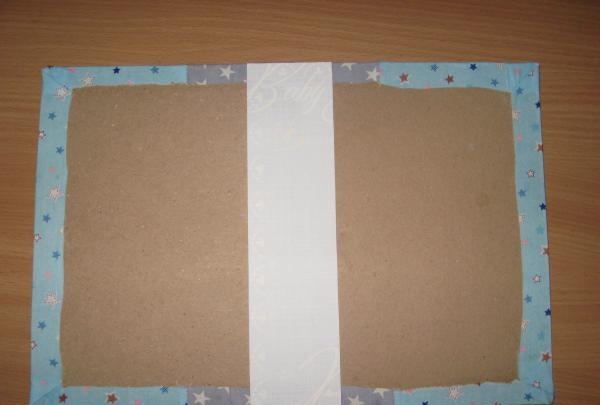
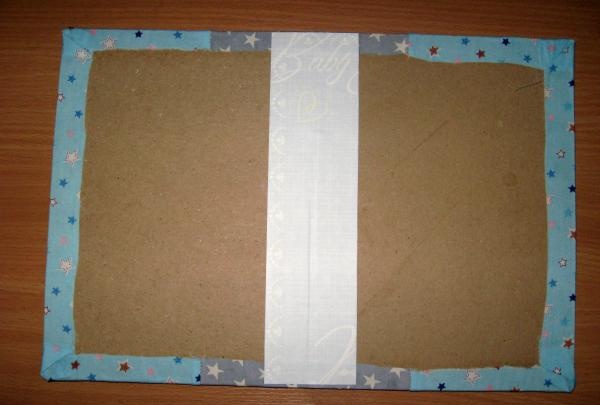
Now we cut out a strip of 6.5*25.5 cm from scrap paper and glue it on top of the white cardboard.
Cover for children's certificate

Cover for children's certificate

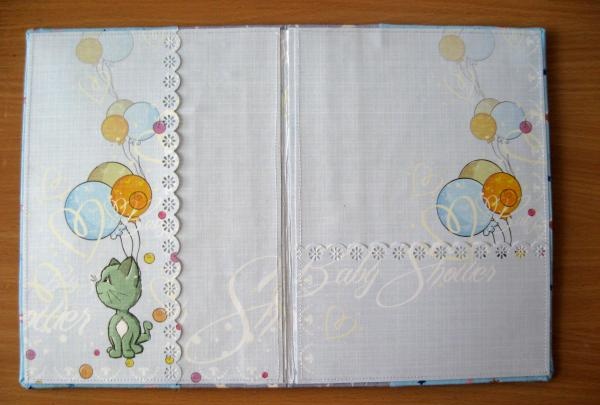
Now we need to design the cover inside.
Cover for children's certificate

Cover for children's certificate

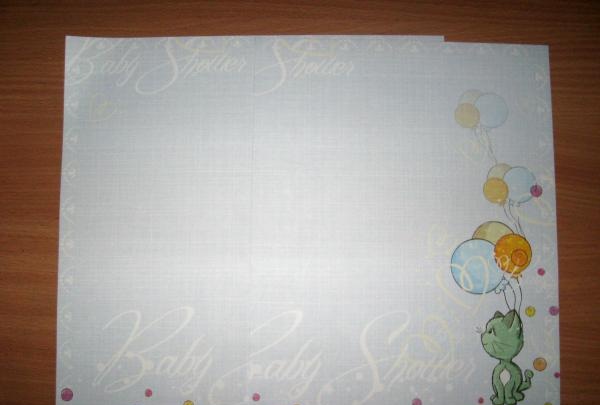
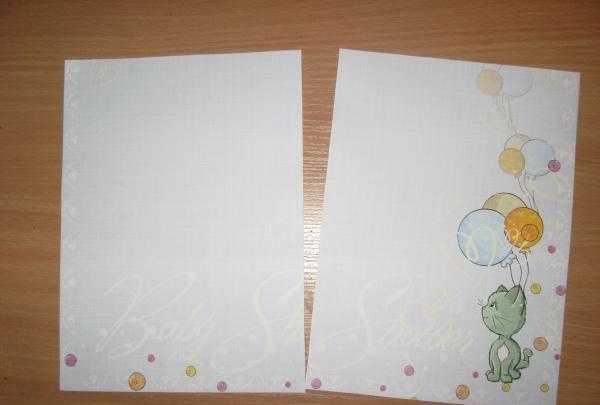
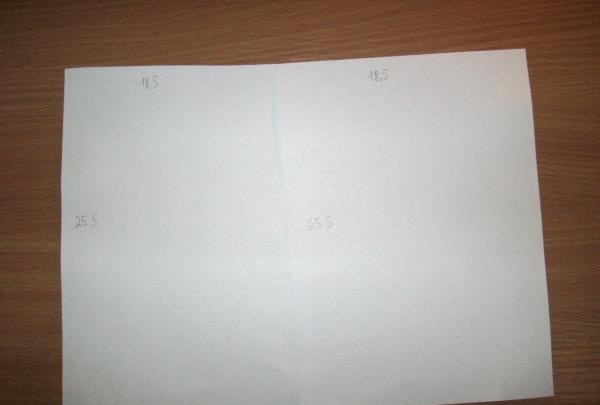
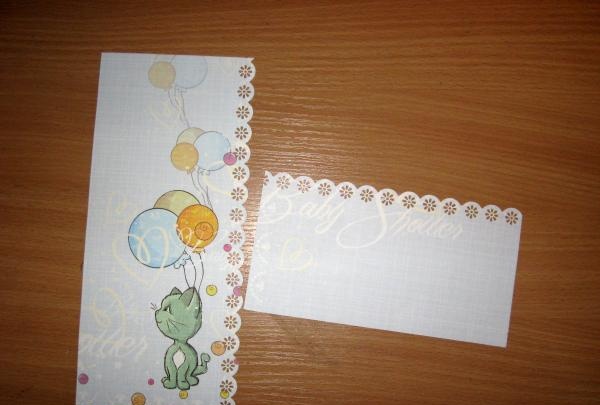
Cut out two rectangles of 18.5*25.5 cm from scrap paper.
Cover for children's certificate

Cover for children's certificate

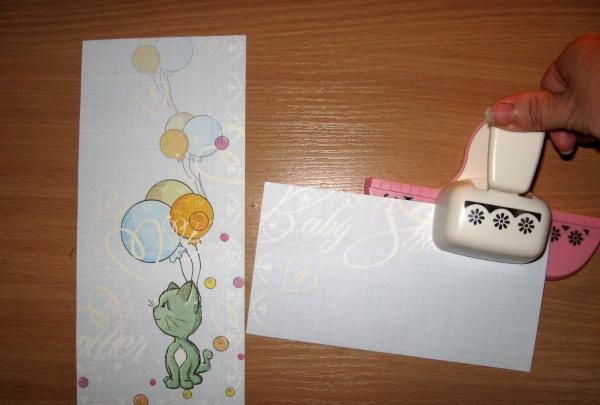
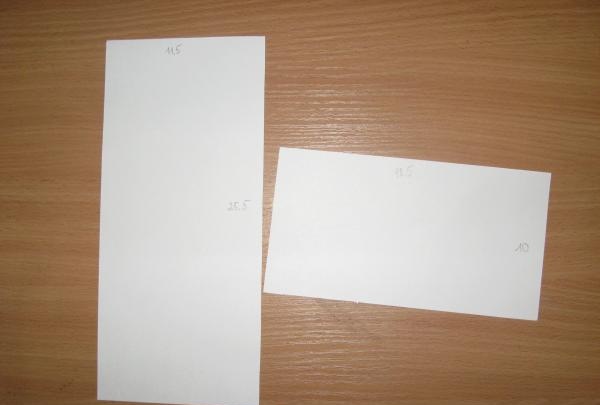
We also need to cut out two rectangles for the pockets. We punch holes in both of them.
Cover for children's certificate

Cover for children's certificate

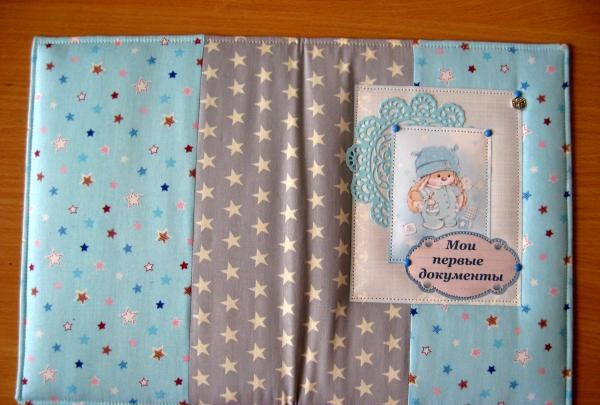
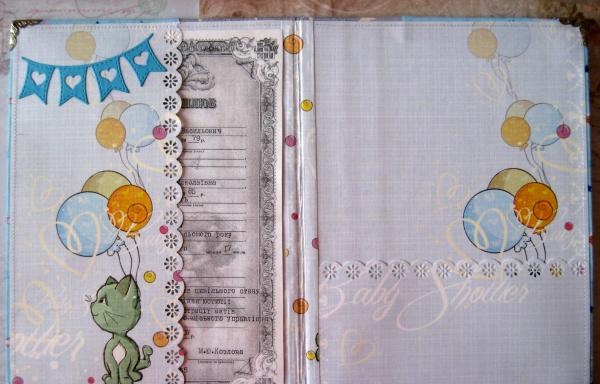
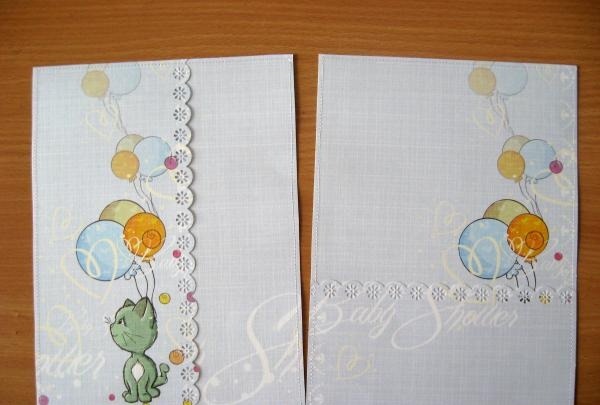
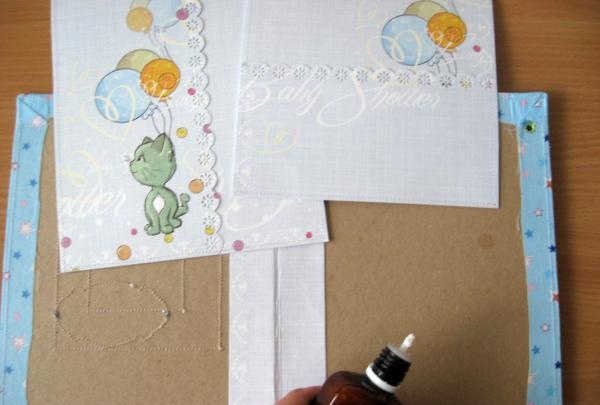
Apply a glue stick to the edges and glue the pockets onto the endpapers of the cover. Sew both rectangles along the edge.
Cover for children's certificate

Cover for children's certificate

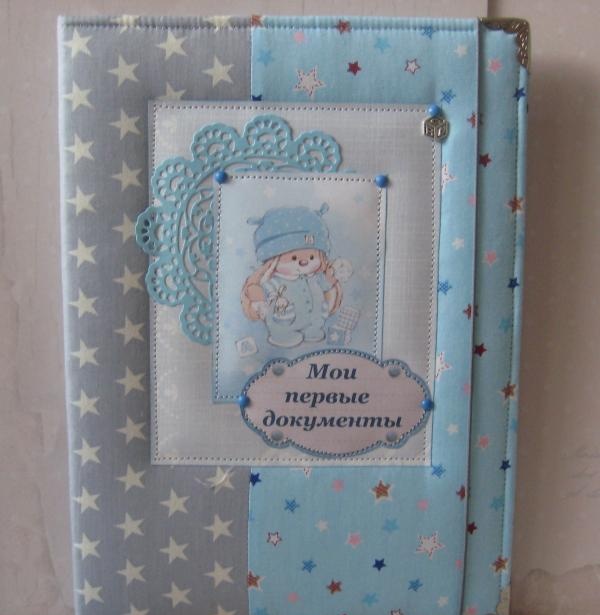
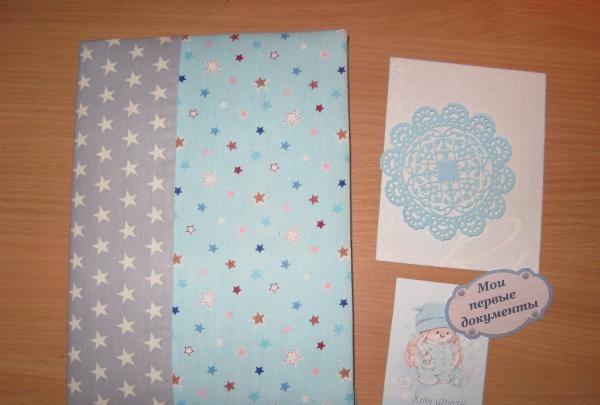
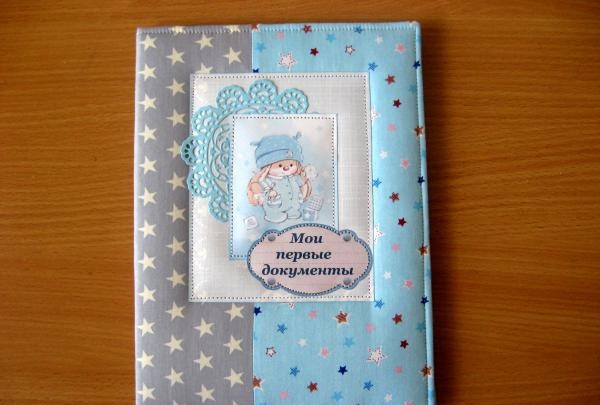
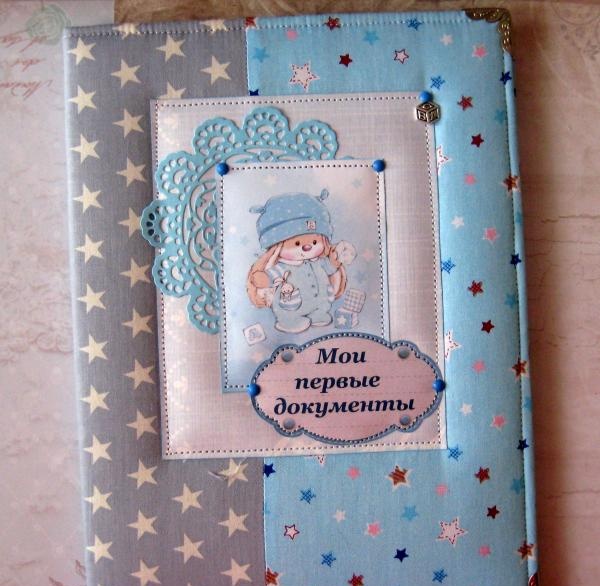
Now we cut out a rectangle 11*14 cm from scrap paper, take a card, a napkin and a picture, and in this order we will glue and sew it onto the cover.
Cover for children's certificate

Cover for children's certificate

We stitch along the edge of the cover itself.
Cover for children's certificate

Cover for children's certificate

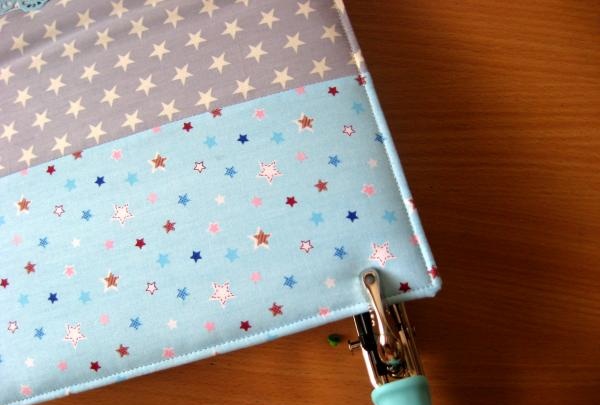
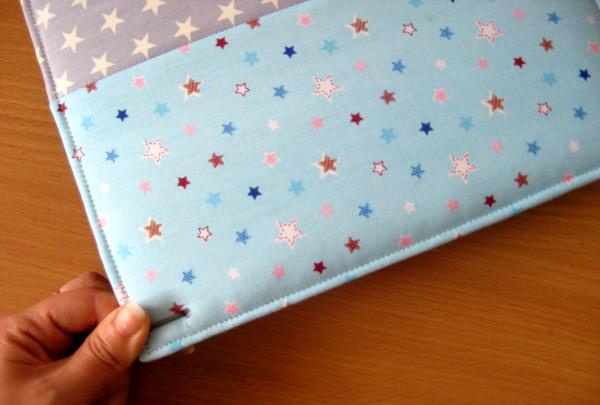
Punch holes in the back of the cover.
Cover for children's certificate

Cover for children's certificate

Insert and tighten the elastic band and install the eyelets.
Cover for children's certificate

Cover for children's certificate

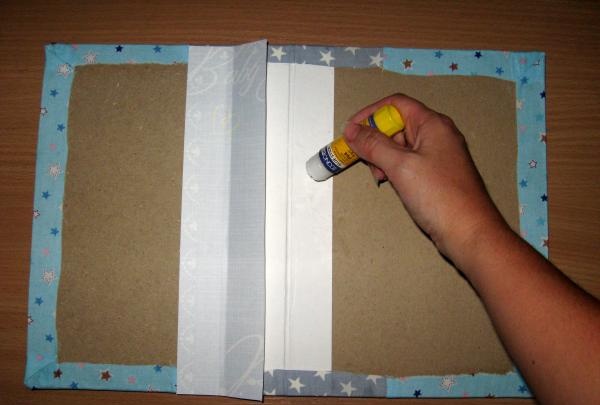
All that remains for us is to glue the endpapers inside the cover.
Cover for children's certificate

Cover for children's certificate

We put on metal corners and glue flags inside. The cover is ready. Thanks for your attention and good luck!
Cover for children's certificate

Cover for children's certificate

Cover for children's certificate

Cover for children's certificate

Cover for children's certificate

Cover for children's certificate
Comment
  • bowtiesmilelaughingblushsmileyrelaxed relaxedsmirk
    heart_eyeskissing_heartkissing_closed_eyesflushedrelievedsatisfiedgrin
    winkstuck_out_tongue_winking_eyestuck_out_tongue_closed_eyesgrinningkissingstuck_out_tonguesleeping
    worriedfrowninganguishedopen_mouthgrimacingconfusedhushed
    expressionlessunamusedsweat_smilesweatdisappointed_relievedwearypassive
    disappointedconfoundedfearfulcold_sweatperseverecrysob
    joyastonishedscreamtired_faceangryragetriumph
    sleepyyummasksunglassesdizzy_faceimpsmiling_imp
    neutral_faceno_mouthinnocent
5+two=
Comments (0)

Bricklaying: cover a cinder block wall with a narrow bassoon | Do it yourself

Removing Rust with Baking Soda

Delicate butterfly for decoration | Do it yourself

How to make a tunable antenna for digital TV with your own hands

«Do it yourself - with your own hands» - a site of interesting homemade products made from scrap materials and items at home. Step-by-step master classes with photos and descriptions, technologies, life hacks - everything a real master or just a craftsman needs for needlework. Crafts of any complexity, a large selection of directions and ideas for creativity.

We recommend reading

Washing machine error codes