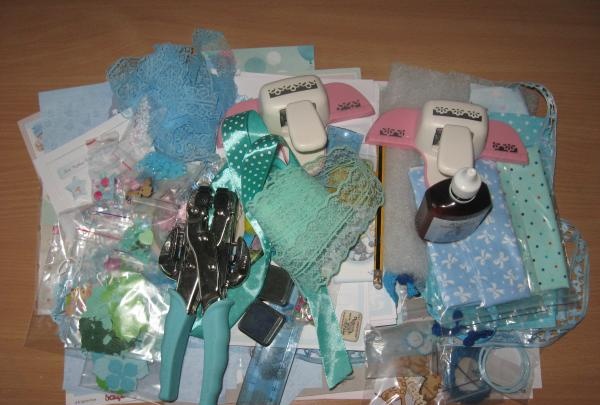
So, let's get started, and to make such albums we will need the following:
• Binding cardboard, A4 format;
• Fabric in two colors, take blue with stars and mint with polka dots;
• Sintepon;
• Wide cotton lace: mint 40 mm wide, blue 30 mm wide;
• Paper for scrapbooking in mint and blue colors, you can take either whole sheets or different scraps from large sheets;
• Picture with a blue bunny Mi;
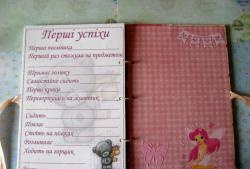
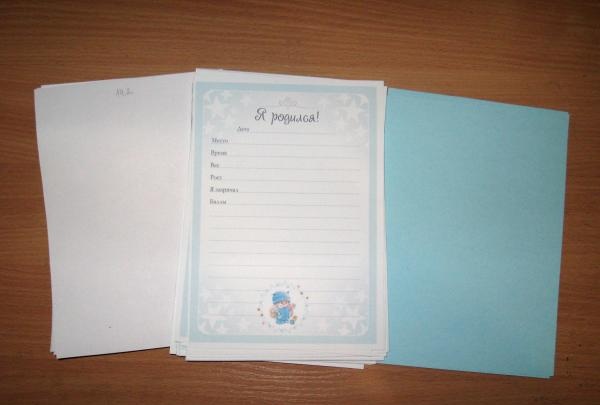
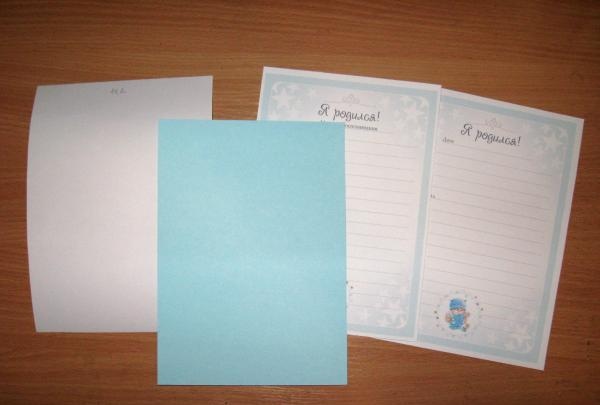
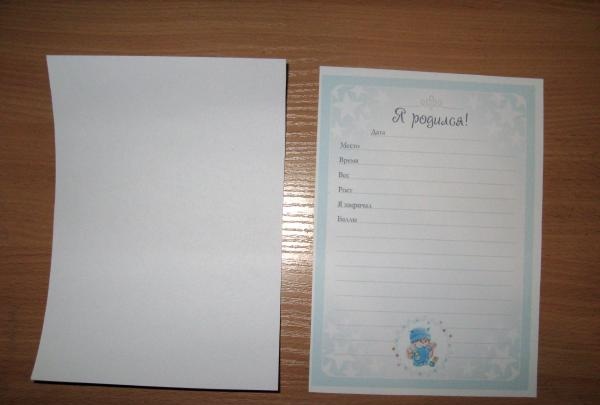
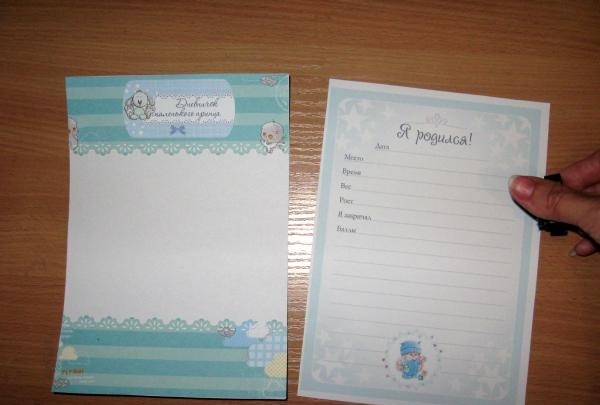
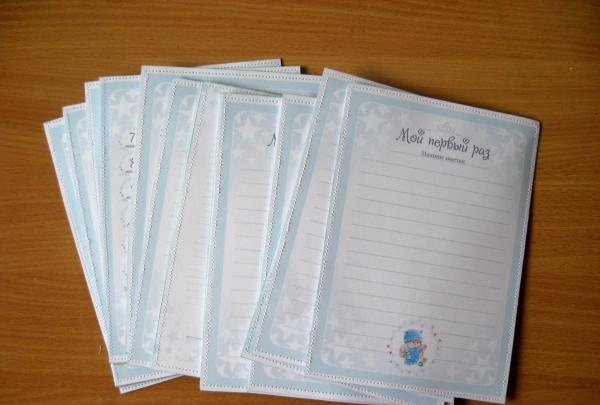
• Printed color pages with different notes about the baby (you can find and download for free on the Internet, buy or make it yourself in Photoshop);
• Laser cutting with the inscription “Our Baby”;
• Green eyelets, eyelet installer;
• Die-cut mint-colored napkin;
• Knitted blue flowers;
• Blue pearl half beads 6 mm in diameter;
• Ribbon 25 mm wide mint with white polka dots;
• Wooden decoration boy in a stroller;
• Blue metal rings 40 mm in diameter;
• White sheets of cardboard, you can take whatman paper;
• Blue sheets of cardboard;
• Curb punchers;
• Die cut blue circle;
• Glue “Double-sided tape effect”;
• Plastic buttons;
• Ink pads;
• Ruler, simple pencil, scissors, eraser, lighter;
• Printed sheet with circles by month on a blue background for a boy;
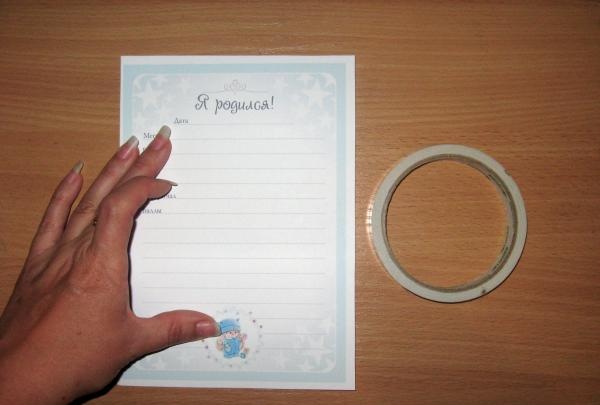
• Double-sided tape and glue stick;
• A picture with a children's metric and children's cards with different inscriptions.
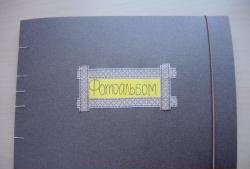
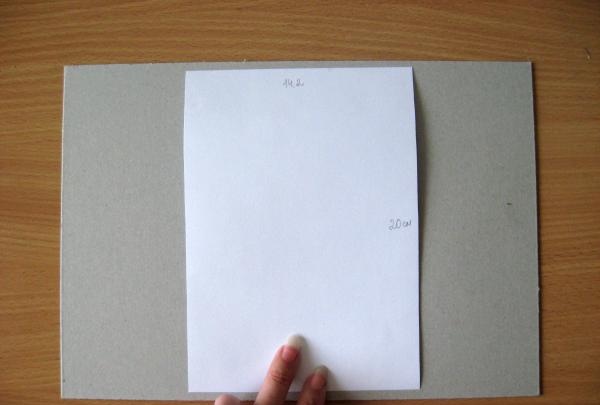
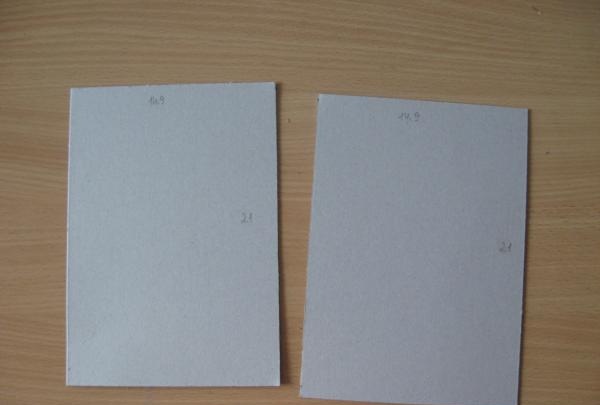
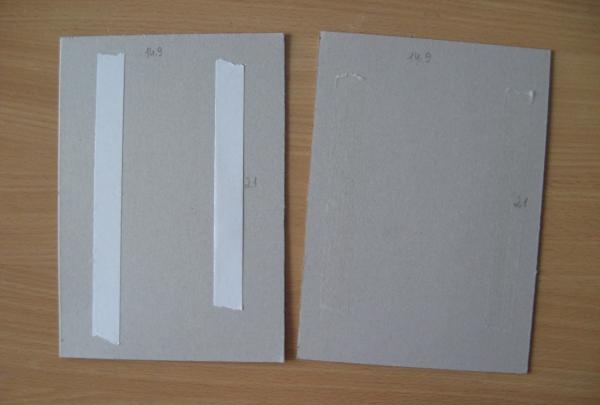
Let's get started. We start by making the cover. Pages and sheets of white and blue cardboard should be 14.2*20 cm in size. We divide the A4 binding sheet exactly in half and cut it into blanks 14.9*21 cm.

Now we cut the padding polyester to the size of the binding blanks.
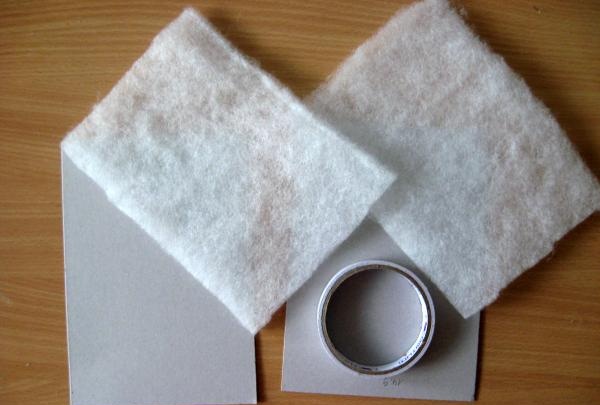
We glue both sheets of padding polyester with strips of double-sided tape.

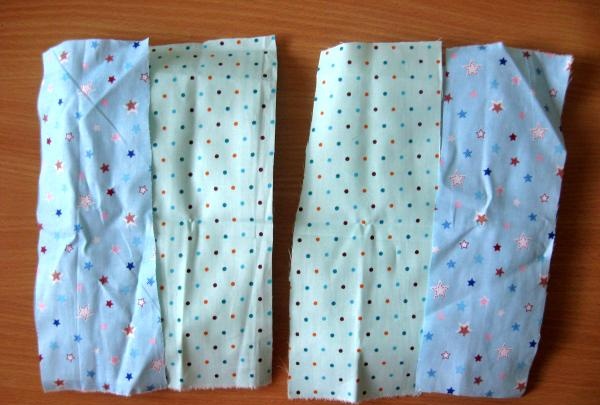
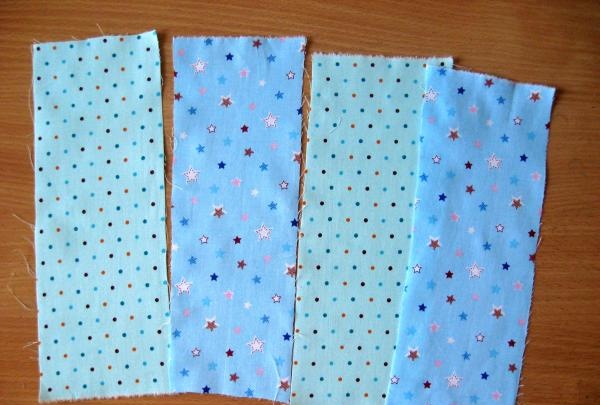
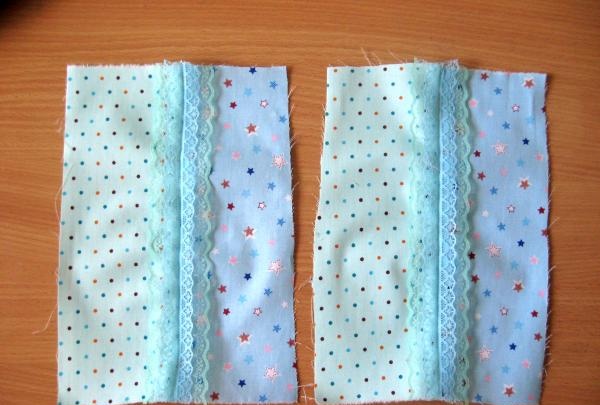
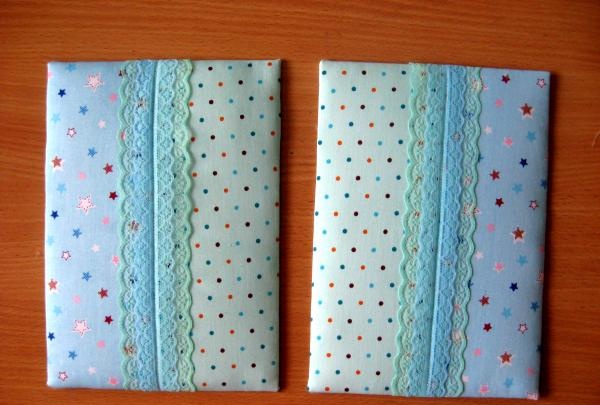
Now let's take the fabric. We cut two pieces of 9*25 cm from each fabric. We also cut two pieces of lace 25 cm long.

We will sew the lace on top of each other at the junction of the fabrics. We smooth the fabric well with an iron under steam.
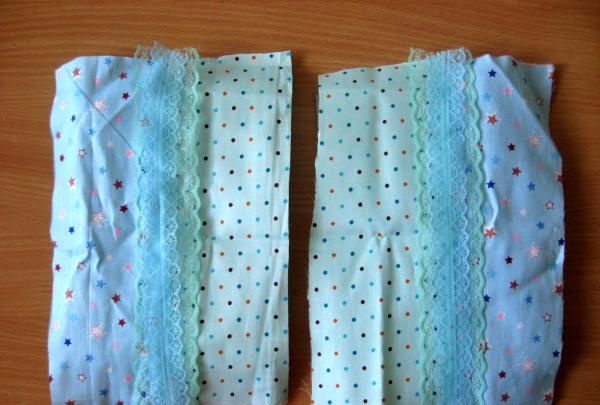
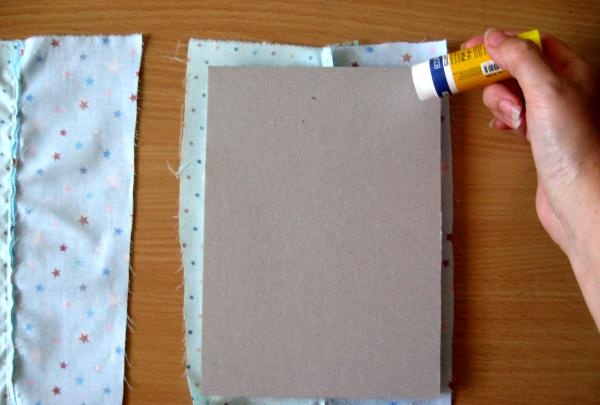
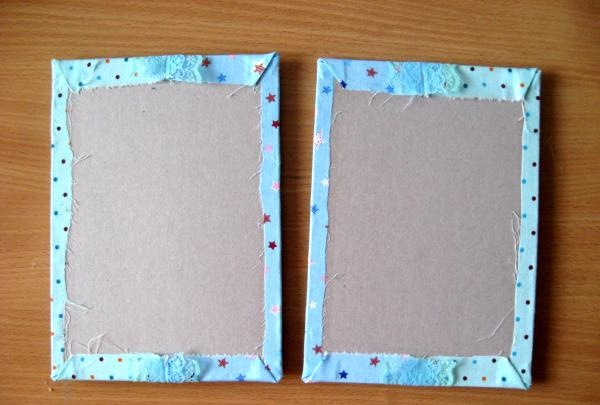
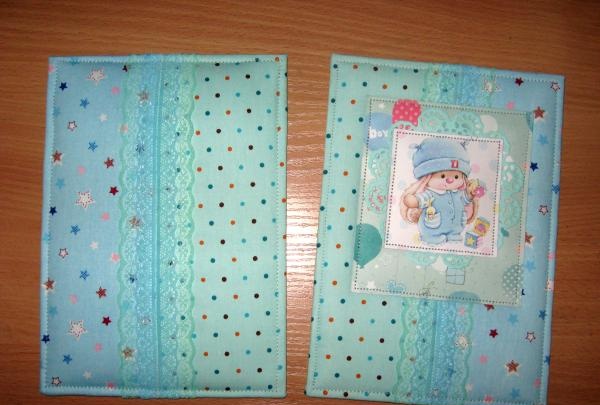
We sew together pieces of fabric in twos on a machine, first sew mint lace on top, blue on top. Now we turn the fabric blanks over, place them with the pictures down and put the binding blanks on top, padding polyester down. First, apply a glue stick to the corners, wrap them and glue them.
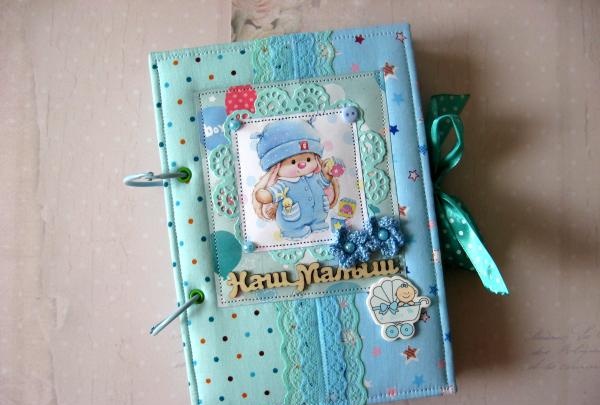
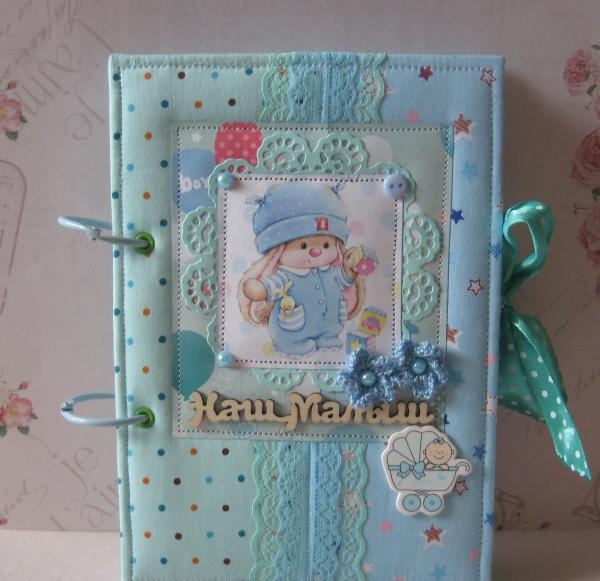
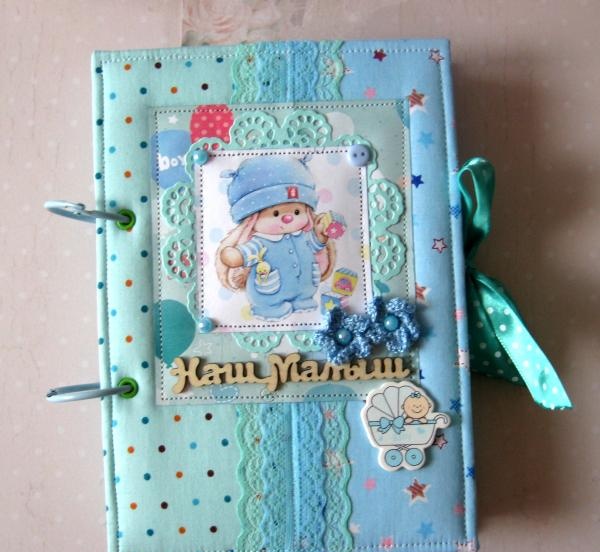
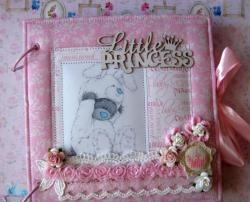
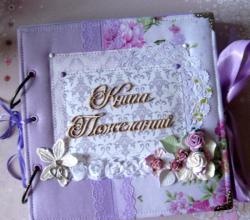
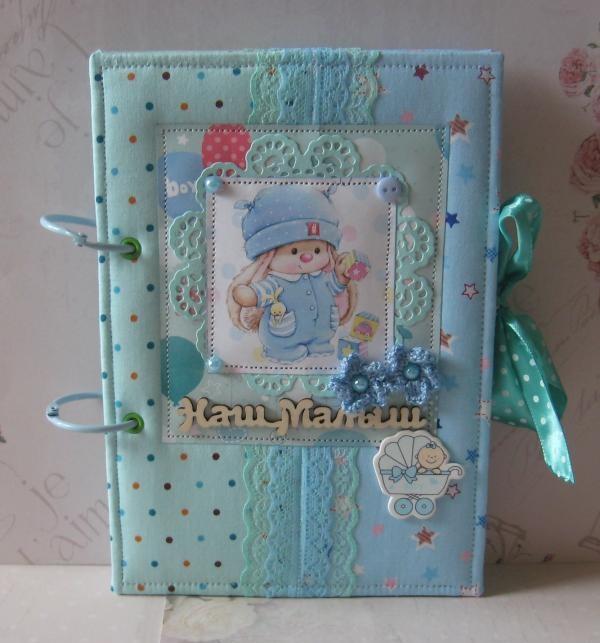
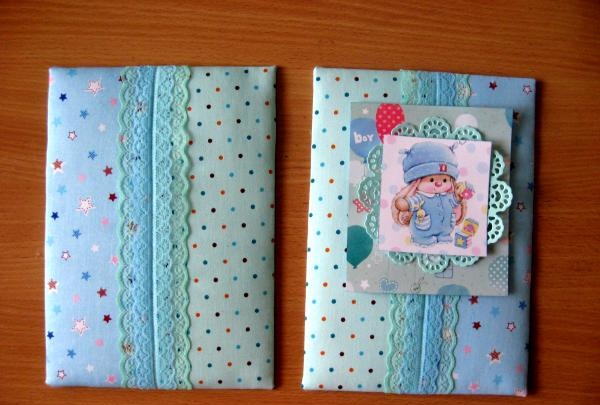
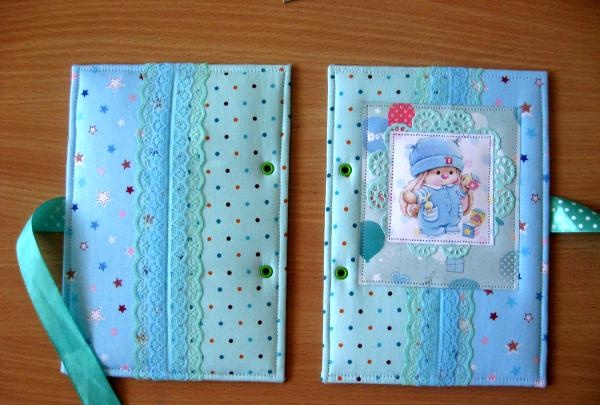
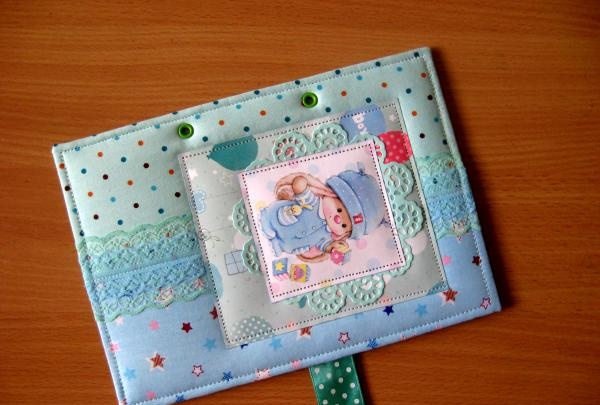
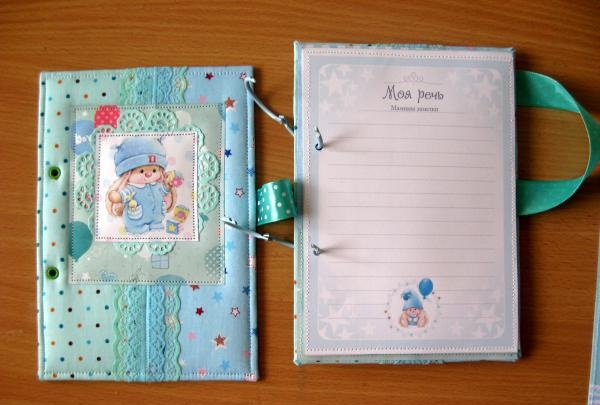
On the front cover we try on a napkin, then a picture with a bunny, tinted around the edges with a pad.
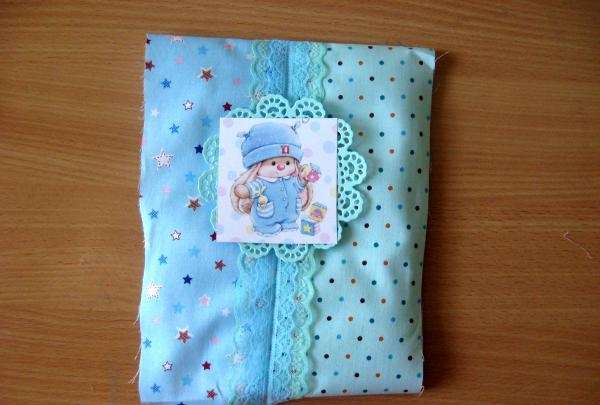
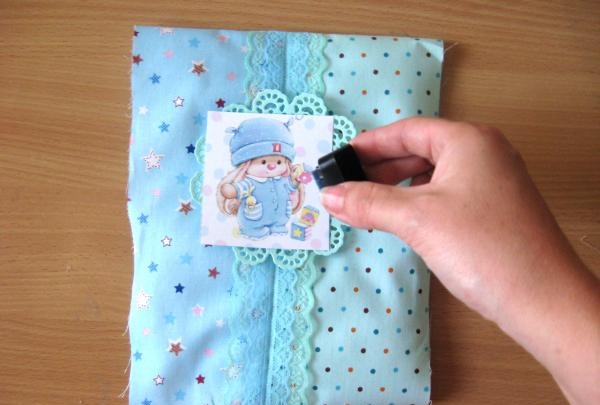
We cut a rectangle of mint scrap paper measuring 11*14 cm, first glue it and sew it on, glue a napkin on it, and sew a picture with a bunny on top. We also sew both blanks along the edges.
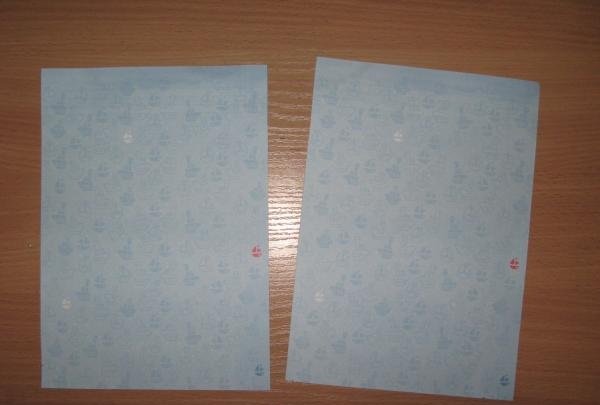
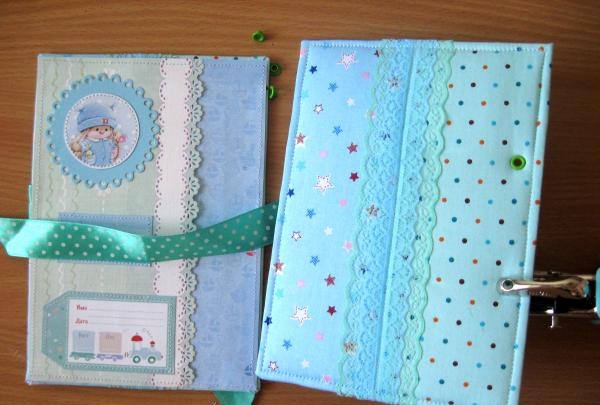
Now for the cover we need to make internal endpapers from scrap paper, for this we cut out rectangles 14.7 * 20.7 cm. For pockets we cut scrap rectangles 9 * 14.7 cm and 11 * 20.7 cm.
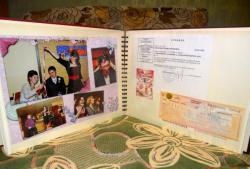
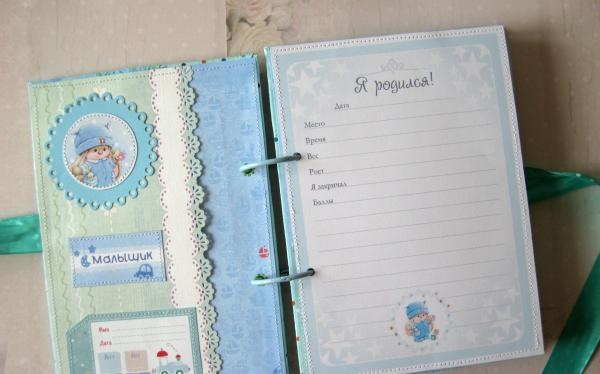
We punch holes in both pockets. We will glue one pocket vertically, and the second horizontally. Glue a circle with a bunny, a picture and a metric onto the vertical pocket.
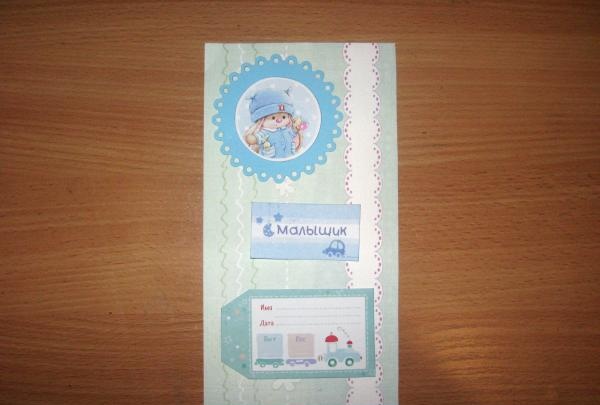
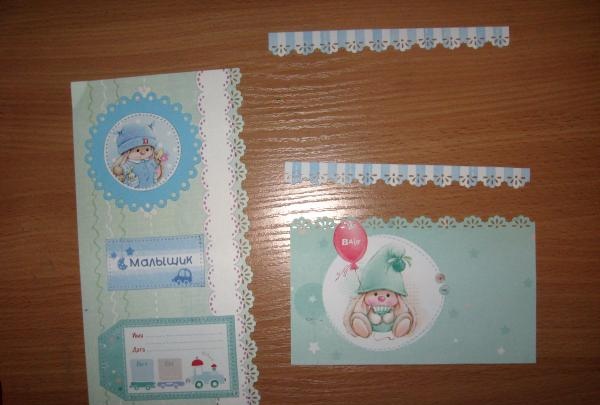
We sew each picture with a machine, and glue the border strips at the top of the rectangle.
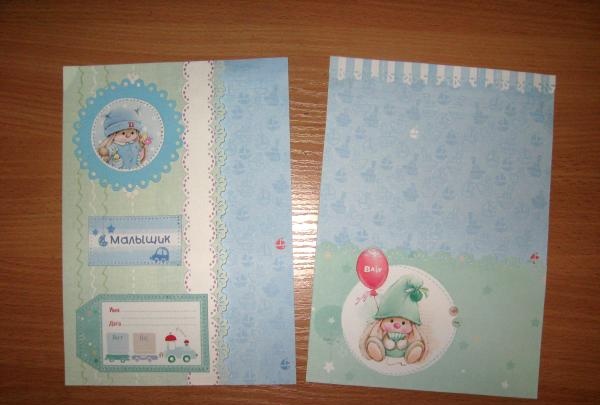
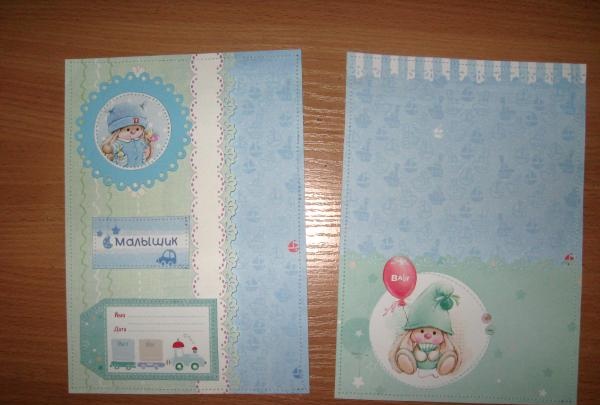
We coat the edges of the pockets with a glue stick and glue them to the endpapers, sew both endpapers with pockets. We cut two pieces of satin ribbon with polka dots, 18-20 cm each, and glue them with double-sided tape from the inside in the center of the blanks.


Now we glue the endpapers to the cover with adhesive tape effect.
We put both covers under some kind of press for about 30-40 minutes. In the meantime, let's move on to the pages.
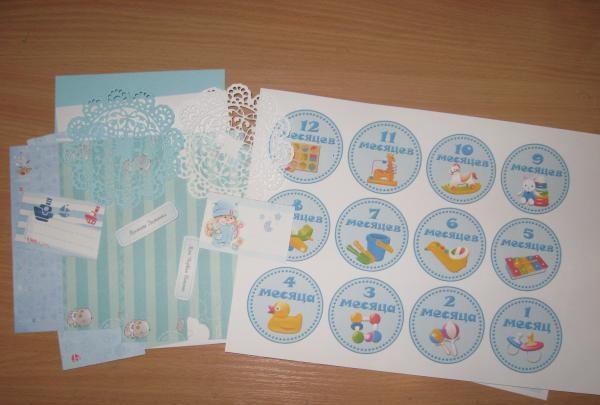
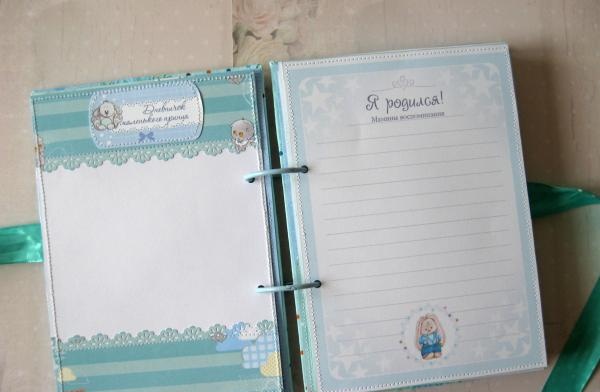
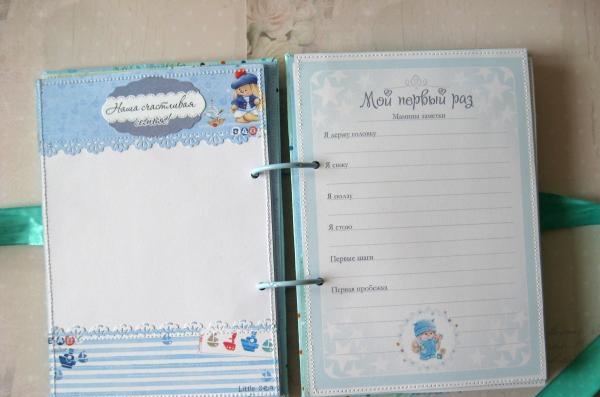
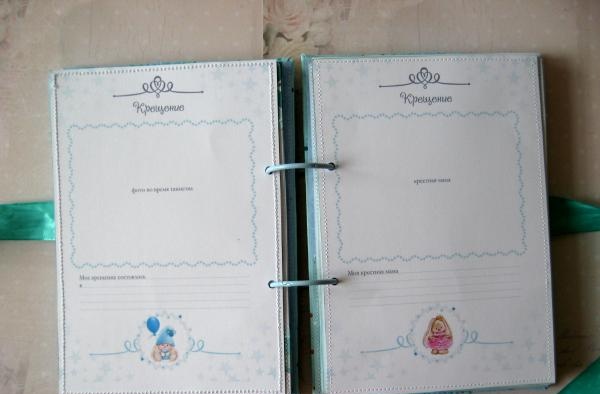
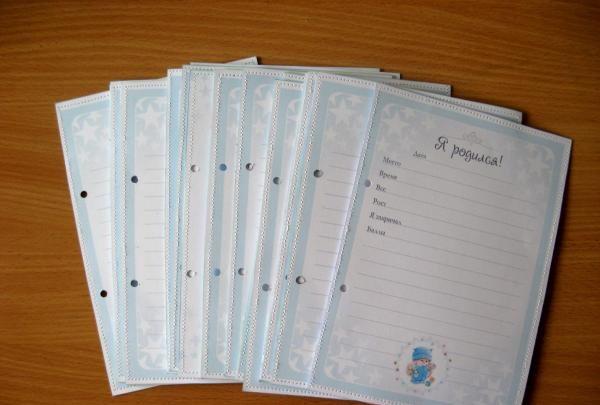
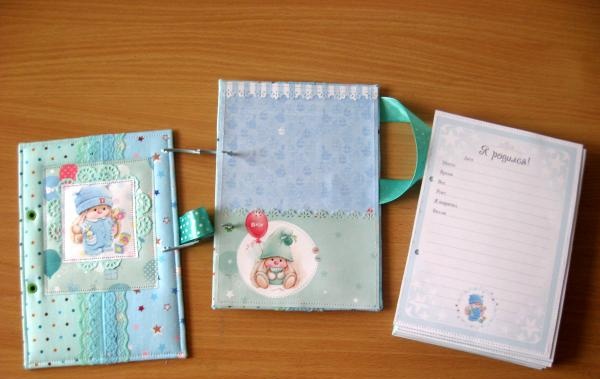
Let's consider the production of one sheet, the rest will be assembled by analogy. Cut out circles with months. We take various die-cuts and cards with inscriptions, a printed sheet “I was born” and a white sheet of cardboard.
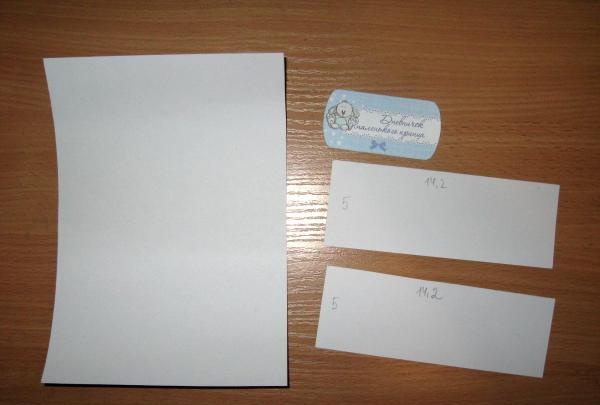
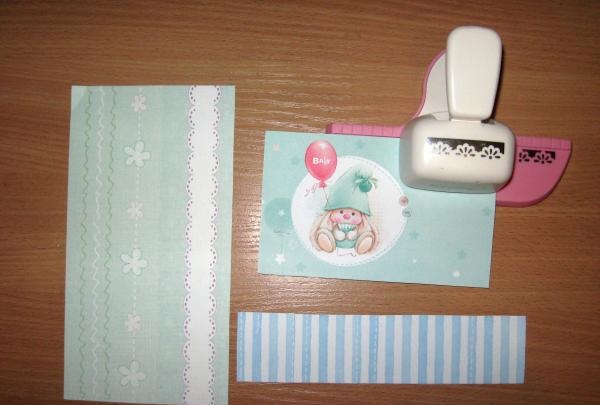
We cut two 5*14.2 cm rectangles from scrap paper. We punch a hole on one side of both rectangles.
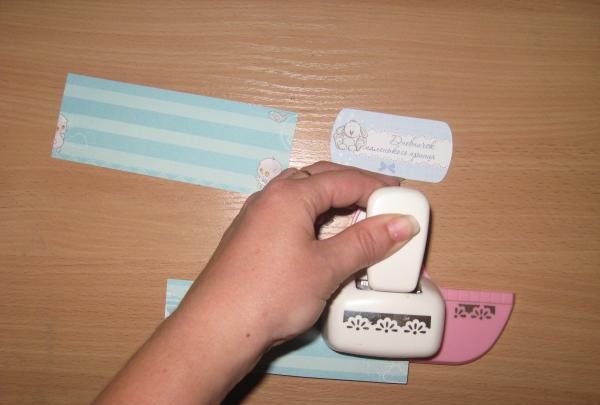
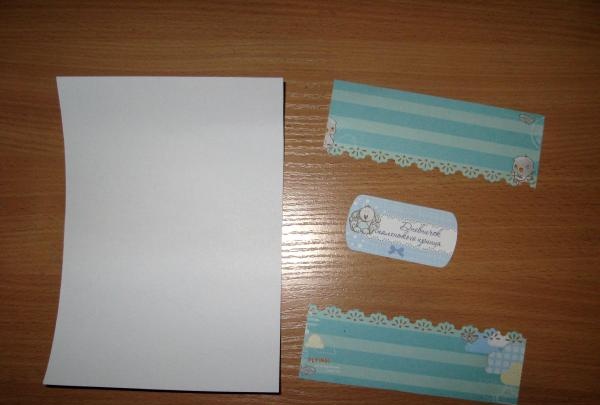
We glue a card to the top one, glue one at the bottom, the second at the top of the rectangle and sew the card and scrap stitch the rectangles.
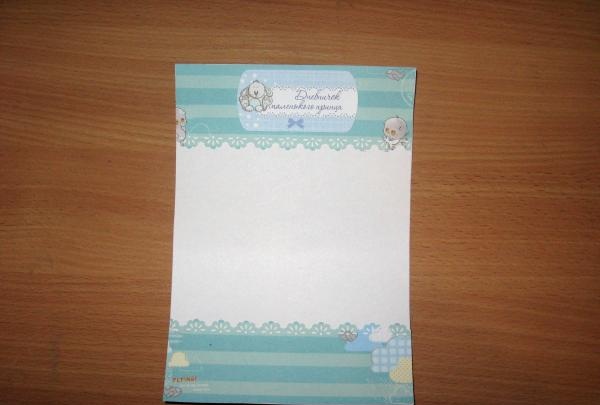
Now we put the printed page and the prepared sheet for the photo together, you can glue a strip of double-sided tape between them. We sew along the edge of this double-sided piece of paper. So, by analogy, we collect all the rest. Thus, it turns out that on one side you can write notes, and on the other side, stick a photo of the baby measuring 9*13 cm.
We punch holes in the covers and insert eyelets.
All the pages are ready, now they also need to be punched. We take one sheet and put the cover on it.
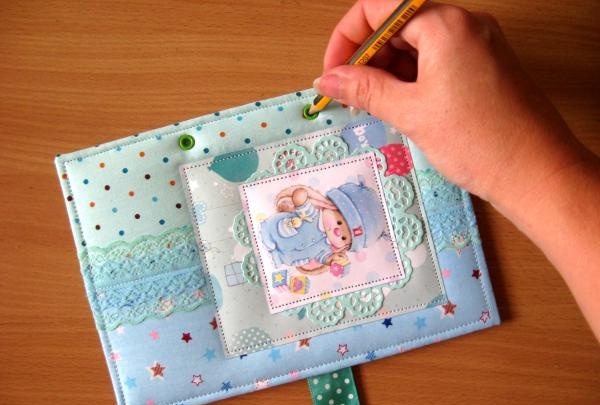
We put marks with a pencil where we need to make holes.

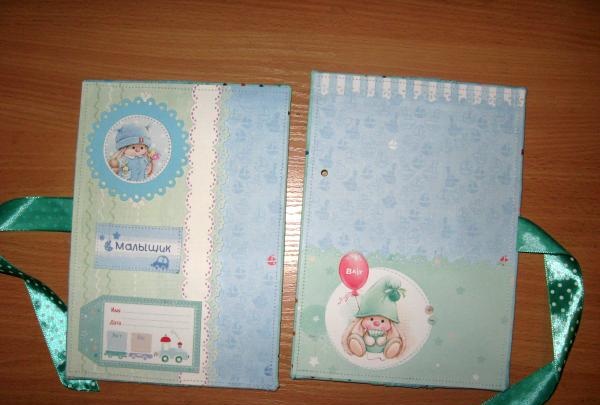
We punch holes in all the sheets and move on to assembling our album. We thread the rings onto the bottom cover, then string the sheets.
We put the cover on top and fasten the rings.
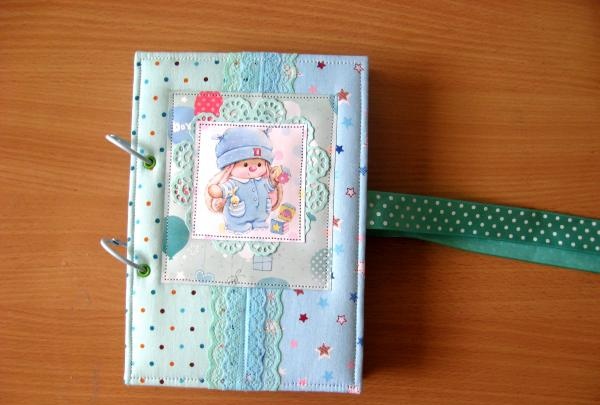
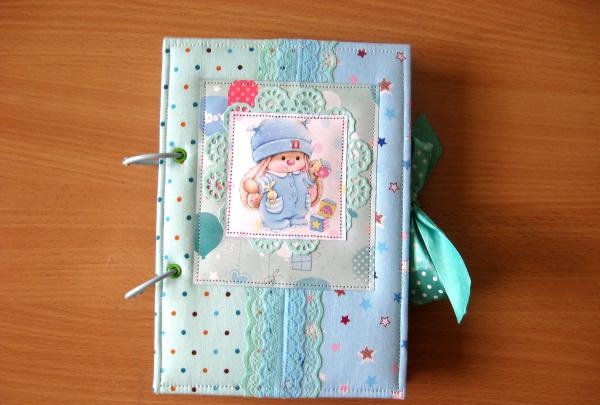
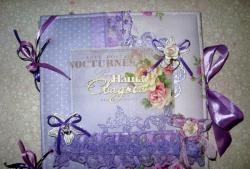
We tie a side bow. Now we decorate the cover on top.
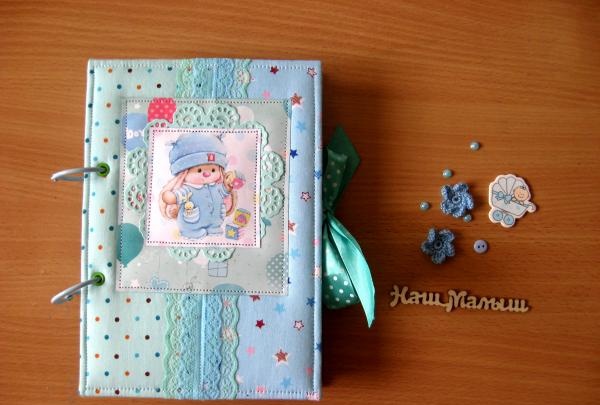
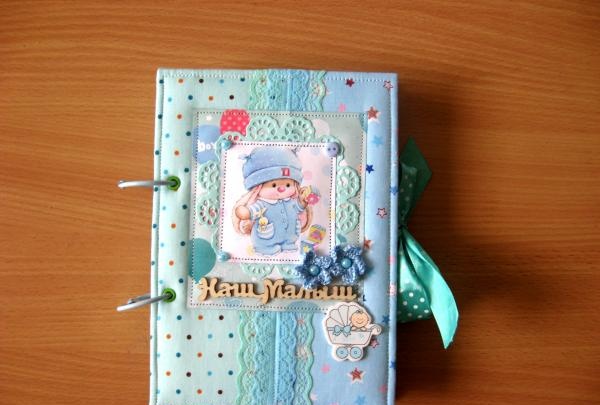
We glue the “Our Baby” die cut, wooden decoration, buttons, flowers and half beads.
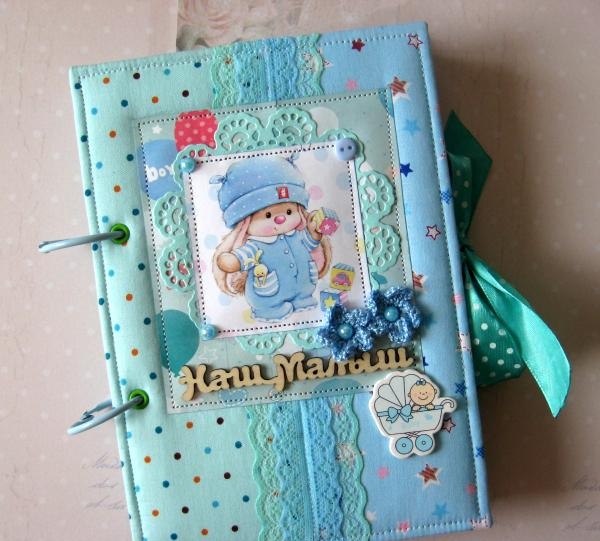
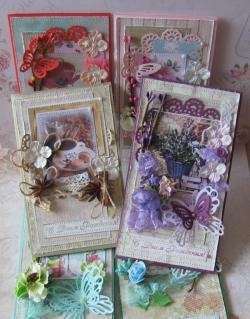
The album is ready! It turned out to be very interestingly designed and educational for both the baby and the mother. In such an album you can save interesting notes and photos of the baby’s first year of life. Thanks for your attention and good luck!