Textile painting for a children's room
Decorating a child’s room with a variety of small things is always a pleasure. Moreover, it is simply necessary. After all, maintaining coziness, comfort and a good atmosphere in the house is the task of all its residents. It’s good when children take part in the improvement of their “personal area” on an equal footing with their parents. Such actions teach children not only to take care of things, but also to create them themselves.
One of the most common areas of handicraft with children is the creation of paintings or simple wall applications from various materials.
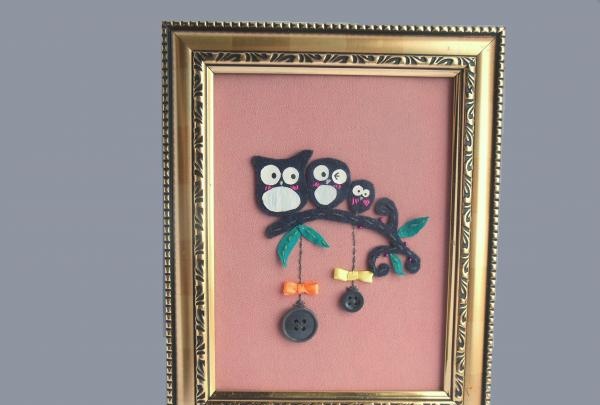
This funny family of felt owls is such a composition.
It will be easy to do even for younger schoolchildren, and without adult accompaniment. For this you need to prepare the following:
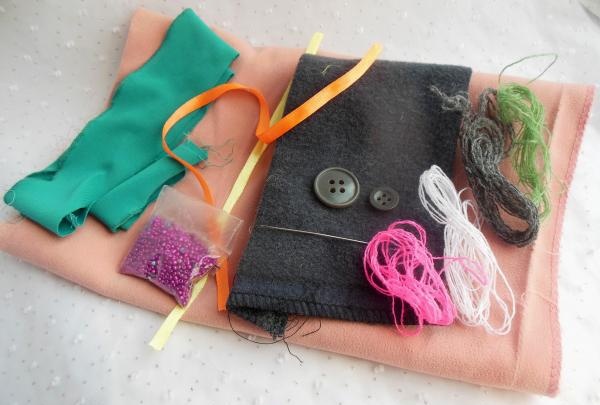
• light fabric to create a background (it is better to use stretch, it will fit hard plywood well and will not contribute to the formation of folds in the corners);
• gray or brown felt for sewing owls and twigs;
• green fabric for foliage;
• two buttons of the same color and structure (it is better to take the same shade as the material of the branch itself, always one large and one small);
• white fabric for the eyes and bellies of birds;
• threads for embroidery (pink, white, gray, green);
• two thin multi-colored satin ribbons;
• red or burgundy beads;
• sewing needle, scissors.
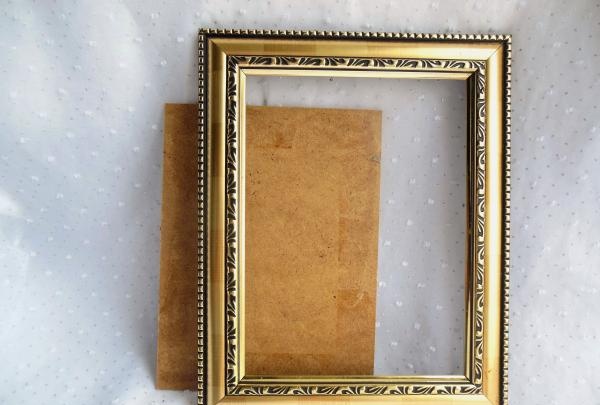
You will also need any frame with a rigid base, a sheet of paper and a pencil for creating a sketch, contact polymer glue, plus a black marker or felt-tip pen.
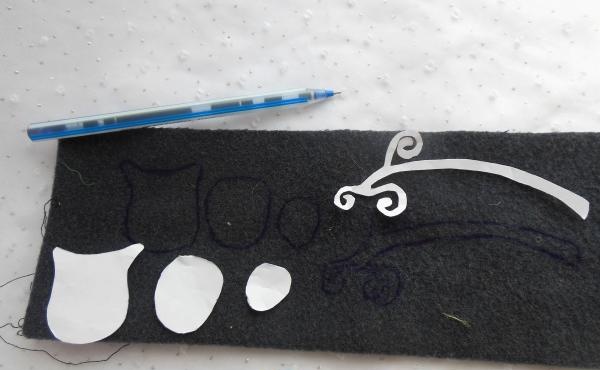
Draw all the details on paper and carefully cut out each of them.
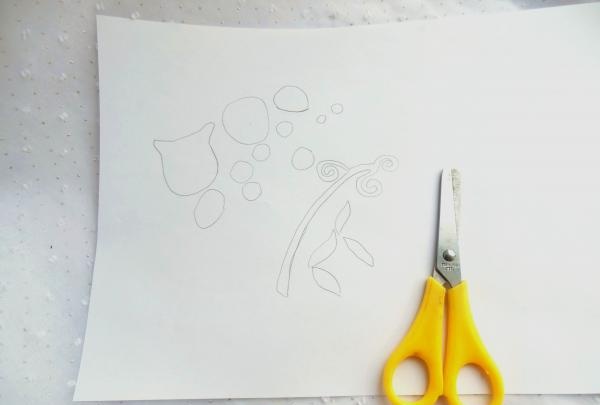
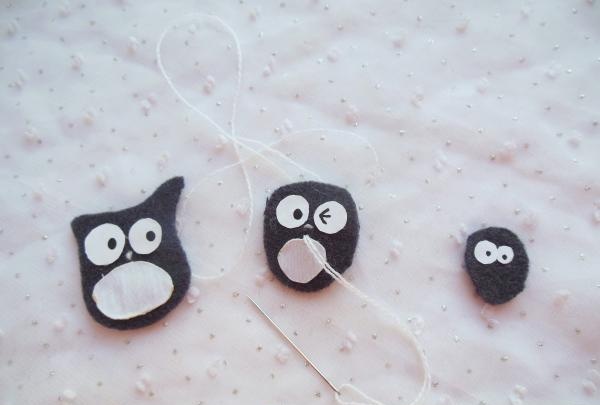
Transfer the outlines of the owls and branches onto the felt, as well as the leaves and all the white blanks (eyes, bellies) onto the prepared fabrics.
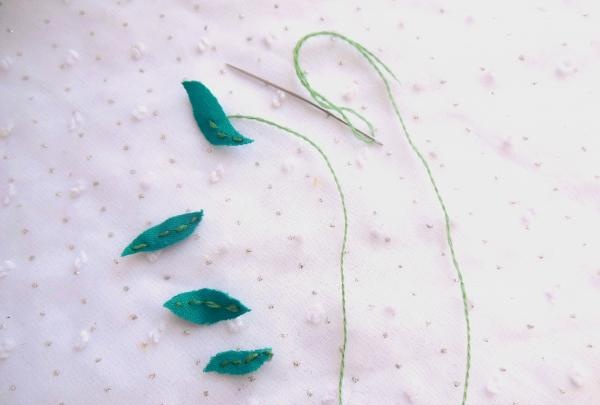
Divide the leaves in half with green thread using an even stitch, and sew the branch in the same way with light gray yarn.

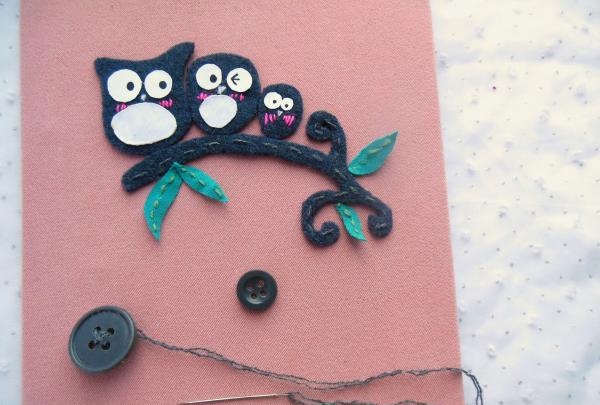
Then glue all the necessary details onto the gray bird blanks and draw the eyes.
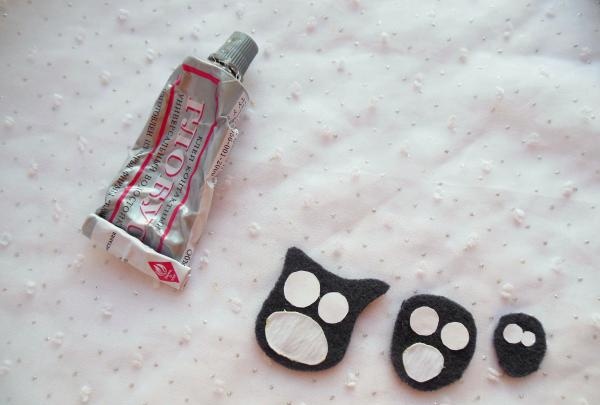
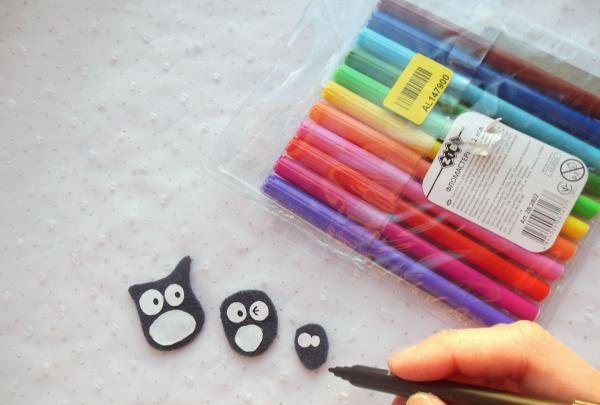
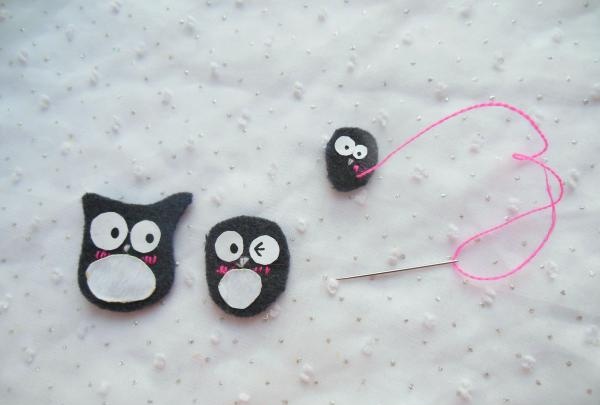
But the cheeks and beak should already be embroidered.
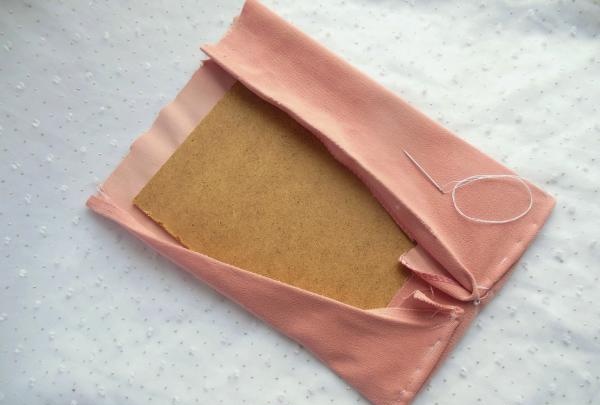
When the main parts are ready, start coating the rigid base.

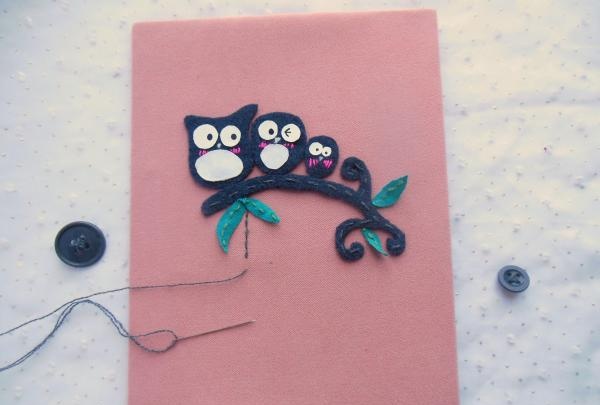
Now glue all the objects one by one on the front side of the picture and sew the buttons with thread.
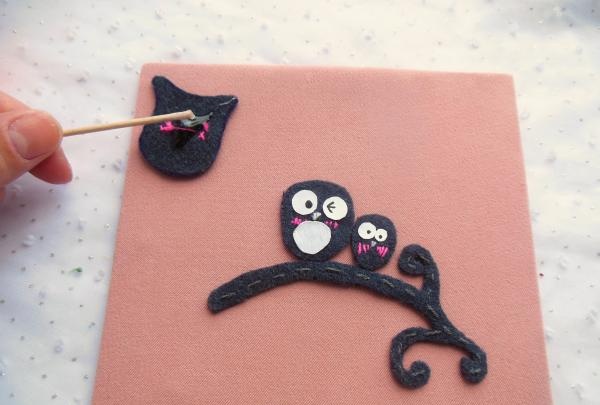
Later they will also have to be glued, but first you need to create thin branches, at the ends of which these buttons will be placed.
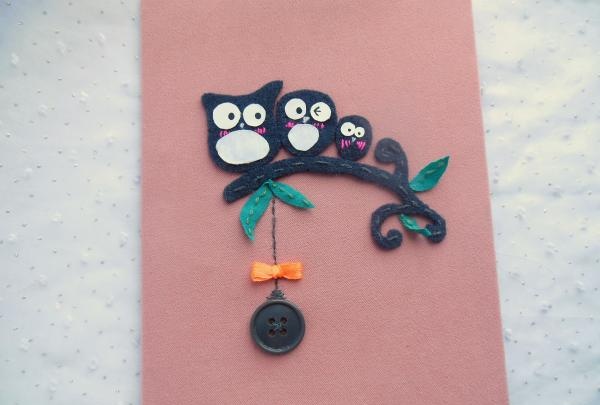
The last ones are bows and beaded berries. To glue such small parts, it is better to use tweezers.
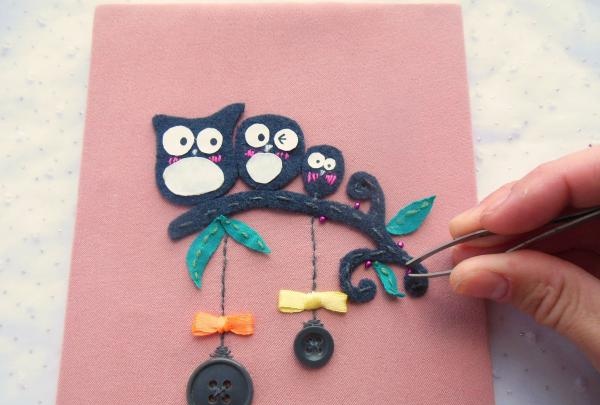

All that remains is to place the drawing in the frame and the picture is ready!
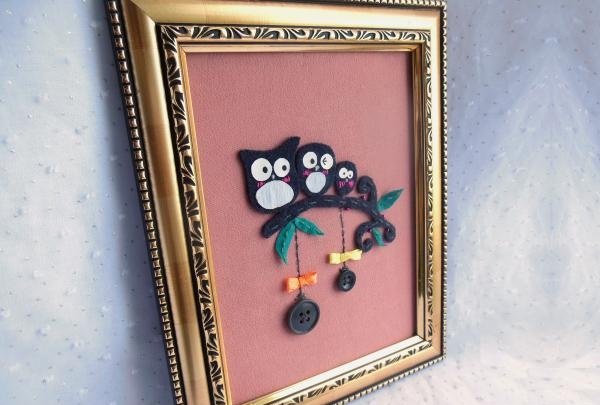
Not only children, but also adults will admire such beauty for a long time!
One of the most common areas of handicraft with children is the creation of paintings or simple wall applications from various materials.
This funny family of felt owls is such a composition.
It will be easy to do even for younger schoolchildren, and without adult accompaniment. For this you need to prepare the following:
• light fabric to create a background (it is better to use stretch, it will fit hard plywood well and will not contribute to the formation of folds in the corners);
• gray or brown felt for sewing owls and twigs;
• green fabric for foliage;
• two buttons of the same color and structure (it is better to take the same shade as the material of the branch itself, always one large and one small);
• white fabric for the eyes and bellies of birds;
• threads for embroidery (pink, white, gray, green);
• two thin multi-colored satin ribbons;
• red or burgundy beads;
• sewing needle, scissors.
You will also need any frame with a rigid base, a sheet of paper and a pencil for creating a sketch, contact polymer glue, plus a black marker or felt-tip pen.
Draw all the details on paper and carefully cut out each of them.
Transfer the outlines of the owls and branches onto the felt, as well as the leaves and all the white blanks (eyes, bellies) onto the prepared fabrics.
Divide the leaves in half with green thread using an even stitch, and sew the branch in the same way with light gray yarn.
Then glue all the necessary details onto the gray bird blanks and draw the eyes.
But the cheeks and beak should already be embroidered.
When the main parts are ready, start coating the rigid base.
Now glue all the objects one by one on the front side of the picture and sew the buttons with thread.
Later they will also have to be glued, but first you need to create thin branches, at the ends of which these buttons will be placed.
The last ones are bows and beaded berries. To glue such small parts, it is better to use tweezers.
All that remains is to place the drawing in the frame and the picture is ready!
Not only children, but also adults will admire such beauty for a long time!
Similar master classes
Particularly interesting
Comments (0)
