Do it yourself
Life hacks, master classes, useful tips, recipes.
Today we will look at such an interesting master class, in which we will make a whole masterpiece, namely a birthday greeting set, which will include a box for money and a postcard. Moreover, this set will be made in an identical color and in such an interesting direction in scrapbooking called “Provence”. Why is this style interesting? It corresponds to very warm and at the same time bright purple shades, peonies, roses, lilacs, various brick and shabby motifs. It is very interesting and beautiful to combine paper, flowers and decor and it will turn out amazing present For birthday. Moreover, very often people end up giving money for the holidays, so the box will come in handy. Well, you can’t do without a postcard, just like you can’t do without verbal congratulations on a holiday; it’s, after all, a memory. This is the set we will now make.
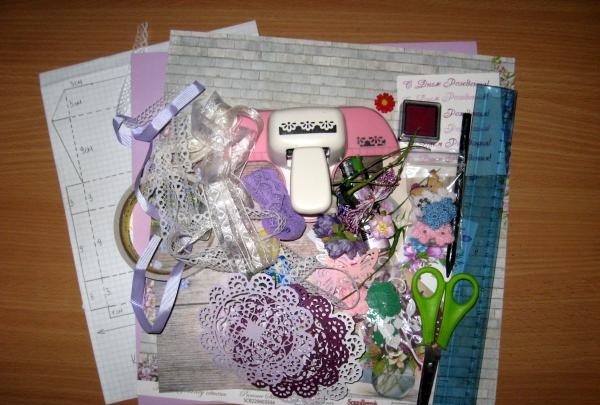
So, to make this set we will need to take:
• A sheet of purple cadstock measuring 30*30 cm;
• Box diagram;
• Watercolor paper, A4 sheet, you can even half it;
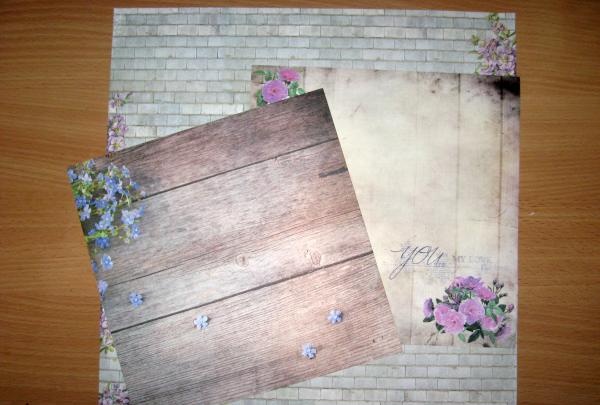
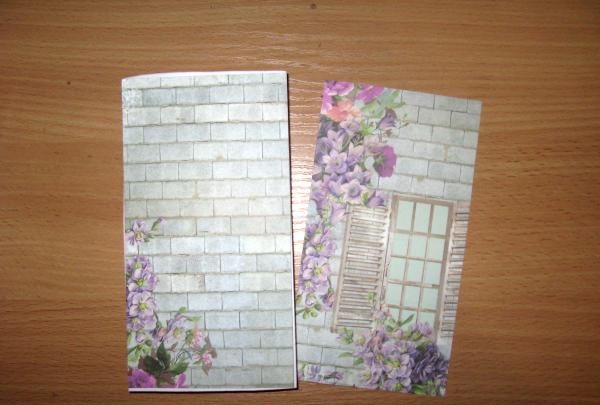
• Scrappaper measuring 20*20 cm from the “Provence” collection from designer Evgenia Kurdibanovskaya and a sheet of 30*30 cm from the “French Journey” collection, they are of similar tones and with a similar pattern;
• Pictures with peonies, roses and tulips in purple colors;
• Die-cut paper napkins, white and light purple;
• White cut out branch;
• Stamped inscriptions in dark pink “Happy Birthday” and a tint pad with the same color;
• Purple cotton lace;
• White latex rose;
• Stamens with glitter are purple and white;
• White-purple hydrangea 3 pcs;
• White cut out petals;
• Mother-of-pearl half-beads 4-5 mm in diameter;
• Purple buttons;
• Tools: pencil, scissors, glue stick, heat gun, ruler, double-sided tape.

Congratulatory set

Congratulatory set

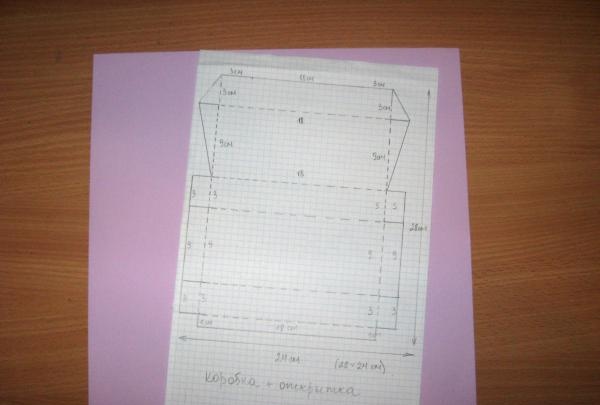
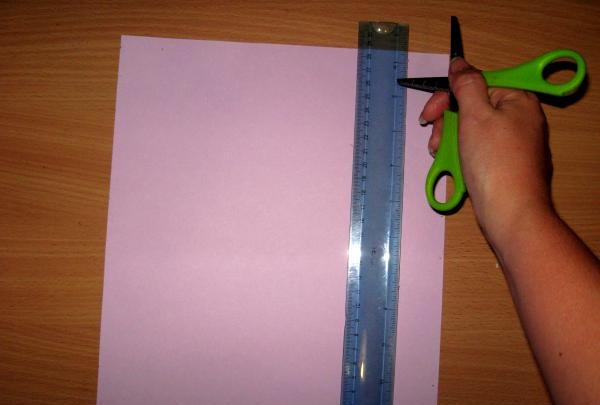
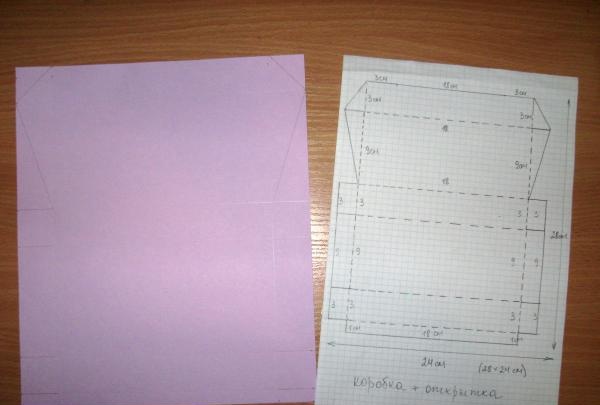
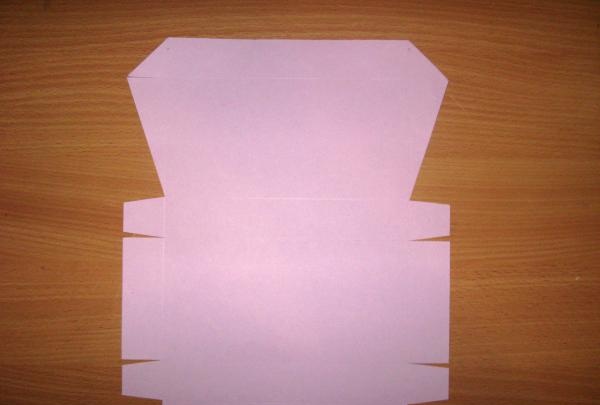
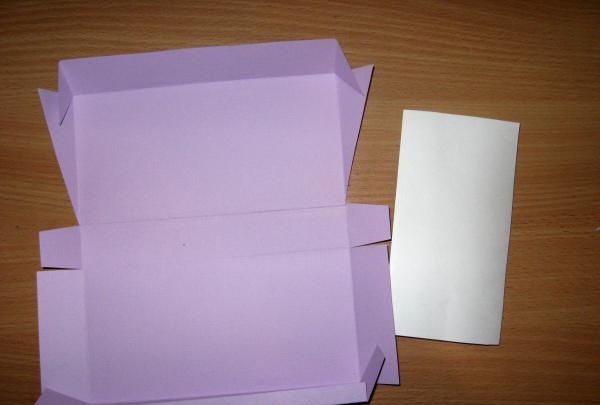
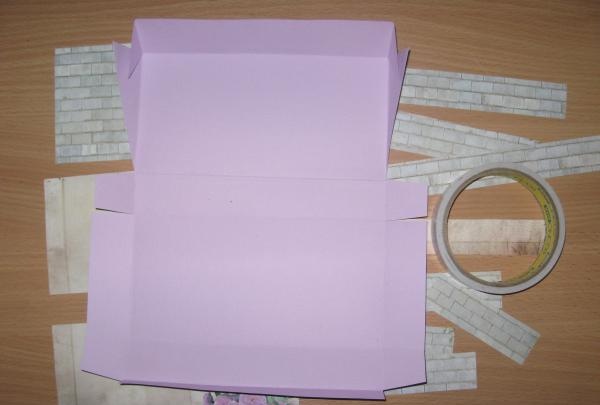
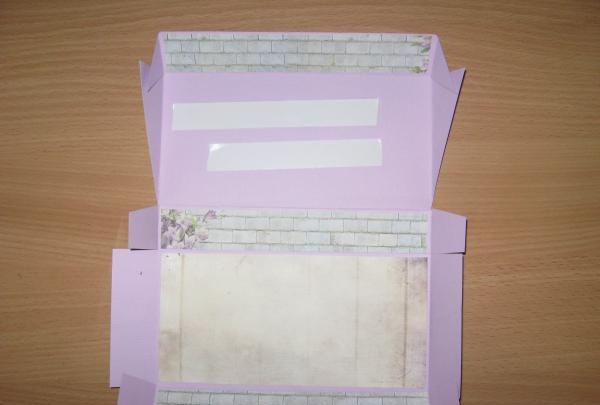
We take the diagram, a sheet of cadstock and we will completely transfer the diagram onto cardboard. First, we cut off the size we need 24*28 cm.
Congratulatory set

Congratulatory set

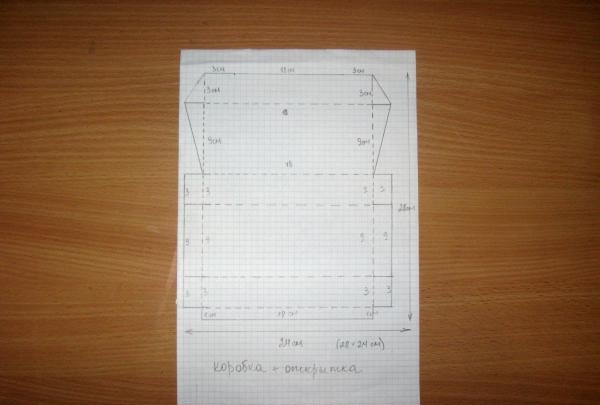
We make all the bending lines using the end part of the scissors and under the ruler.
Congratulatory set

Congratulatory set

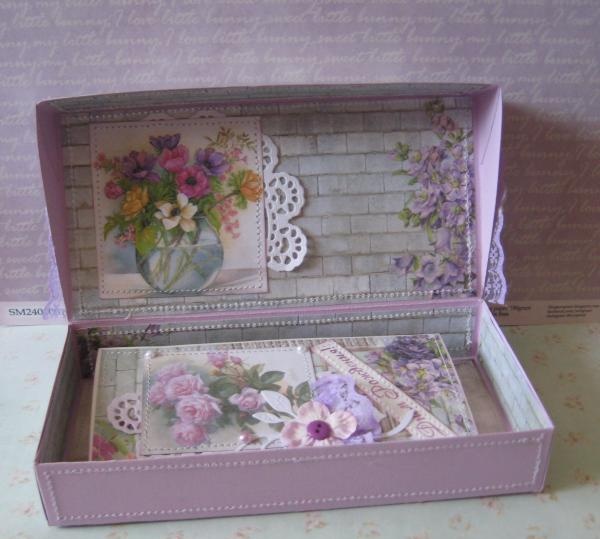
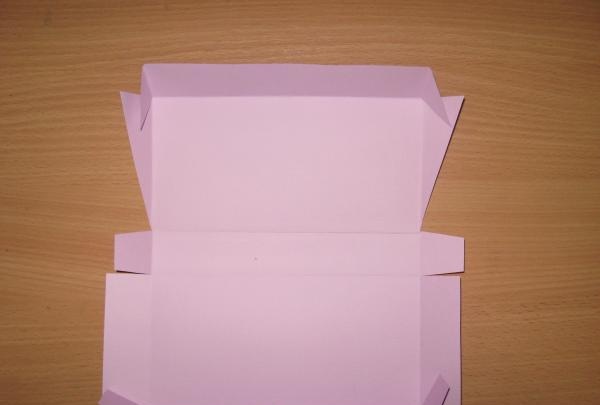
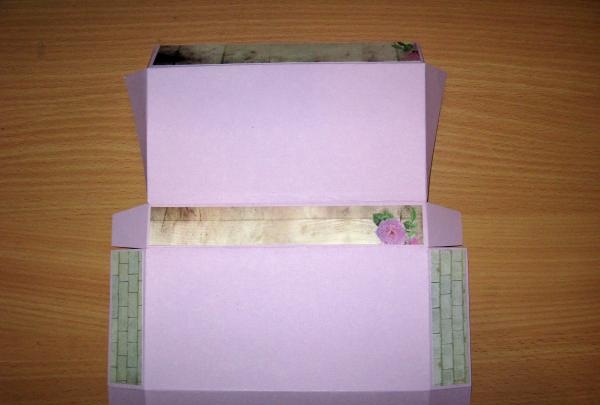
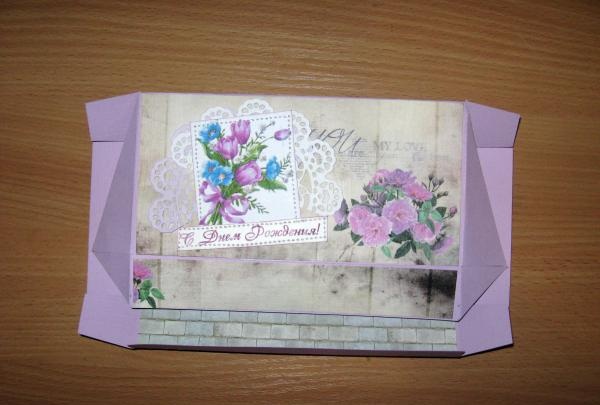
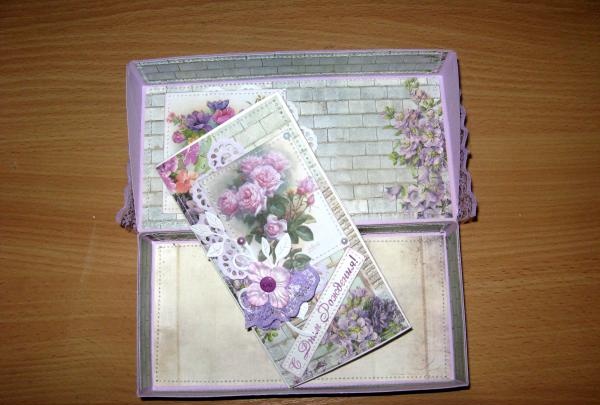
We get this base of the box, we wrap all the sides, forming a box.
Congratulatory set

Congratulatory set

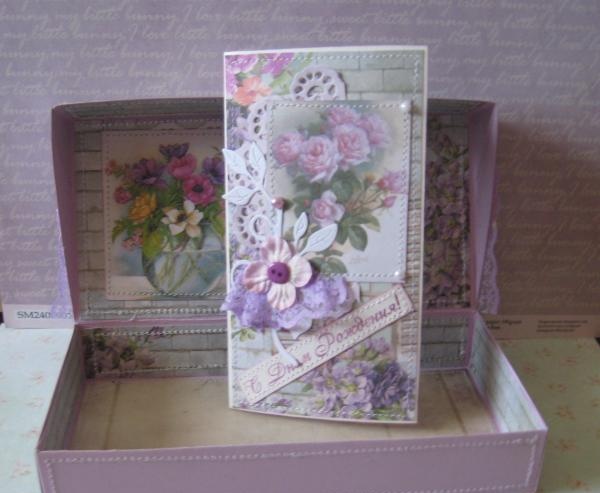
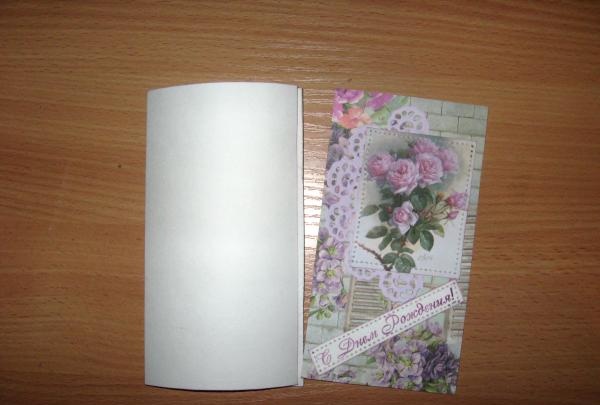
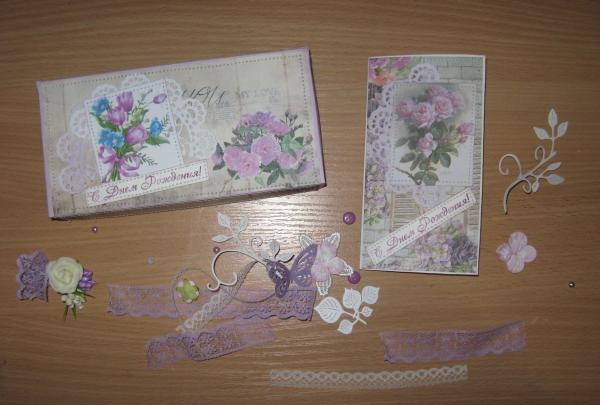
For the postcard we will need a base made of watercolor paper, cut out the blank and fold it in half, we get a finished base of 8*15 cm. Now we move on to scrap paper.
Congratulatory set

Congratulatory set

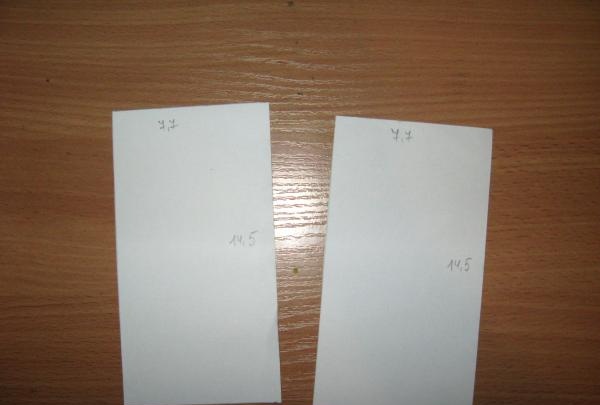
For the postcard, cut out two rectangles 7.7*14.5 cm.
Congratulatory set

Congratulatory set

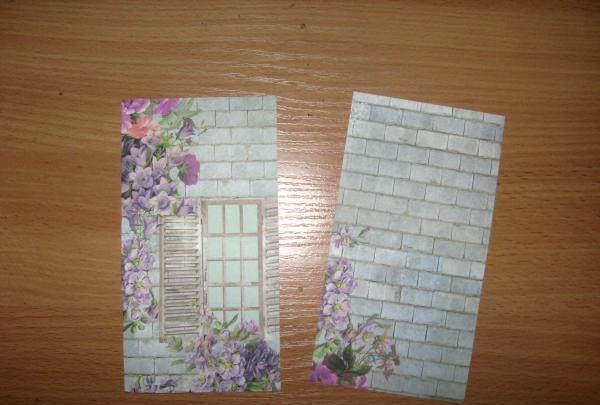
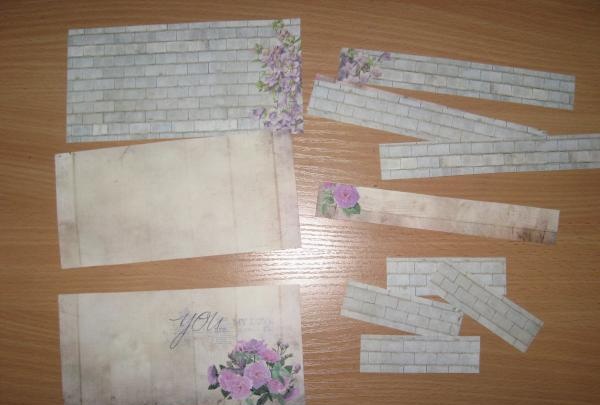
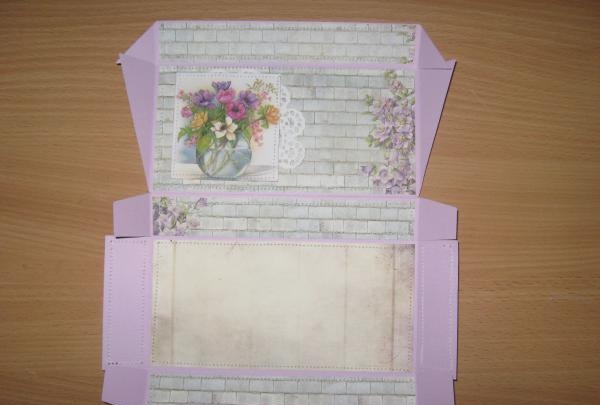
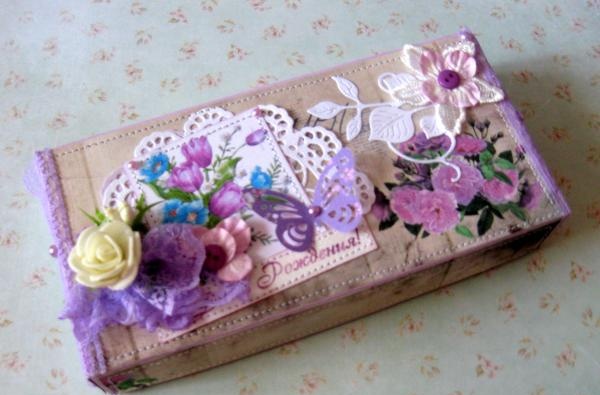
We immediately glue one on the back to the base, and we will decorate the front one. For the box we cut out the blanks like in the photo.
Congratulatory set

Congratulatory set

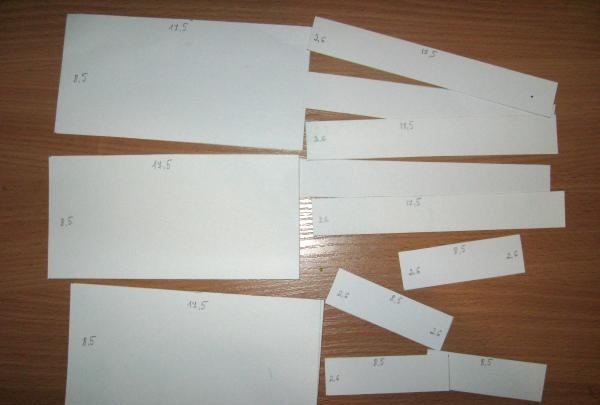
We will paste some of the scrap blanks onto the base, and decorate the rest.
Congratulatory set

Congratulatory set

We glue all the narrow ones except the two short inner ones, we will glue them at the end when we assemble the box.
Congratulatory set

Congratulatory set

Congratulatory set

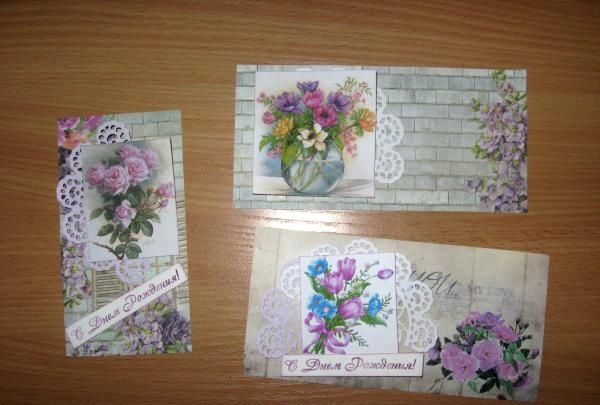
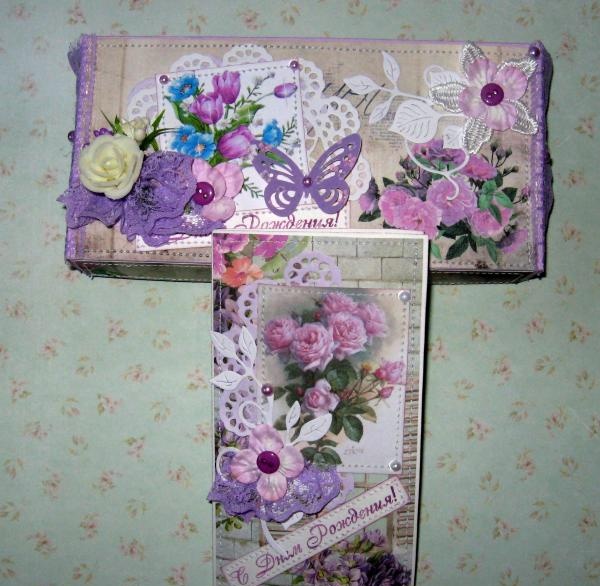
We decorate three rectangles with napkins cut in half, pictures and inscriptions. We glue everything with double-sided tape.
Congratulatory set

Congratulatory set

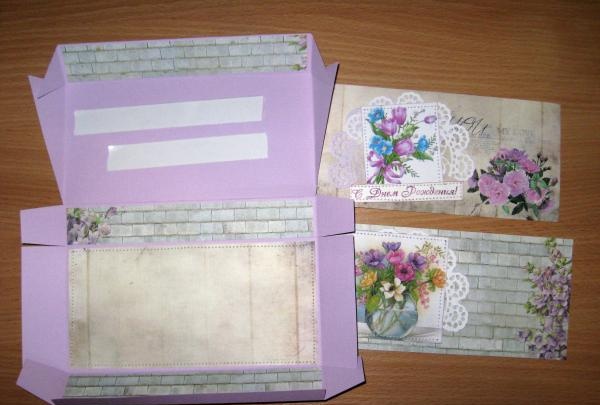
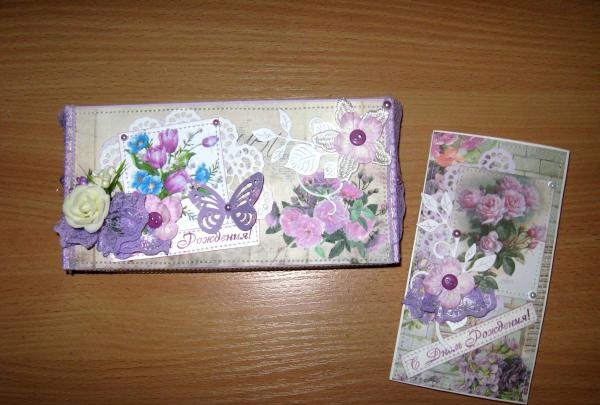
We sew each rectangle separately, and then glue it to the box and postcard.
Congratulatory set

Congratulatory set

Sew the card on the front and back. And we stitch the outside of the box on the lid and sides. Now we collect the tails and glue the box with a glue stick.
Congratulatory set

Congratulatory set

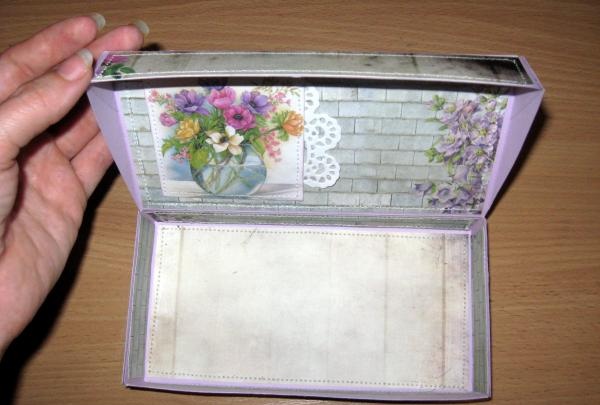
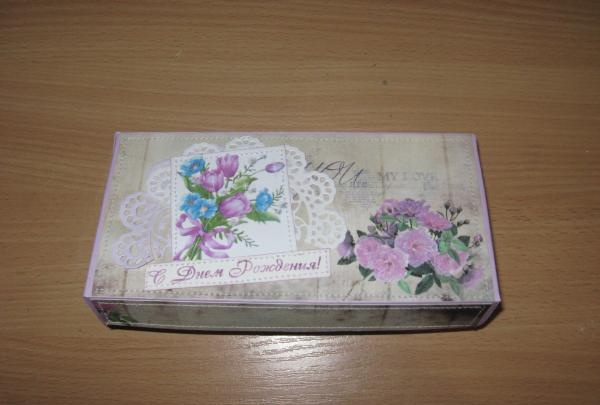
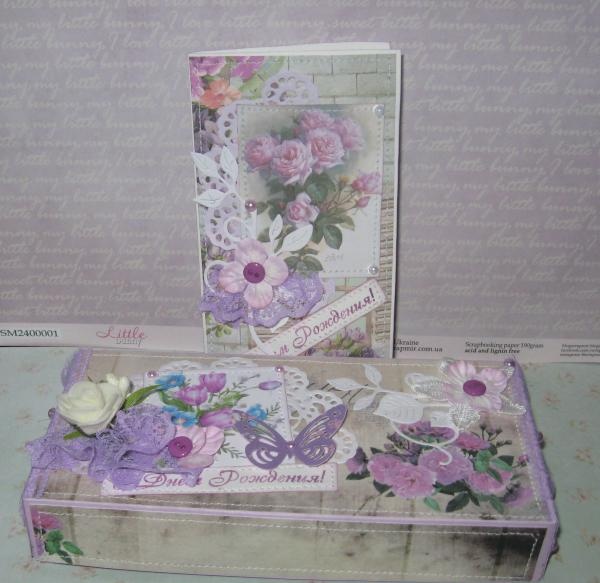
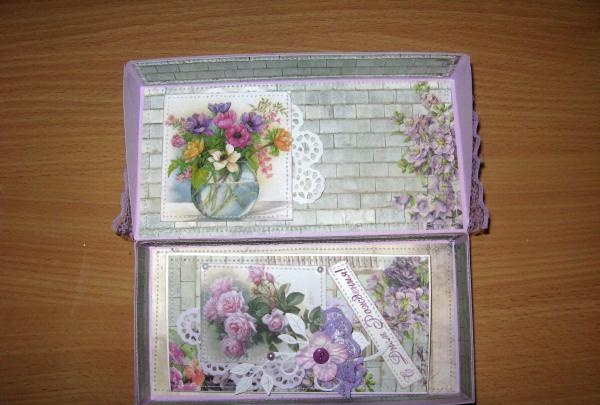
Now we glue the scrap paper sides inside. The box is closed and ready.
Congratulatory set

Congratulatory set

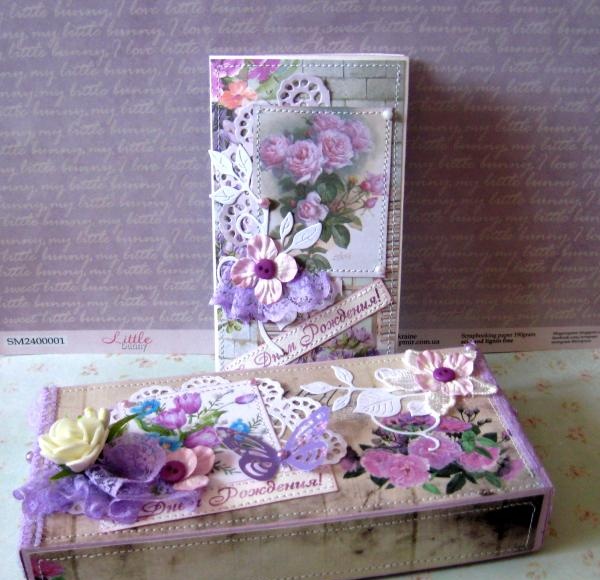
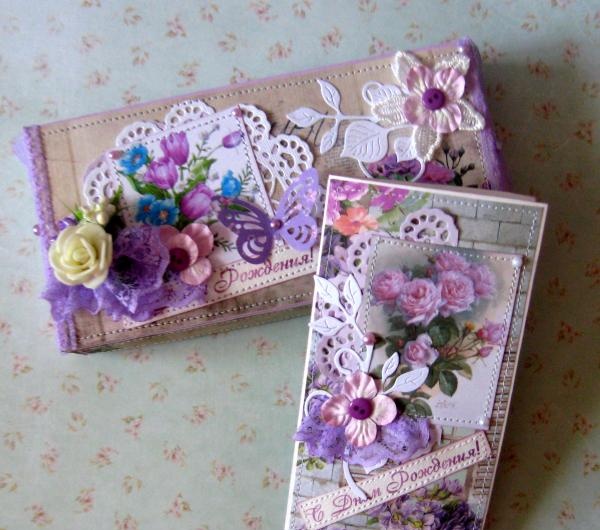
Now we decorate both the box and the card with similar decor.
Congratulatory set

Congratulatory set

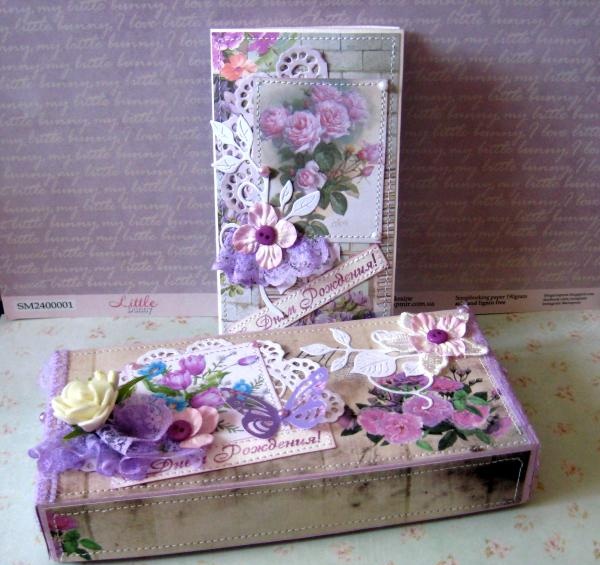
Done, we get this soft purple set.
Congratulatory set

Congratulatory set

It turned out beautiful, gentle and original. Thank you for your attention!
Congratulatory set

Congratulatory set

Congratulatory set

Congratulatory set

Congratulatory set

Congratulatory set
Comment
  • bowtiesmilelaughingblushsmileyrelaxed relaxedsmirk
    heart_eyeskissing_heartkissing_closed_eyesflushedrelievedsatisfiedgrin
    winkstuck_out_tongue_winking_eyestuck_out_tongue_closed_eyesgrinningkissingstuck_out_tonguesleeping
    worriedfrowninganguishedopen_mouthgrimacingconfusedhushed
    expressionlessunamusedsweat_smilesweatdisappointed_relievedwearypassive
    disappointedconfoundedfearfulcold_sweatperseverecrysob
    joyastonishedscreamtired_faceangryragetriumph
    sleepyyummasksunglassesdizzy_faceimpsmiling_imp
    neutral_faceno_mouthinnocent
5+two=
Comments (0)

Bringing dead nickel-cadmium batteries back to life

You won't throw away the tin can when you find out how useful it is when repairing your car.

Knitting and crocheting, patterns and master classes | Page 6

Cover for student ID | Do it yourself

«Do it yourself - with your own hands» - a site of interesting homemade products made from scrap materials and items at home. Step-by-step master classes with photos and descriptions, technologies, life hacks - everything a real master or just a craftsman needs for needlework. Crafts of any complexity, a large selection of directions and ideas for creativity.

We recommend reading

Washing machine error codes