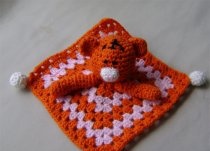
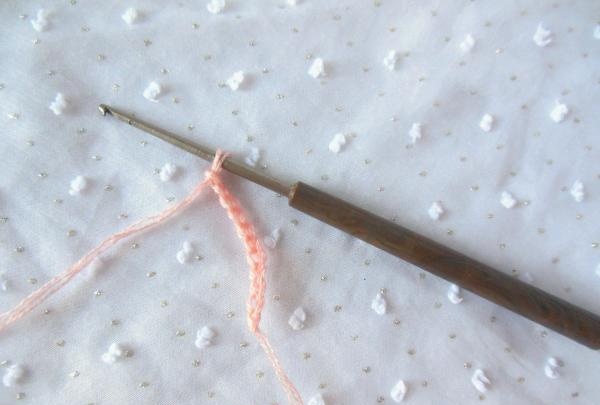
In fact, it is very easy to move away from the classics. Even a napkin can become unusual if you put a “childish subtext” into it. This is what this small napkin with a cute bunny inside is like.
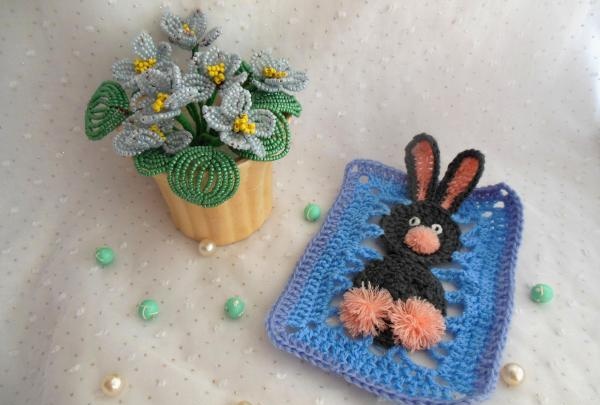
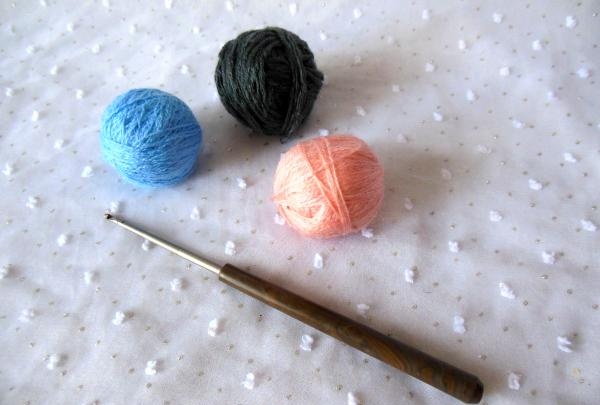
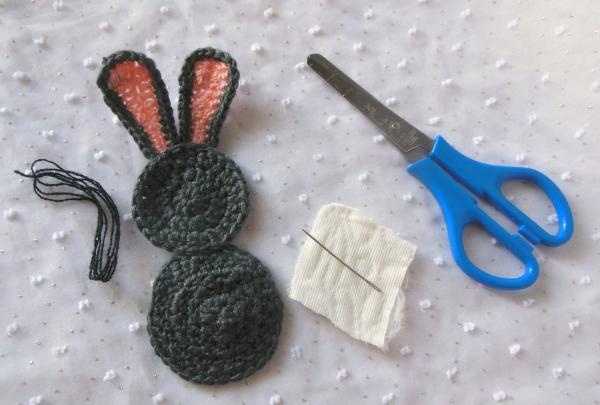
It will perfectly complement any interior and absolutely every child will like it. It is not difficult to knit, and you will need very little materials: gray, pink and blue yarn, plus a thin crochet hook (1.80-2.00 mm).
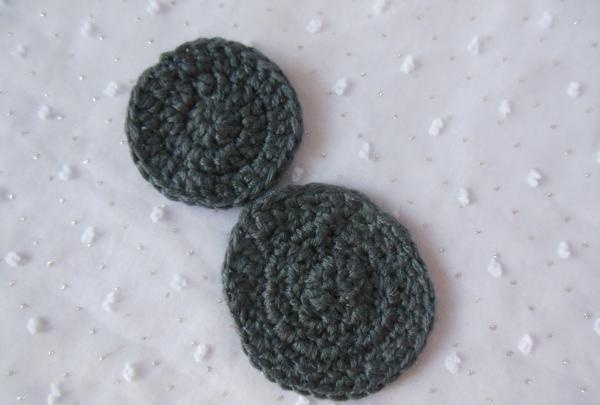
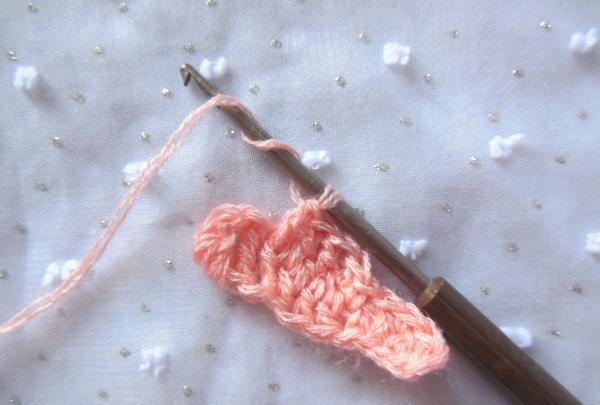
The bunny's body and head consist of regular round pieces, knitted with a single crochet stitch, where one of the sides of the circle is additionally knitted to lengthen the first crochet.Due to this, the desired shape of the body is achieved and it turns out oval.

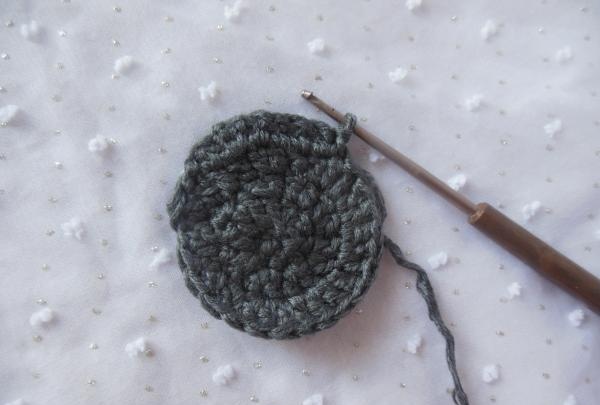
The head is knitted in the round without any corrections. 3 circular rows are enough to finish the job and get the part of the desired size.
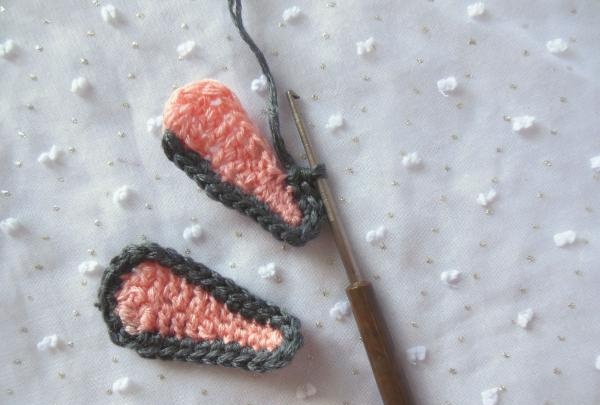
To create long ears, we cast on 11 air loops (one for instep) and knit them in stitches with different numbers of double crochets (in descending order).

We knit the first three stitches with 2 crochets, the next 3 with one crochet and the last loops we knit without any crochets at all. We repeat this pattern on the opposite side of the ear.
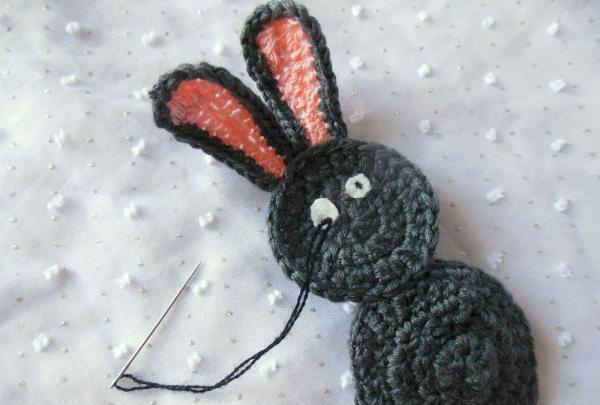
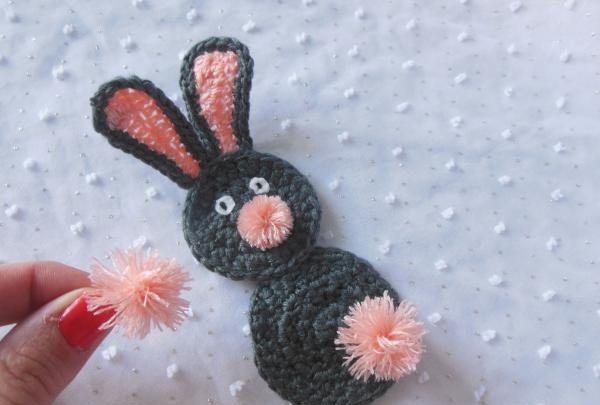
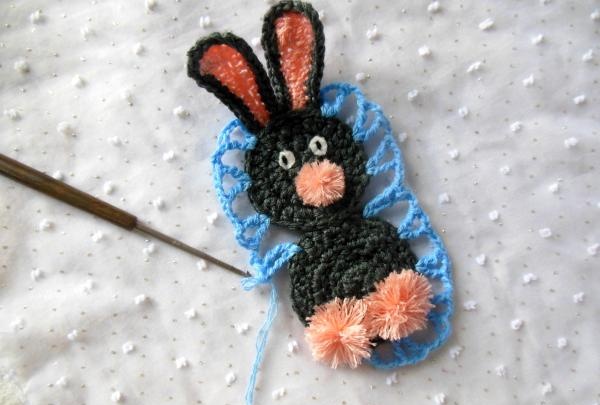
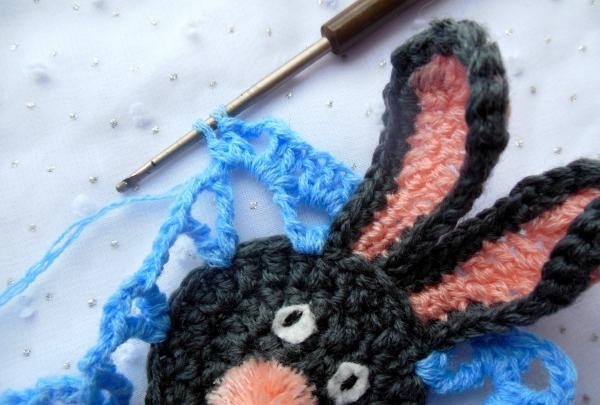
At the end, we tie the pink blanks along the contour with gray thread. n.
We sew the ears to the head. We cut out white eyes from felt and fasten them again with a needle, but now with black thread.
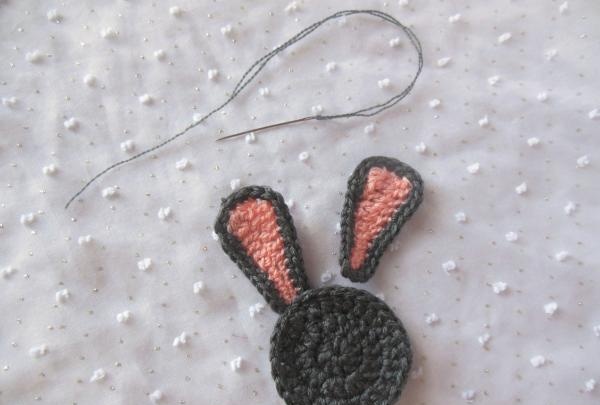
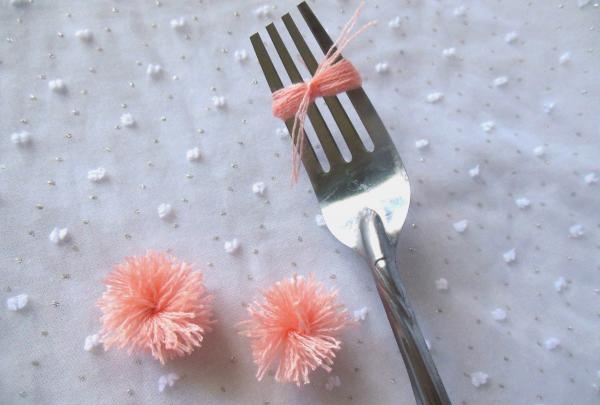
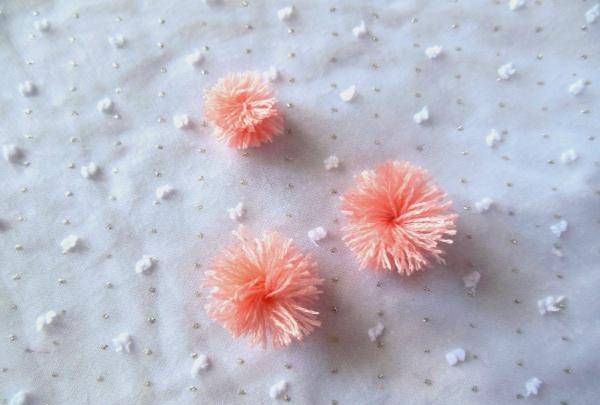
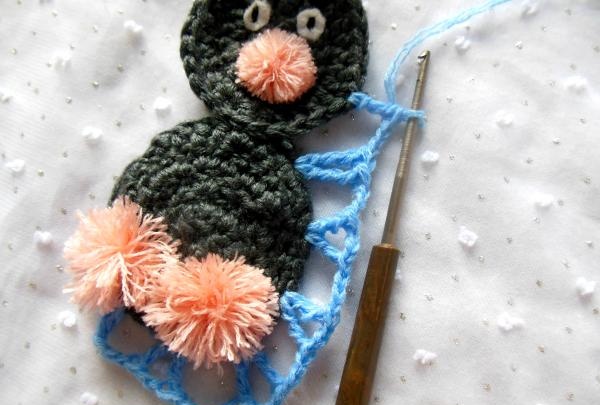
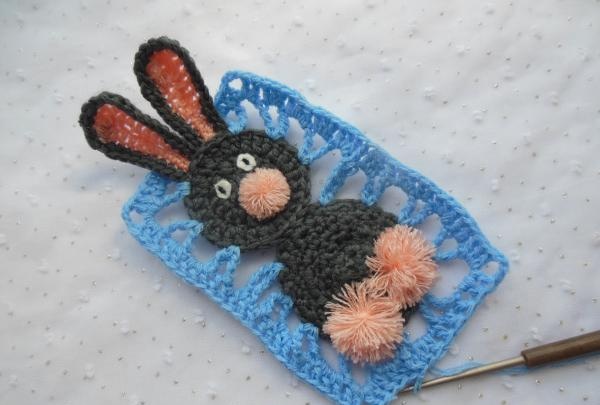
All that remains is to make a fluffy nose and paws, after which the image of the bunny will be completely completed.
We make them from pink yarn, first winding small skeins on a fork and cutting them on the sides.
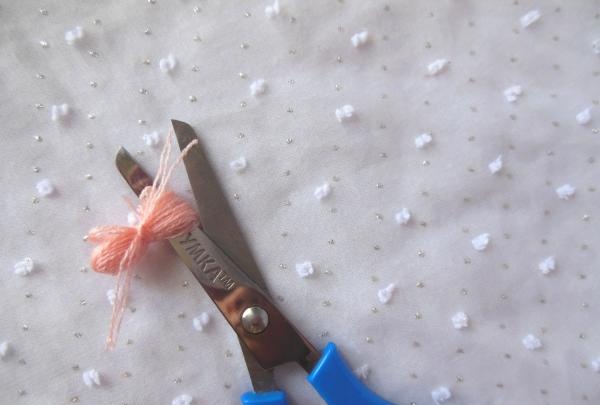
To prevent the nose from covering most of the muzzle, it is better to trim it a little.
We carefully sew the pompoms in the right places using the same pink thread.
We start knitting the napkin itself from the bottom. To do this, we knit 11 air loops from the center of the oval blank and secure it through 2 loops with two double crochets.

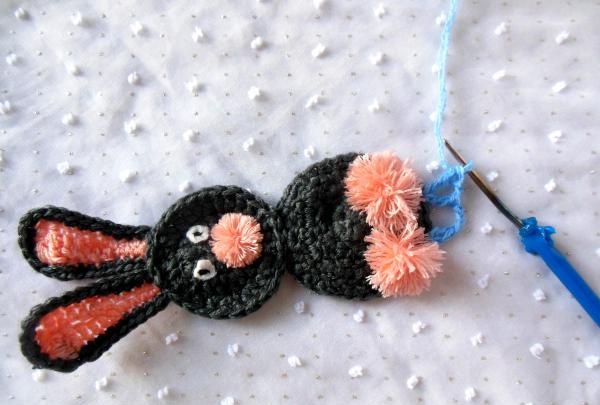
Now between the posts you need to constantly knit 3 stitches. n, each time securing with double posts through 2 holes.
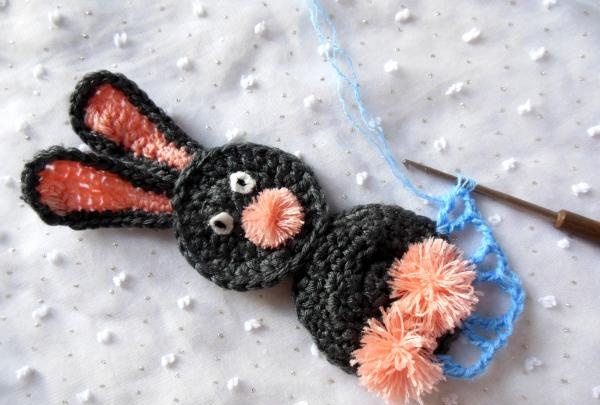
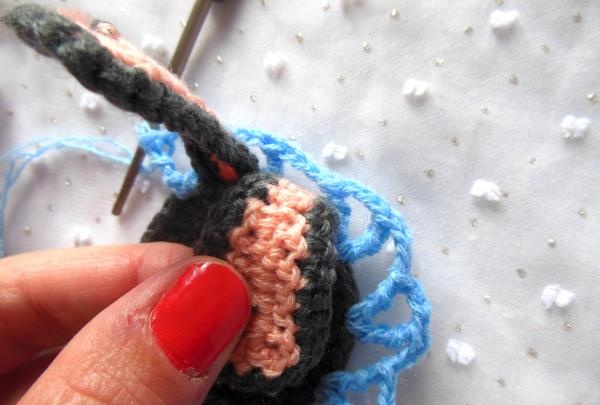
Having reached the place where the head and body are sewn together, we knit double stitches not with 2 yarn overs, but with three, because there is a small indentation here.
Otherwise, no changes occur; even behind the ears, the mating sequence is maintained.
We knit the second row with the usual double crochet stitch, only making smooth turns at the corners (3 chain stitches between 2 stitches/s 1 n).
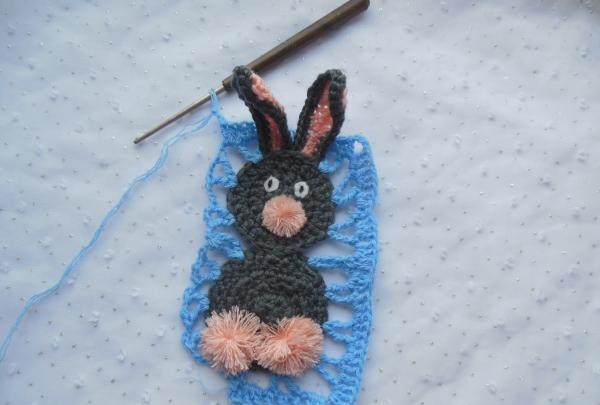
There can be any number of such rows, it all depends on the desired size of the napkin.The last row can become the edging of our rectangle, or you can even make each row multi-colored.
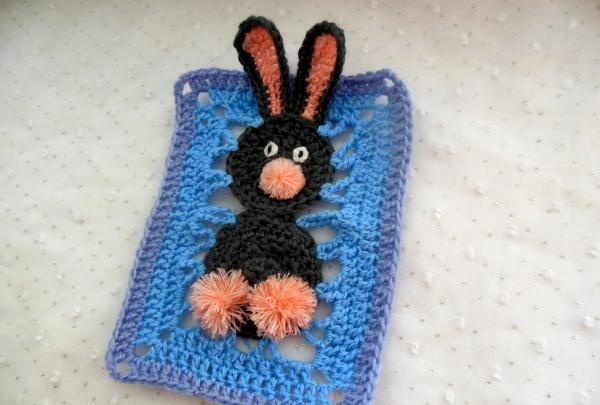
The napkin is ready! This bunny will certainly be a welcome “guest” in a child’s room and will serve its owner for many years.