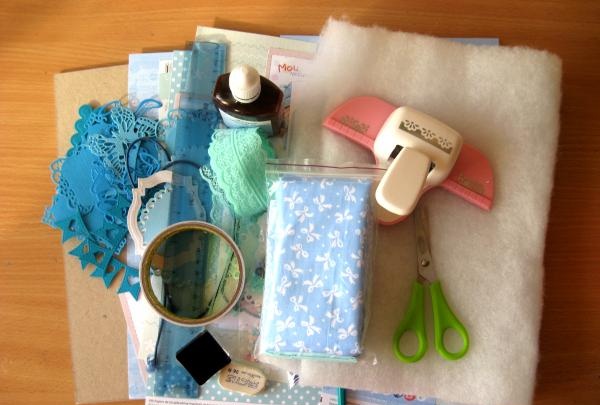
To sew a daddy we will need to take:
• Two binding cardboards, A4 size;
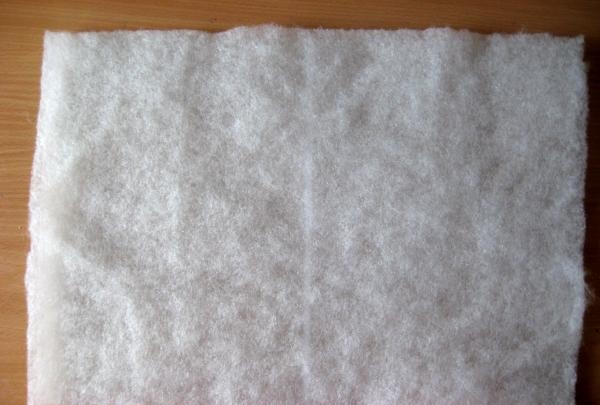
• Sheet padding polyester;
• Thick mint cotton with multi-colored polka dots and a white bow on a blue background;
• Mint cotton lace 4 cm wide;
• Hat elastic;
• Eyelets and eyelet installer;
• Scrappaper from the children's collection, mint blue, sheets 30*30 cm, 2-3 sheets in total;
• Blue lace napkin;
• Medium-sized mint circle;
• Brads are blue and mint in different colors;
• Personalized card for a boy with his first and patronymic names;
• Scrappaper cards with pictures or pictures from the Internet;
• Wooden button bear on a horse;
• Metal pendant steering wheel in silver color;
• Ink pad for toning;
• Scissors, glue stick, ruler, eraser, pencil;
• Hot-melt gun and sewing machine;
• Curb hole punch;
• Adhesive “Scotch tape effect”.
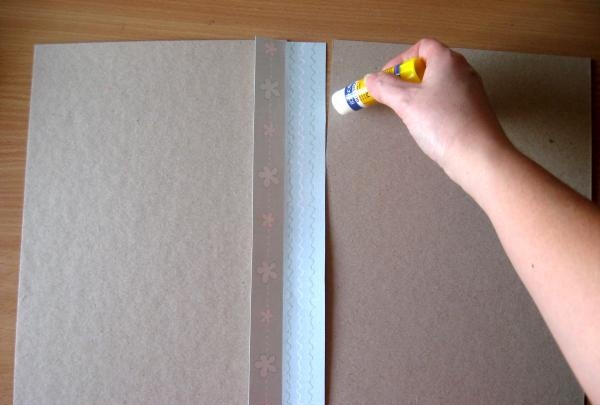
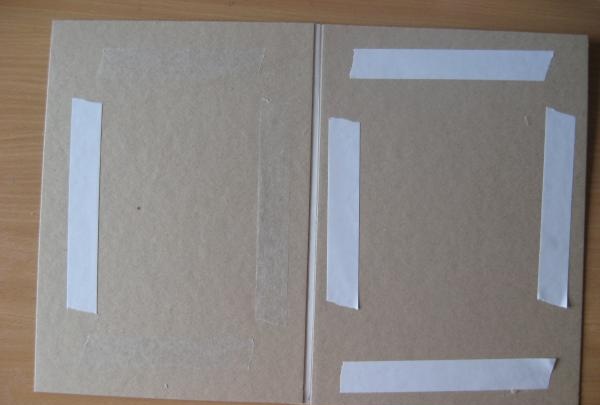
First, we will make one single base from bookbinding cardboard; for this we take two album sheets of bookbinding cardboard and a piece of mint-colored scrap paper measuring 6.5 * 29 cm.

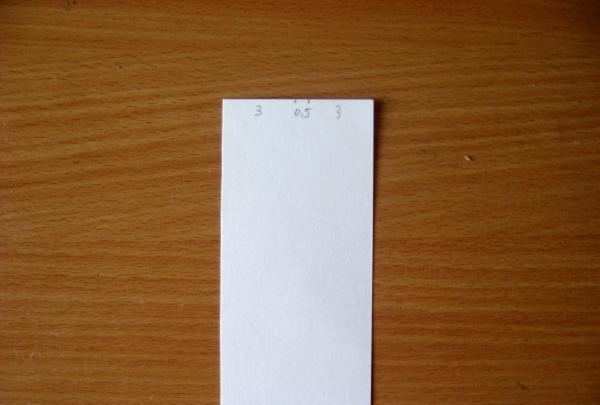
We divide the scrap paper along the smaller side into three parts 3 * 0.5 * 3 cm and draw along two bending lines and glue this blank between the binding parts with a glue stick, thus connecting them to each other.
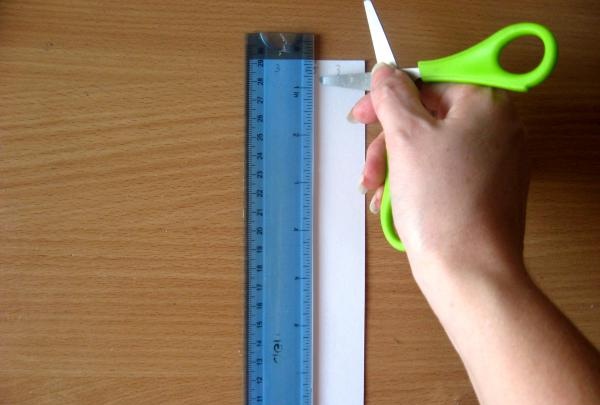
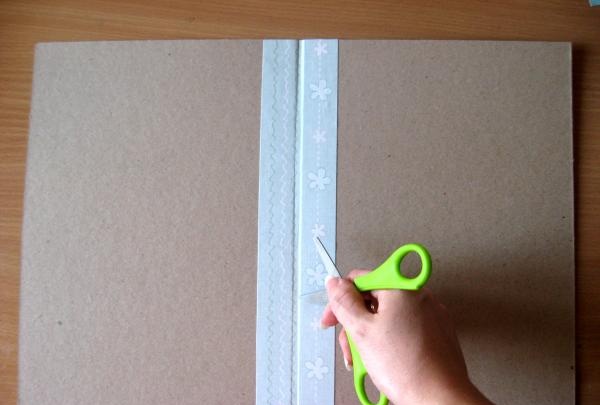
We press well, smooth it out and draw lines with scissors, as if bends, so we get a space of 0.5 cm. Now we cut out the padding polyester for the entire size of the cover and glue it with double-sided tape.
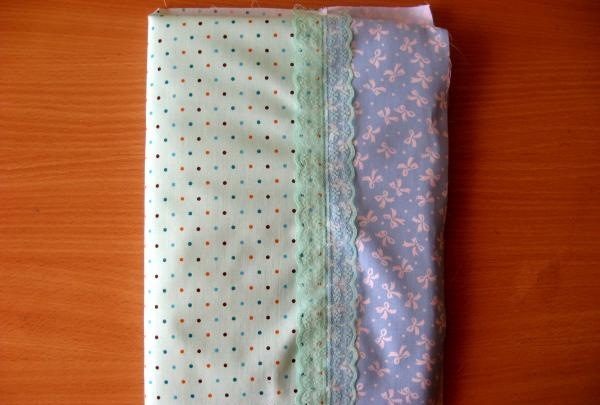
Now we cut off the fabric, take a larger piece with polka dots and two smaller ones with bows.
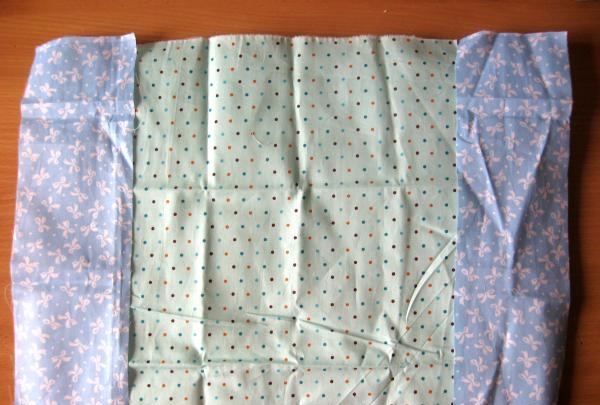
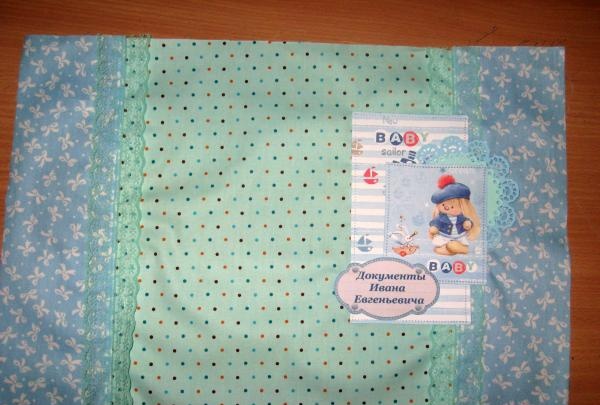
The fabric needs to be smoothed very well with an iron and steam, and we sew the fabric together. We sew mint lace at the joints. Now we need to try it on decor on the outside cover. We close it and wrap the edges of the gates.

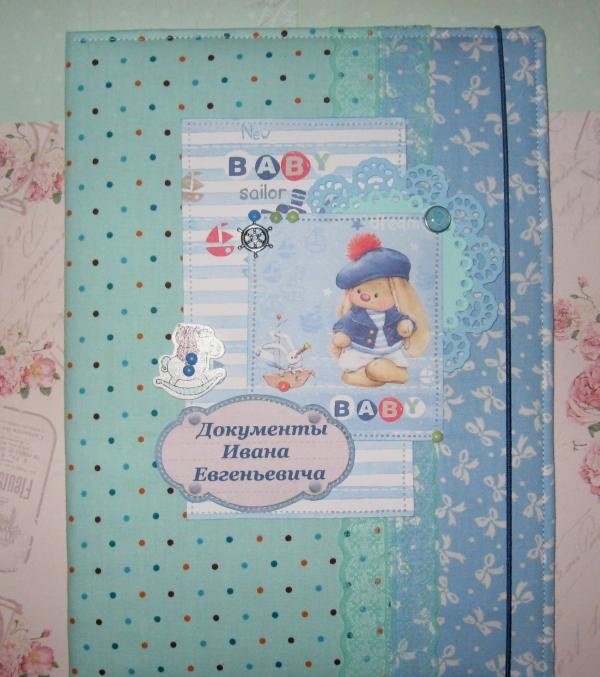
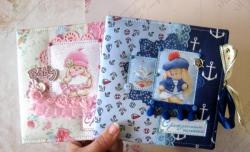
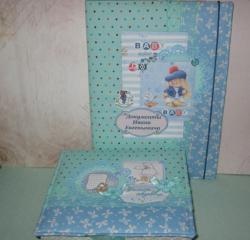
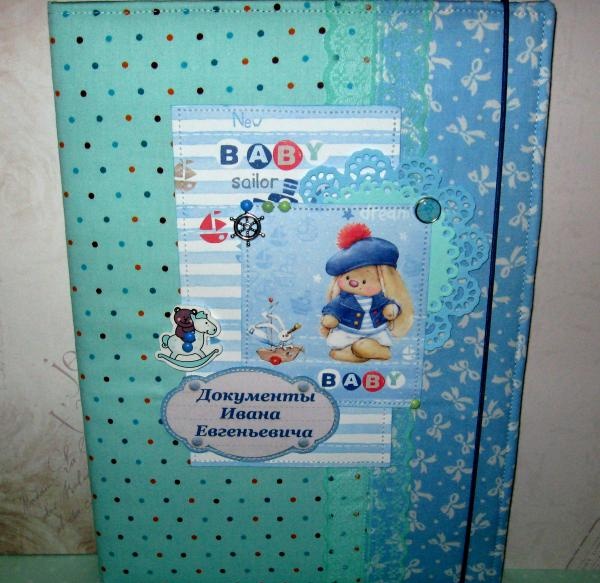
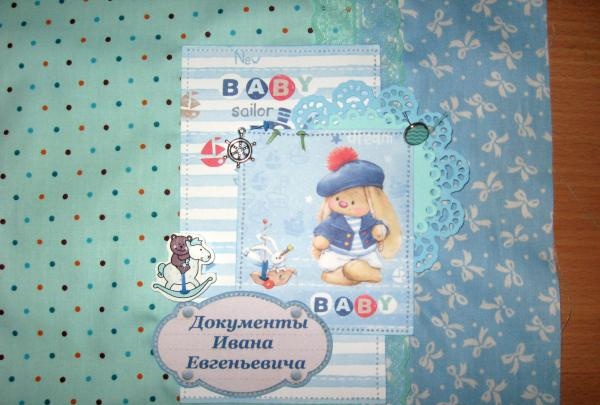
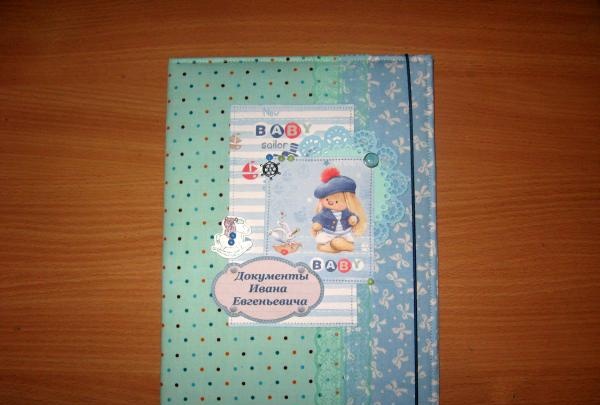
We cut out a striped card, a picture with a sea bunny, a die-cut napkin, a circle and a name card. We tint the card and picture along the edge with a green pad.
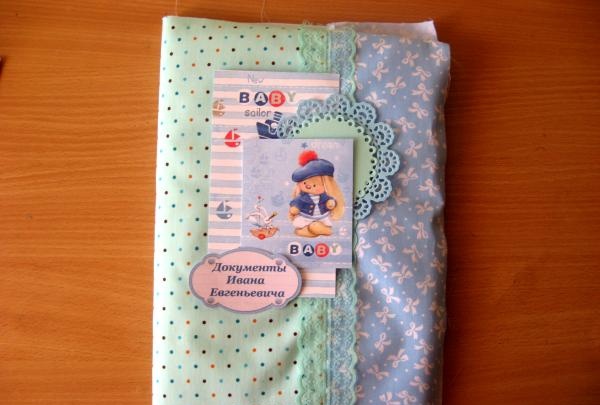
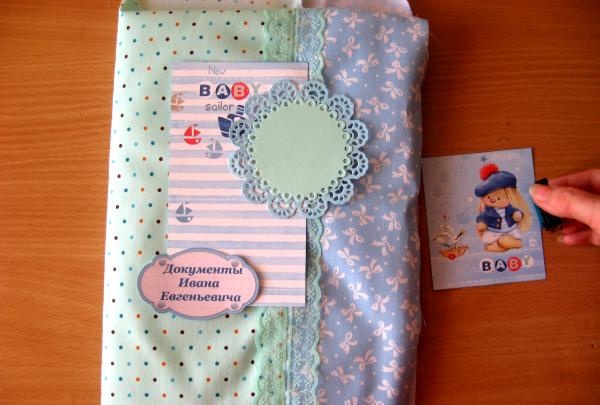
Now we sew one by one, first a card, then we glue a napkin and a circle, a picture on them, we also sew it on a typewriter and to the left we glue a name inscription and sew it on with a machine. Now we immediately need to decorate the cover, insert brads, attach the pendant and button with brads.
Now we place the fabric face down and apply the workpiece with the padding polyester facing down. Cover the edges with a glue stick.
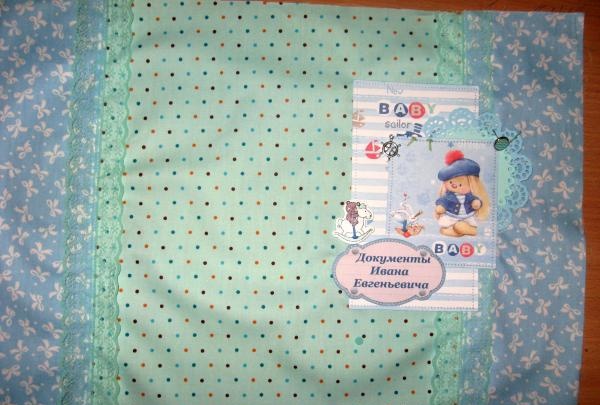
We wrap the corners beautifully and glue the fabric to the base. Then we sew the edge of the entire cover around the perimeter with a machine.
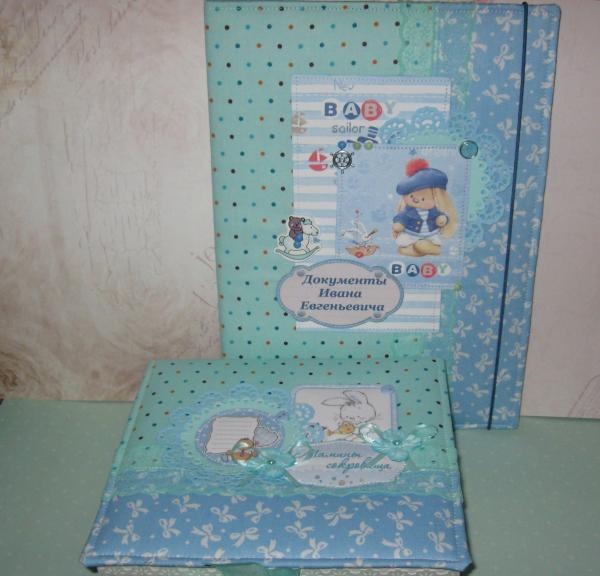
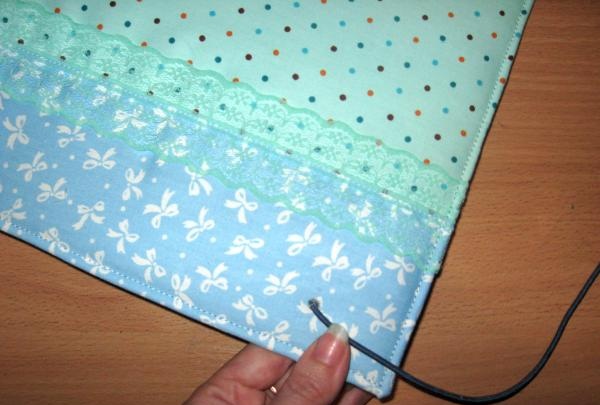
Now we need to insert an elastic band at the back so that it then covers the daddy. We take the grommet installer, make two holes at the top and bottom at the same distance, insert an elastic band and tighten it well, then insert the grommet and secure the structures with the installer.

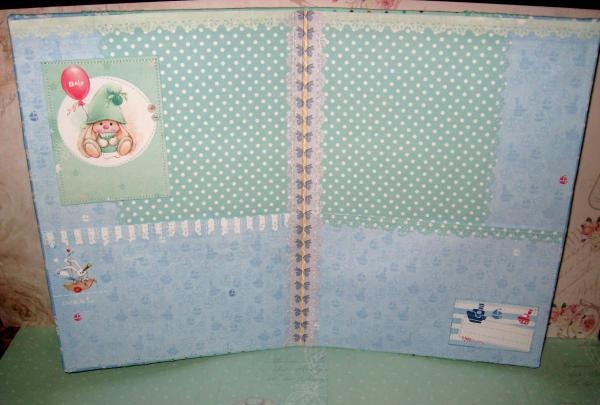
This is how the daddy will close. Now the inside of the folder and pockets. We take scrap paper and cut out rectangles and pockets from it.
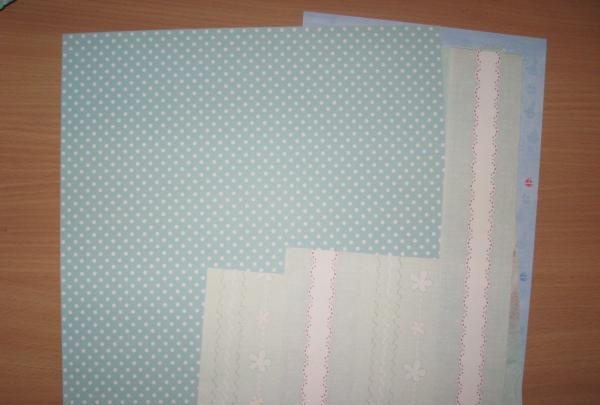
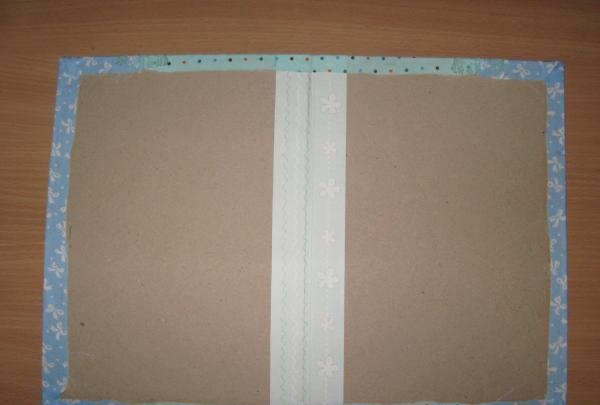
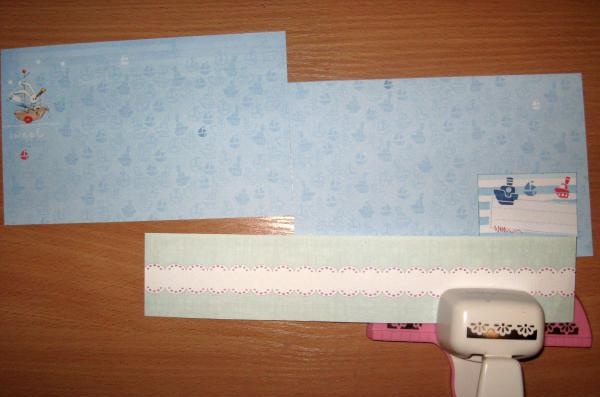
Our cover is mint blue on the outside, which means we combine the sheets inside. We cut off the strips with a margin and punch one side with a border hole.
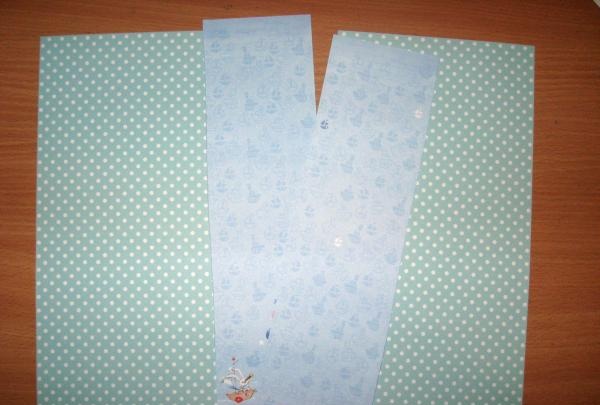
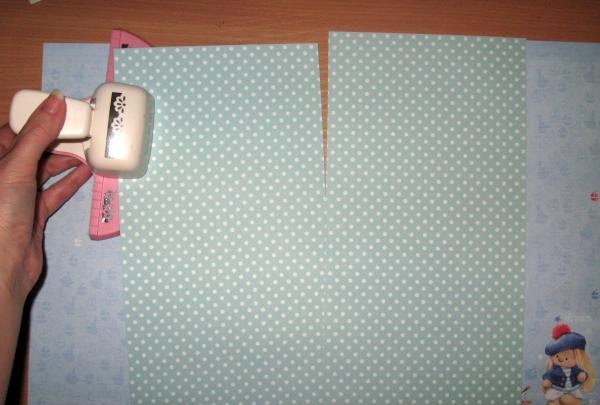
We glue the pieces of paper together so that the total size of both rectangles is 21*29.2 cm. For pockets, cut out two rectangles 13*21 cm.

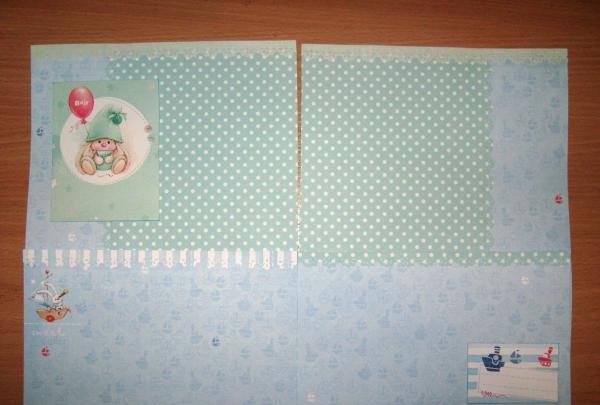
We decorate the pockets on top with paper lace, glue a bunny on one rectangle at the top left, and glue a sea card on the opposite side at the bottom of the pocket. We sew pictures and pockets to the rectangles with a machine.
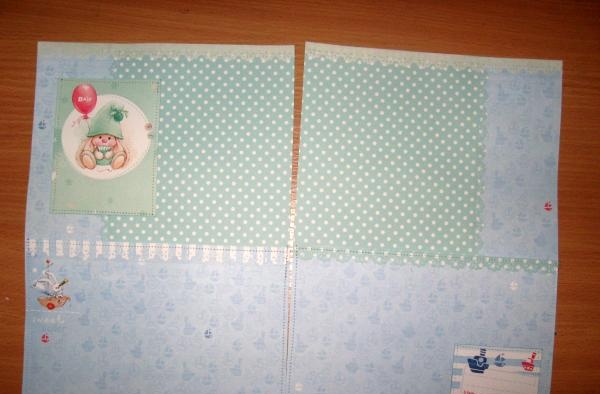
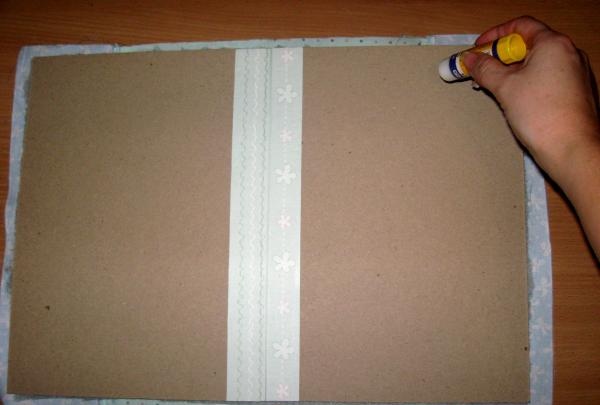
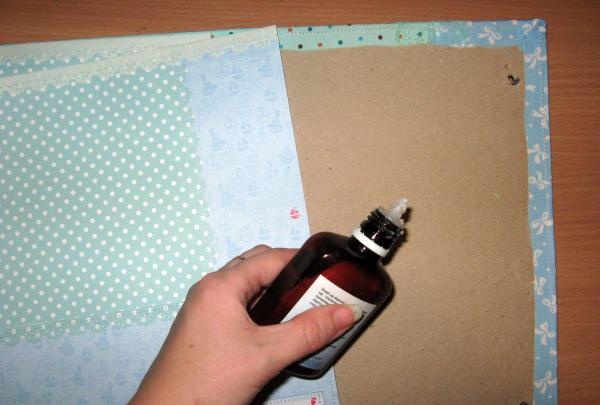
Now all that remains is to glue both rectangles inside. To do this, take the “Scotch tape effect” glue and put the daddy under the press in an unfolded form for a couple of hours. In the center we glue a lace strip between the sheets.
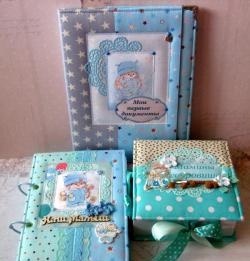
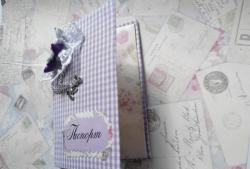
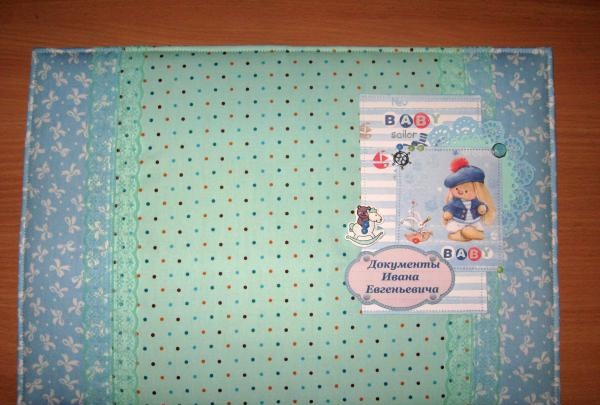
The folder is ready, you can put your birth certificate, policy, etc. in it. Now the child has his own folder for documents. Thank you for your attention!