To create an elastic band “Bouquet” you will need:
- 25 mm wide ribbon in several shades: lilac, white and crimson.
- ribbon 5 mm wide, light green color.
- pink hair elastic.
- scissors.
- wire for weaving.
- lighter.
- heat gun with spare rod.
- a needle for handwork.
- white reinforced thread.
- pencil.
Making elastic band “Bouquet”.
To begin with, you will need white and crimson ribbons, from which you should cut out blanks with sides of 1x2.5 cm.
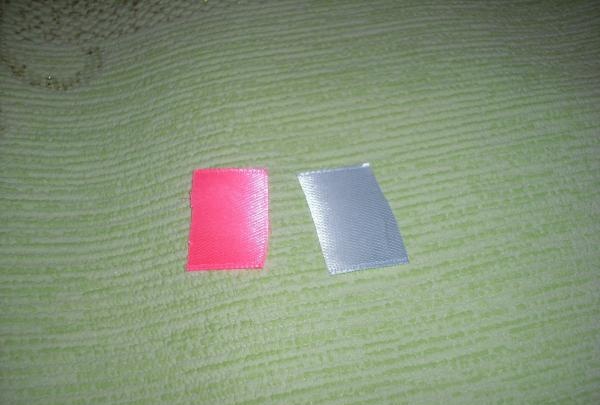
You will need 20 white rectangles, 10 crimson rectangles. Each part needs to be shaped into petals by carefully cutting off the corners.
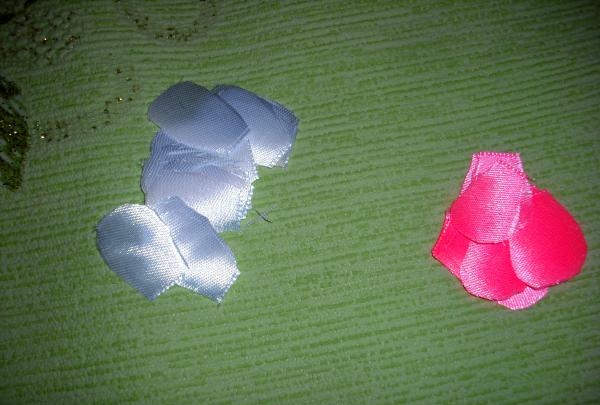
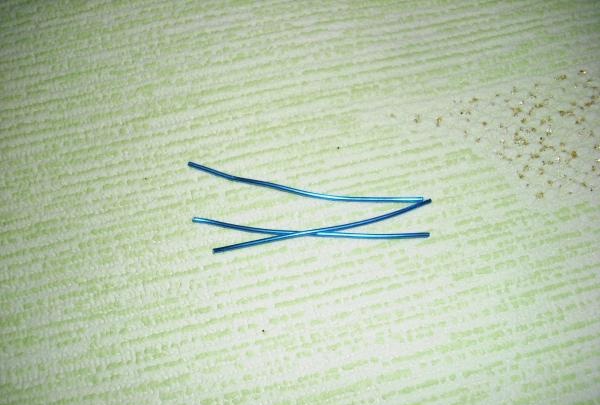
The satin blanks then need to be singed so that the fabric does not fray. Now you need to prepare three pieces of wire for the flower stems. The length of such segments should be 3 cm.
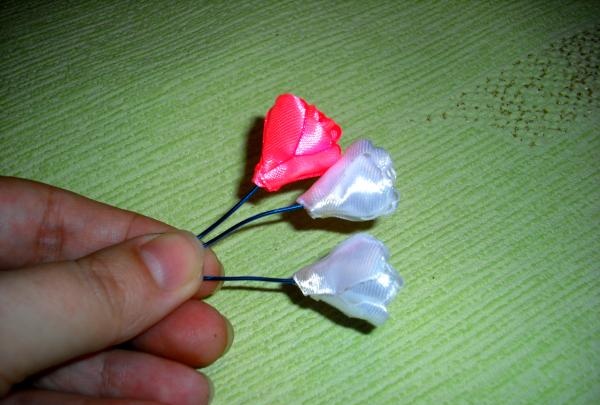
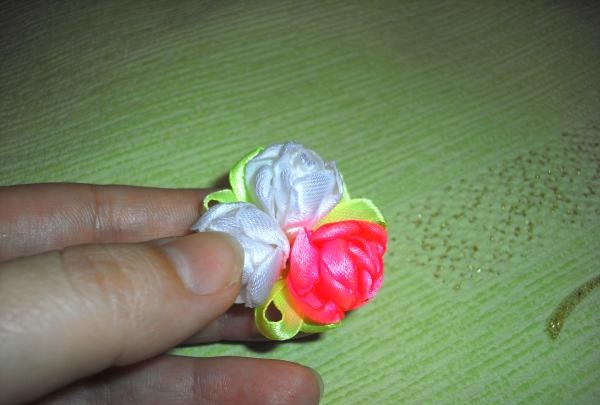
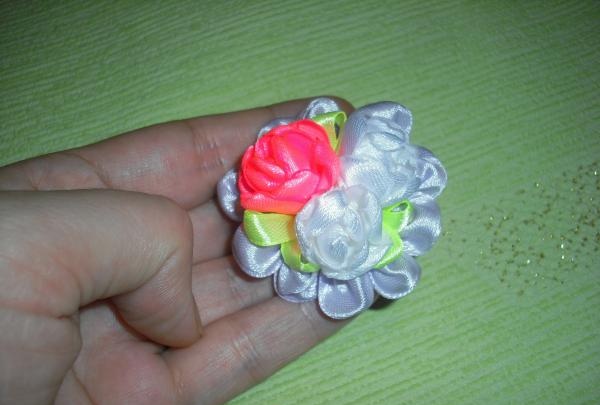
Glue 10 petals along the edges of each wire.You need to make three flowers, two from white petals and one from crimson parts.
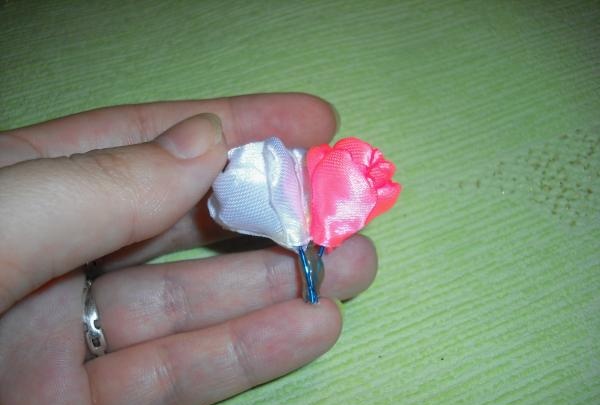
The finished flowers should be joined together by joining their stems using hot glue.
You need to prepare leaves for flowers from a narrow ribbon of light green color. You will need blanks 4 cm long, in the amount of 6 pieces.
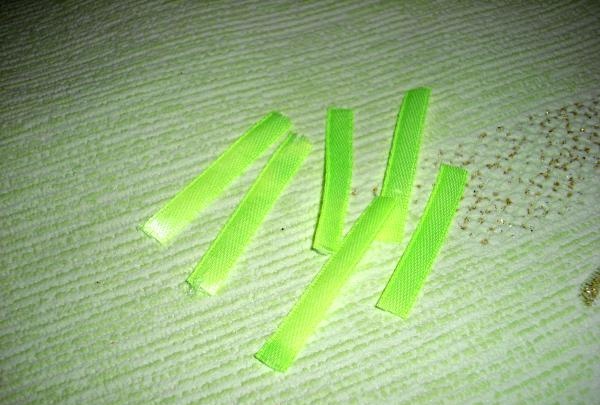
From each piece of light green you need to make loops by aligning the two edges together.
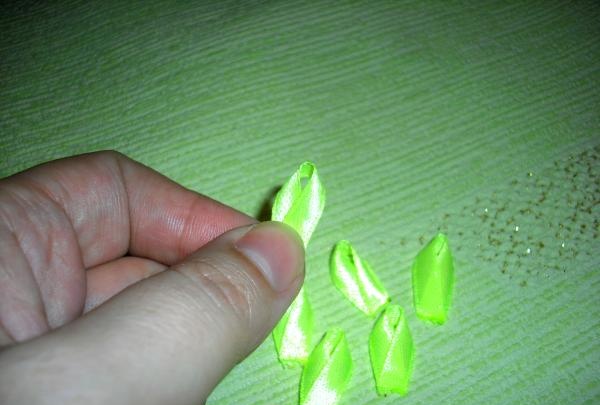
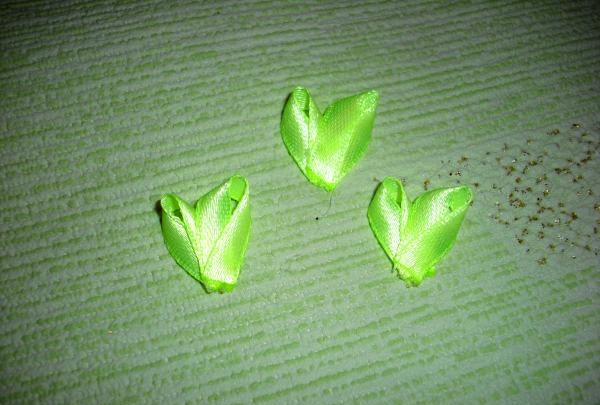
It turns out 6 loops, they need to be glued in pairs, slightly overlapping their edges one on top of the other.
Next, the leaves need to be carefully attached between the flowers.
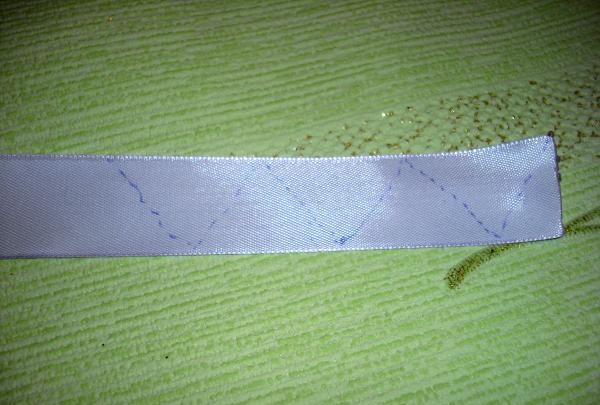
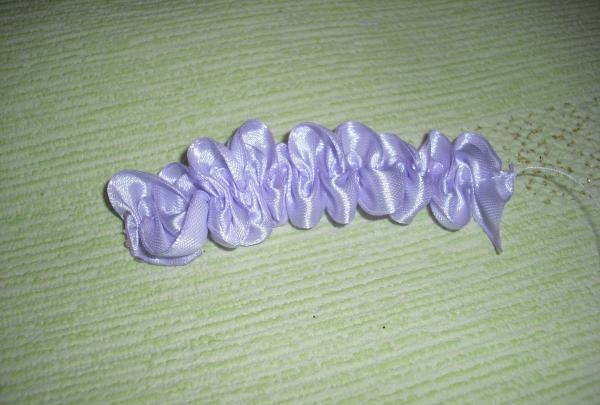
The result is a small bouquet, it should be put aside and a border for the flowers should be made. For this you will need a lilac ribbon. On the wrong side, you need to draw slightly noticeable dotted lines, moving from one edge to the other in even zigzags. Using this method, you need to prepare a tape 27 cm long.
Now you need a needle for manual work and reinforced thread. A long piece of thread should be threaded through the eyelet and a knot should be tied at the end. Using a prepared needle and thread, you need to lay a neat stitch along the drawn dotted zigzags. The resulting seam should be carefully pulled so that the tape is pulled into beautiful rounded folds.
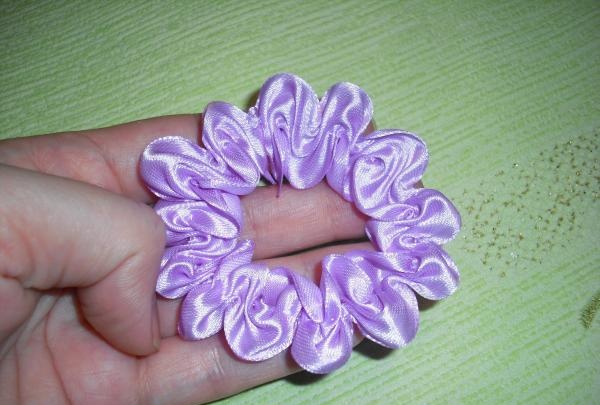
The pleated tape now needs to be combined into a ring, aligning the two edges.

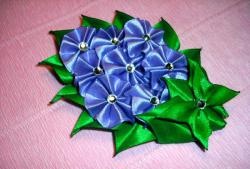
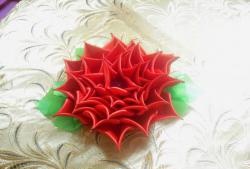
The result is a ring with a beautiful edge. A prepared bouquet of flowers should be inserted into its middle and secured with glue.
The first tier of flower borders is complete, all that remains is to make the second. To do this, you will need the same tape, but now 32 cm long. Along its entire length you need to draw zigzag lines along which the seam line should be laid. The resulting stitch needs to be pulled together, transforming the tape into a voluminous braid.
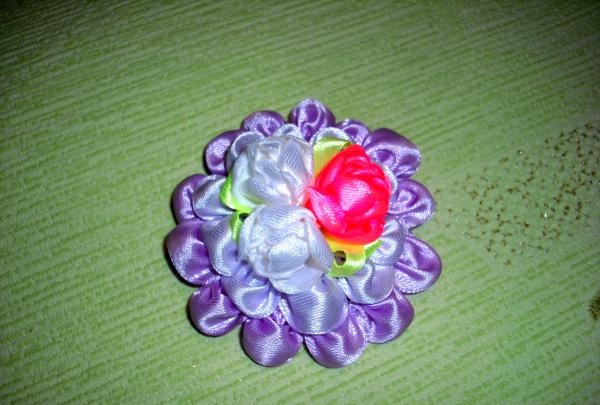
All that remains is to place a bouquet in the center of the ring. Having previously smeared the lower part of the bouquet with glue, the flowers should be placed strictly in the middle of the ribbon tier.
Next, on the wrong side of the resulting decoration, you need to attach a pink elastic band.
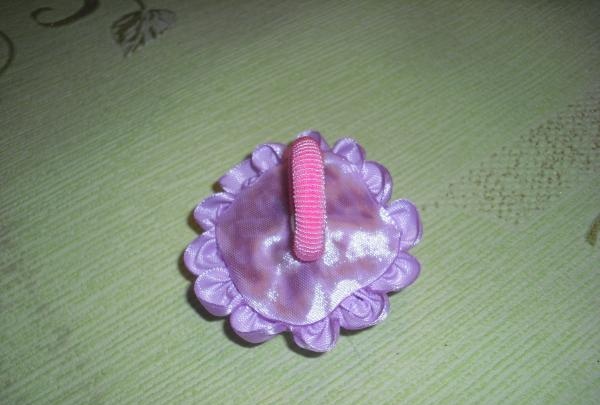
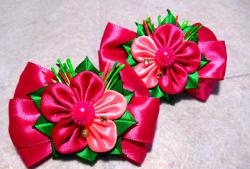
All that remains is to straighten the rounded edges of the two tiers of the bouquet, straighten all the petals and leaves.
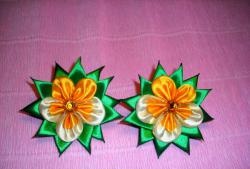
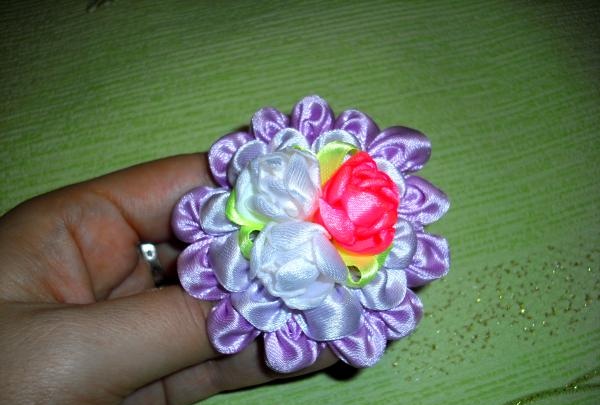
Hair decoration “Bouquet” is ready!