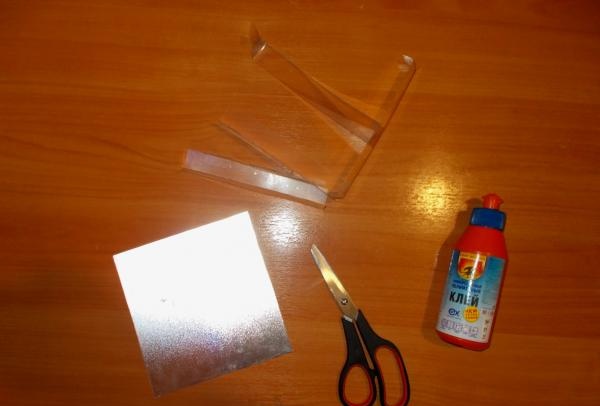
To work with it we needed the following materials and tools:
- Three plastic or cardboard sheets;
- Self-adhesive film (like PVC film) blue;
- Scissors, wire cutters;
- Empty match boxes (from 24 to 48 pcs.);
- Polymer glue and PVA glue;
- Four CDs with a surface in gray and green shades;
- Plastic sheet with a mirror surface;
- Transparent plastic sheet;
- One DVD disc with a purple surface.
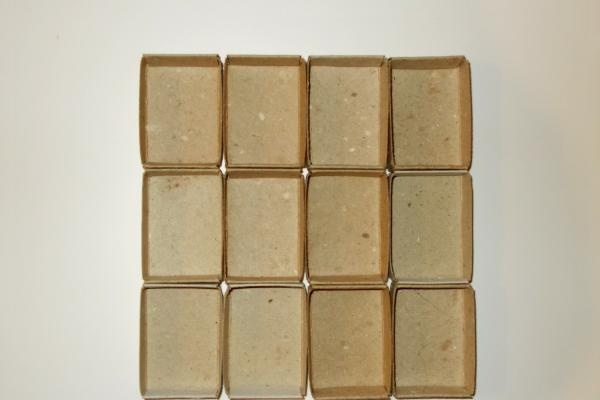
In preparation for work, we collected 24 empty match boxes (in two rows of 12 pieces):
Next, we take one plastic sheet and one cardboard sheet, and according to the area of the square made up of 12 matchboxes tightly assembled in a row, we draw and cut out the following figures:
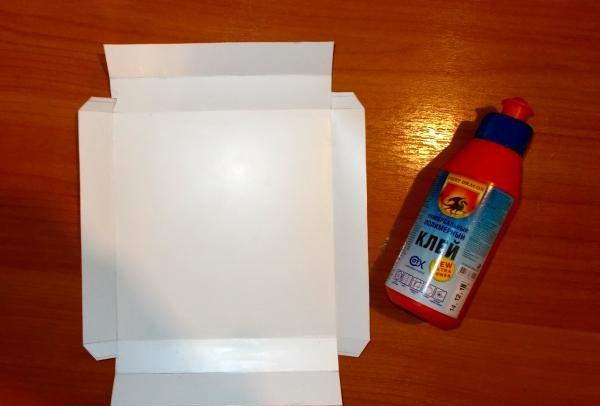
For each of the figures, the width of the sides should be equal to the width of the sides of the matchboxes.We are going to make two rows of these boxes (top and bottom).
The width of one matchbox is 1.1 cm, and the width of two is 2.2 cm together. Therefore, we must make the sides of all figures 2.2 - 2.3 cm wide (it is possible to make the width 1 mm larger), and after that we must glue the sides from the top and bottom in this way (like making a match box):
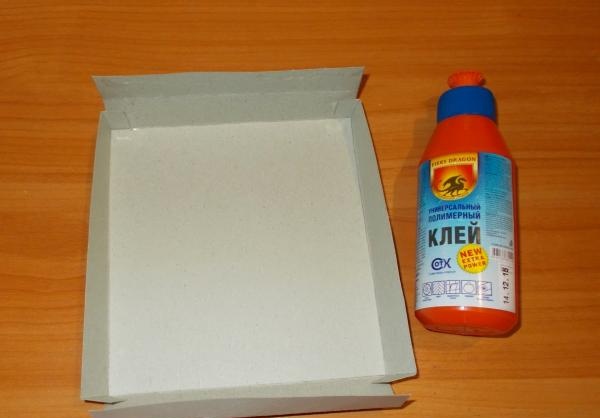
After gluing, we must let the glue dry. We should end up with two boxes like this:
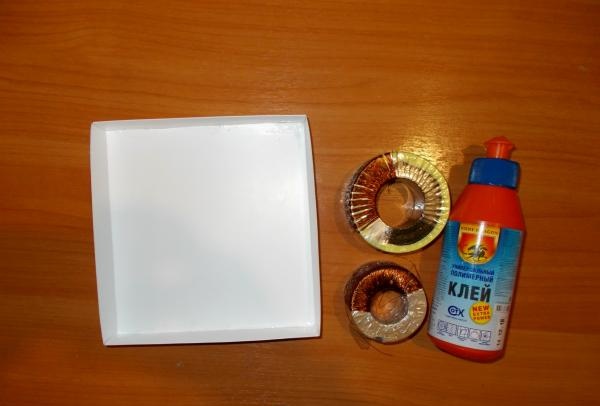
Using large coils of copper, you can hold down areas that often come off. In this case, it would be better to glue either polymer or instant glue:
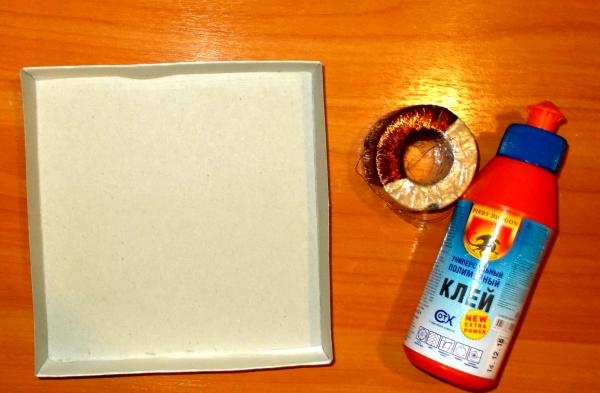
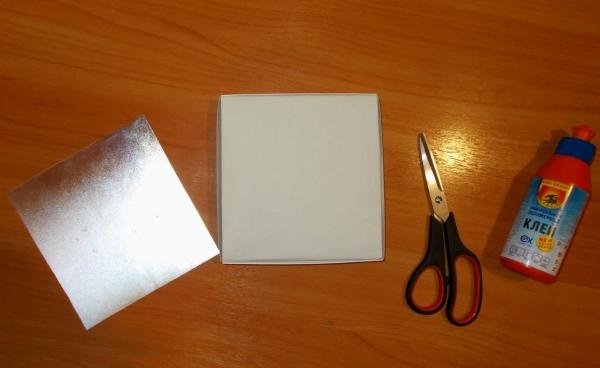
Then we take a sheet with a silver-colored mirror surface and cut out a square from it:
One of our plastic boxes was not the right size for the craft and had to be replaced with another, larger one. We need to make sure that one of the boxes can well accommodate another smaller box. Without this, it will be impossible to close and open the finished box. When we made the second box larger, we got this:
We must glue the cut out square with a mirror surface to the reverse (back) side of the resulting box. And after that, we need to open this “box” and place 12 of the 24 empty matchboxes inside it, and glue the remaining 12 to another cardboard or plastic sheet, and then place them on top of this row:
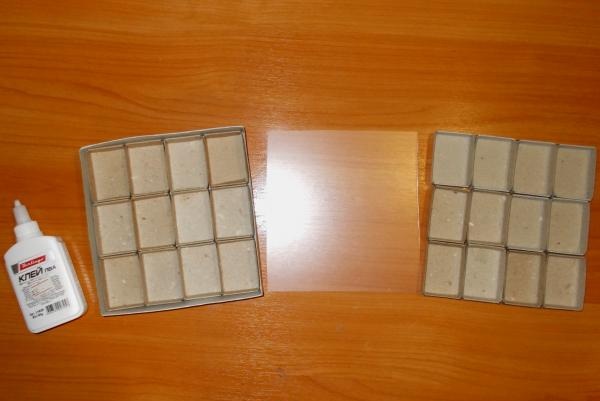
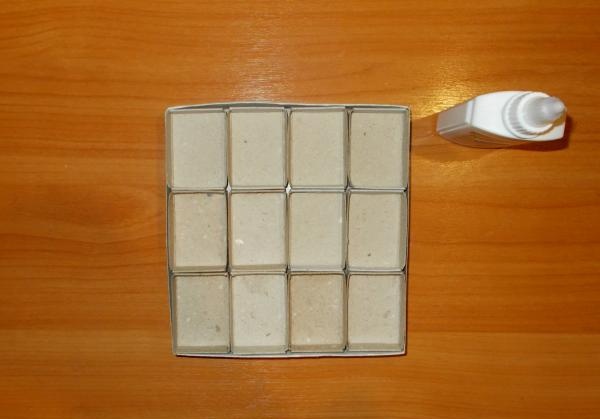
After waiting for the glue to dry, the sheet with the cells from the boxes can be placed in the box on top of the bottom layer:
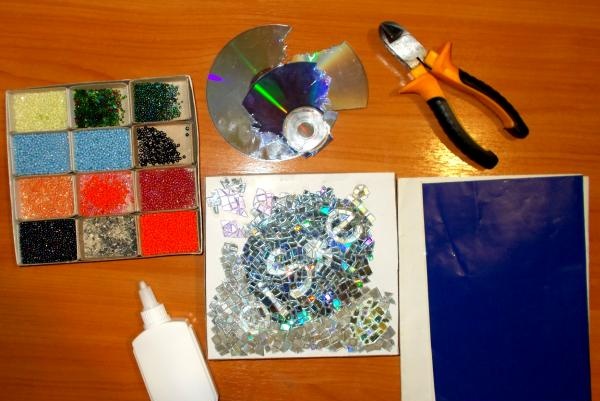
Next, we must glue a square sheet cut out of cardboard to the plastic top of the box and draw the inscription “biser” on it with a pencil.If desired, you can add several other drawings or images:

Now we take cutters and five CDs, which we need to cut into particles of arbitrary (different) sizes:
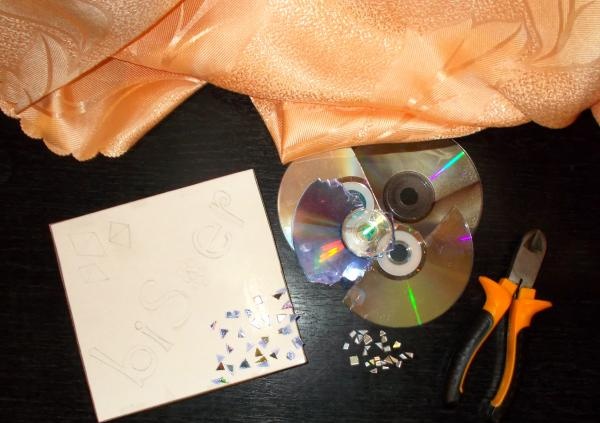
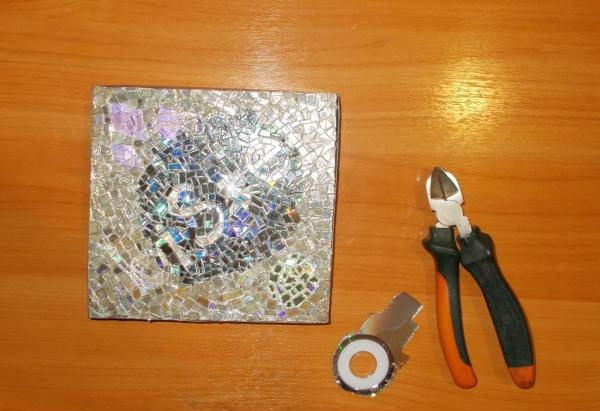
We need to use them to cover the cardboard surface of the box lid. This part of the work is not entirely simple: many of the CDs have the ability to crumble after being cut into their component parts, which is why they have to be glued together. Laserdiscs are too hard for scissors and can dull the scissors, so it is best to use a pair of wire cutters. Based on the image compiled on the cardboard, you need to make a corresponding drawing from particles from CDs. The side edges of the box lid can be covered with a self-adhesive blue film like PVC film:
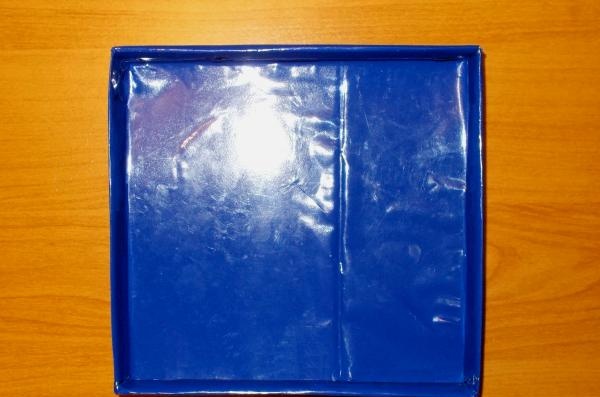
After 6 days we completed the work of gluing the lid, and after that we covered its sides and inside with blue film:
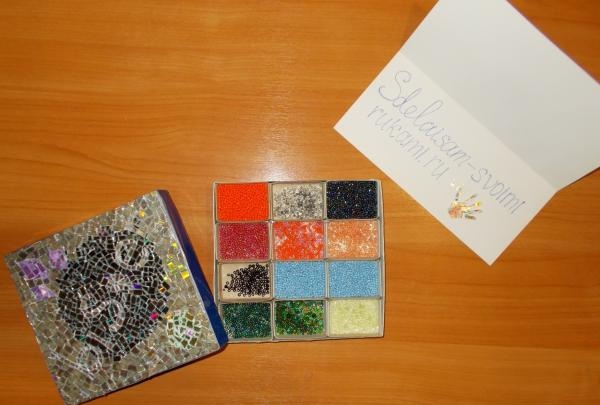
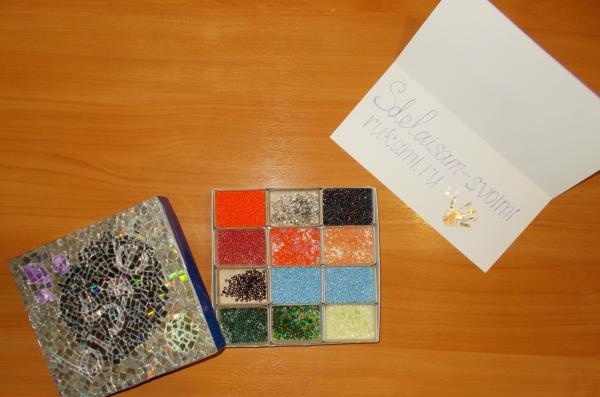
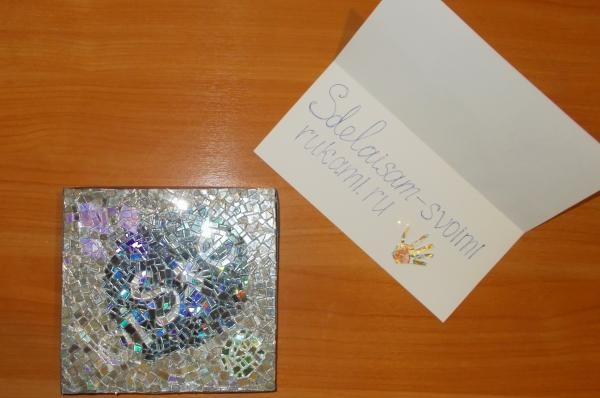
After that, that's it - our box is ready:
You can store a different assortment of beads in it: