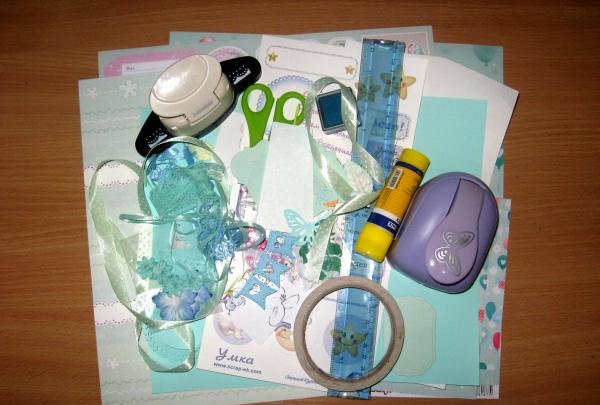
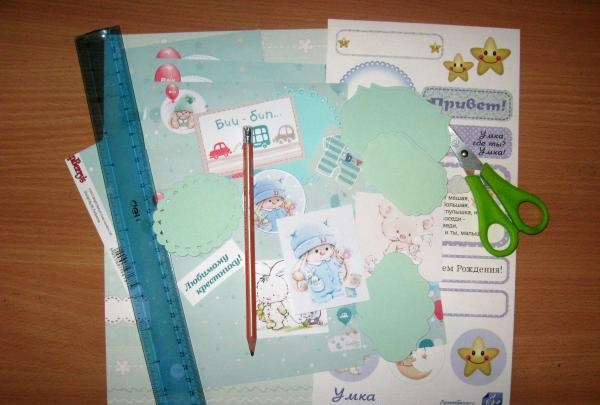
To make a box you need to take:
• Mint-colored cardboard size 25*25 cm;
• Watercolor paper, sheet no larger than A4 format;
• Mint-colored scrapbooking paper in two designs;
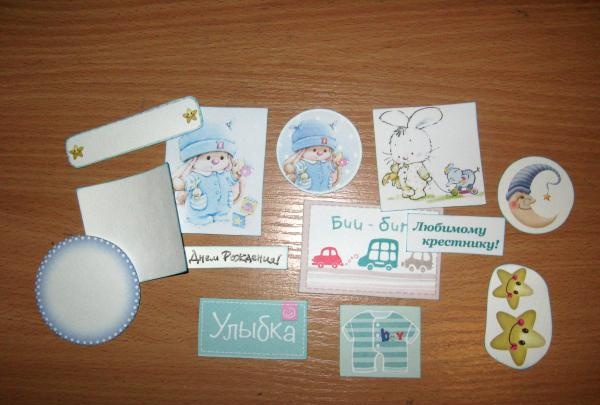
• Sheet with ready-made pictures;
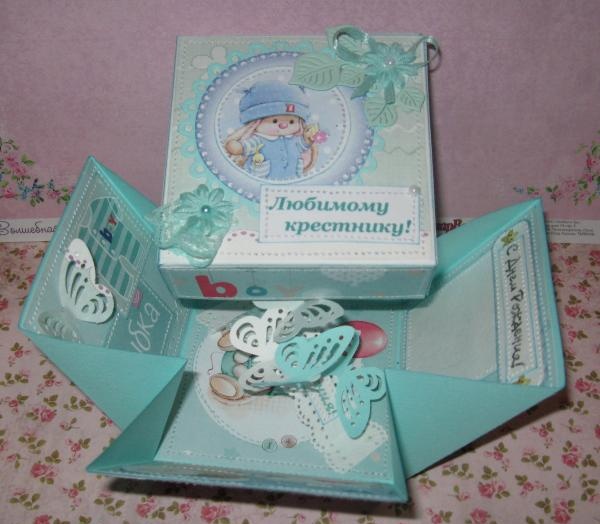
• Pictures with a bunny, printed in color;
• Circles are blue and mint with openwork edges;
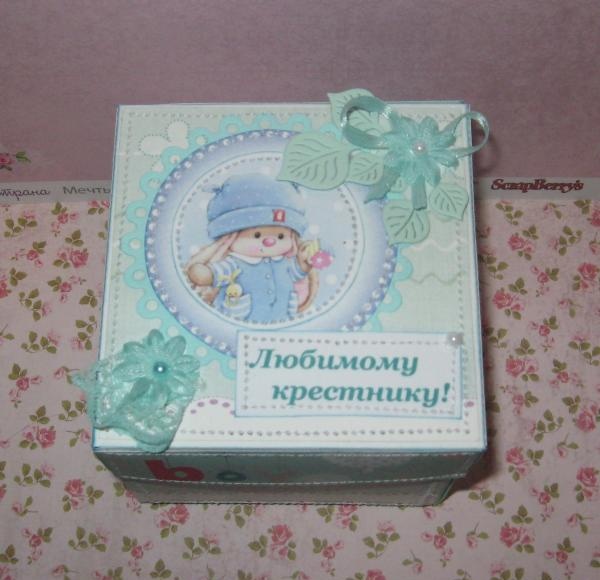
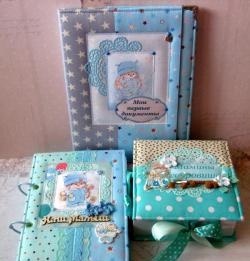
• Printed inscription “To my beloved godson”, as well as stamped inscriptions “Happy Birthday”;
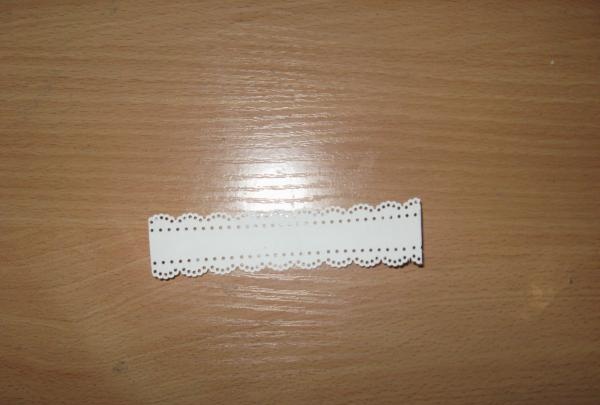
• Lace border hole punch;
• Colored children's pictures for boys with images of toys and various children's inscriptions;
• Fabric flowers in tiffany colors;
• Cut out turquoise leaves from cardboard;
• Hole puncher 3D butterfly;
• Narrow mint-colored satin ribbon;
• Cutting blue flags;
• Green ink pad;
• Blue semi-pearls with a diameter of 4 mm;
• Double-sided tape;
• Glue stick;
• Thermal gun;
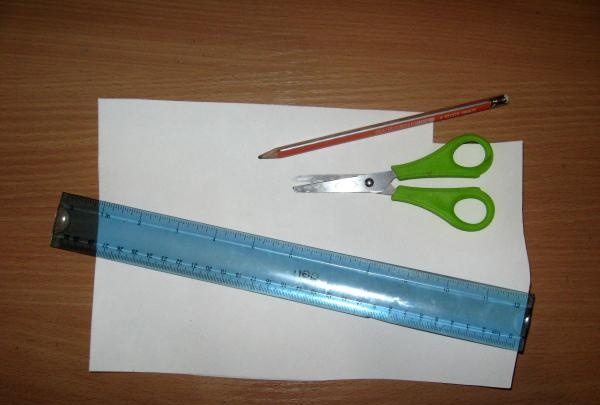
• Ruler, pencil, scissors.
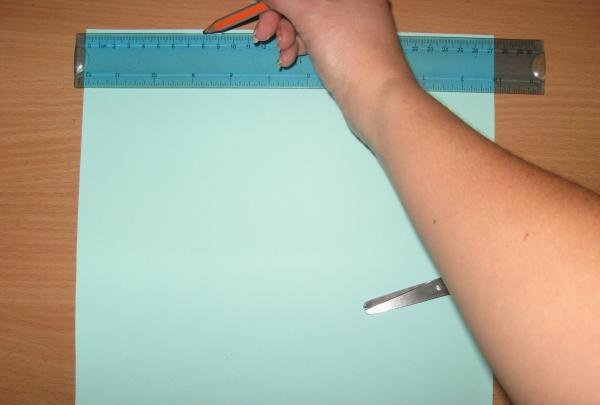
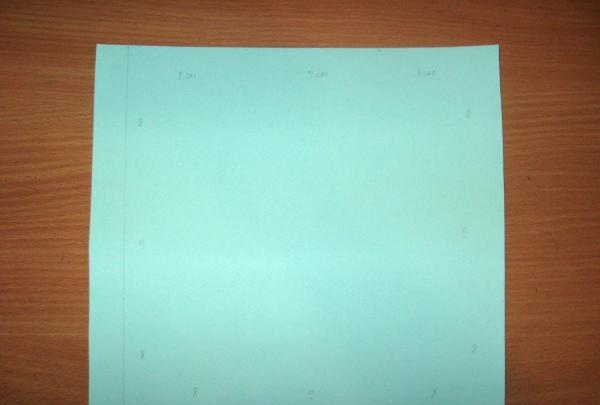
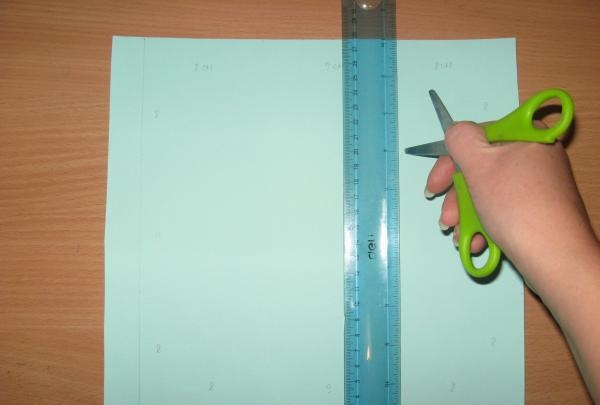
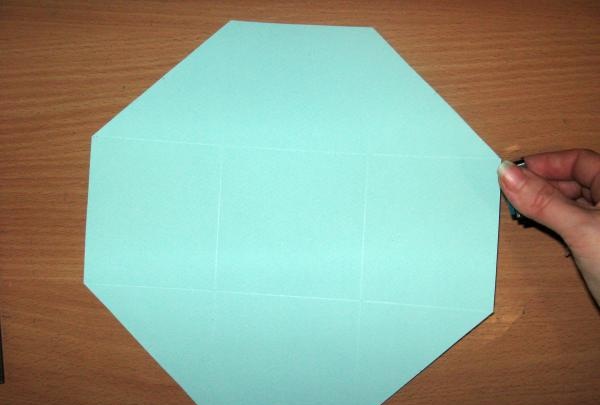
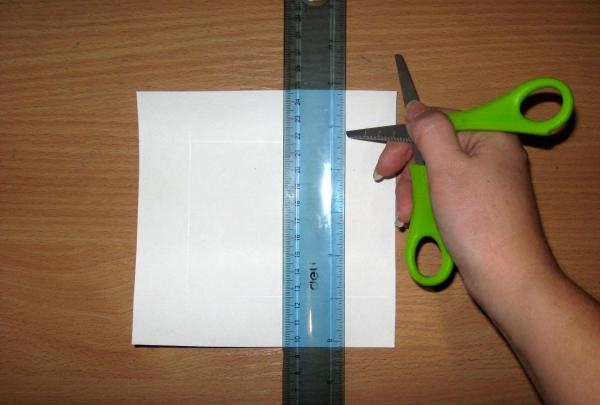
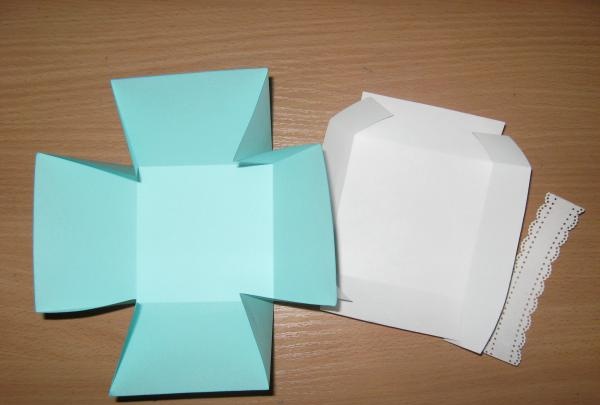
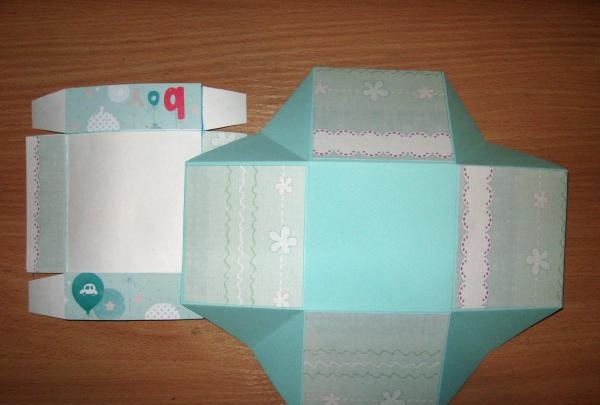
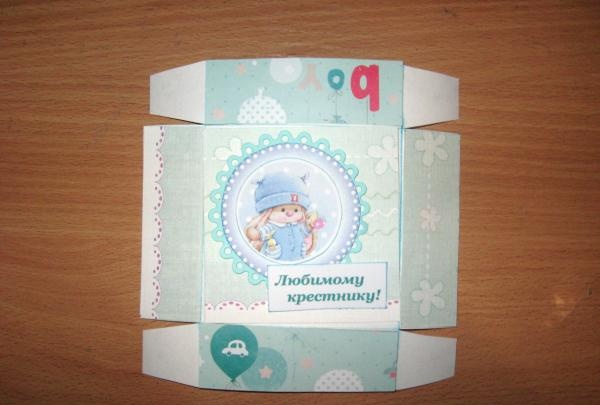
The main part of the box will be made of mint cardboard, and the lid will be made of watercolor paper. So, first we put a sheet of mint cardboard and divide it on all sides into such parts of 8 * 9 * 8 cm, on all four sides. There is an extra strip left, we simply cut it off.
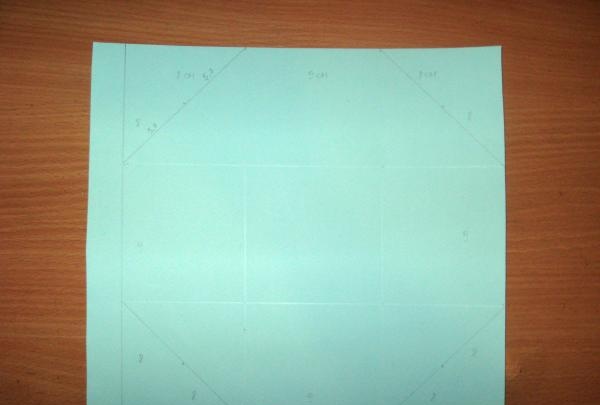
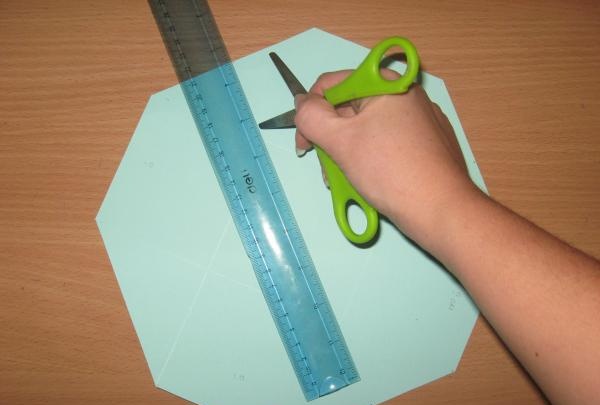
Now we draw bend lines from top to bottom under the ruler, also on all sides. Now we need to cut the corners, to do this we connect them on all four sides like in the diagram.
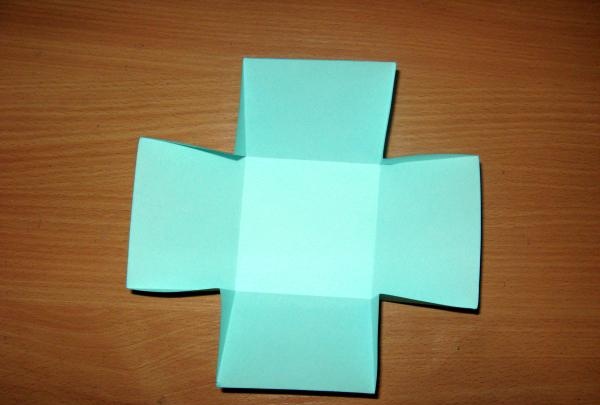
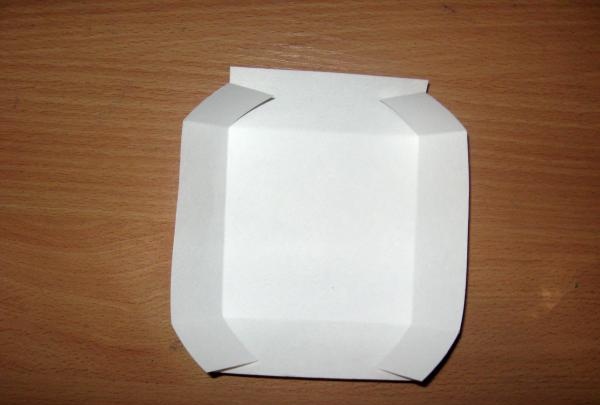
We cut off the corners and the edges of the entire base are thoroughly tinted using an ink pad. Now we divide each corner in half, it turns out 5.7 * 5.7 cm and we also draw bend lines to the center.
Fold the base of the box like this. Now we need to cut out the base of the lid from the watercolor.
Divide into three parts 3*9.3*3 cm on all sides. We also draw bend lines.
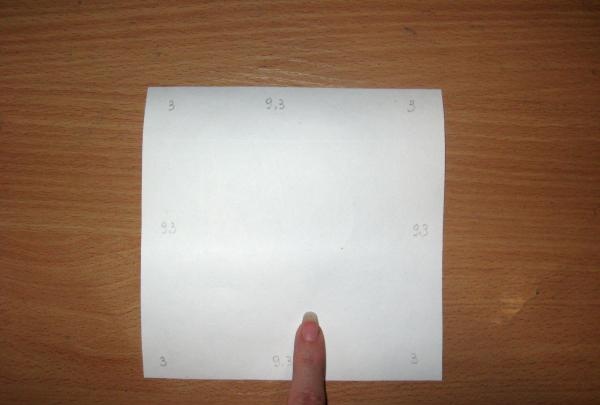
We fold the workpiece and make four cuts in order to glue the lid. Cut a 4*9 cm rectangle from the watercolor and punch holes on both sides.
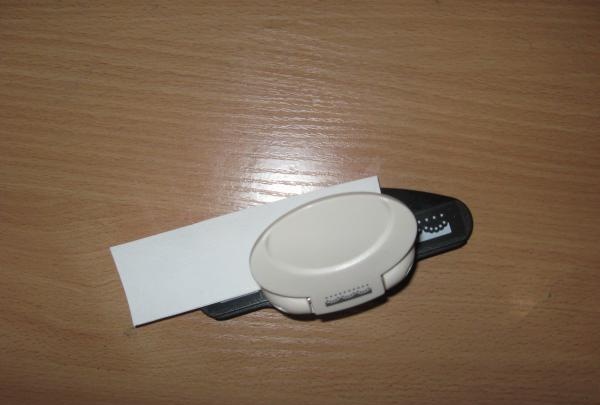
This is us making a money loop. All the basics are ready, now we will draw them up.
We cut out five blanks of this size for the interior decoration of the box.
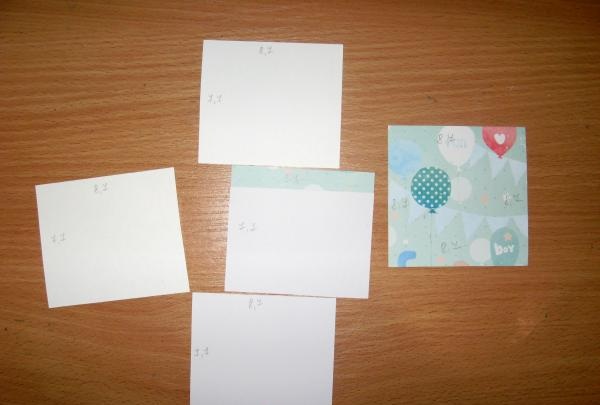
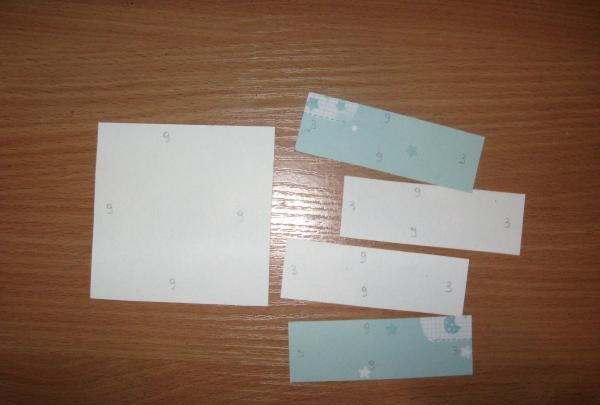
Four small ones and one large one for a lid of this size. And also four identical ones for external design.

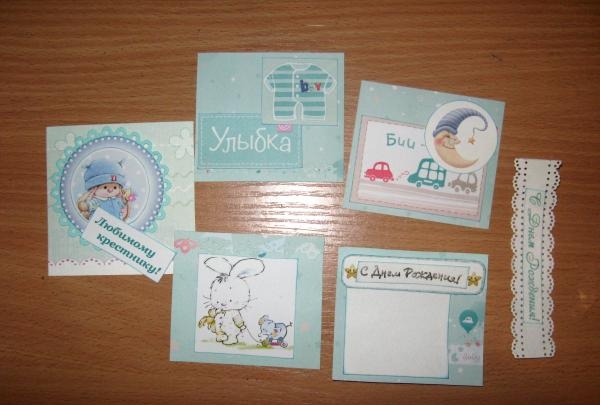
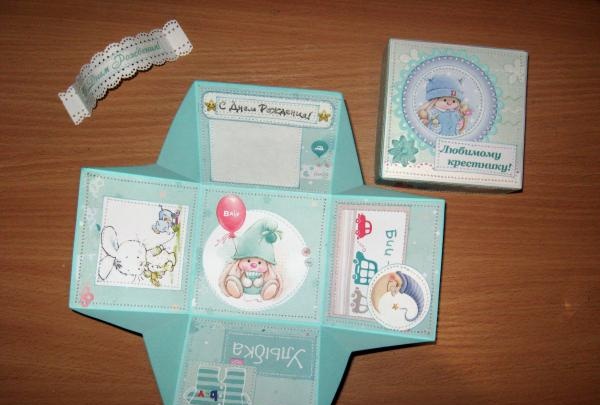
Now we cut out cards, pictures and inscriptions and try to tint everything around the edges with an ink pad.Now we glue all these elements onto the scrap parts with double-sided tape, and then sew them on with a machine.
We glue the outer part of the lid and the main box with the appropriate blanks. Then we glue in the inner parts and sew each edge of the box separately from the inside.
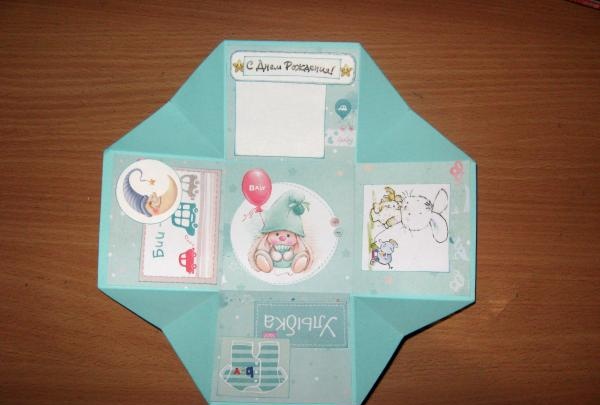
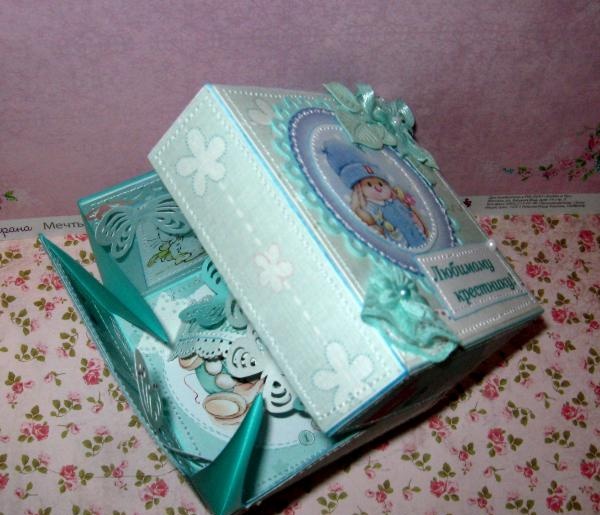
We also glue a large blank onto the lid and stitch it too. Now we glue a loop for money inside. We glue the lid along the tails.
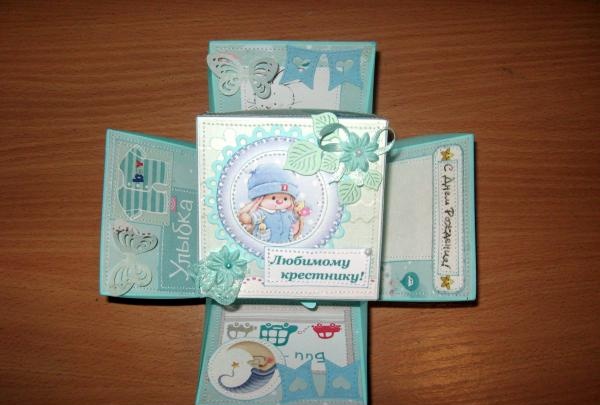
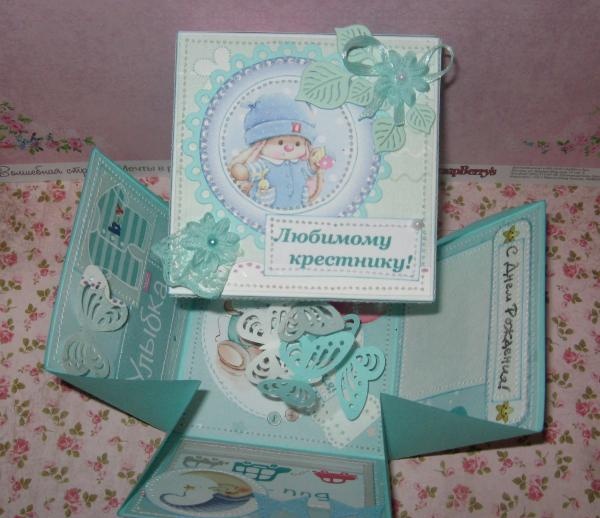
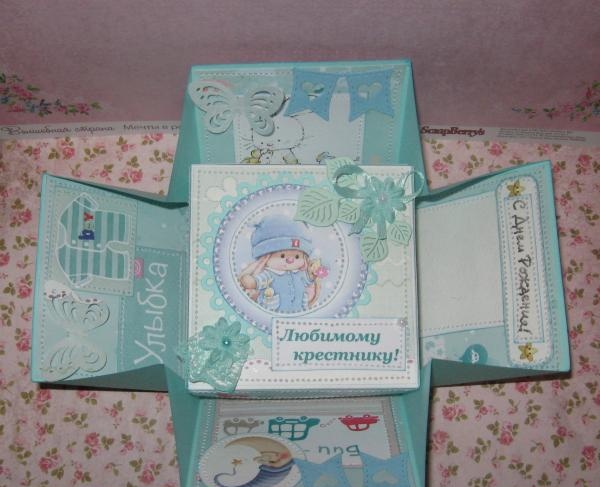
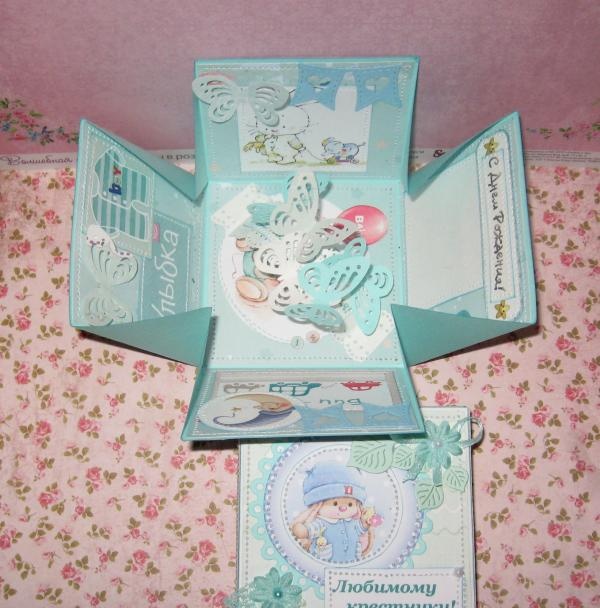
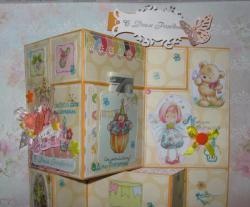
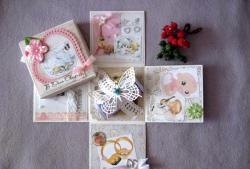
We punch the butterflies and take the rest decor and decorate our box.
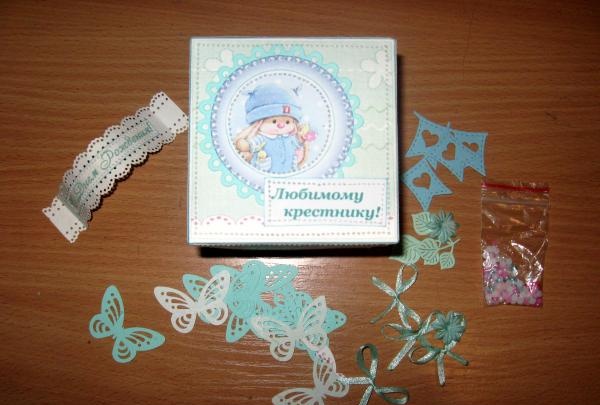
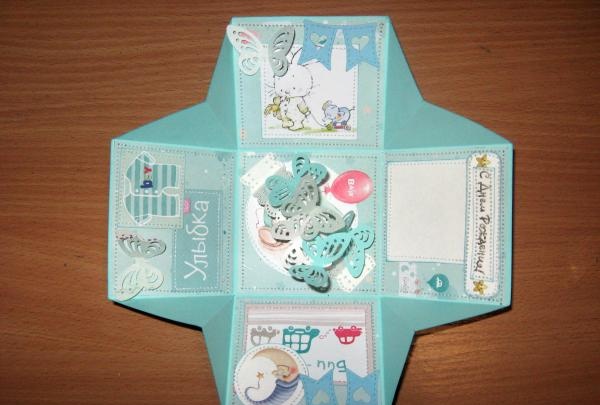
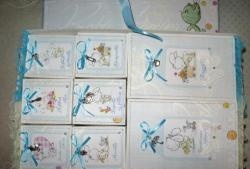
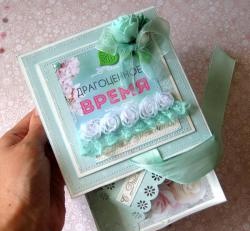
Done, we get such a delicate box for a cash gift. Thank you for your attention and good luck to everyone in your creations!