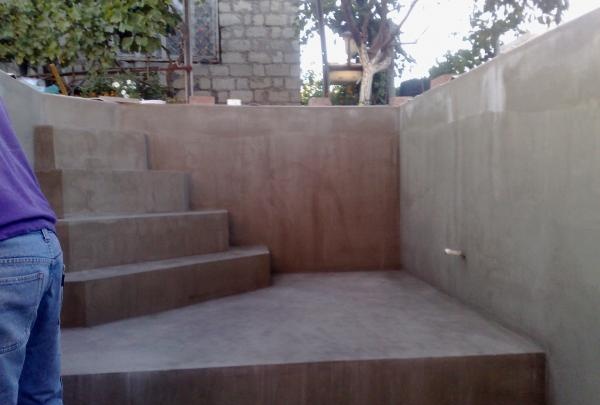
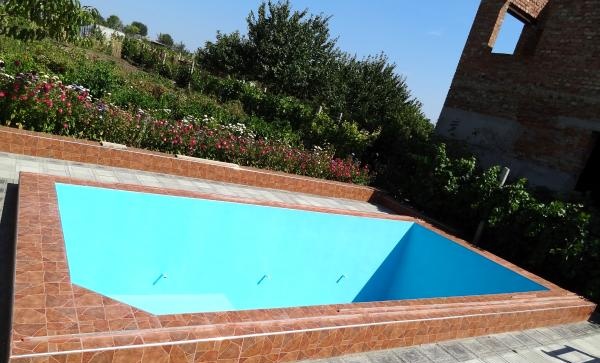
Thanks to scientific and technological progress, new materials are appearing that make it possible to significantly save money and perform certain types of work independently. Not long ago, liquid waterproofing materials appeared on the construction market, which not only protect against moisture and have a very attractive appearance. Moreover, these materials can be used to waterproof swimming pools, thereby replacing the use of ceramic tiles and saving significant labor costs.
The process of waterproofing a pool is as follows:
1) The working area must be carefully sanded, preferably in one direction in a circular motion, so that after applying the material the surface is as smooth as possible.
2) All plaster (glue) is pre-treated with a deep penetration acrylic primer for exterior use using a hand brush. Ideally, if the surface is gray in color, it is advisable to treat it with a white primer; in this case, less product consumption will be required and the shade of the pool will be brighter and more saturated. Only after the primer has completely dried can you proceed to the next stage.
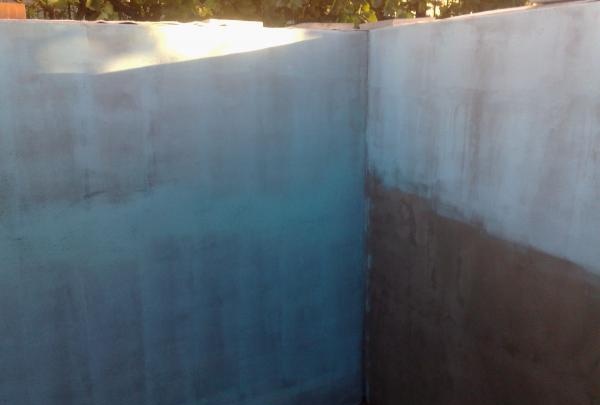
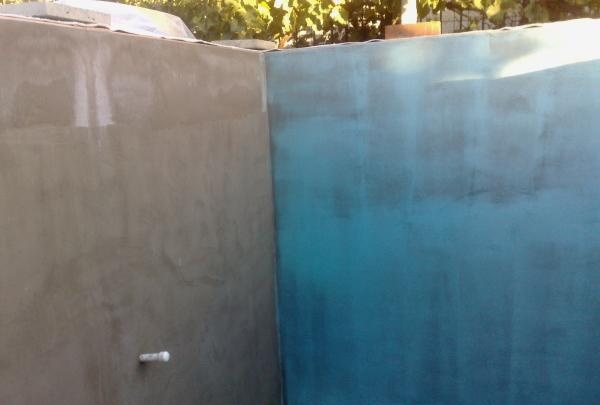
3) These waterproofing materials are usually white. By adding color and continuously stirring for 5-7 minutes with a mixer at low speed (up to 200), you can get absolutely any shade. The main thing is to be careful in the dosing process so as not to overdo it with color. The dosage is three times less than when tinting water-based paint.
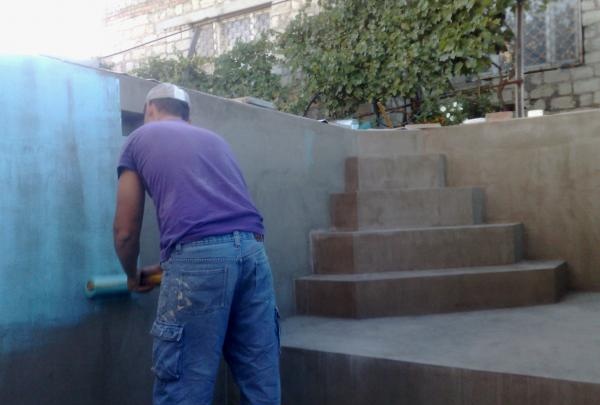
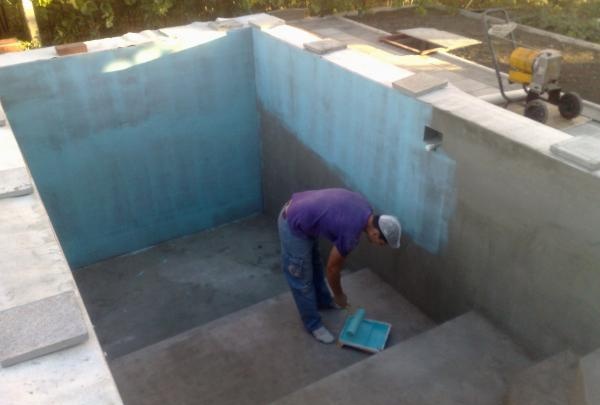
4)After this, you can begin the application process. To do this, it is better to use the manual method and refuse spray guns if you have no experience working with it, since the layer may not be uniform, which will be immediately noticeable visually. For layering and processing corners, you can use a small brush, and for applying the material to the main surface, you can use a roller, spongy or fleecy, depending on the desired surface structure.
5) At the same time, the ambient temperature must not be lower than + 10 C, otherwise the material may peel off and move away from the surface and not higher than + 35 C, since the waterproofing will dry out too quickly and streaks from the roller and brush will remain.Air humidity should be no higher than 60%. The number of recommended coats applied varies from 2 or more. Before applying a second coat, the previous one must dry one hundred percent. As a rule, depending on the temperature outside, complete drying occurs in 20-30 hours.
6) The thickness of each layer, depending on the manufacturer, usually ranges from 0.5 to 1 mm.
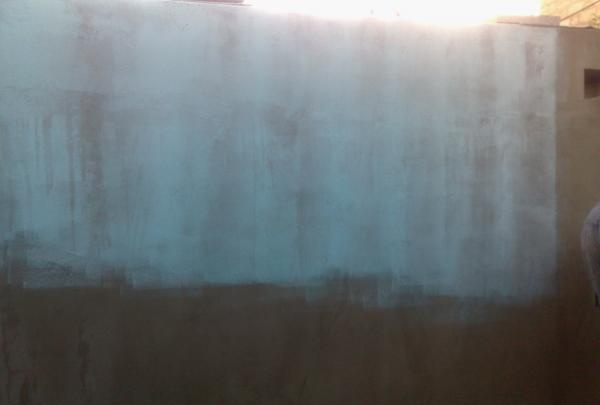
7)The application of waterproofing material occurs strictly in one direction, either up-down, or left-right, as a result the surface structure will be more uniform.
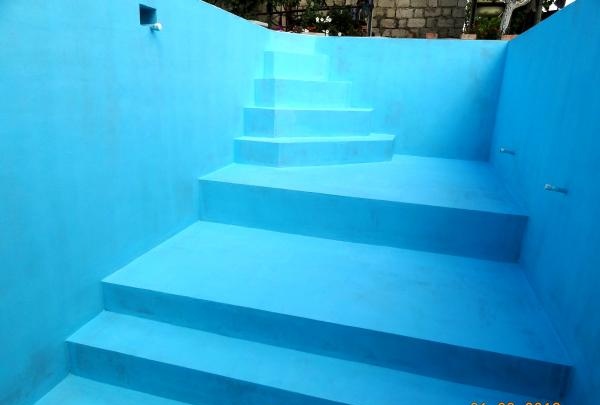
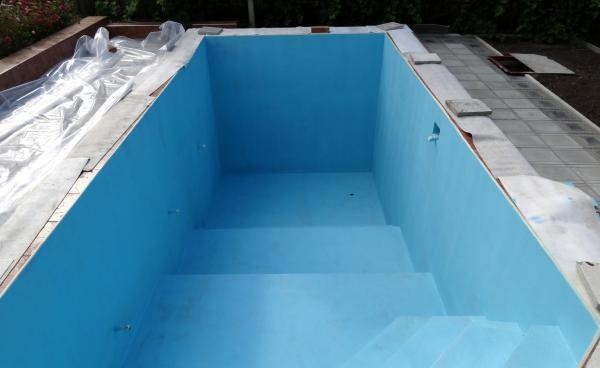

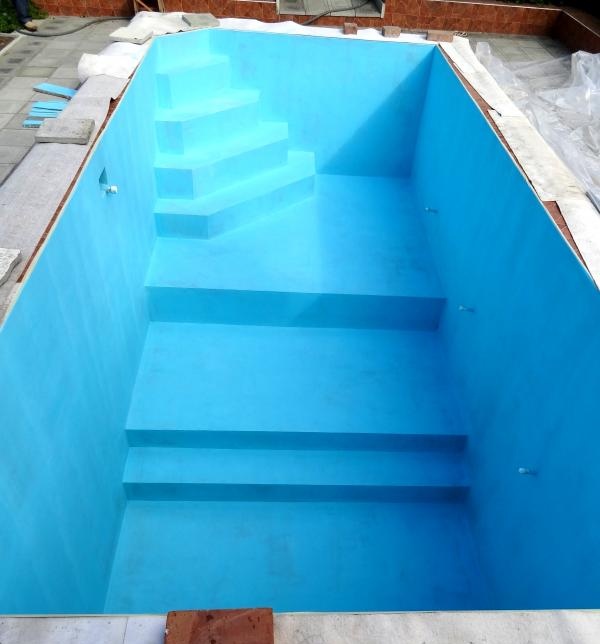
8) If the base of the pool is gray, the number of layers must be more than 2, otherwise the gray color of the plaster (glue) may appear after application. Do not be alarmed if after the first layer the surface does not look very attractive. Subsequent application of the material will hide all pronounced initial defects. And after finishing applying the final layer, the surface must dry 100%, so a couple of days should pass before filling the pool with water.
As you can see, this process is not so complicated, you can do all the work yourself, the main thing is to carefully tint the waterproofing material, if required by the instructions, prepare all the tools and carefully do the work, without rushing anywhere, not forgetting to let each new layer dry after applying it .