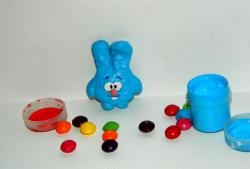

We prepare the materials we need:
- hard plastic ball;
- paper napkins of different colors, scissors, pencil;
- a flat brush for glue, approximately 10 mm wide;
- PVA glue;
- plasticine;
- gouache paints, water-soluble varnish, brushes;
- sharp knife.
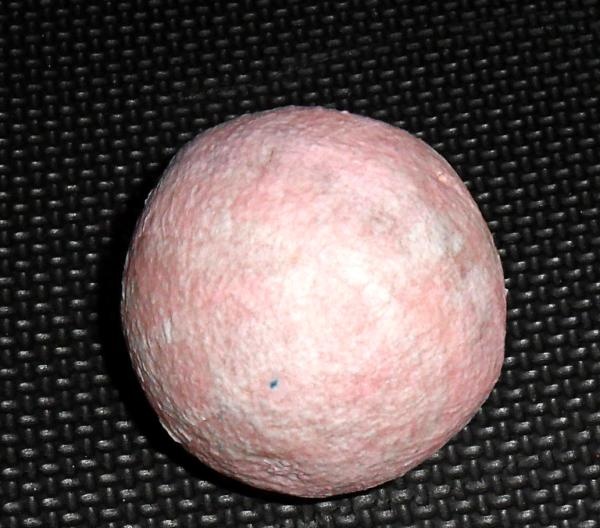
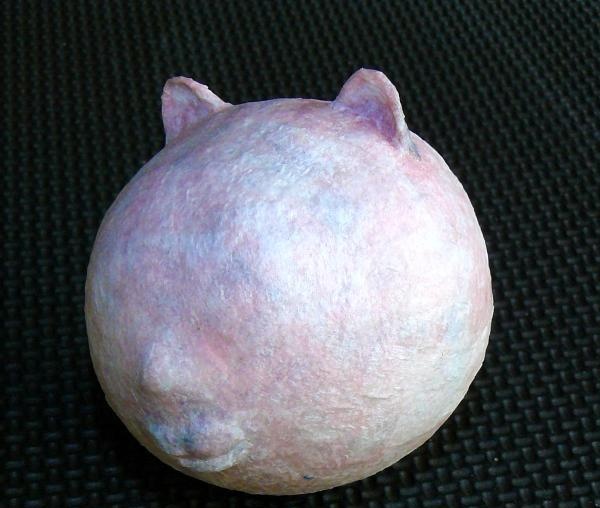
We will make a toy using technology papier mache. We use regular paper napkins, they are soft and cover the mold well. We cut the napkins into squares of approximately 1x1 cm. The larger the model to be pasted, the larger the pieces of napkins can be used and vice versa. Pasting technique - moisten a brush in glue, smear part of the mold, touch a piece of napkin, transfer the stuck piece of napkin to the smeared area, press down a little and smooth the napkin with a brush. We paste it in layers, changing the color of the napkins of each layer. It is better not to use white napkins; when soaked in glue, they become transparent and it is difficult to determine which area is made.First, coat the ball with Vaseline so that the paper form can be easily removed in the future. We glue the ball in 5 - 6 layers.
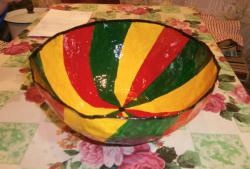
After the last layer has dried, mark the middle of the ball - the equator. We mark only with a pencil; a marker or felt-tip pen shows through many layers and can ruin the finished toy. Using a sharp knife, cut the ball into two halves along the marked line.
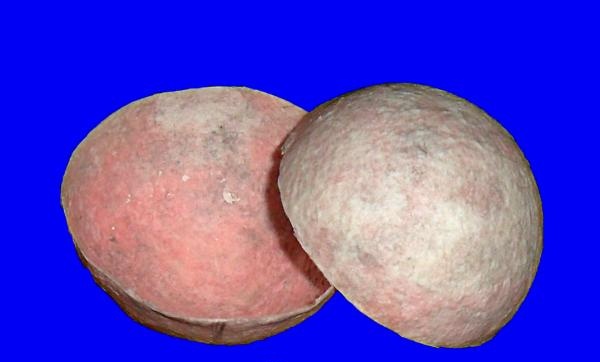
We remove the halves. Glue the halves together into one whole. We get a hollow paper ball. When gluing the halves, it is necessary to pierce one part with a needle to avoid deformation of the ball. When subsequently gluing the ball, make a puncture in a different place every 2 - 3 layers.
While the layers of the ball are drying, you can start making other parts - the muzzle, paws, tail, legs. For the muzzle, we sculpt a mold from plasticine on a plastic ball.
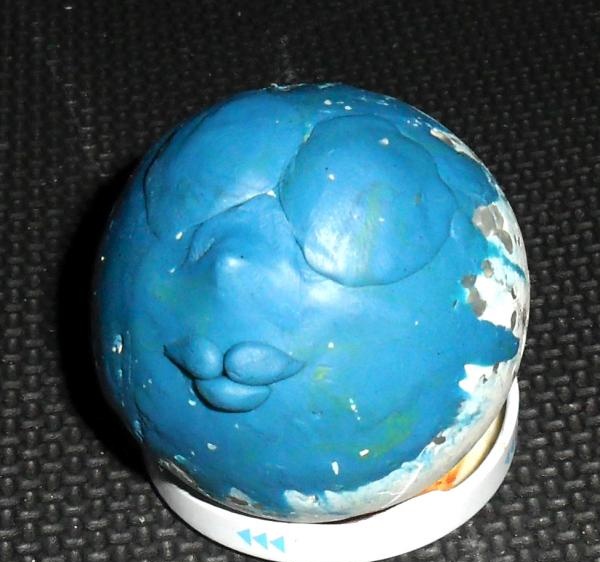
We make all sizes “by eye”, in proportion to the size of the ball. We cover the plasticine mold with napkins. We select the sizes of the squares so that the layer of paper lies as smoothly as possible. We glue 5 – 6 layers. Then we remove the muzzle from the ball.
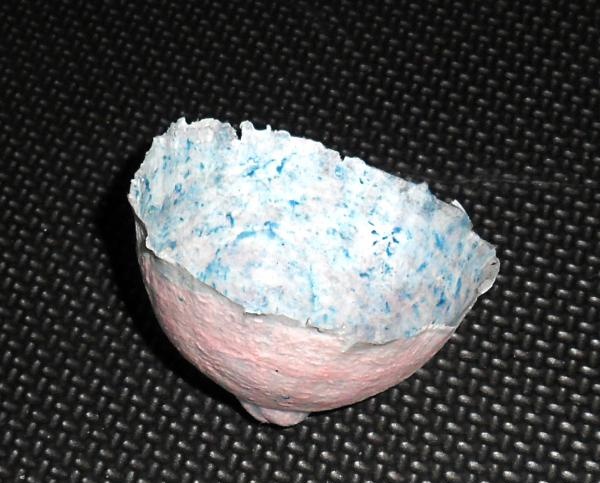
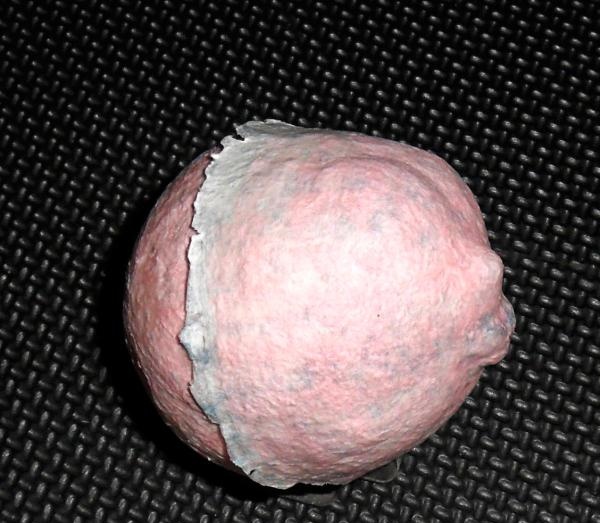
We clean the plasticine from the inside of the mold with any suitable spatula or scalpel. Glue the finished face onto a paper ball.

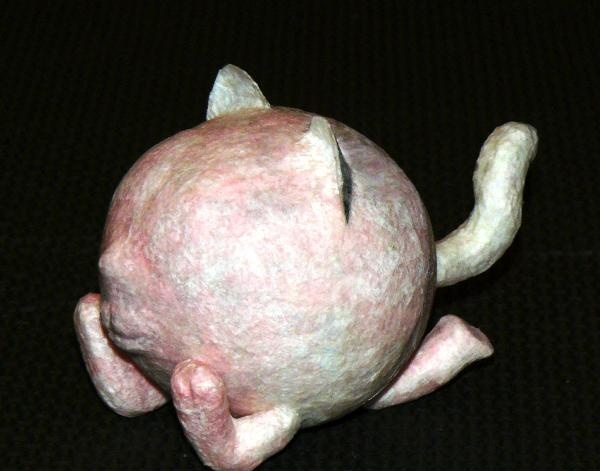
We make paws, legs, and tail in approximately the same way. Select Tigritia's pose. According to the pose, we sculpt a shape from plasticine.
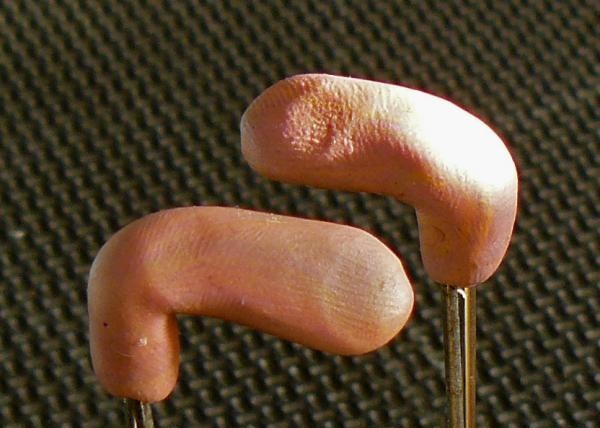
For convenience, you can pin the shape on two large tied needles so that the shape does not spin.
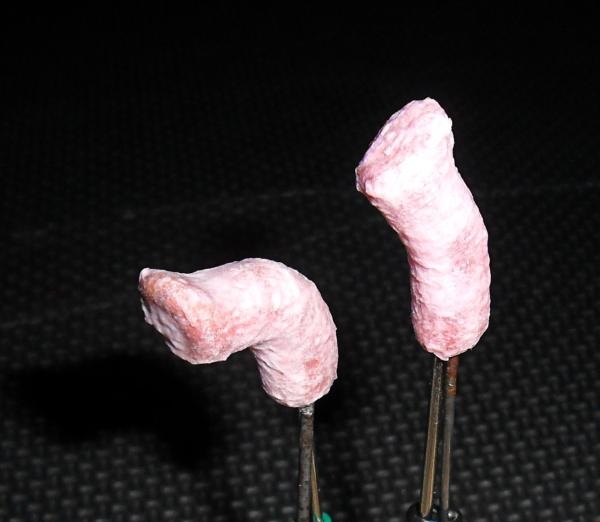
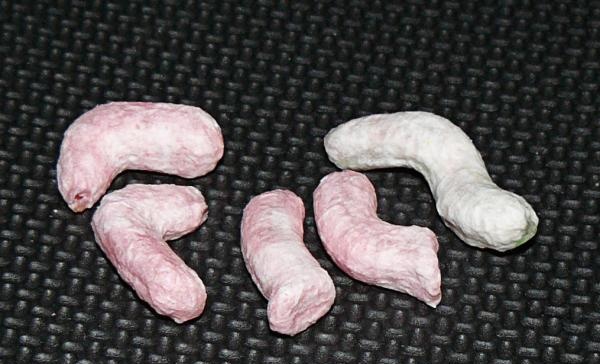
We paste over the form with pieces of napkin approximately 0.5 x 0.5 cm. We glue 5 - 6 layers. Then, after drying, cut the mold into two parts lengthwise. We clean the plasticine.

Carefully glue the shape into one whole. Paste it in several layers. This way we get voluminous paws, legs and a tail.
We cut out the ears from thin cardboard.
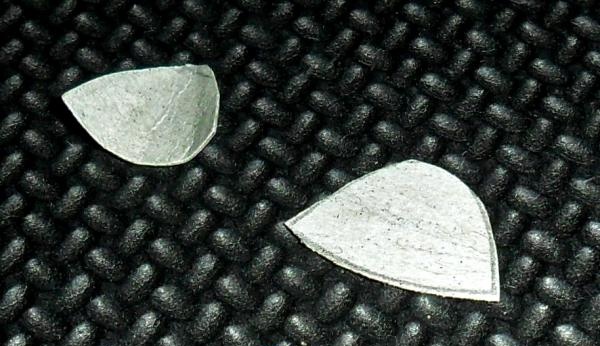
Glue it in the right places. After the glue has set, we cover the ears with several layers of napkins, adding volume from the inside.
We glue all the components in the right places onto the ball.
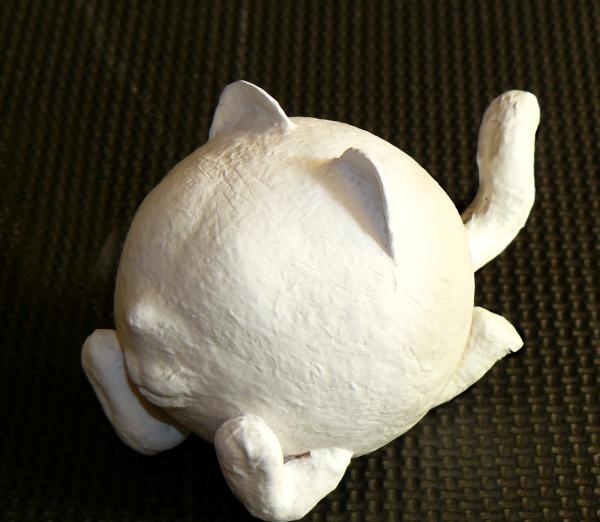
For strength, we cover the entire assembled toy with 5–6 layers of napkins. For good color rendition, prime the toy with two layers of white gouache or white water-based construction paint.
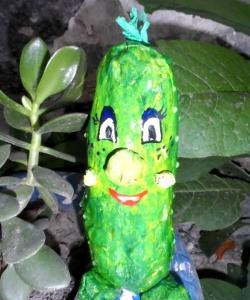
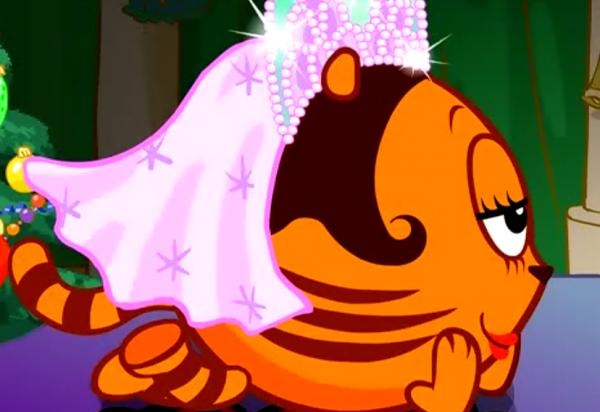
We select colors and paint with gouache according to the frames from the cartoon. For wear resistance, we coat the toy with varnish.
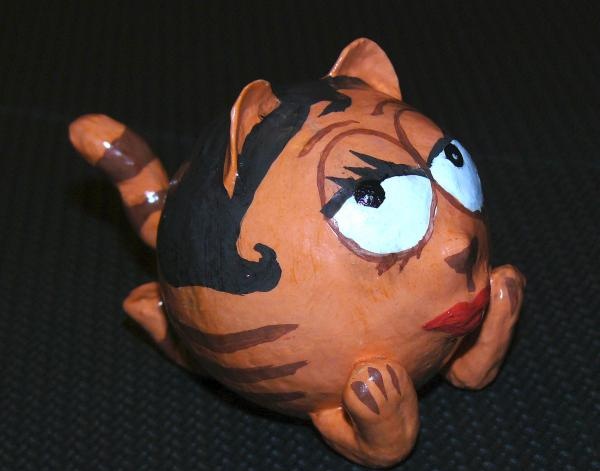
All. The Tigress toy is ready.