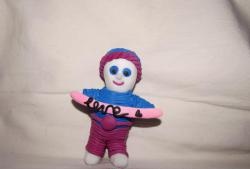
So, let's start with sculpting a woman. First, make a cone of white mastic, and make a blue mastic cape. For a cape, we roll out the mastic and cut out a circle from it, so that its radius is slightly larger than the height of the cone made. From the resulting circle, cut out a segment that we apply as a wrap.

Next, we make hands. We make small sausages from blue mastic, one edge of which we make flared using a stack with a round edge. Cut the fingers on the handles, form the palms and glue them into the sleeves.

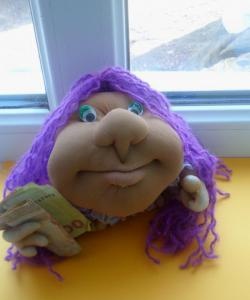
Now let's make a head. Using your fingers, select the places under the eyes and lips, thereby identifying the nose.

Glue pieces of white mastic in place of the eyes, and with the help of stacks or a toothpick we form sponges and nose.

With a thin brush and food coloring, draw the eyes, lips, eyebrows. And after that we glue the hair. It’s not worth covering your whole head, just make a bang, the rest will be covered with a scarf.


For the handkerchief, roll the white mastic into a rectangle and simply cover it with its head.


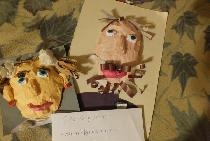
According to this scheme, we make a figure of a man, only the color of clothes we choose another. I made mustard green. We’ll try to draw a face more like a man’s (I didn’t really succeed).

Next, we look at the stages of modeling a baby. We roll a small piece of white mastic with an oval, to which we glue small hands.

We make a small face, glue a few hairs and take care of the bed (manger).

For the crib, we will make a rectangle with a recess. We glue the straw into the recess, which we do in the same way as the hair with the help of a special tool, although I manage with an ordinary garlic squeezer (new, of course). I also made a small diaper with fringe.


Now angels. They are made on the same principle as the previous figures. First, make a cone, which is covered with blue mastic. We roll out the circle and cover the cone, cut off the excess. It turns out such a flared dress.

Similarly, we make sleeves and hands.


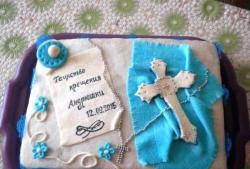
The customer asked that the angels have crosses in their hands.


Next, make faces, draw eyes, mouth.


We make yellow hair.

Cut out angel wings.


On the head we make a halo of gold beads.


It remains to make a Christmas star. Roll the yellow mastic in a thick enough layer so that you can, then insert a toothpick. And we cut out a star, I did it with the help of a template drawn on paper.

Insert a toothpick and leave to dry. We also prepare a small square, into which we then insert a star.

Before you put the star in place, you need to allow the parts to dry.
The full composition is completed by a congratulatory inscription.