Materials for work:
• Glass jar with a capacity of 3 liters – 2 pcs.;
• Tea saucer – 1 pc.;
• Plastic container for preserves – 1 pc.;
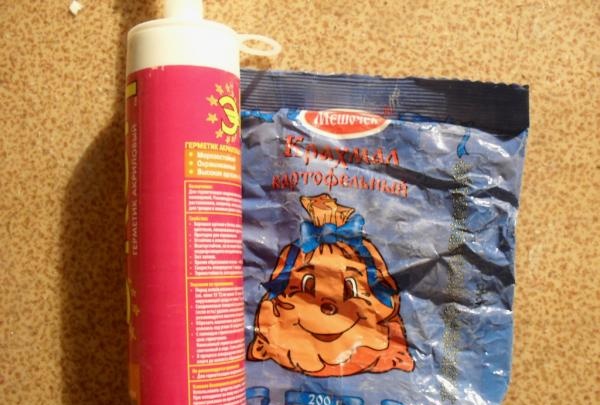
• Silicone sealant – 1 bottle;
• Liquid PVA glue (construction) – 1 liter;
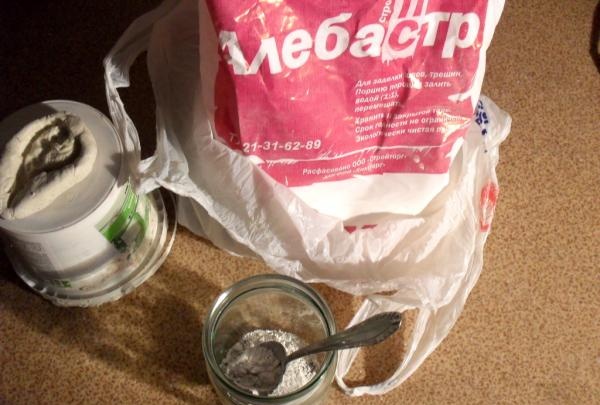
• Construction alabaster – 4 tbsp;
• Potato starch – 100 g;
• Egg racks – 4 pcs.;
• Vegetable oil – 1 tbsp;
• Vaseline – 1 tbsp;
• Three-layer napkins – 2 pcs.;
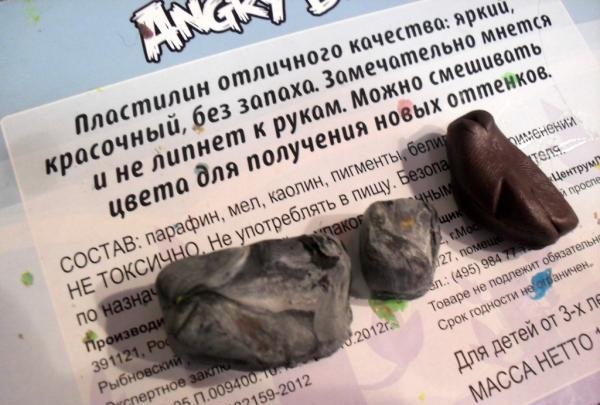
• Plasticine – 1 box;
• Old tube of PVA glue with a narrow spout – 1 pc.;
• Liquid nails glue, white and gold paints, blush, eye shadow, face powder, brush, colorless acrylic varnish, water.
Stages of work:
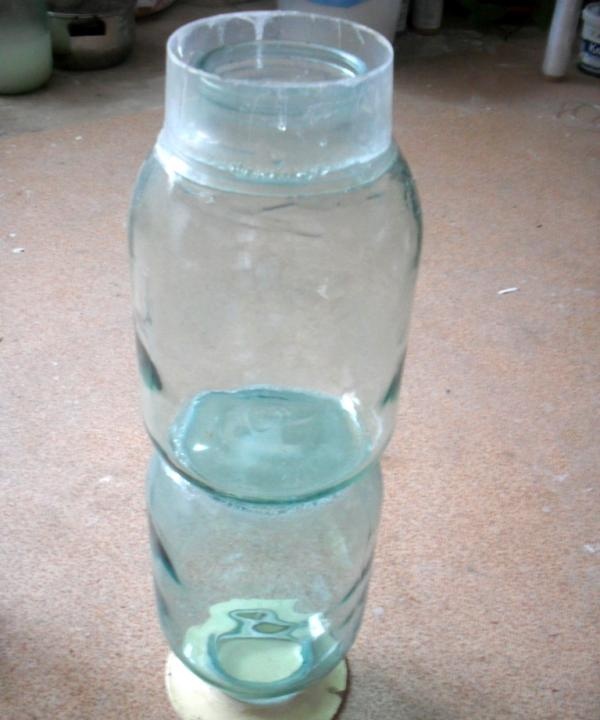
First stage: forming the basis.
We turn one jar upside down and glue a tea saucer turned upside down to it with “liquid nails”.

We glue the bottom of the second can to the bottom of the same jar.
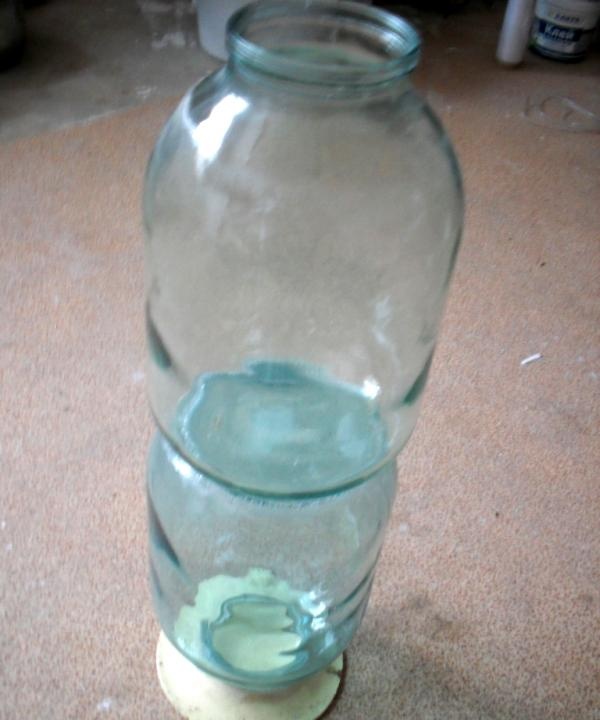
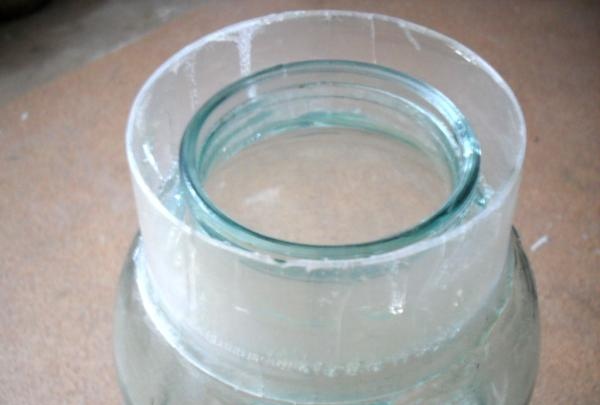
Cut off the bottom of the preserve container. We glue the inverted container to the neck of the second can.
Let the base dry for 1 day.
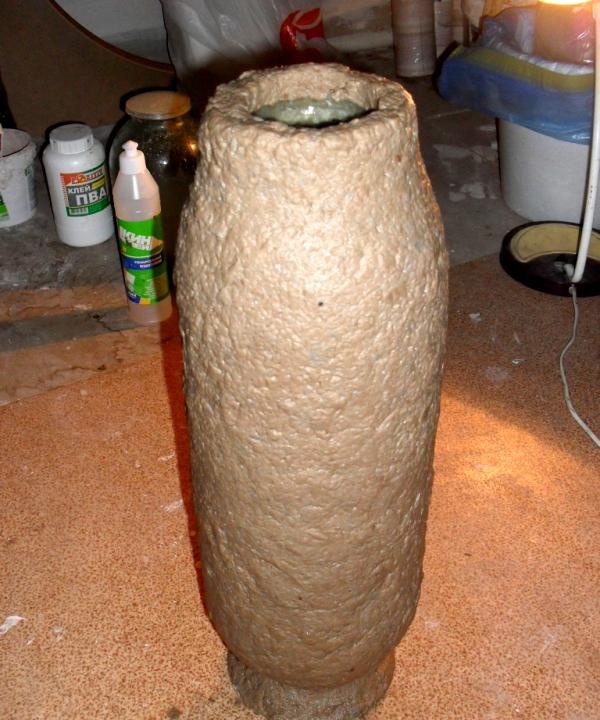
Second stage: give the vase the outline of a vessel.
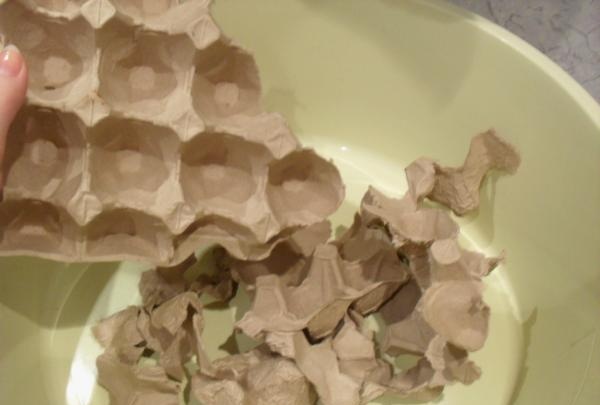
Finely chop the egg racks.
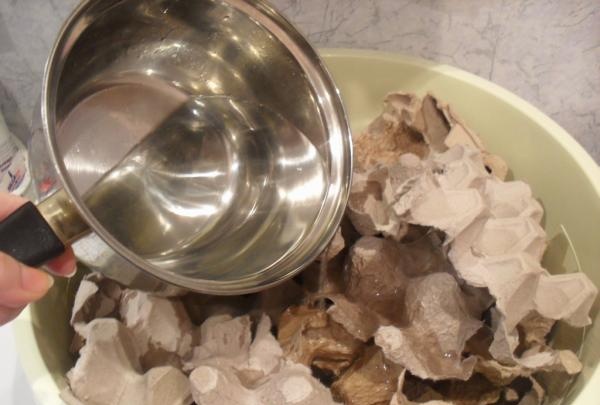
Fill with water so that the entire torn mass is immersed in it. Leave it overnight.
Wring out the soaked grates.
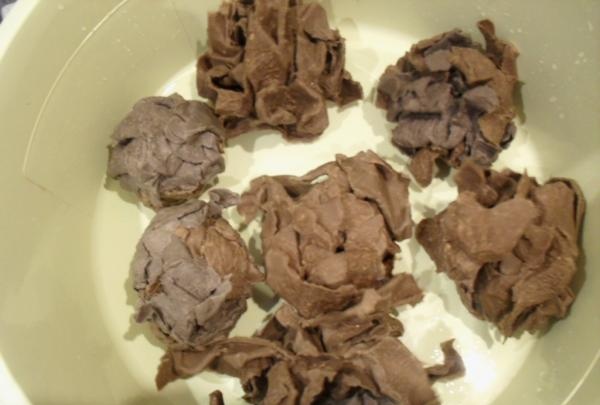
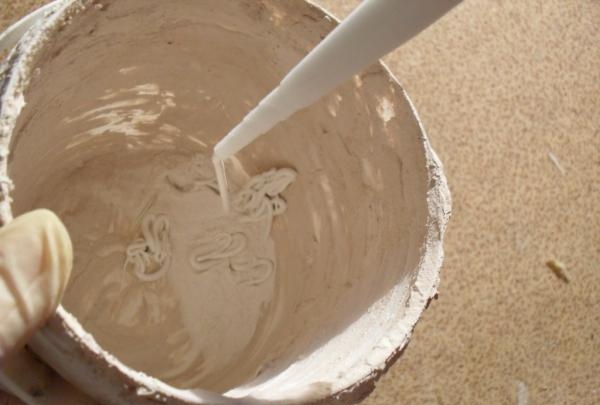
We tear large pieces. Fill the entire mass with PVA glue.
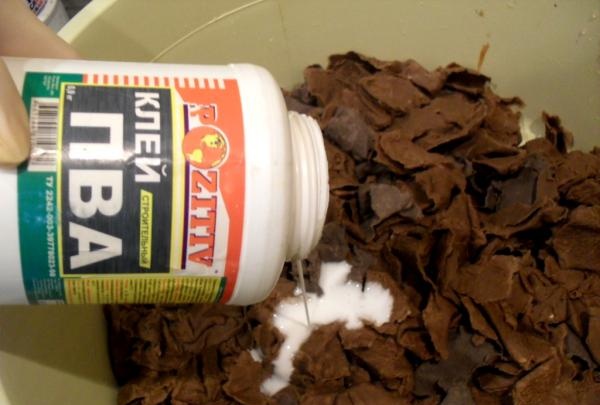
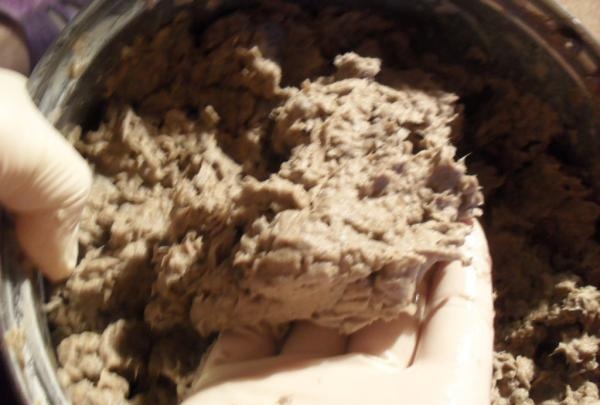
Mix the soaked grates thoroughly until a homogeneous slurry is obtained.
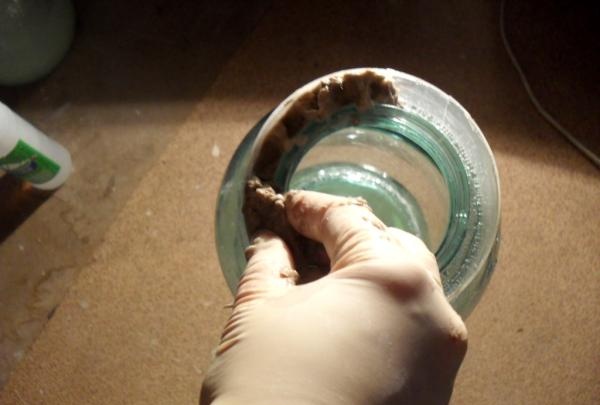
Fill the space between the neck of the jar and the container with egg mixture.
Apply a thin layer of egg mixture over the entire surface of the jars.
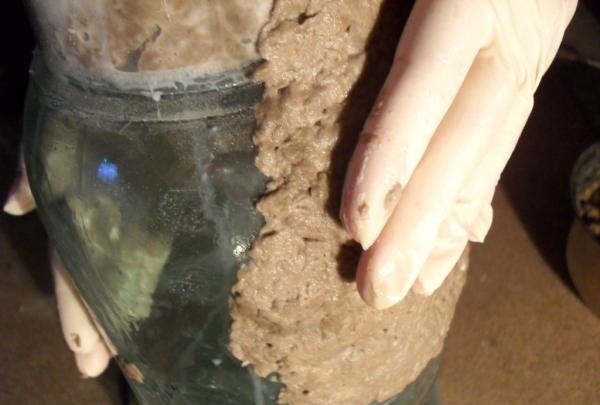
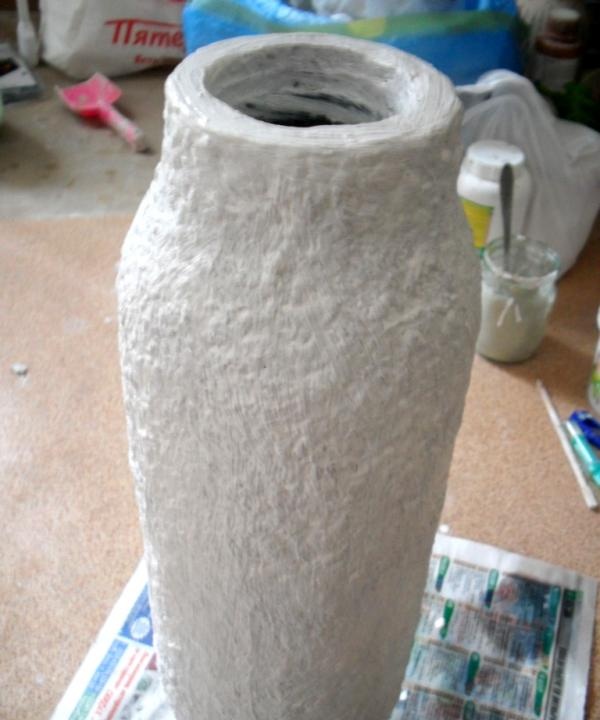
Let the base dry for 2 days.
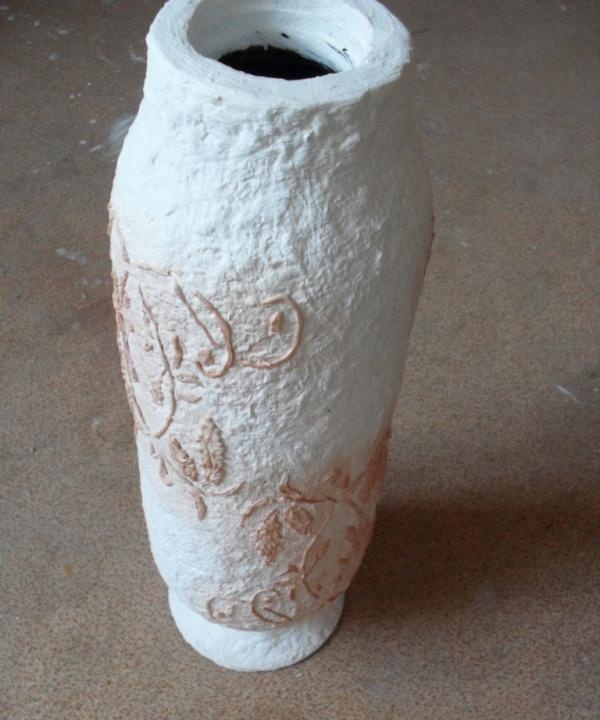
We paint it white.
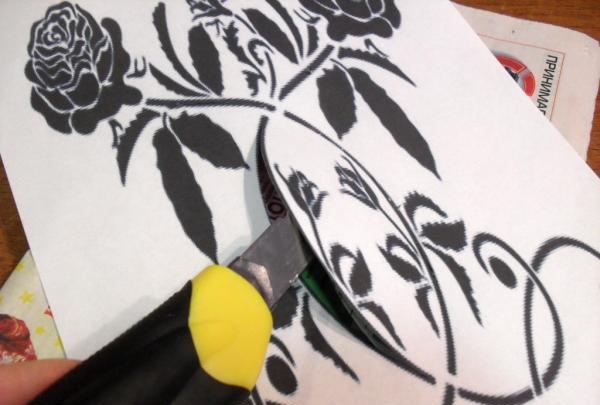
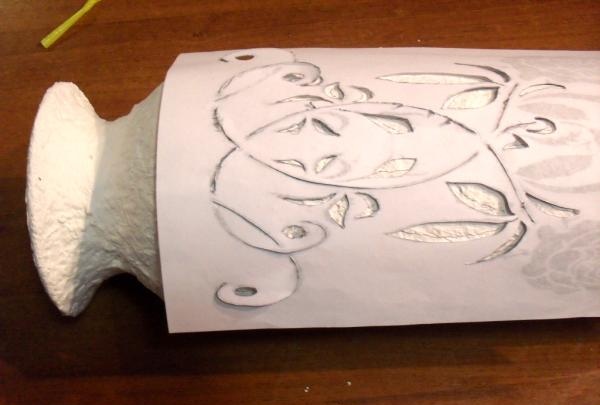
Third stage: apply a three-dimensional drawing.
Print out the stencil you like.

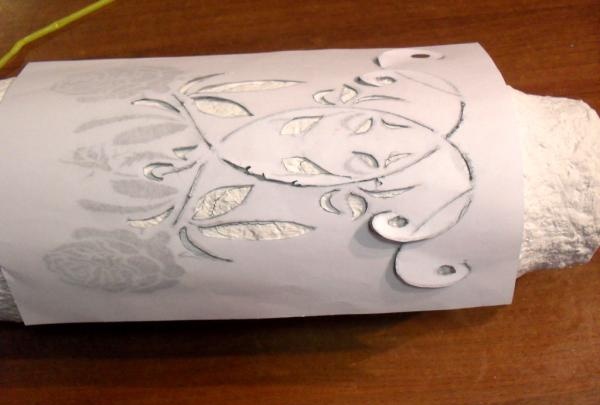
We make cuts along the contours, cutting out the necessary moments.
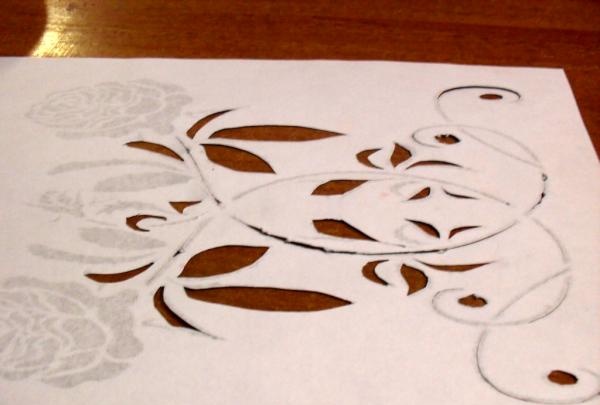
We place the drawing on the vessel in a checkerboard pattern, upright and inverted (2 times at the top, 2 times at the bottom; top and bottom facing each other).
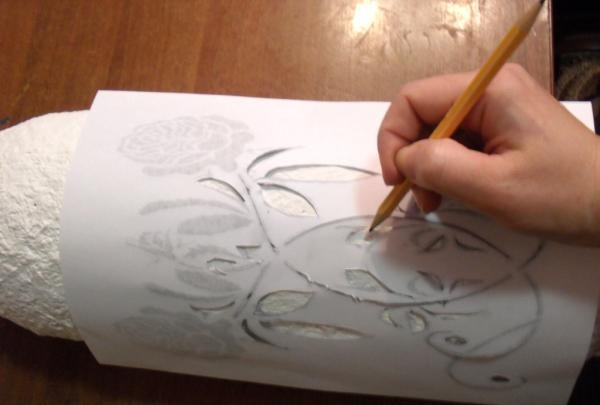
Using a pencil we draw voids and slots.

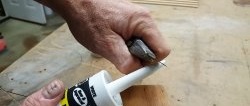
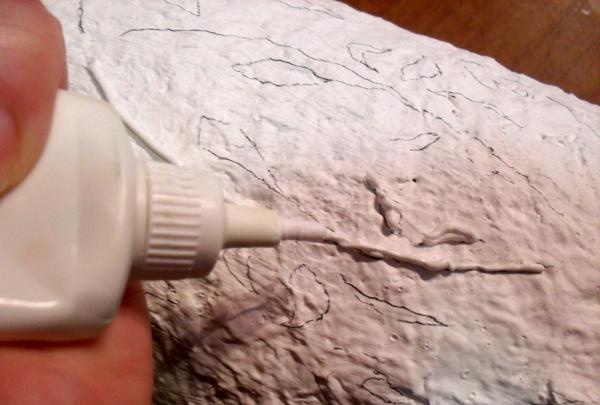
Squeeze the silicone sealant into an empty PVA tube.
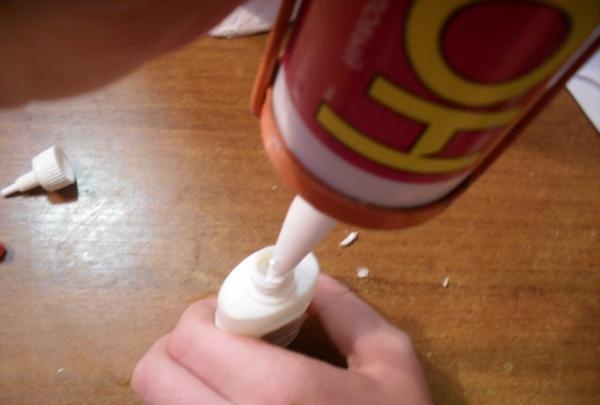
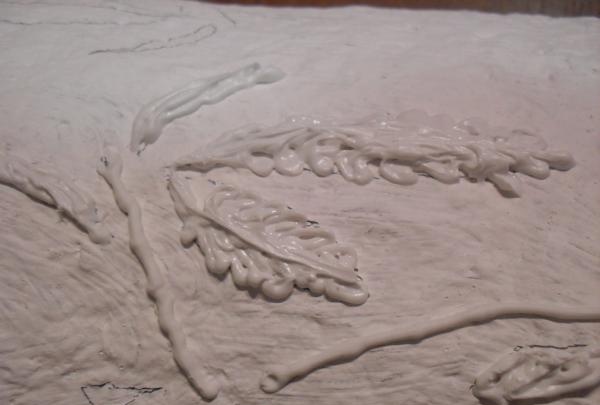
We put a sharp spout on the tube and squeeze out the sealant along the contour of the pattern.
If necessary, make adjustments with a toothpick.
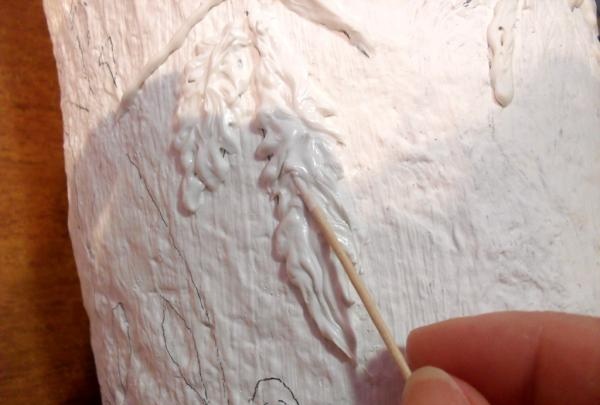
Let the sealant dry for 1 day.
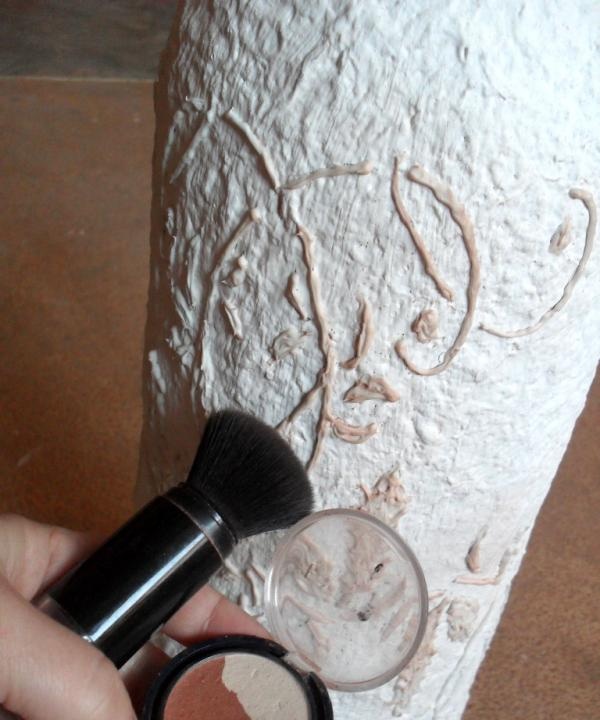
Apply blush tint to the drawing using superficial movements with a large brush.
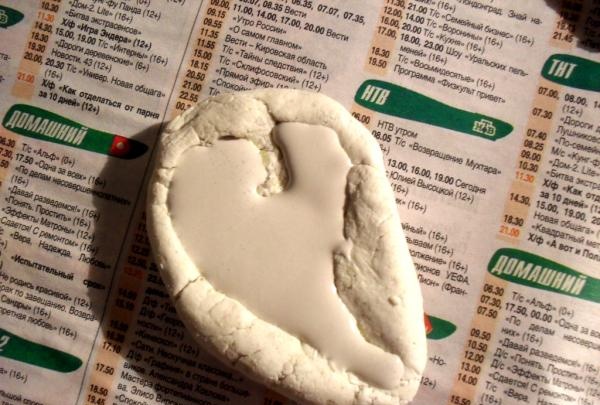
Fourth stage: make a silicone mold.
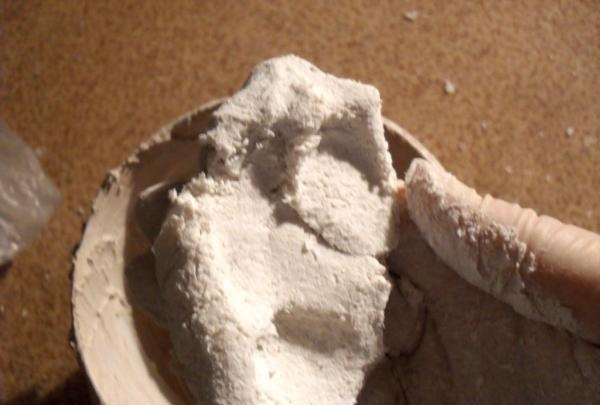
Mix potato starch and silicone sealant.
Knead thoroughly until you obtain a dough-like mass.
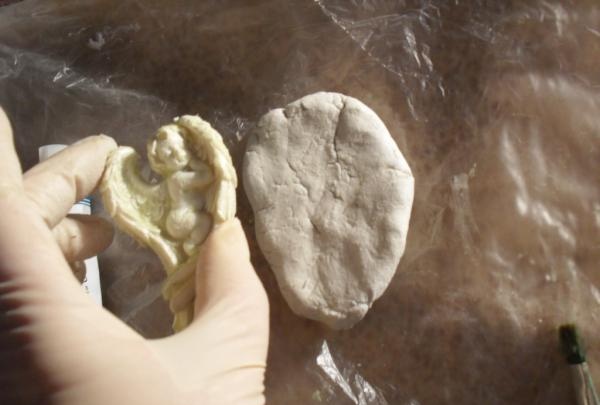
We heavily coat the surface of the figurine blank (in this case, a magnet) with Vaseline.

Press the dough face down into the flattened dough.
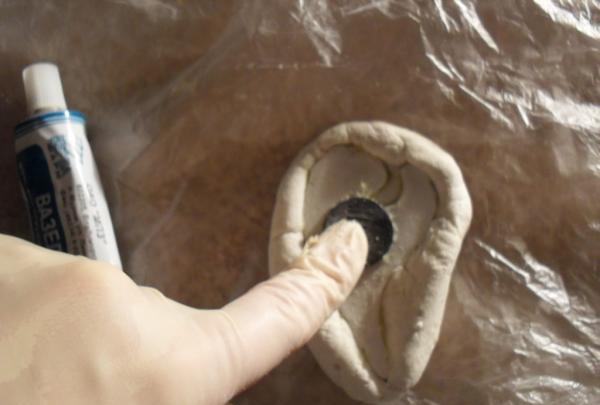
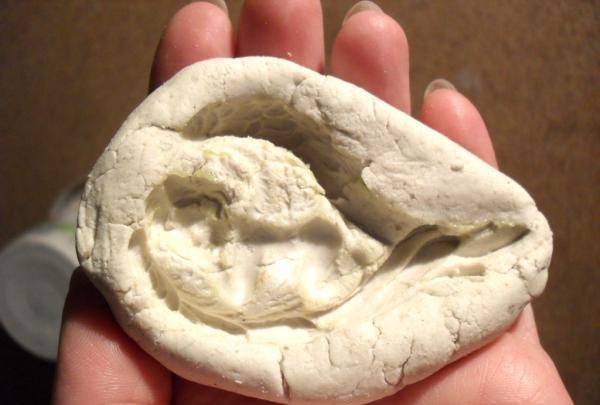
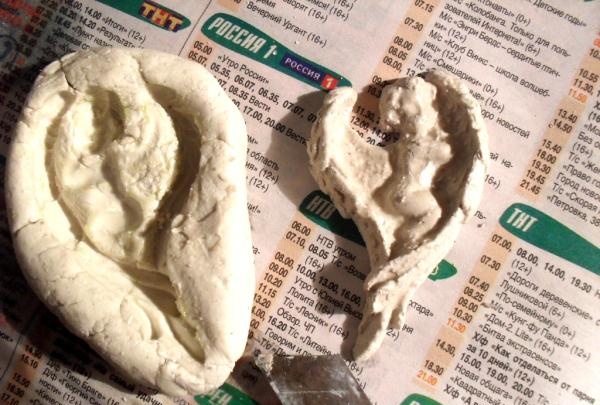
Carefully prying the knife out, remove the workpiece.
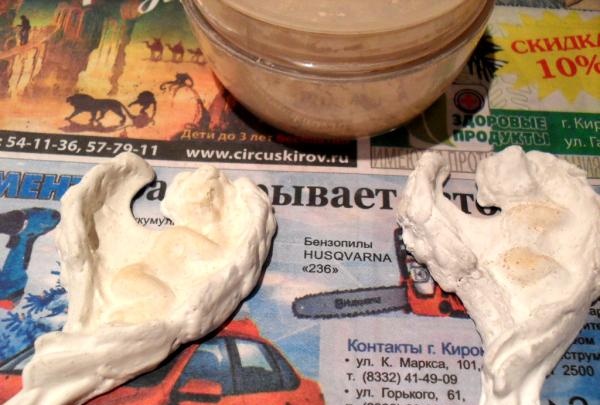
Fifth stage: casting the figures.
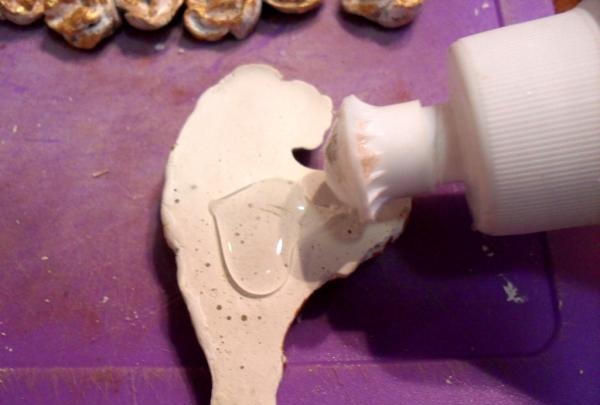
Grease the inside of the silicone mold with vegetable oil (pour it in, then turn the mold over and pour out the oil).
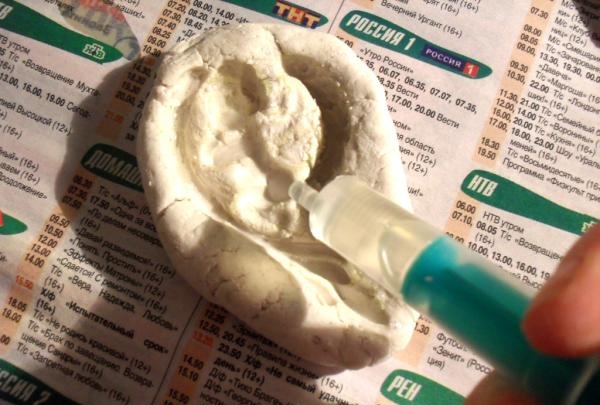
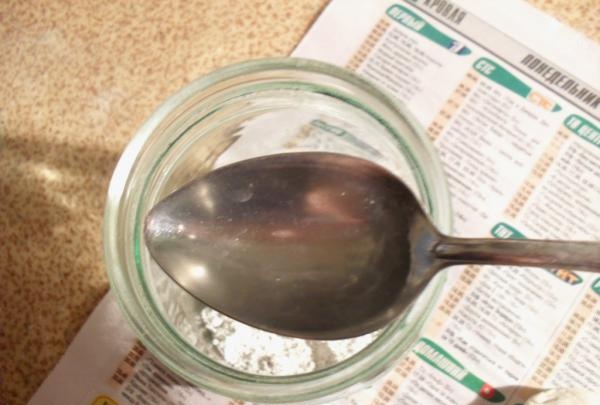
Pour a tablespoon of alabaster (or plaster) into the container.
Add a spoonful of water there and mix. If the solution turns out thick, add water.
Fill the silicone mold with alabaster solution.
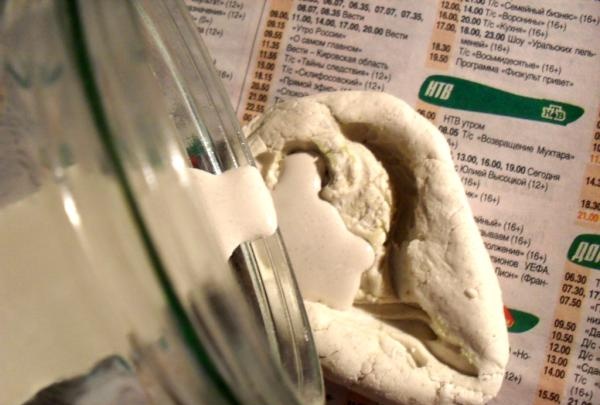
Leave the solution to harden (you can check readiness by pressing your fingernail on the figure - no mark should remain on the surface). We pry the figure with a knife and remove it from the mold.
Repeat preparing the solution and pouring 3 more times.
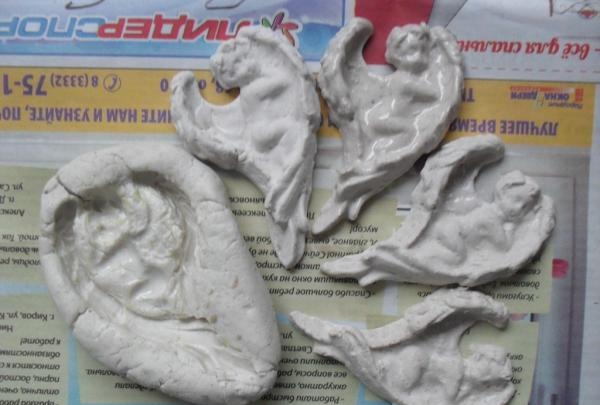
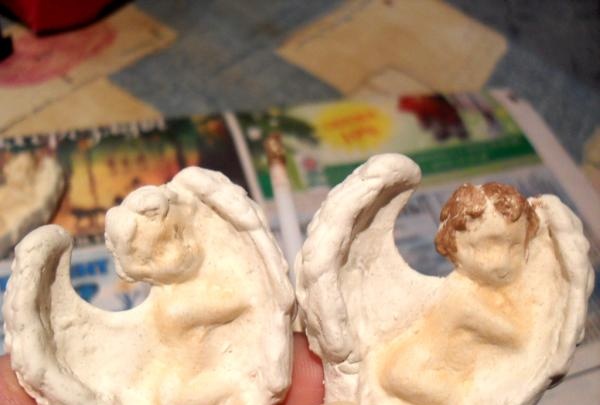
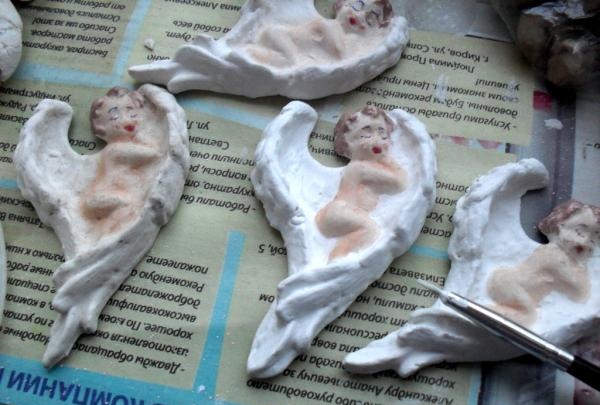
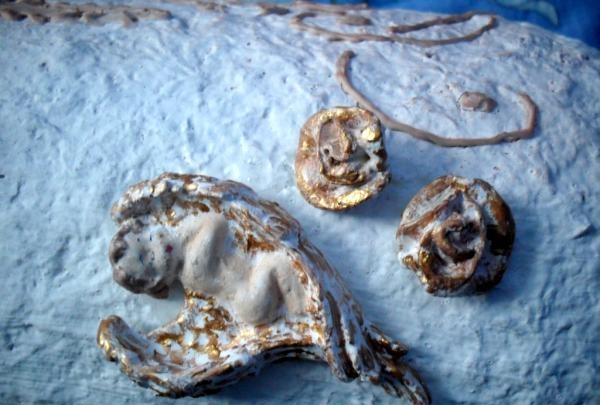
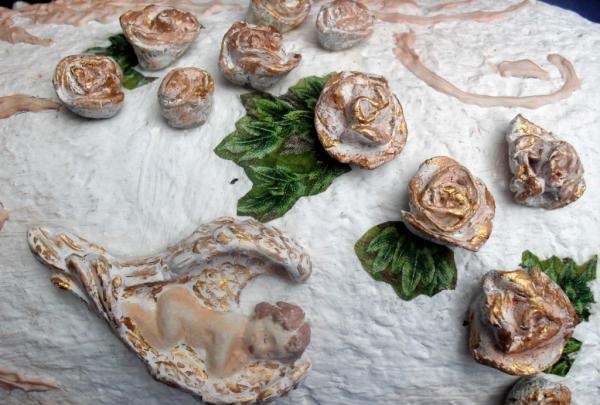
Stage six: painting the angels.
We paint the blanks with white gouache.
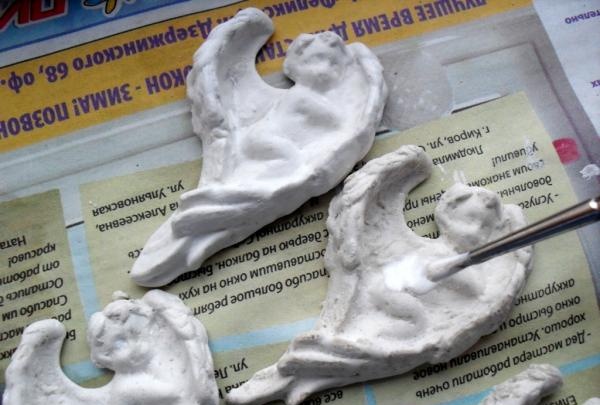
We matte the bodies of the angels with face powder.
We dye our hair.
Drawing sponges.
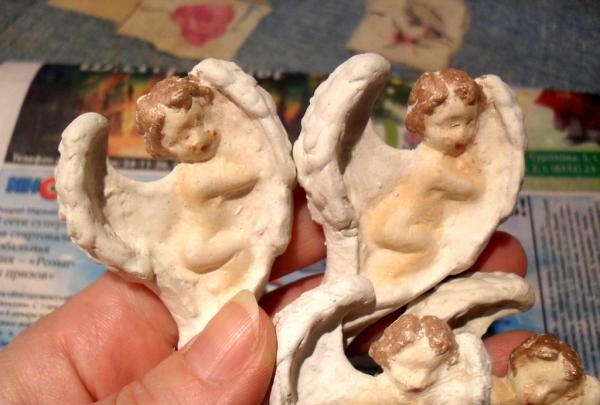
Using a pen we draw the eyelids and eyebrows.
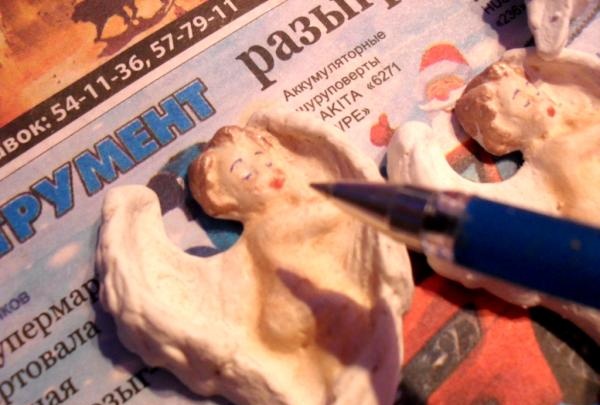
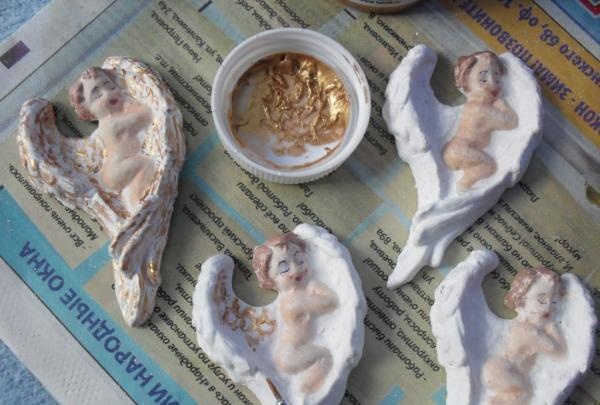
Use white gouache to cover the extra layer of powder (next to the bodies of the angels).
We draw the wings in gold.
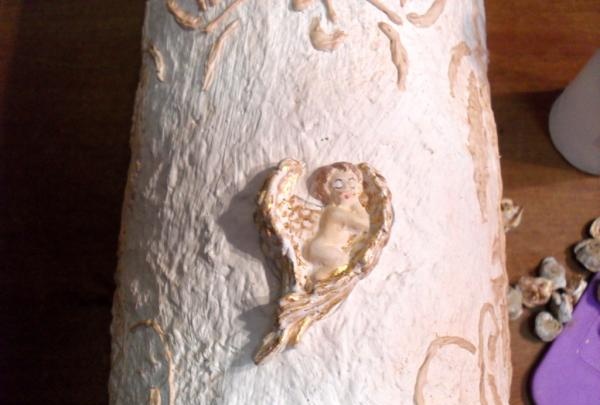
We apply “liquid nails” to the back surface of the figures and glue them onto the vase.
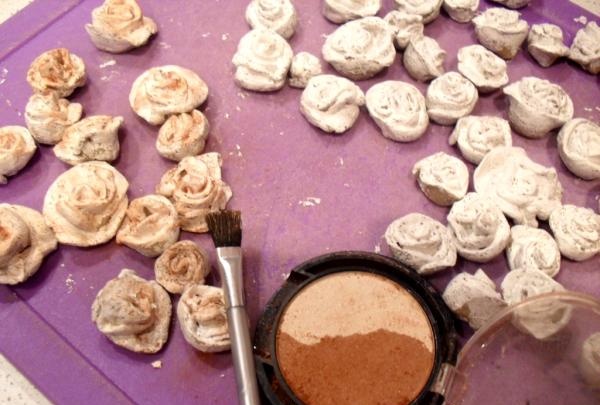
Seventh stage: making roses.
Knead the plasticine, lay it on a hard surface with a thin plate, and cut it into squares. In each square we make cuts in a circle from the center.
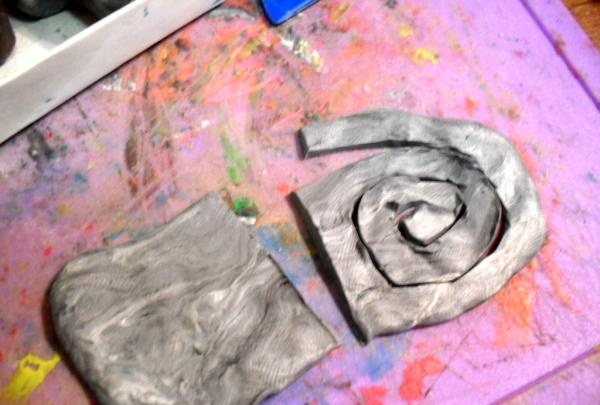
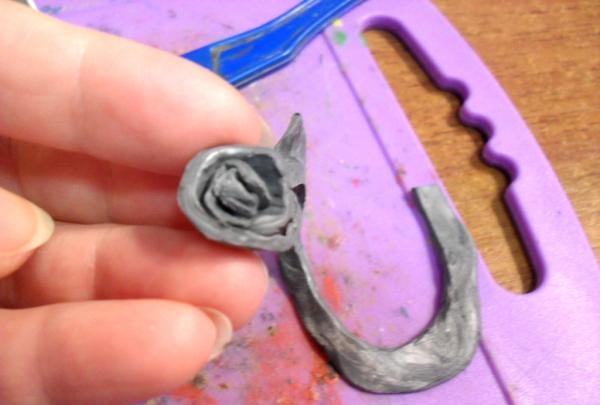
Gently prying up the central core, twist the spiral, moving from the center to the edge. We bend the square corners like large leaves.

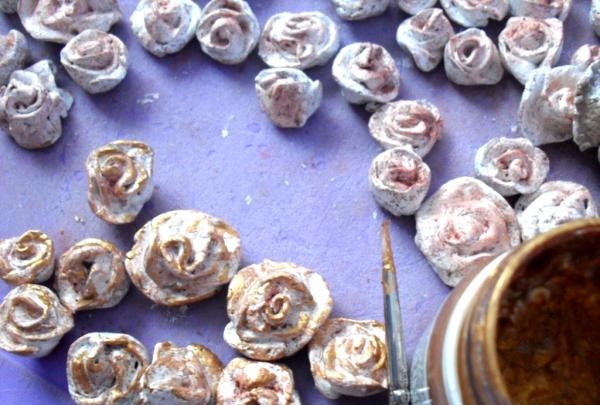
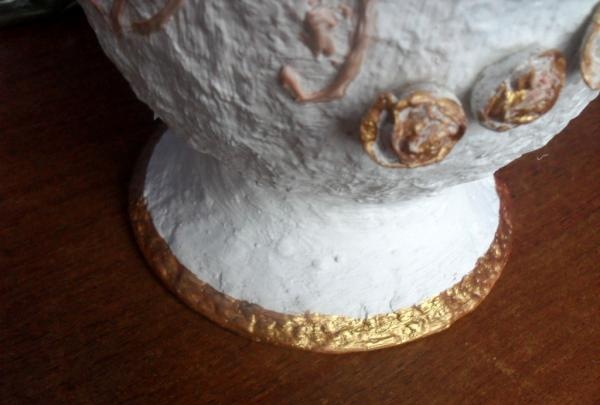
We paint roses white.
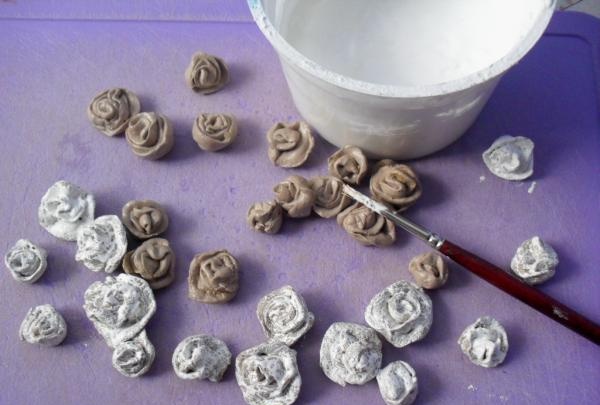
We tint them with blush to match the color of the three-dimensional pattern.
We apply gilding along the edges.
Using “liquid nails” we attach the roses to the vase.


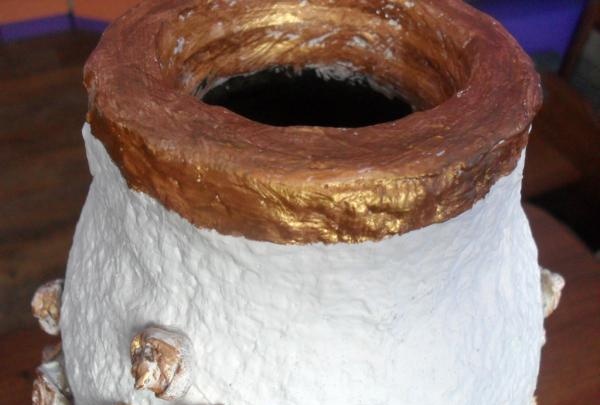
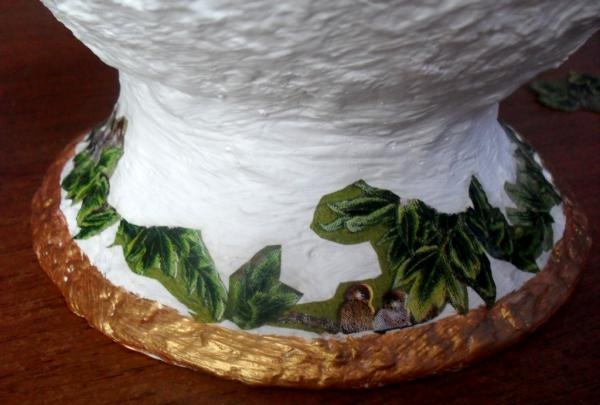
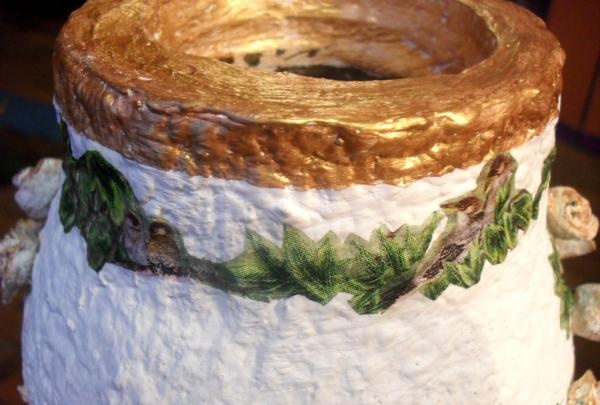
Eighth stage: decoupage.
With “gold” we draw a border along the upper and lower edges of the vase.Paint the upper inner edge.
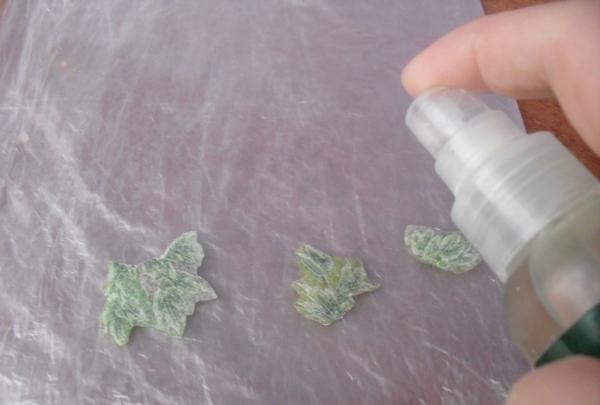
We separate the three-layer napkins and cut out the necessary parts.

Place the cutouts face down on the cellophane. Sprinkle them with water.
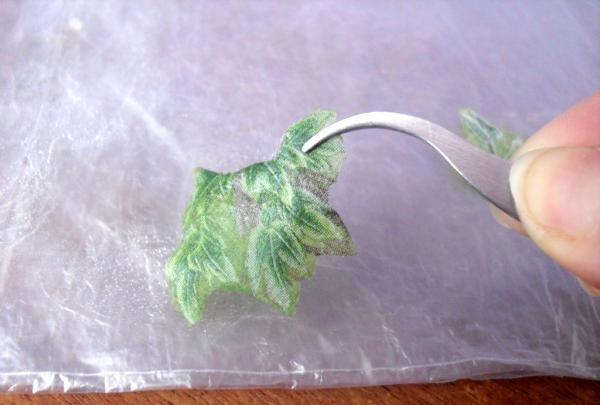
Use tweezers to pry up the motif and place it face up on the gluing location chosen on the vase.
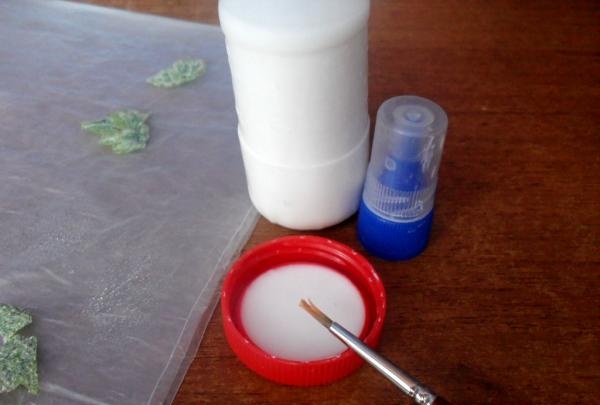
We carefully apply PVA over the design, trying to wet the cutout and smooth its edges.
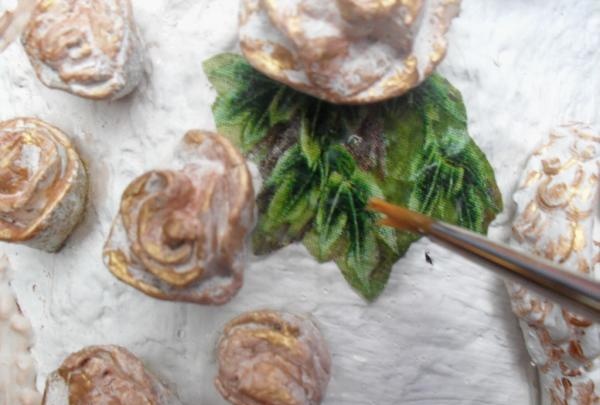
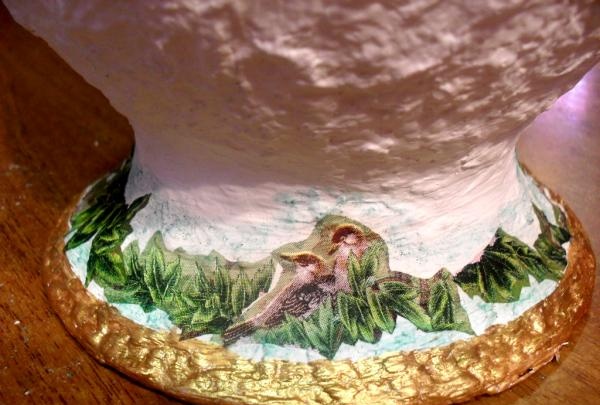
We decoupage the entire vase.
Stage nine: finishing touches.
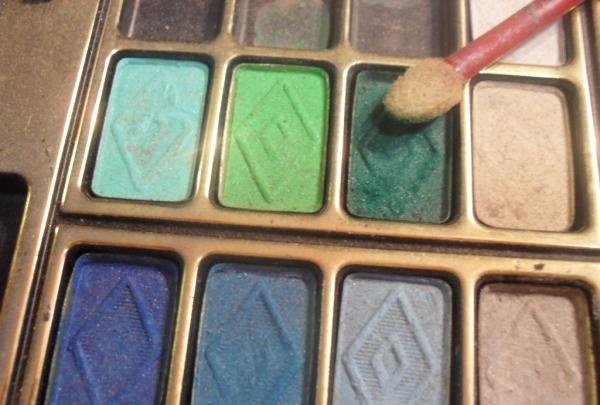
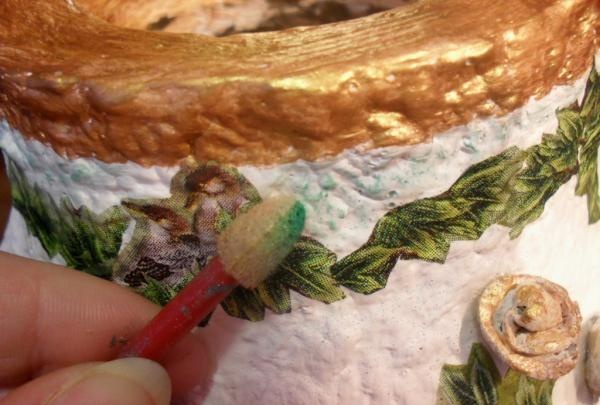
Use eye shadow to lightly tint the decoupled areas of the vase along the contour.

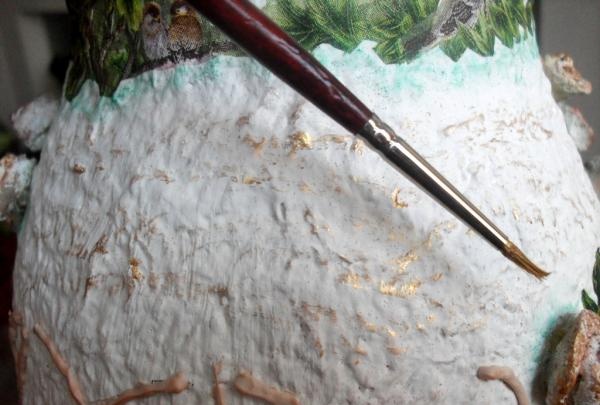
We apply a gilded accent to the three-dimensional design.
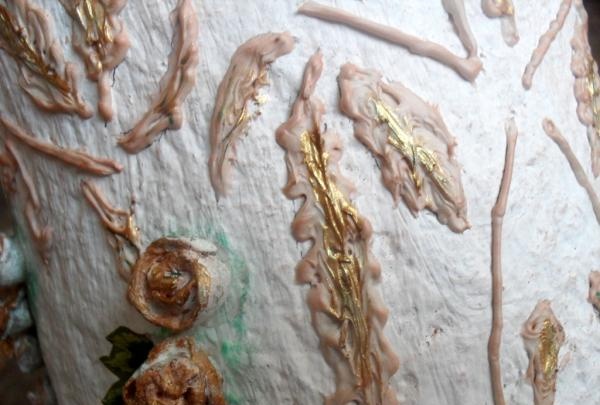
We matte the remaining white gaps of the vase with gilding, rubbing out the fuzzy strokes.
We varnish the entire surface of the vase, carefully applying layers on and under the roses.
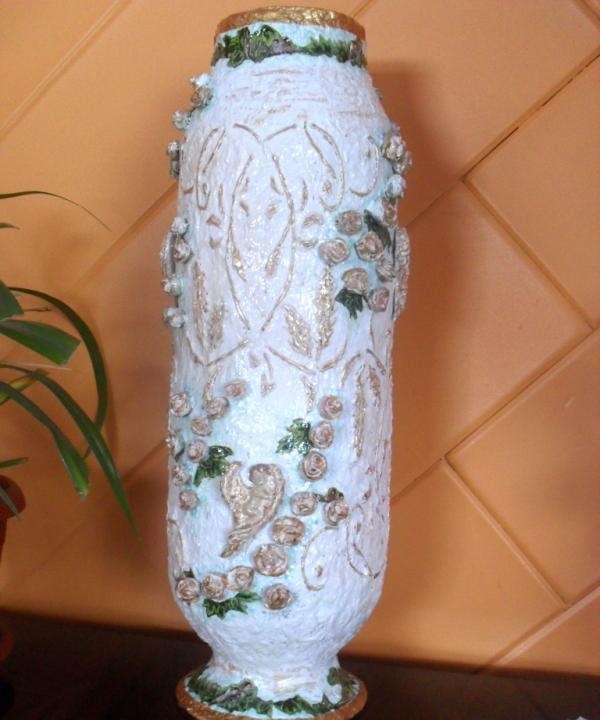
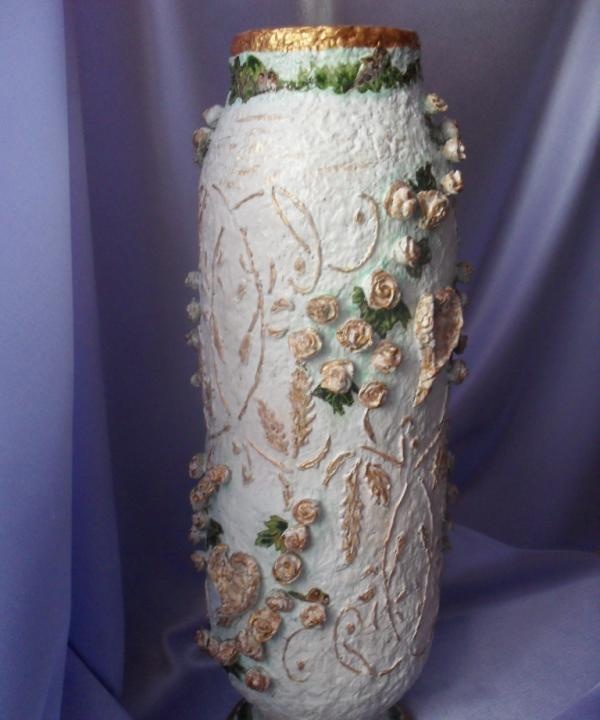
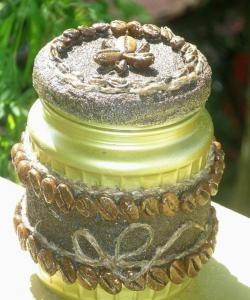
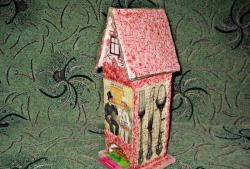
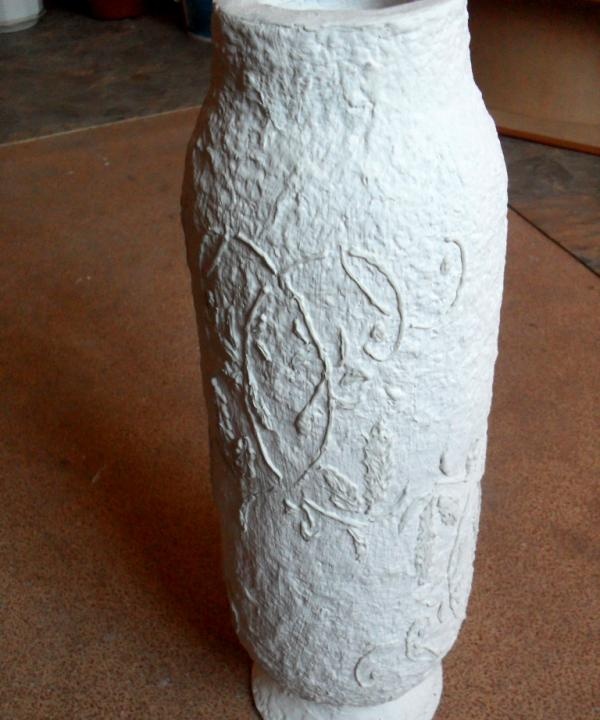
It turns out to be such a wonderful tall floor vase. Tinting and decoupage motifs directly depend on the subsequent location of the vase, so they may be of a different color that you need.