Do it yourself
Life hacks, master classes, useful tips, recipes.
home » Handicraft techniques » Beading » Trees made of beads » Winter birch made of beads
To make the “Winter Birch” souvenir you do not need any special skills; even a child of primary school age can cope with this work (of course, with the help of their parents). Here's what we need: white beads (can be transparent or mother-of-pearl), thin wire about 30 m, white or silver, threads, thick aluminum wire about 25 cm for the barrel, a little dry plaster mixture for making a stand, white acrylic paint and a little patience .
Winter beaded birch

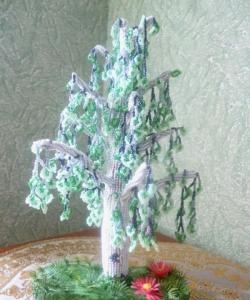
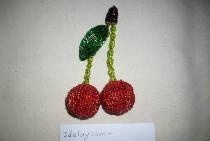
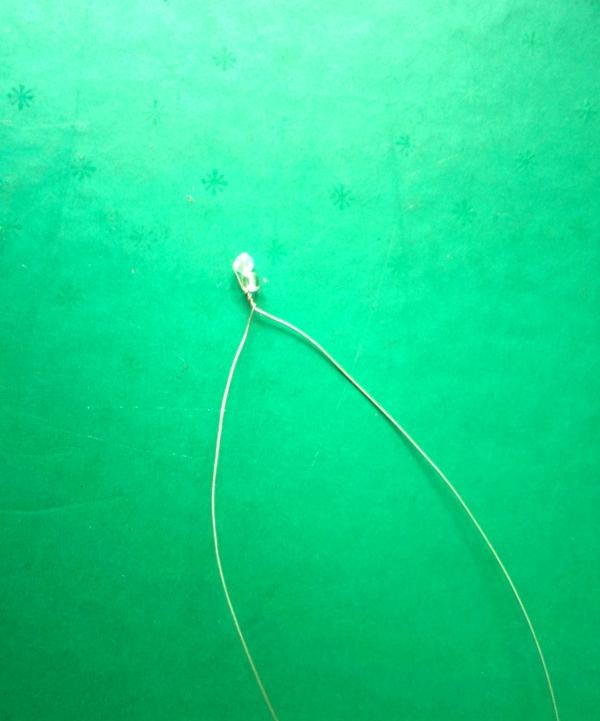
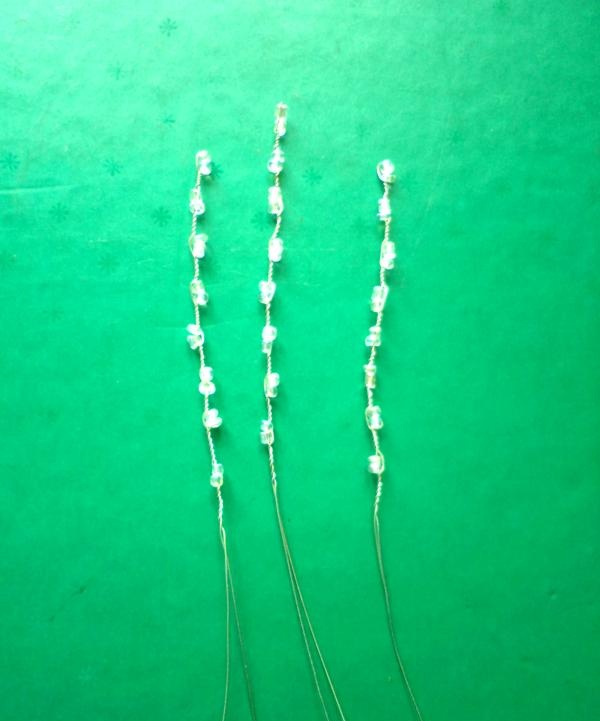
First we make thin branches. We string two beads onto a thin wire approximately 25 cm long, move them to the middle, fold the ends of the wire and twist them 2-3 turns.
Winter beaded birch

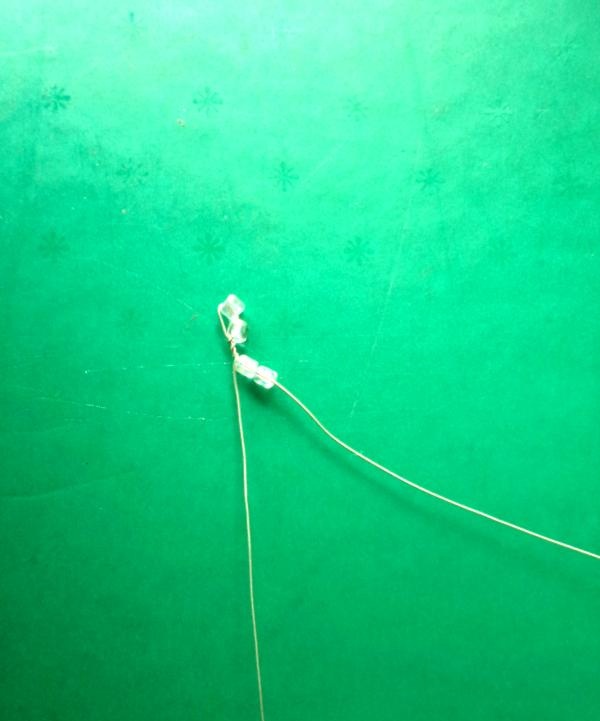
Next, we put two more beads on one of the ends of the wire, and twist the ends again.
Winter beaded birch

So we must string 7-8 pairs of beads, and we will get a twig, as if covered with frost.
Winter beaded birch

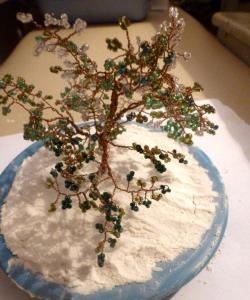
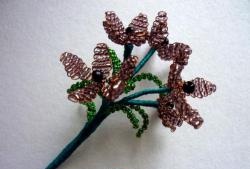
We collect thin branches in bunches of three.
Winter beaded birch

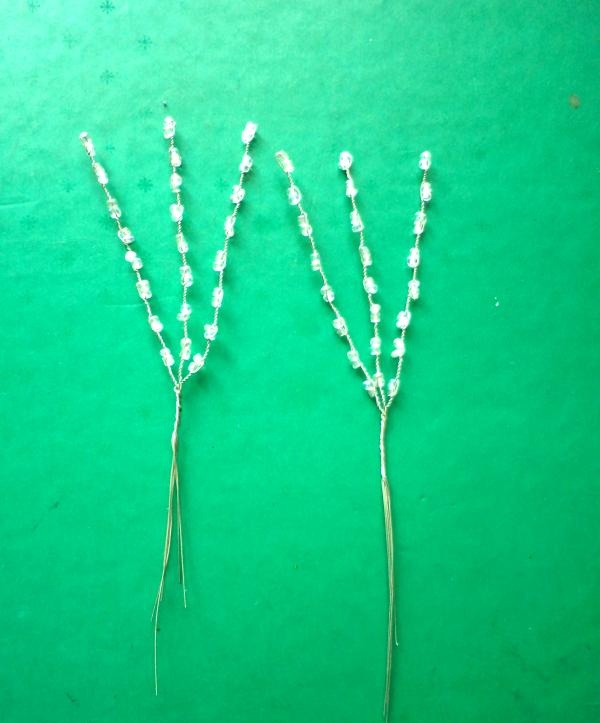
And from three bunches we form a thick branch.
Winter beaded birch

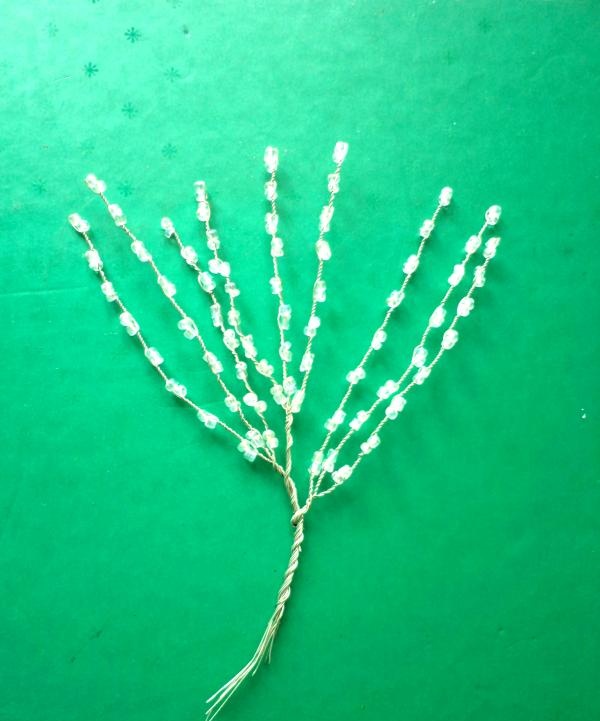
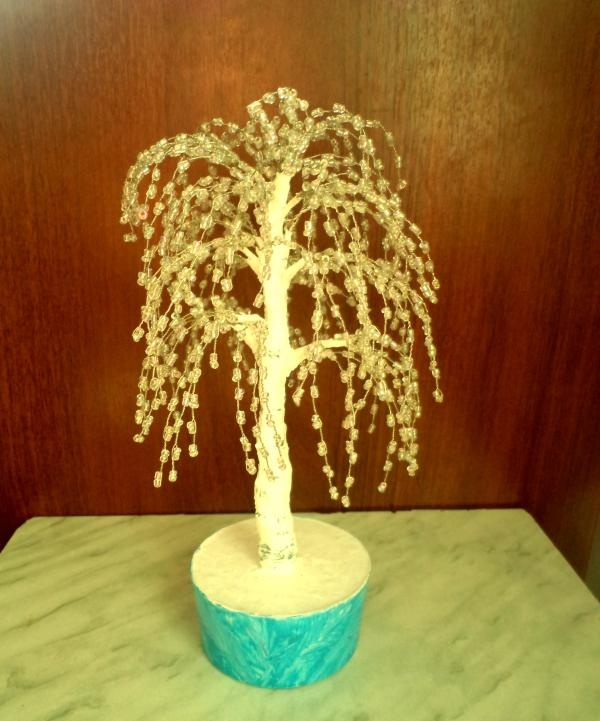
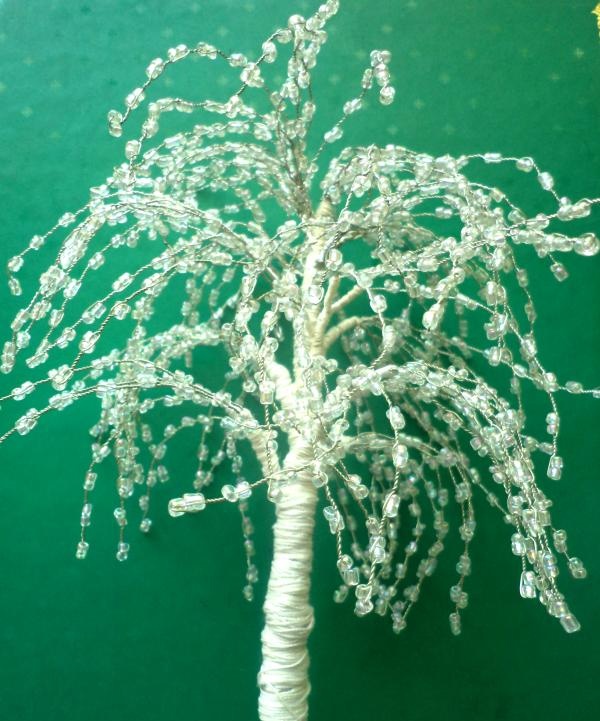
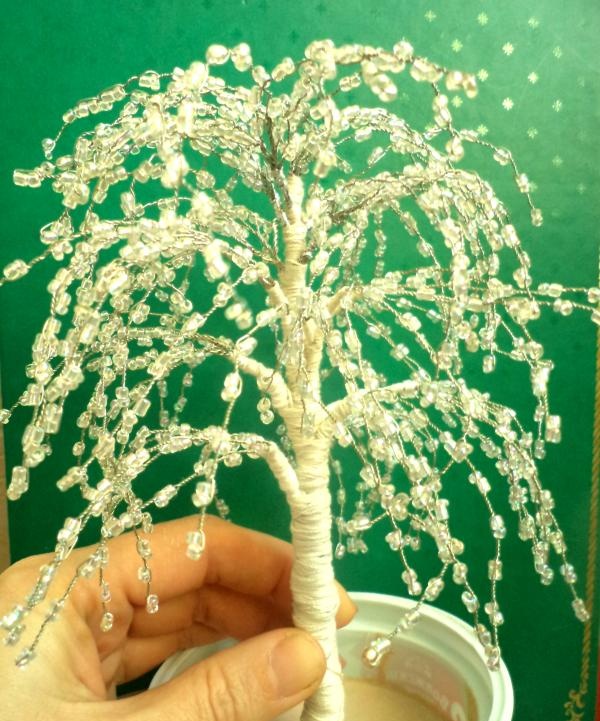
We wrap the twisted wires at the base of the branch with threads about 1 cm so that the wire is not visible.You need to make 12-14 such branches; the more branches, the taller the birch will be. We attach them to a thick wire, wrapping the ends of the wires that are not wrapped with threads around it. As the branches are attached, we also wrap the trunk with threads, since later, when the whole tree is assembled, it will be more difficult to do this, the branches will get in the way.
Winter beaded birch

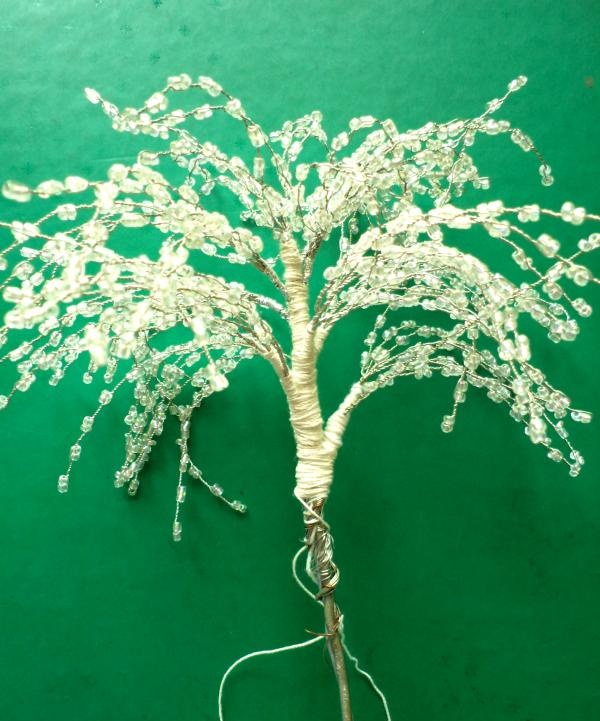
After the crown is formed, we wrap threads around the lower part of the trunk. If it turns out too thin, you can add two or three more central wires.
Winter beaded birch

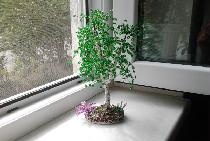
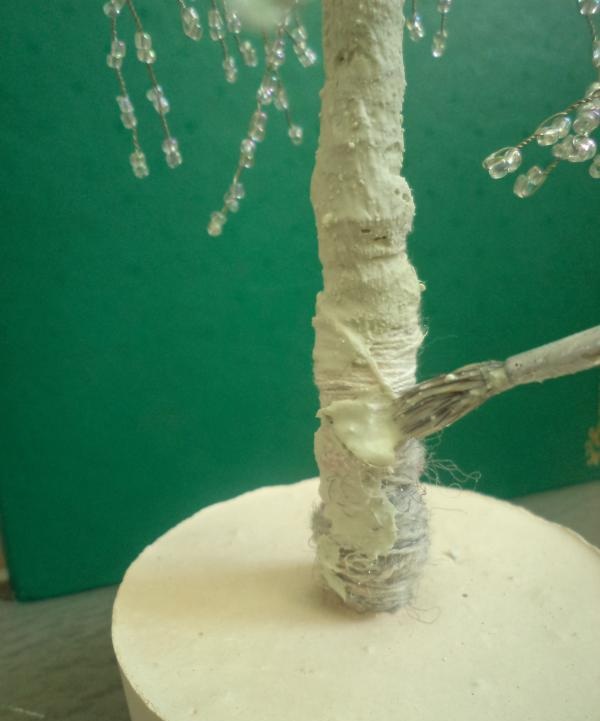
Now we need to cast the stand. You can use a small plastic food tray as a form. We dilute the plaster mixture to the consistency of thick sour cream, pour it into the mold, making sure that there are no air bubbles between the walls of the mold with the mixture, and immerse the lower part of the barrel. Usually this mixture sets within 20-30 minutes.
Winter beaded birch

After complete hardening, remove the stand from the mold and begin shaping the barrel. We dilute the same plaster mixture more liquidly and apply it with a brush to the trunk and branches on top of the threads in several layers.
Winter beaded birch

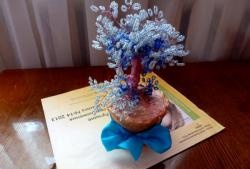
When the mixture dries, cover the trunk, branches and stand with white acrylic paint. We apply black strokes to the trunk. The side surface of the stand can be painted with frosty patterns. Winter birch is ready.
Winter beaded birch
come back
Comment
  • bowtiesmilelaughingblushsmileyrelaxed relaxedsmirk
    heart_eyeskissing_heartkissing_closed_eyesflushedrelievedsatisfiedgrin
    winkstuck_out_tongue_winking_eyestuck_out_tongue_closed_eyesgrinningkissingstuck_out_tonguesleeping
    worriedfrowninganguishedopen_mouthgrimacingconfusedhushed
    expressionlessunamusedsweat_smilesweatdisappointed_relievedwearypassive
    disappointedconfoundedfearfulcold_sweatperseverecrysob
    joyastonishedscreamtired_faceangryragetriumph
    sleepyyummasksunglassesdizzy_faceimpsmiling_imp
    neutral_faceno_mouthinnocent
4 minus one =
Comments (0)

How to sew up a hole in your clothes without being noticed with your own hands

Papier-mâché Easter egg | Do it yourself

How to make a simple 5000 mAh Power Bank from a syringe

Pink bow with beads | Do it yourself

«Do it yourself - with your own hands» - a site of interesting homemade products made from scrap materials and items at home. Step-by-step master classes with photos and descriptions, technologies, life hacks - everything a real master or just a craftsman needs for needlework. Crafts of any complexity, a large selection of directions and ideas for creativity.

We recommend reading

Washing machine error codes