Materials for work:
- text printout - up to 30 sheets;
- photo paper - 1 sheet;
- PVA glue - 1 pencil;
- gold paint, scissors, brush.
- Stages of the work:
- The first stage: preparation of the basis.
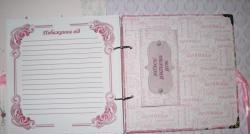
In the text editor we type the necessary text for the A4 format. For the convenience of cutting a smaller format, you can put the text in a table (row 1, columns 2). If the book is half the size of an A4 sheet, then in the “print” editor, select “scale” - “number of pages per sheet” - “2 pages”. We print the entire volume of the future book (printing should be one-sided). Trim the excess edges.

Each leaf is folded in half with the text inside. We arrange the pages in order.


Second stage: bonding the base.
Apply glue to each back side of the folded leaf in half.

We apply the front side of the next folded leaf to the adhesive surface, press, smooth it carefully.

It turns the spread of the future book.


We repeat the steps: we put glue on the back of already glued sheets, apply the next sheet, press, smooth. So we glue all the leaves folded in half.


The third stage: drying.
We wrap the resulting gluing with a sheet of paper so that it covers the junction of the sheets, but does not touch it.

We put gluing under the press for 8-12 hours (depending on the thickness of the book).

The fourth stage: imitation of binding.
Cut a strip with a width of three binding heights and a length of the height of the book.

Glue the cut strip to the junction of the glued pages, wrapping it.


The fifth stage: imitation of the printed version of the pages.
We put on the page "gold" paint. Before applying each subsequent brush stroke, we carefully press the book to the table (so as not to fill the inner edge of the pages).


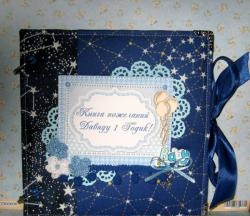
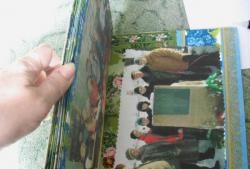
Sixth stage: form a crust.
We print out the necessary cover blank on photo paper. Important: the size of the cover in height of the book should match the prepared gluing, but the width should be printed taking into account the binding height.

Cut off the excess.

Using a ruler, we bend the binding first outward, then inward.

Repeat on the other side of the binding.

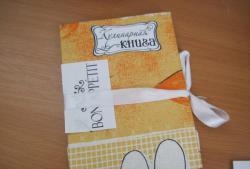
It turns out here is such a figure.

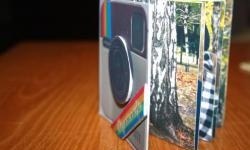
Seventh step: combine the cover and gluing.
Apply glue to the blank of the book from the outside and inside of the gluing.

Carefully put the glue in the cover, press, smooth.

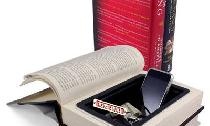
That's all. The work is completed, and an individual book copy is ready to share personal information!