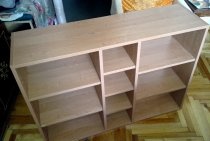
But along with the cutting of the particleboard sheets themselves, from which the furniture is to be assembled (it doesn’t matter, a small stool, a small first-aid kit, or a whole kitchen set and a spacious sliding wardrobe), we also order an ABS edge overlay there. However, often during the assembly process it is discovered that we did not indicate some sides of these same details in the order, or the master who made the gluing “missed” this. And then we are forced to curtail what we started, and again go to the workshop. And this is always a waste of time.
I did exactly that until until one fine moment I saw a paper edge glued with an ordinary iron, without departing from the assembly bench, my friend, “part-time” - a cabinet-furniture assembler with many years of experience. And at my request he will share his experience, very quickly, in practice, he taught me. Which, in fact, I want to share with you.
So the edge to be glued directly to the chipboard parts. It can be of various widths, but when you buy accessories, they will definitely tell you. Moreover, you can choose it both in color and in texture, and it will look like a single whole. Or vice versa, make an absolute contrast and highlight the ends of the parts against the general background. So the choice is yours.

In addition, you will need an iron, preferably heavy. Although there are no special requirements here and cannot be, since we will not spoil and damage it by sticking paper edges.

Joiner's knife. In principle, also absolutely any, but certainly not very sharp. Otherwise, there is a high probability of cutting the laminated layer on the chipboard itself.

But the following details have to be done. Of course, if such an edge gluing is not a single character. So, the guide. The width between the jaws is 18 mm, since a standard sheet is exactly 16 mm thick.

A bar with a layer of soft cloth. I folded several layers of cashmere from an old coat, such a product has been serving faithfully for more than a year.

A knob-handle - just for easy operation.

And the same is on the bar with sandpaper.

True, it just had to be changed several times over the years several times, so that short self-tapping screws with a large hat for fixing are just perfect.

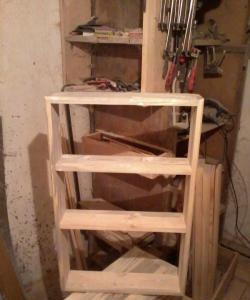
That's all, let's get started.
Strongly heat the iron. As we iron the linen, we warm the edge, and then rub it with effort with a bar with a cloth. She stuck, but her size is bigger

therefore, we cut it off with a knife, always on our own, and we start from the middle.

So cut from all sides. Glue the edge on the other sides of the part.

Now we clean off the remnants with a block of sandpaper (do not get carried away, it will be enough to spend once without pressing). One piece is ready,

also do the rest.
Moreover, peeling off this paper edge is as simple as that: we heat it again with an iron and remove the damaged or simply unnecessary paper edge for some reason.

That's all wisdom.