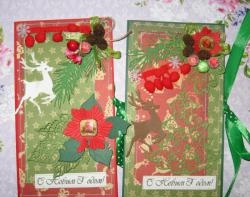
To make such postcard bags you need to take:
• Watercolor paper, sheet A3;
• Pattern postcard bag;
• Christmas paper double-sided, sheets 30 * 30 cm;
• Round pictures on New Year's theme;
• Felled circles of red and white;
• Stamped inscriptions "Happy New Year" in black ink;
• Ink gold pillow;
• Snowflakes wooden;
• Cotton cord red-white;
• Golden metallic bells;
• Ribbons: green and red from organza, satin in the New Year's drawing, red and green;
• Cord of twine;
• Sisal red;
• Cinnamon;
• Small cones;
• Berries in sugar red, gold, dark green;
• Brads are New Year's;
• Stamens in sugar bouquets;
• Glue stick, PVA glue, thermal gun, double-sided tape;
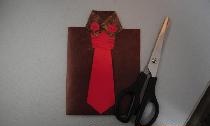
• Scissors and pencil;
• Brown deer from felling.


We take the scheme and cut out the template of our interesting bag.


In the master class we will make three bags, therefore both the material and the process are designed for this quantity. Three blanks are cut out of watercolor paper.


Now we tint each of the blanks at the edges, give the aging effect.


We cut the template in half and cut it all by 2 mm. Now we attach a single template to the scrapbook paper and cut two blanks for three cards, six in total.


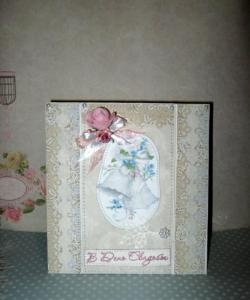
We immediately glue on the back of the bag of scrapbook paper, and we will decorate the front bags.


We cut off according to the inscription and tint each one along the edge, glue it on the blanks.


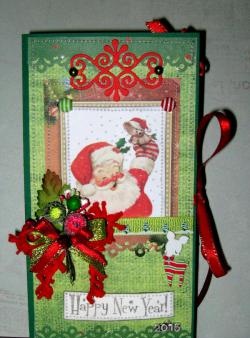
Now glue in a circle and in the picture. We sew on inscriptions and pictures on a typewriter.


Any bag is tied, so for each bag we cut off different strips of ribbons and cords. Tie our bags.


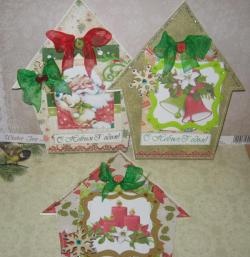
We tie three bows and fasten them to the bags with the help of brads. We glue the bags to the base and sew each.


Now we twist the balls from sisal, knit bows with bells from the cords, make bouquets.


Glue decorations to our bags. Everything is ready! It turned out so very interesting and great!