Decorating the interior with your own hands brings twice as much benefit. After all, this is not only saving your personal budget, but also receiving moral satisfaction. You can manually adjust the desired size or color of the decoration, which will fit perfectly into the design of the room.
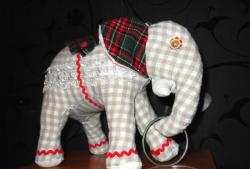
Making an unusual elephant craft is easy and simple at home.
Required materials and tools:
•Flour.
•Salt.
•Water.
•Tempera paints.
•Paint brush.
•Scrub for dishes.
•Twine or decorative straw.
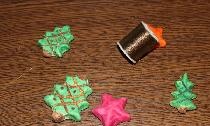
Prepare the dough.
The material from which the elephant is made is the well-known salt dough. There are many recipes for it, so we will use the simplest and most optimal. To knead the dough mass you need a lot of salt. Take 1 cup of rock salt and 1.5 cups of white flour. Add 0.5 cups of tap water and knead the dough.It should not stick to your fingers and will be quite flexible if you knead it well.
Let's sculpt an elephant.
Roll out the dough to a thickness of 0.7 cm and cut out the future body of the elephant with a knife. From the trimmed part we form eyes, a trunk, an ear, legs and roll pebbles to decorate the city. To obtain small elements, you can use whatever you have on hand, for example, a cap from a ballpoint pen. We stick all these parts to the elephant’s torso, soaking them with water at the joints of the parts. Use a knife to apply visual folds and wrinkles. In the upper part of the body we make two holes for the rope.
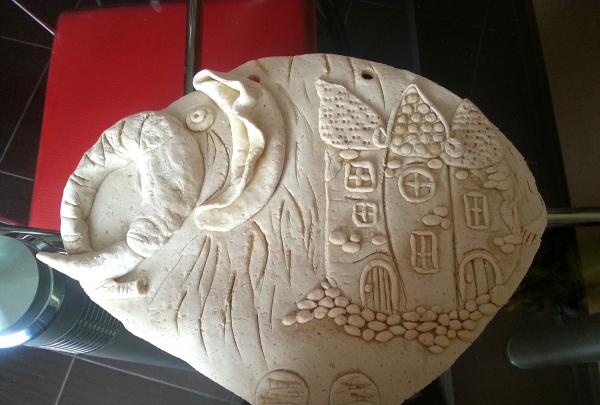
We dry the product.
It is better to dry in a warm place, but not on a radiator, otherwise the painting will crack and crumble. Under natural conditions, the period of complete drying is from three to four days. You can periodically dry the elephant in the oven at a low temperature, otherwise the dough will simply bake. This will help speed up the drying process.
Let's color the picture.
Tempera paints are ideal in this case, but other matte gouaches can also be used. Watercolor tends to be glossy and will stick to your hands.
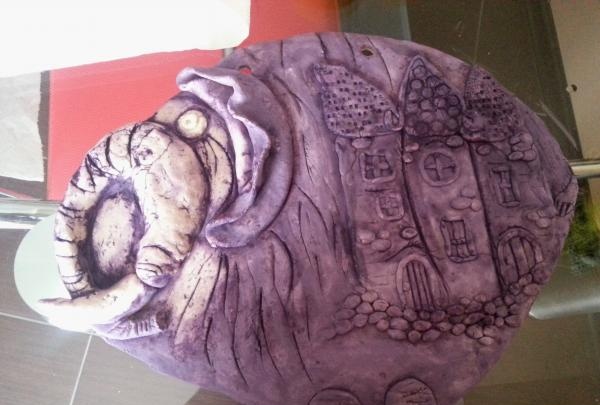
First, paint the entire picture with purple or lilac paint. Then take a damp washcloth and wash the paint on the convex parts of the product. The main rule is not to soak the workpiece too much.
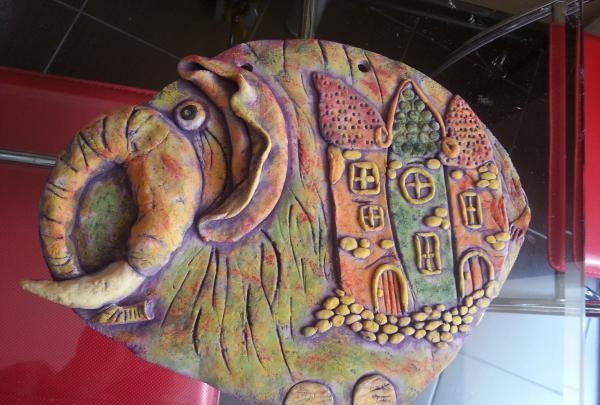
After complete drying, decorate the remaining parts with all kinds of colors. To get different shades, mix different colors, feel free to use your imagination and experiment. On top of the main tones we make impressions with a piece of washcloth dipped in the required paint. Thus, blotches of red, pink, and orange are obtained.You can decorate the elephant to match the wallpaper or elements furniture and interior.
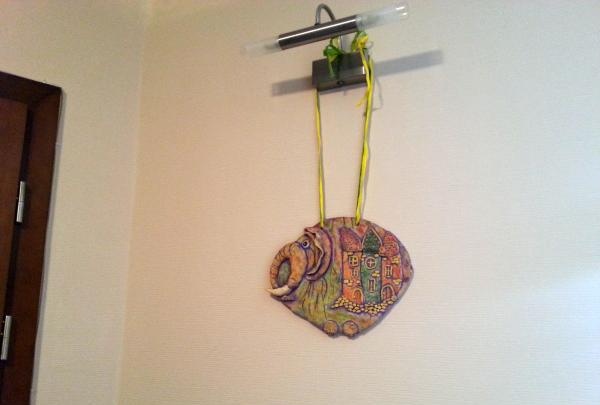
We hang it on the wall.
Since paints dry quickly, you can immediately thread a rope or a beautiful ribbon through the holes on the elephant’s back and hang the picture. For greater confidence in the fortress crafts It is recommended to glue a piece of fabric to the reverse side. This will prevent the product from cracking or breaking during use.
This exclusive painting will only be available to you in its one and only version. An elephant made by yourself will successfully and creatively decorate an empty wall and fill the house with comfort and warmth from your hands.