Do it yourself
Life hacks, master classes, useful tips, recipes.
home » Handicraft techniques » Scrapbooking » Scrapbooking master classes » “Mom’s treasures” box for memorable little things
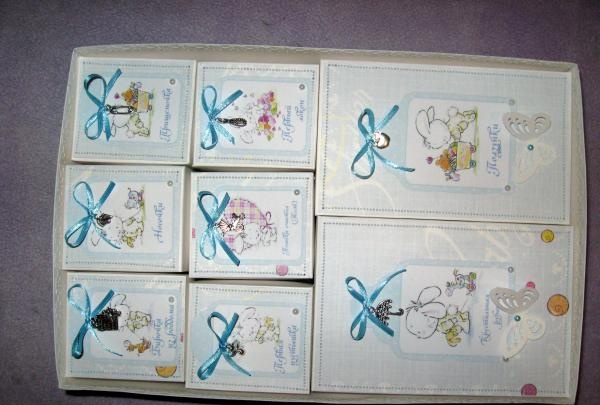
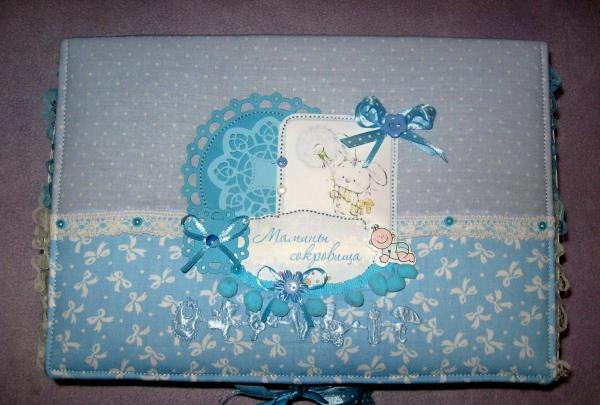
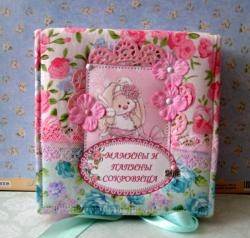
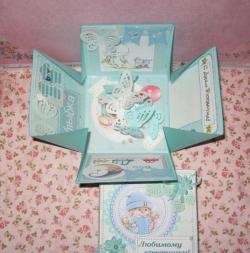
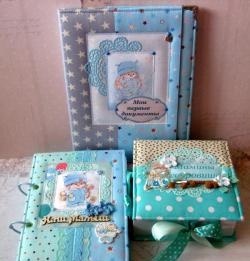
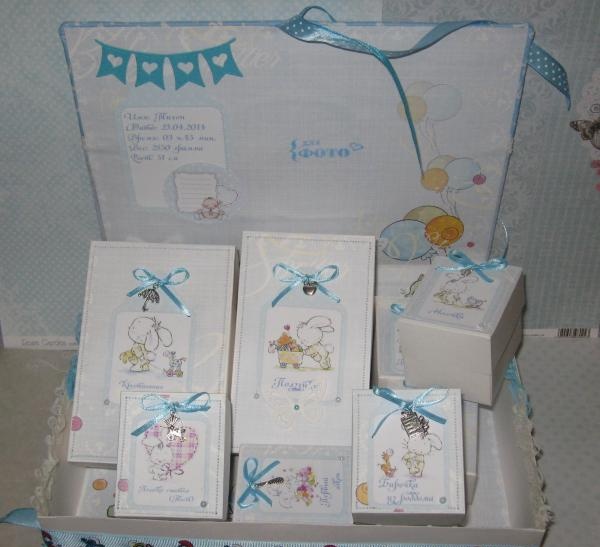
Any mother wants the best for her child, therefore, from birth she tries to surround him with her love, affection, attention, and to lull her baby with the most diverse and beautiful things and toys. Of course, the child is just beginning to explore the world, gets acquainted with the environment, its inhabitants, and admires the beauty of the world around him. Accordingly, with the development and growth of the baby, certain memorable things and objects remain that I would like to keep for a long time. Now, when the years have passed, you can get an interesting magic chest, which will contain: the first pacifier, the first socks, an umbilical cord, a discharge tag, a mother’s test, an ultrasound picture, sliders, etc. And you can admire these little things all your life. The mother especially tries to preserve a piece of the baby for life, even when he grows up, he is still his mother’s child. Therefore, for such occasions and little things, you need a magic box in which everything that is left of the baby in childhood will be preserved.It can be a simple box, but it’s better if it’s a box with the same name as “Mom’s Treasures.” You can either buy it or order it from some needlewoman, or you can make it yourself. Well, technology will help us out with this. scrapbooking and this master class.
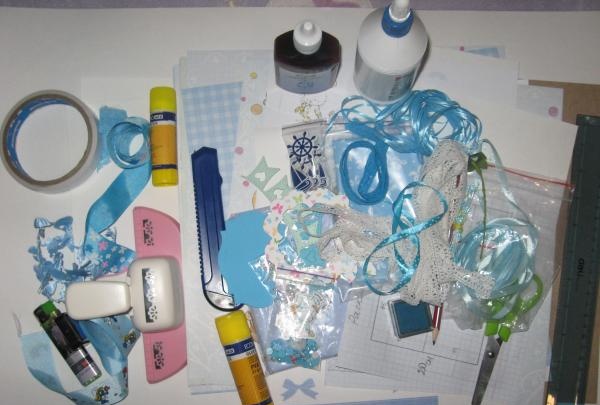
Let's get started and take the following:
- Binding cardboard, two sheets of A4 and 7*30 cm 1 sheet;
- Scheme for creating a chest “Mom’s Treasures”;
- Paper for scrapbooking in blue, 3-4 sheets 30*30 cm;
- Watercolor paper, A2 sheets, 5 sheets in total;
- 100% cotton fabric: blue with a white bow and blue with small white polka dots;
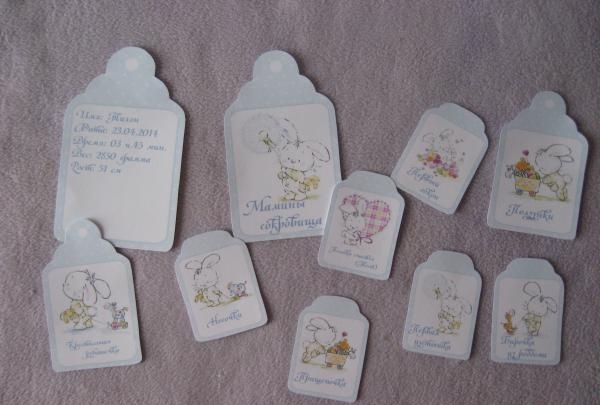
- Pictures with bunnies and with inscriptions: tags, rompers, mother’s treasures, metrics, etc.;
- Rep ribbon 2.5 cm wide with Smurfs, approximately 1 meter;
- Blue satin ribbon with polka dots;
- Plain light blue satin ribbon;
- Cutting in blue: flags, circle, openwork flower;
- Blue satin ribbon with children's elements;
- Blue ribbon with pompoms;
- Metal pendants: pacifier, tag, clothespin, apple, etc.;
- Wooden button with a baby;
- Blue acrylic buttons are round and flower-shaped;
- Half beads with a diameter of 6 mm, sea green color;
- White cotton lace;
- Curb hole puncher and glue gun;
- Stamp “For Photo” and blue ink;
- Lighter, scissors, glue stick, simple pencil, sewing machine, PVA glue, glue with the effect of double-sided tape.
box for memorabilia

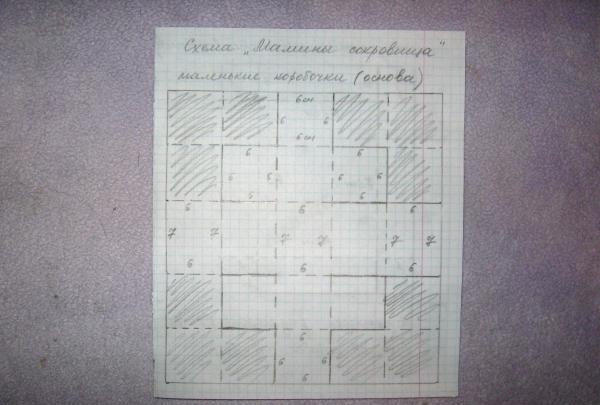
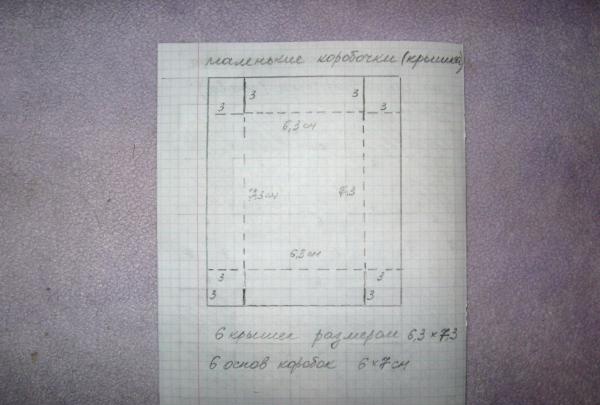
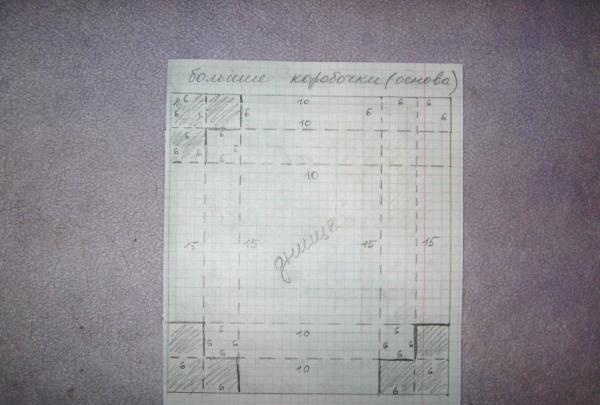
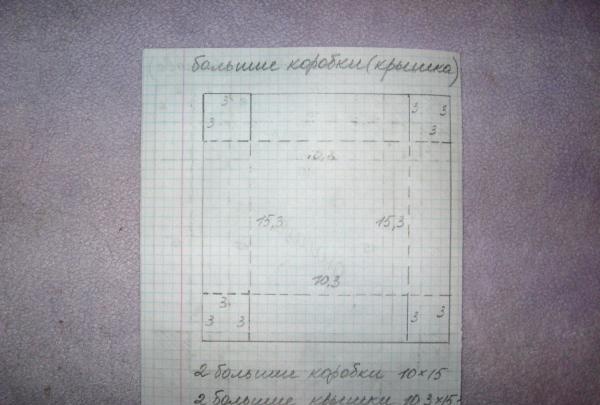
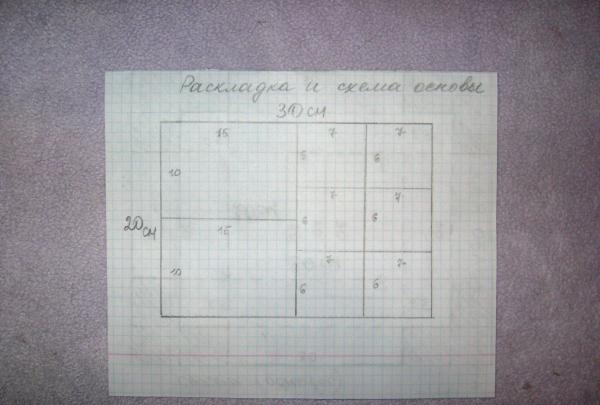
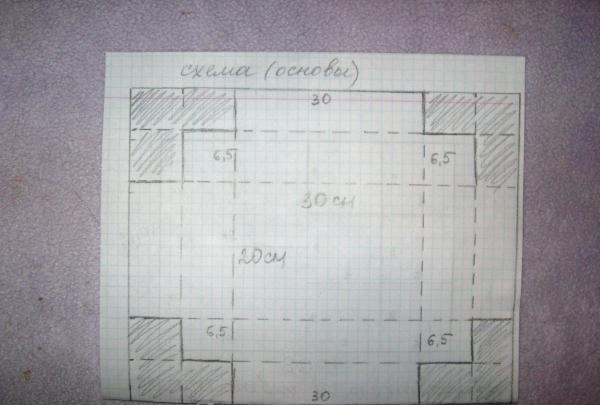
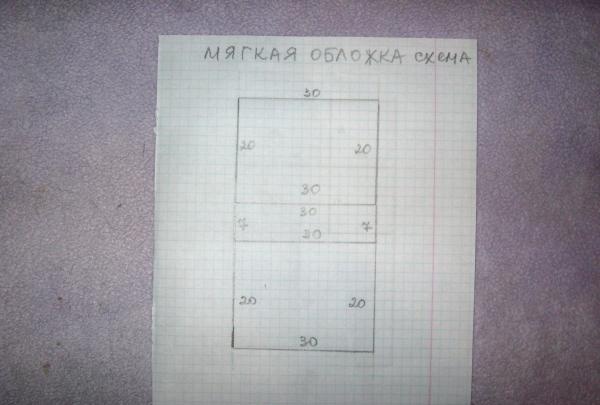
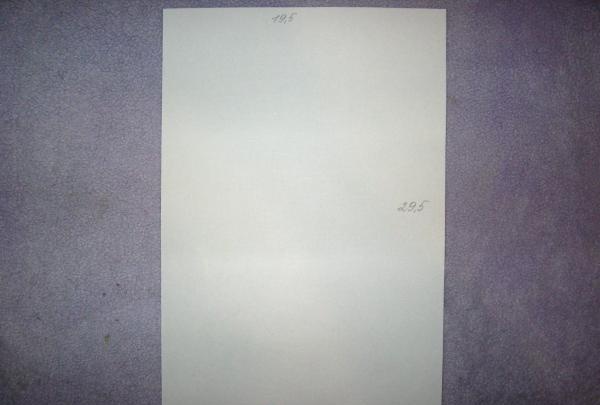
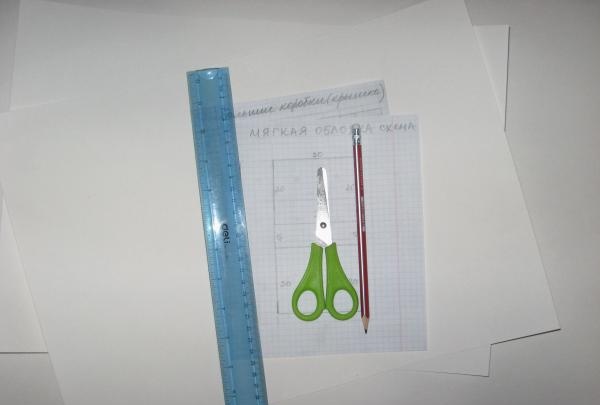
The first thing we do is lay out the diagrams of all the boxes and study them. We have a diagram of the base of a small box and its lid, a diagram of a large box and its lid, a diagram of the layout of the boxes, a base box, and a diagram of the fabric cover.
box for memorabilia

box for memorabilia

box for memorabilia

box for memorabilia

box for memorabilia

box for memorabilia

box for memorabilia

box for memorabilia

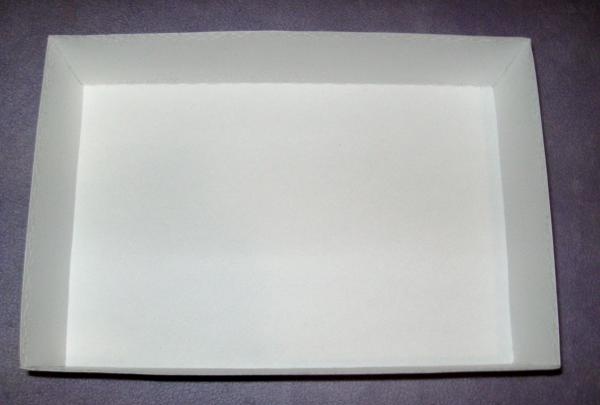
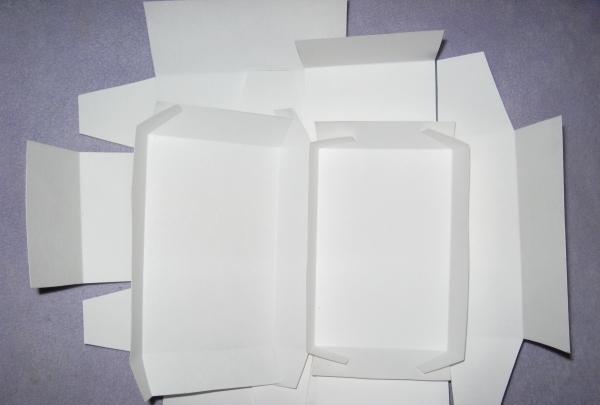
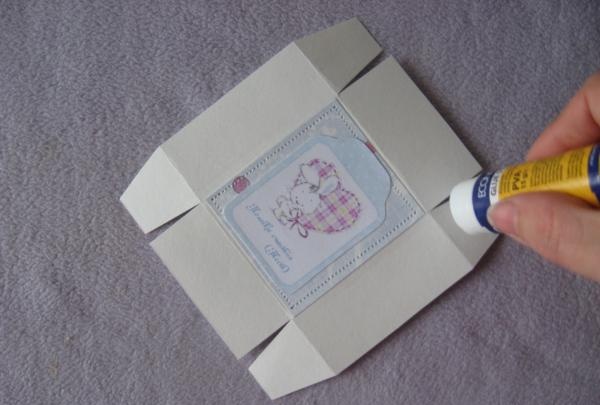
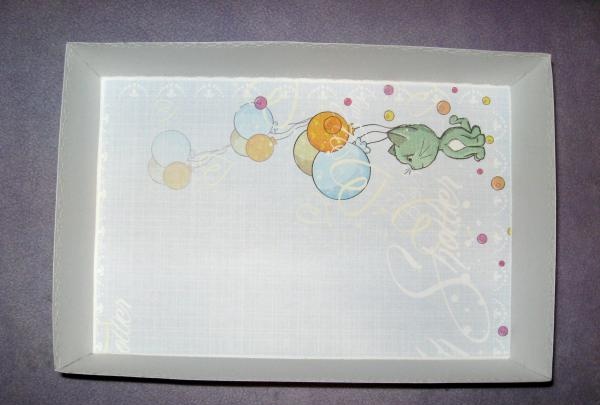
We start with a large box base into which we will put all the boxes. We cut out its blank according to the diagram and glue it with a glue stick. It is better not to use PVA, as it leads to paper.
box for memorabilia

box for memorabilia

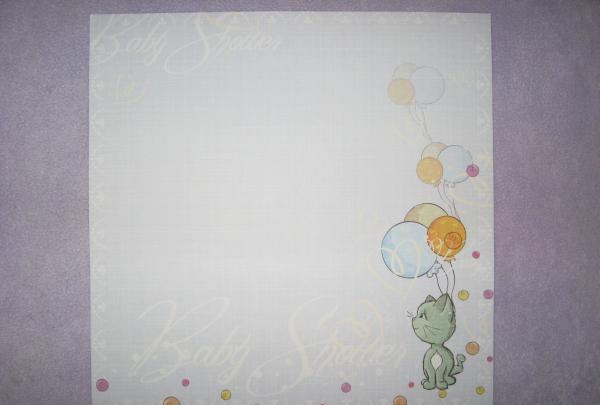
Cut out a rectangle like this from scrap paper and paste it into the bottom of the base.
box for memorabilia

box for memorabilia

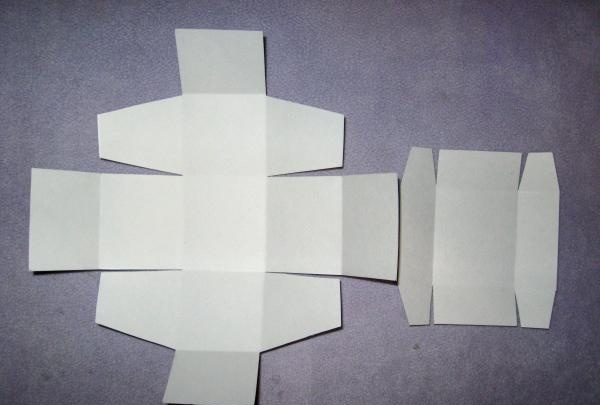
We cut out two blanks for the bottom and lids for large boxes.
box for memorabilia

box for memorabilia

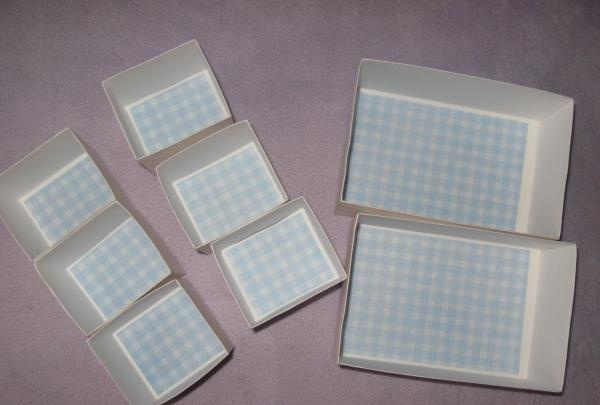
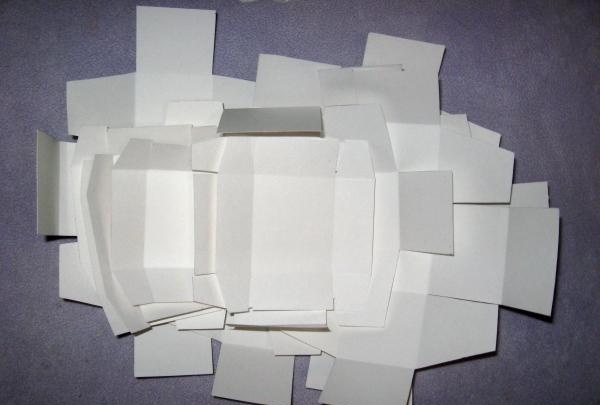
And six base and lid blanks for small boxes. First we glue all the bases of small and large boxes.
box for memorabilia

box for memorabilia

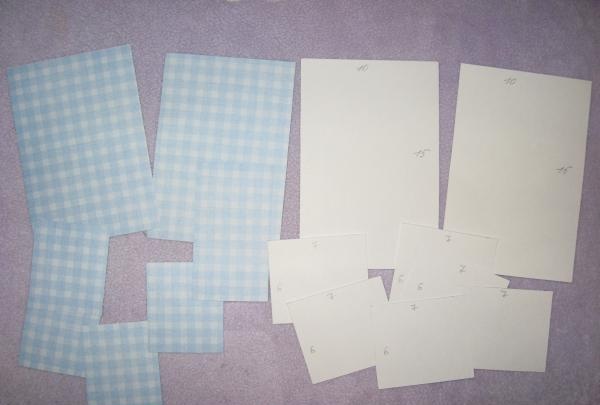
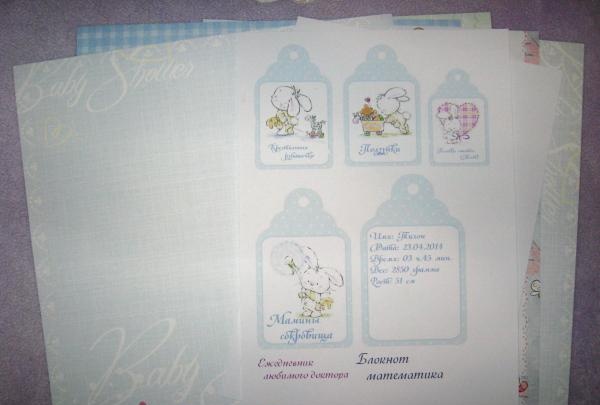
In each box we glue a scrap rectangle of these sizes.
box for memorabilia

box for memorabilia

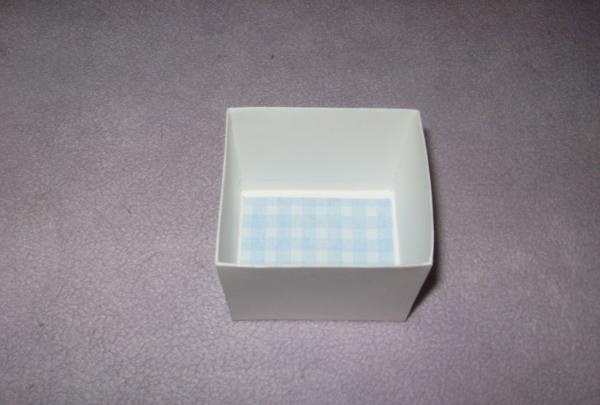
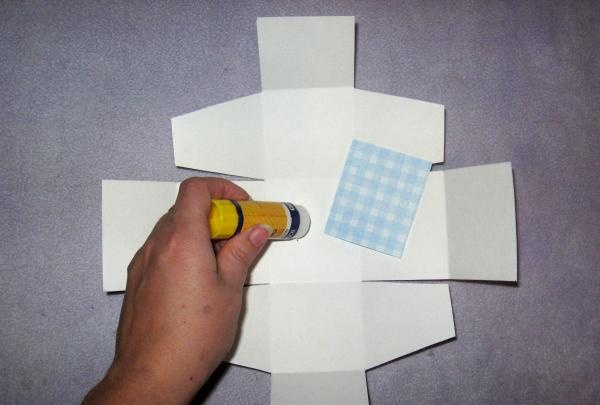
We get the base of a small box like this.
box for memorabilia

box for memorabilia

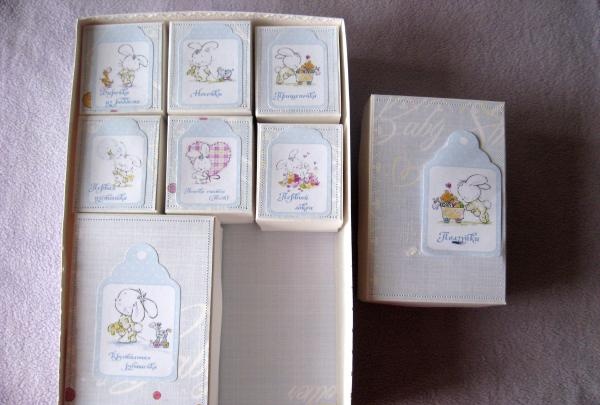
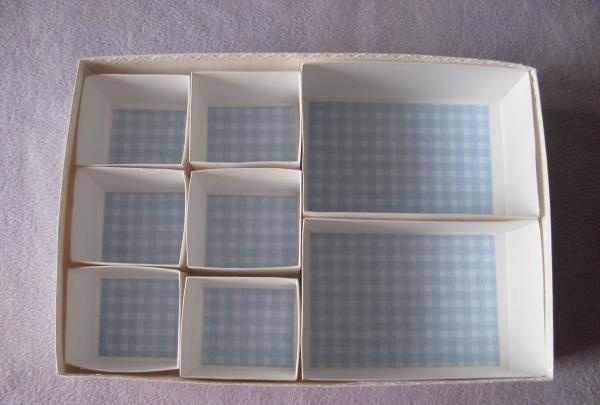
So we do everything and try them on into a large base.
box for memorabilia

box for memorabilia

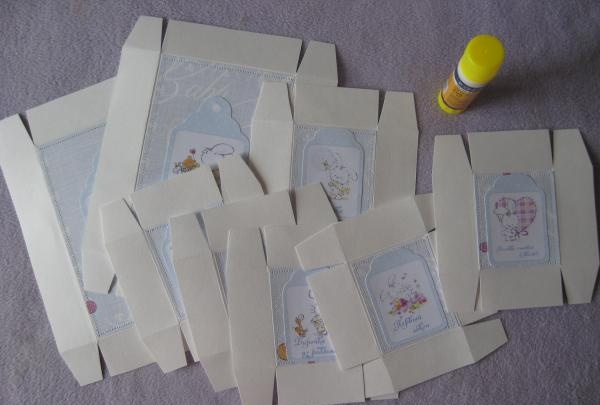
For the lids we cut out 6 rectangles 6*7 cm and two rectangles 10.15 cm. We glue them to the lids with double-sided tape.
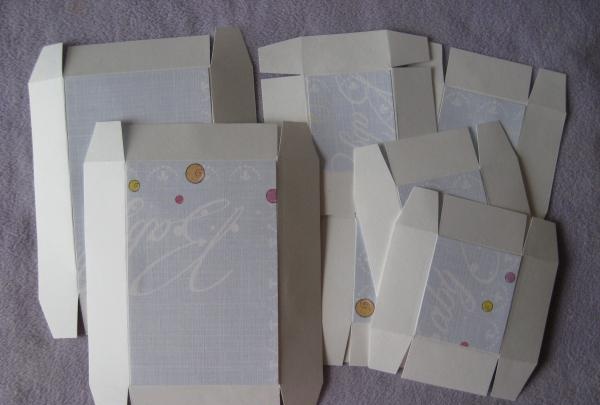
box for memorabilia

box for memorabilia

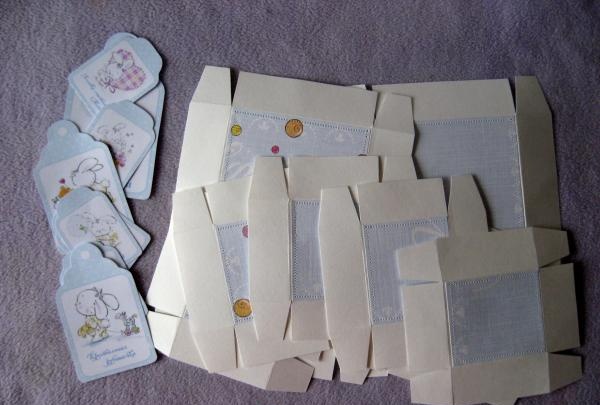
We sew the lids along the edge and glue them according to the picture. Now glue the lids together with a glue stick.
box for memorabilia

box for memorabilia

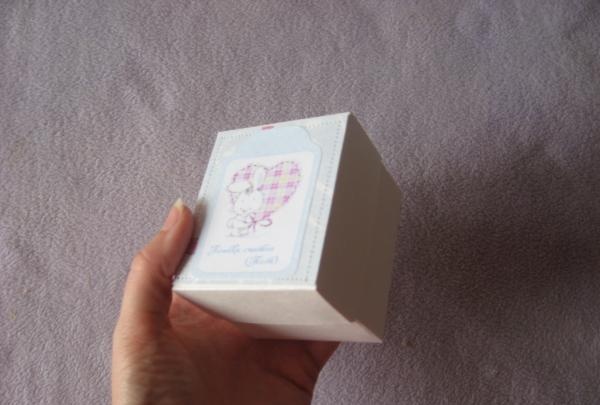
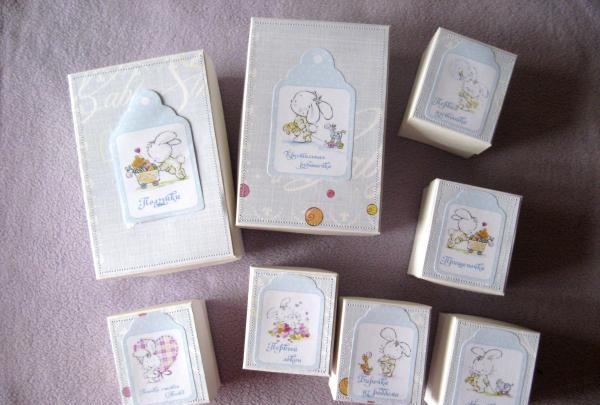
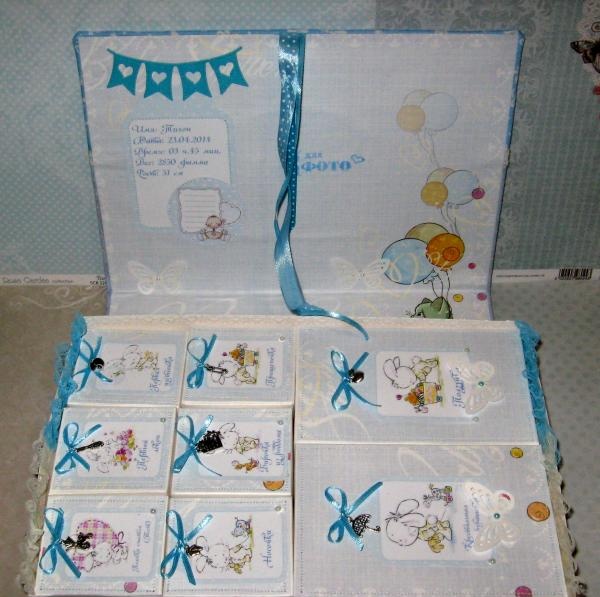
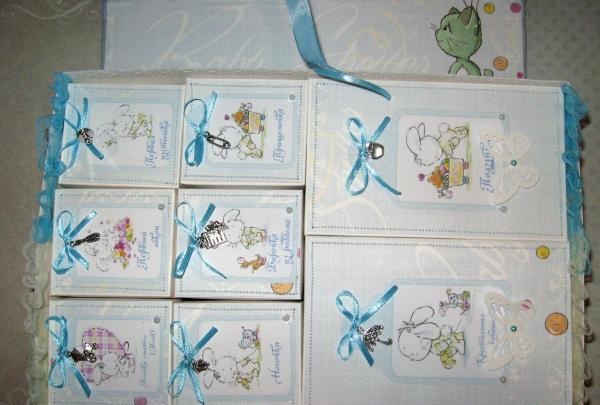
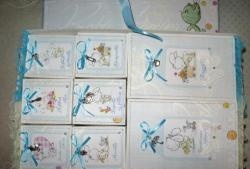
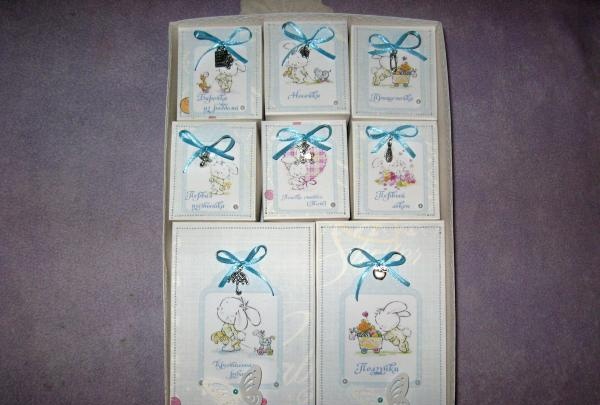
The boxes are ready.
box for memorabilia

box for memorabilia

box for memorabilia

box for memorabilia

We cut eight sections of 7-8 cm of light blue ribbon, burn the edges, thread a pendant into each section and tie bows. We glue these bows along with half beads onto each of the boxes.
box for memorabilia

box for memorabilia

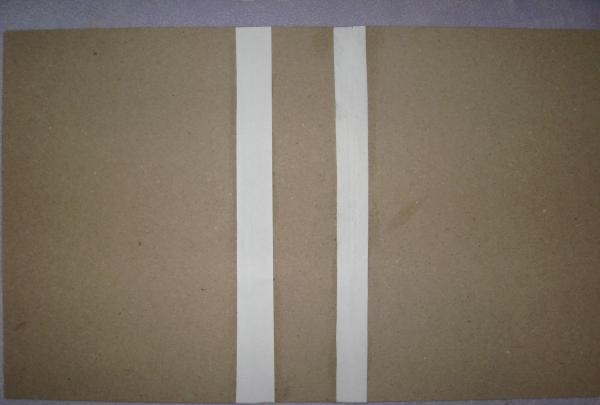
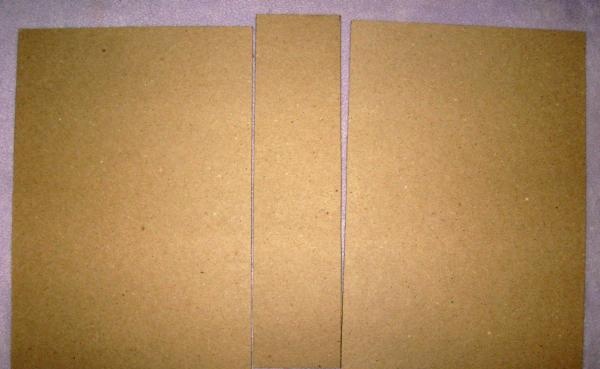
Let's get to the cover. Lay out the binding blanks. We take scraps of watercolor paper and glue them all together, as in the photo.
box for memorabilia

box for memorabilia

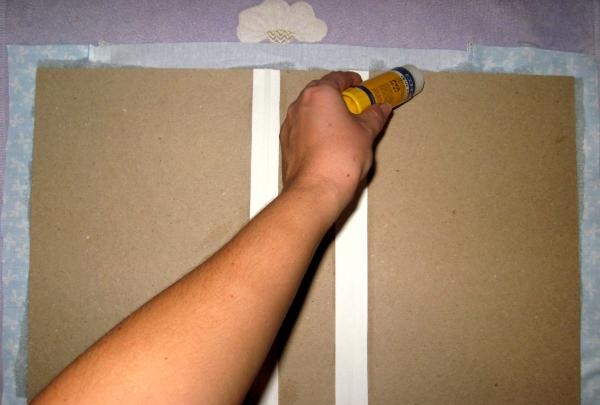
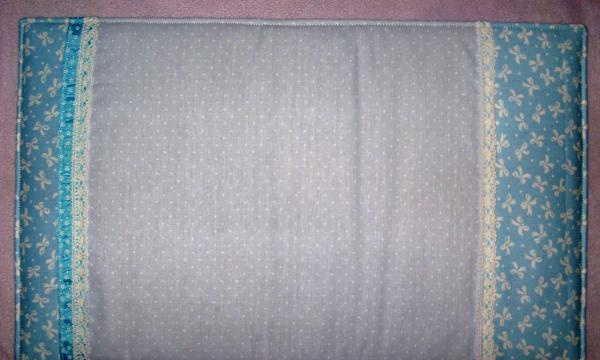
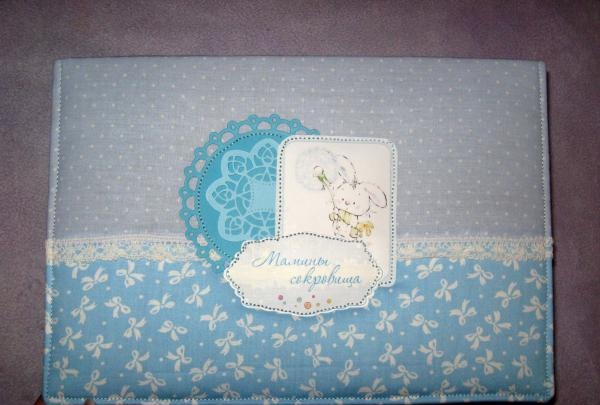
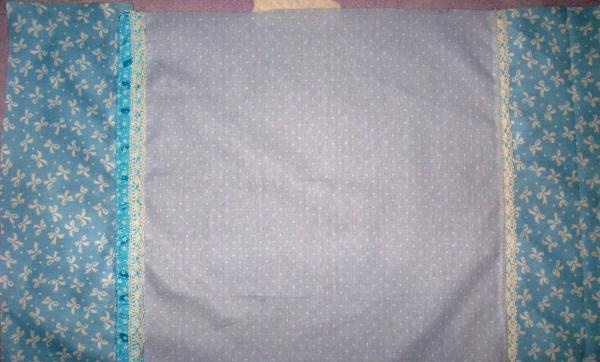
Now we take the fabric, cut a piece of 30*34 cm from blue cotton with polka dots and two cuts of 15*34 cm from a blue bow. We sew the pieces together. We stitch the joints of the fabrics with lace. Iron the fabric well and apply it to the binding blank. Using a glue stick, glue the folds of the fabric to the base, folding the corners beautifully.
box for memorabilia

box for memorabilia

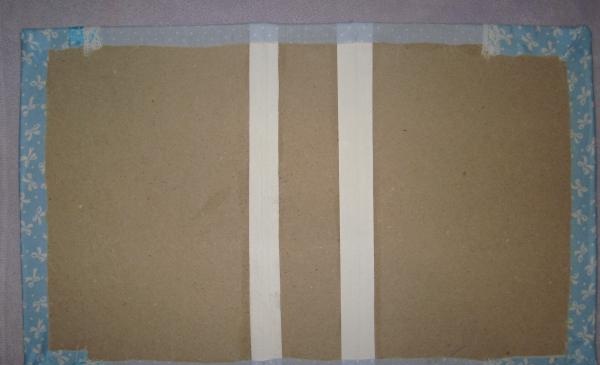
We sew the cover along the edge with a machine.
box for memorabilia

box for memorabilia

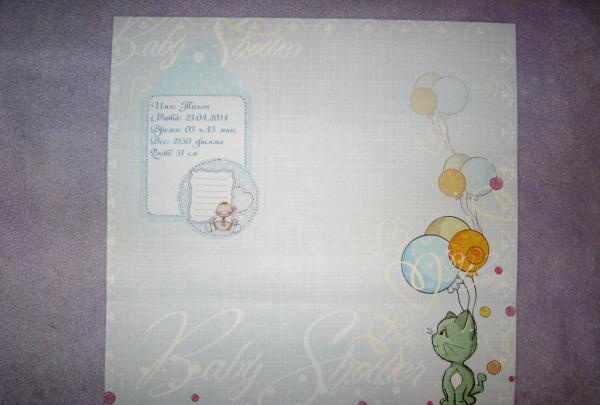
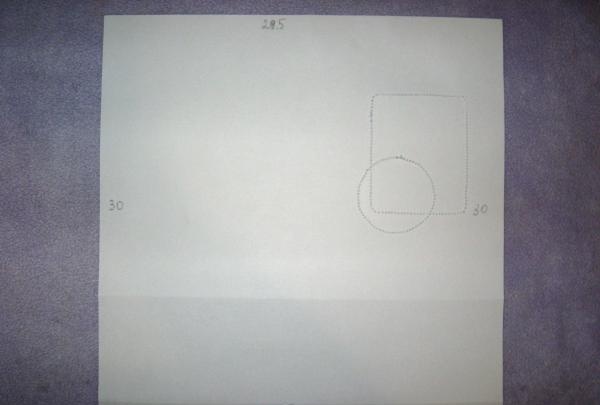
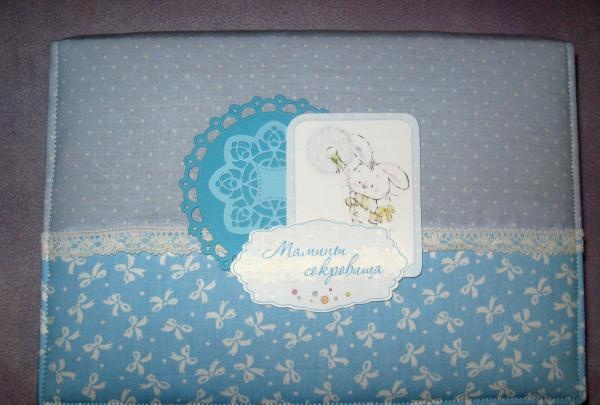
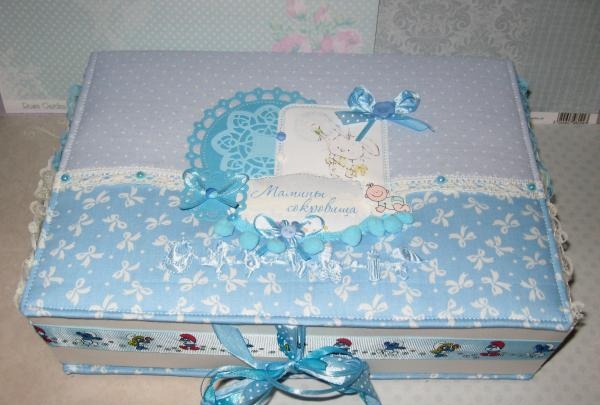
We put the circles, the picture and the inscription on the cover, glue it, and then stitch it.We also cut out a 29.5*30 cm rectangle from scrap paper and glue and sew on it a card with a metric and a picture.
box for memorabilia

box for memorabilia

box for memorabilia

box for memorabilia

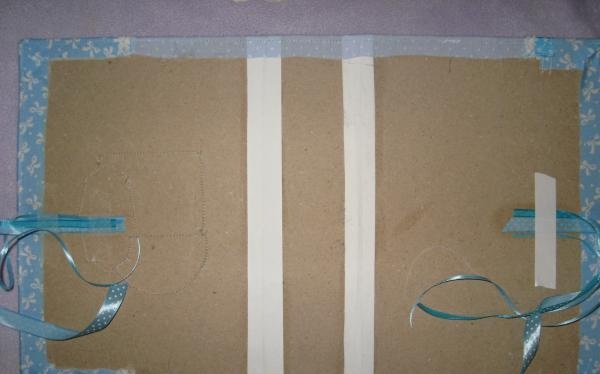
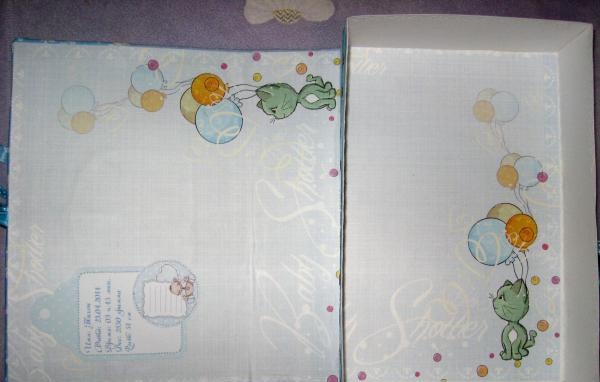
We make the ties of the chest, glue strips of ribbon on both inner sides of the cover.
box for memorabilia

box for memorabilia

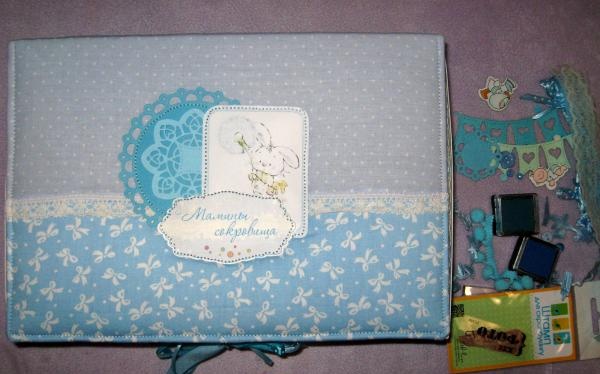
First glue the scrap paper with adhesive tape effect, smooth it out well, then glue it with the same glue and glue the large base of the chest. All that remains is to decorate the cover with buttons, bows, and beads.
box for memorabilia

box for memorabilia

We glue the flags inside and stamp the inscription “for photo”. This is the cutest box for my mother's beauties. Thank you for your attention!
box for memorabilia

box for memorabilia

box for memorabilia
come back
Comment
  • bowtiesmilelaughingblushsmileyrelaxed relaxedsmirk
    heart_eyeskissing_heartkissing_closed_eyesflushedrelievedsatisfiedgrin
    winkstuck_out_tongue_winking_eyestuck_out_tongue_closed_eyesgrinningkissingstuck_out_tonguesleeping
    worriedfrowninganguishedopen_mouthgrimacingconfusedhushed
    expressionlessunamusedsweat_smilesweatdisappointed_relievedwearypassive
    disappointedconfoundedfearfulcold_sweatperseverecrysob
    joyastonishedscreamtired_faceangryragetriumph
    sleepyyummasksunglassesdizzy_faceimpsmiling_imp
    neutral_faceno_mouthinnocent
4 minus one =
Comments (1)
  1. Lesya
    #1 Lesya Guests July 4, 2017 00:37
    1
    Of all the MKs, I chose this one. I have already sewn the paperback and made the boxes. I was terribly upset when I realized that the cover was several centimeters smaller than the boxes!!! As a result, the fabric is damaged and so much effort wasted! Very disappointing! Especially at 8 months of pregnancy ((((

Recipe for fluffy pancakes with kefir | Do it yourself

Shelf in Provencal style | Do it yourself

3 reliable wire connections for electrical installations with and without soldering

Vintage envelope with wax seal | Do it yourself

«Do it yourself - with your own hands» - a site of interesting homemade products made from scrap materials and items at home. Step-by-step master classes with photos and descriptions, technologies, life hacks - everything a real master or just a craftsman needs for needlework. Crafts of any complexity, a large selection of directions and ideas for creativity.

We recommend reading

Washing machine error codes