Do it yourself
Life hacks, master classes, useful tips, recipes.
home » Handicraft techniques » Decoupage » Decoupage bottles » Decoupage champagne bottle
The New Year is already very soon, and we are all in the hassle and bustle of trying to prepare for this holiday according to all the rules. We decorate the Christmas tree for our New Year's guest, hang streamers and tinsel throughout the house, decorate the front door with a New Year's wreath, but, of course, the most important thing is the organization and preparation of the festive table. This activity is always very interesting and troublesome. Choose the right menu that corresponds to New Year and Christmas customs, place a beautiful New Year's composition with candles in the center of the table, which will create a festive atmosphere in the twilight. Well, of course, everyone knows that the most important New Year's drink is champagne. It is with this drink that we all celebrate the New Year.

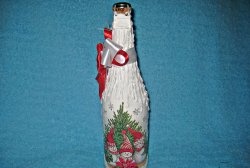
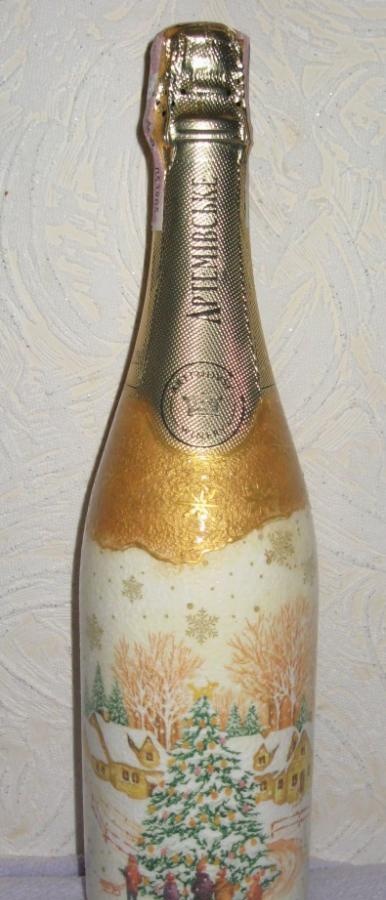
And today we’ll look at how to beautifully decorate a bottle of champagne for the festive New Year’s table using the technique decoupage.
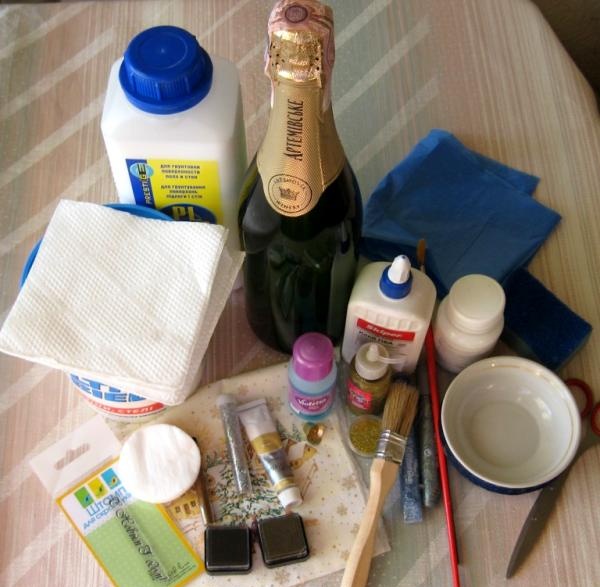
Materials that we will need to decorate the bottle:
• A bottle of your favorite champagne;
• New Year's napkin for decoupage;
• A few simple regular napkins;
• White acrylic paint;
• Gold acrylic paint;
• Brush for decoupage;
• Artificial brush for acrylic paint;
• Acetone;
• Several cotton pads;
• Foam rubber kitchen sponge;
• Scissors;
• Gold outline, liquid and dry glitter;
• Tweezers;
• Plastic bag;
• PVA glue;
• Several containers, it is better to take glass or ceramics;
• Varnish for decoupage.
decoupage champagne bottle

decoupage champagne bottle

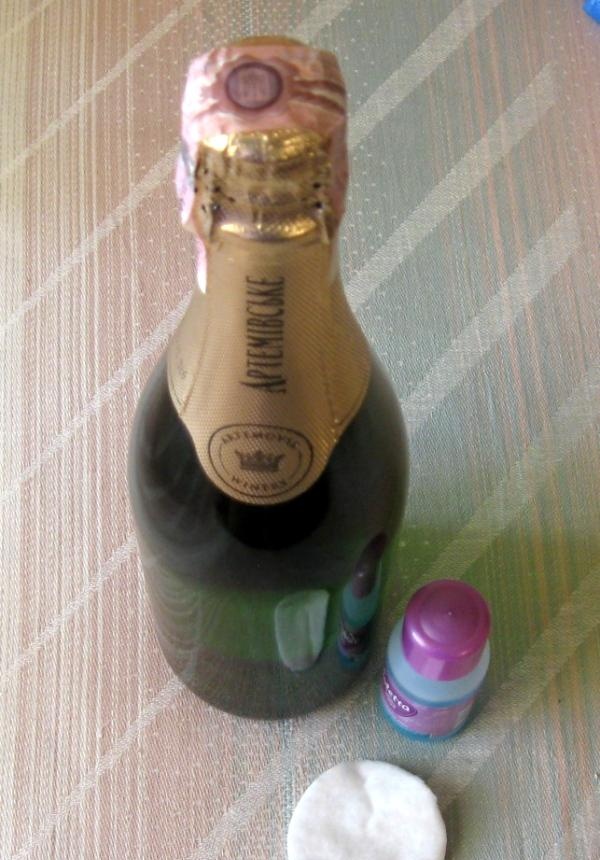
It is better to prepare the bottle in the evening. To do this, you need to pour warm, but not hot water into the talik and leave the bottle overnight. Just in time for the morning, the label will come off the bottle without any problems.
Wipe the surface dry. Now you need to degrease the surface of the bottle. To do this, take acetone and several cotton pads and completely wipe the surface of the entire bottle.
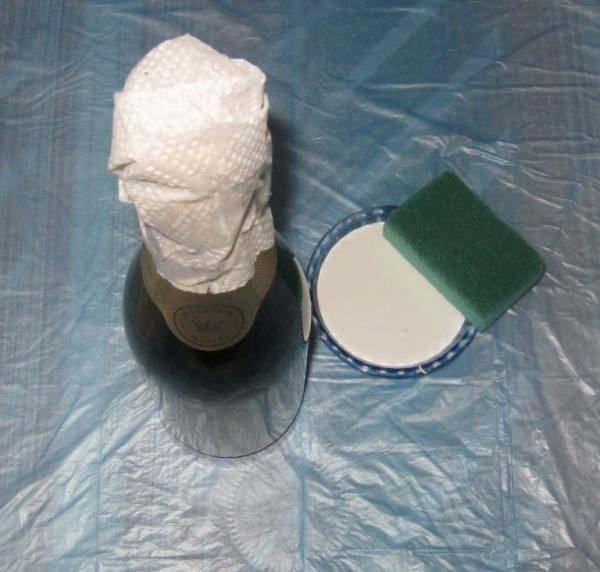
Carefully wrap the top part of the bottle with the label with regular napkins so that it does not get dirty when painting.
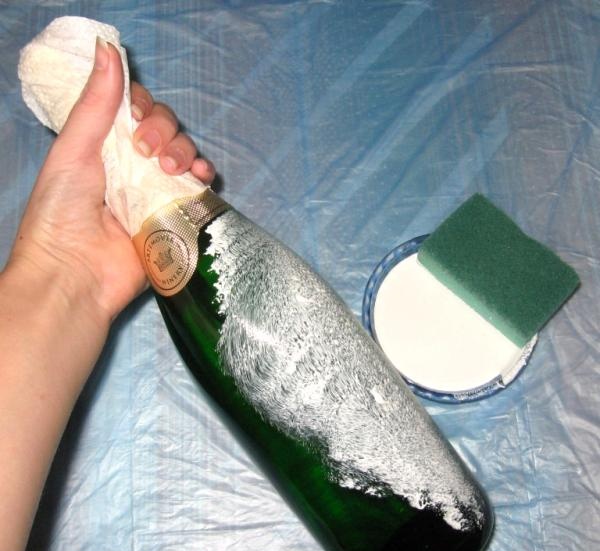
Pour white paint into one bowl, take a sponge, dip it in the paint and paint the surface of the bottle.
decoupage champagne bottle

decoupage champagne bottle

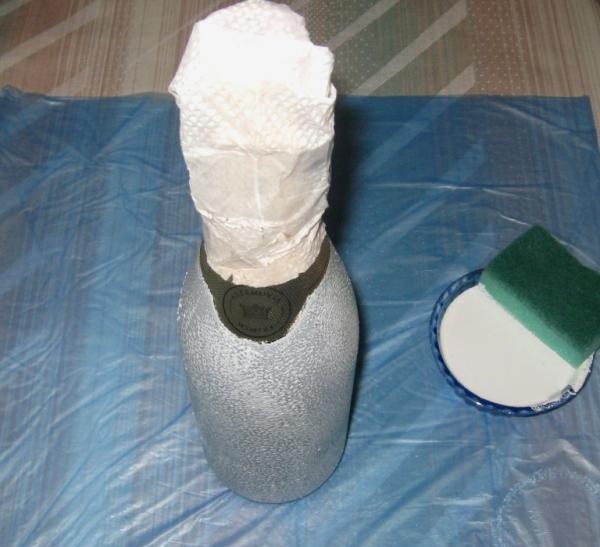
Apply the first layer and let the surface dry for an hour. Paint again with a second layer. We try not to cover the top label of the bottle. Again, give it an hour and a half until it dries.
decoupage champagne bottle

decoupage champagne bottle
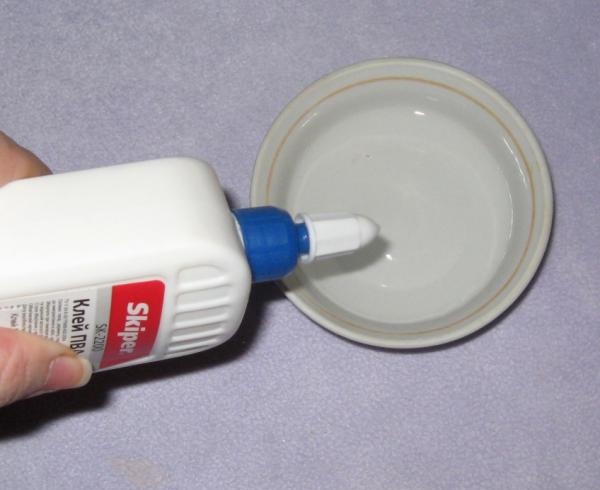
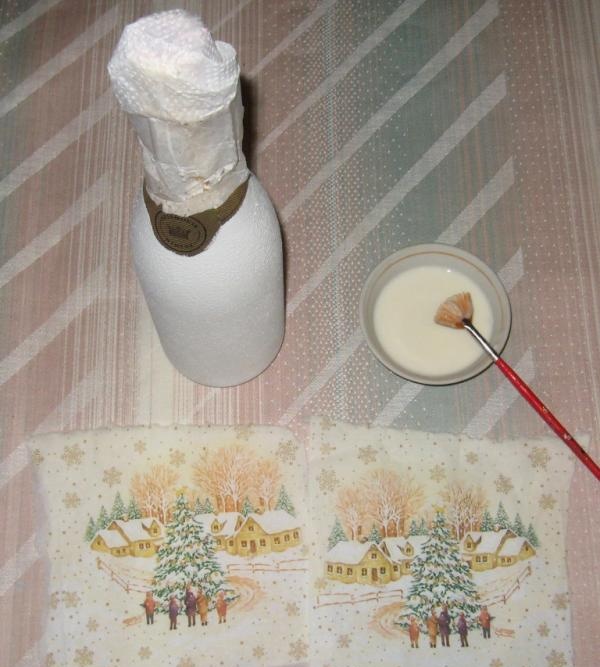
And now we paint with a third layer of paint. While we are waiting for it to dry, we dilute water with PVA glue in a second bowl, and with this mixture we will glue the napkin to the bottle.
decoupage champagne bottle

decoupage champagne bottle
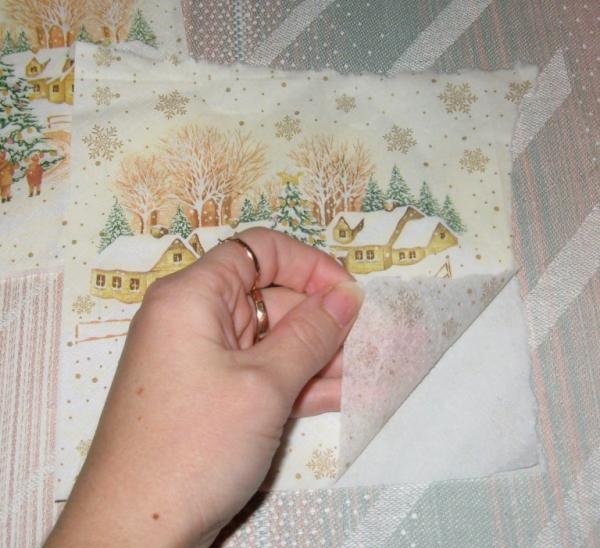
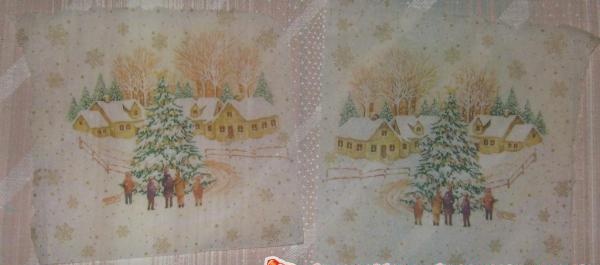
Now we take a New Year's napkin, it consists of four parts, we will need two parts, exactly half. Carefully tear off the two parts. Remove the very top part from each part of the napkin.
decoupage champagne bottle

decoupage champagne bottle

Here we have prepared drawings for decoration.
decoupage champagne bottle

decoupage champagne bottle

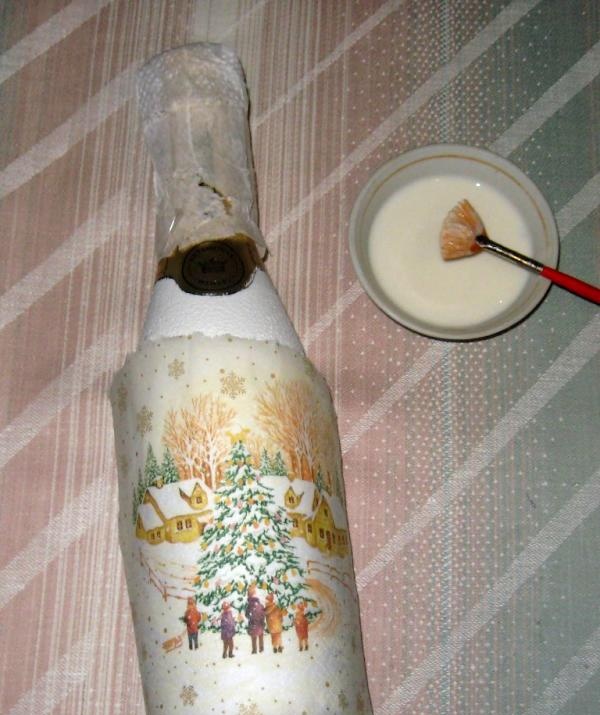
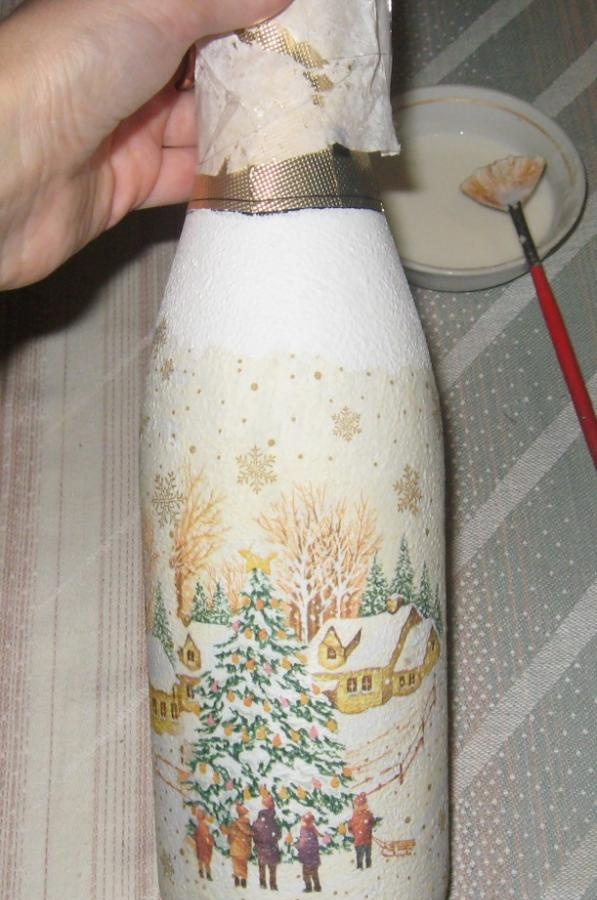
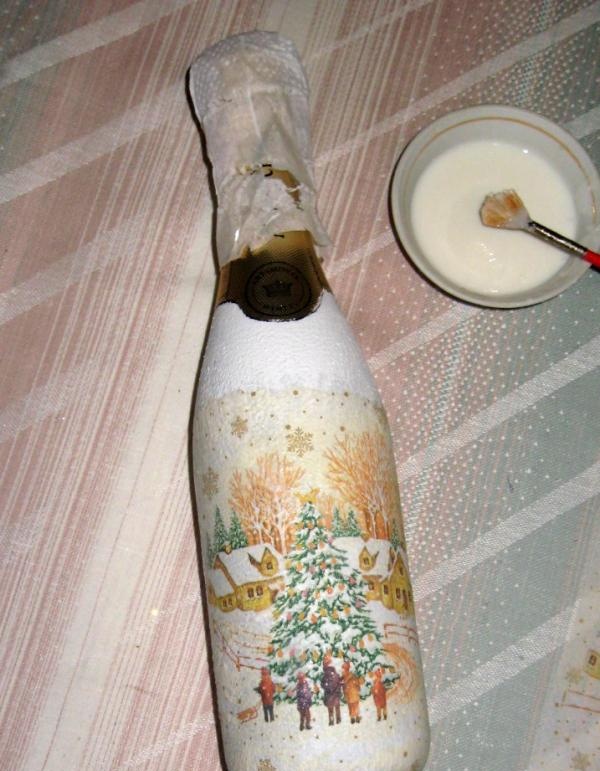
We try to ensure that the surface of the bottle is dry, apply one drawing and start gluing the napkin to the bottle from the center.
decoupage champagne bottle

decoupage champagne bottle

Then we add a second pattern in a circle and also glue it. Let the bottle dry.
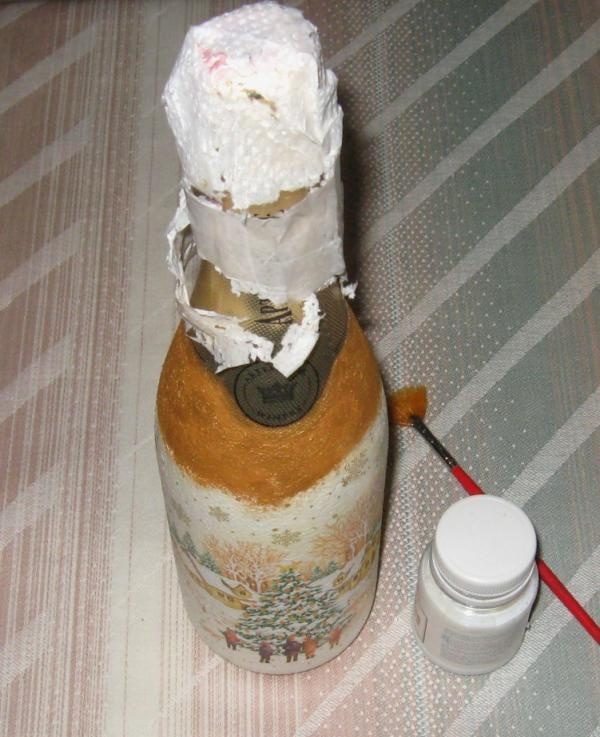
We put the bottle on the table, take an artificial brush and paint the bottom in a circle with gold acrylic paint, as in the photo.
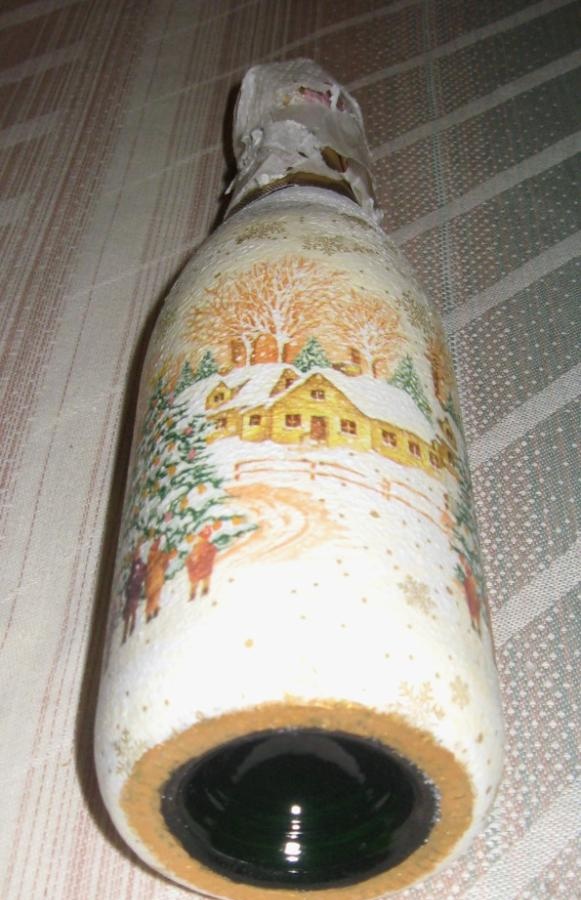
decoupage champagne bottle

decoupage champagne bottle

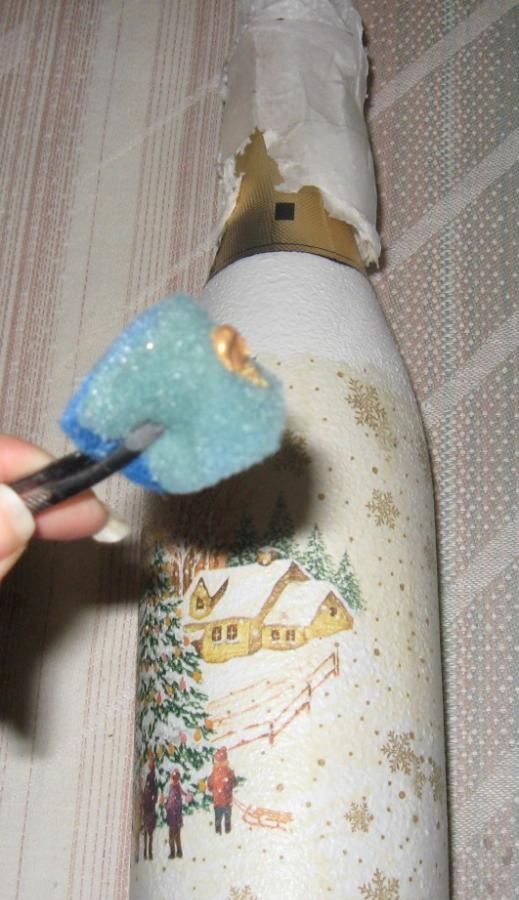
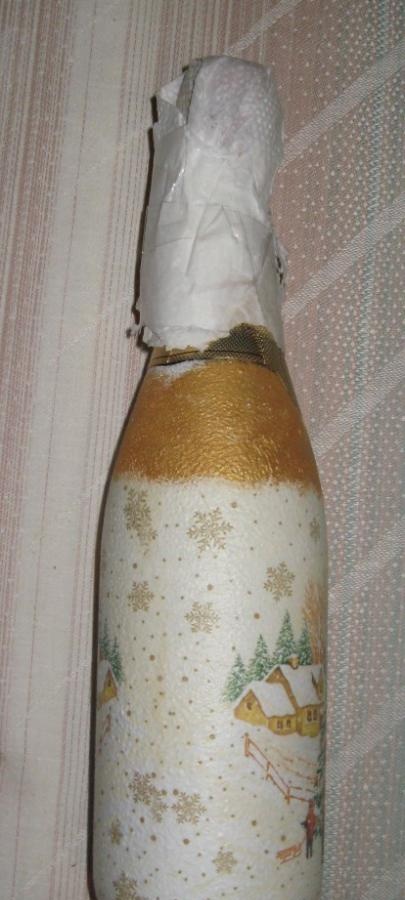
Now cut off a small piece of foam sponge and take it with tweezers. We apply gold paint to the sponge and paint the top of the bottle, where the napkin was missing. It is thanks to the sponge that the pimply surface is obtained, and if you paint with a brush, streaks will form.
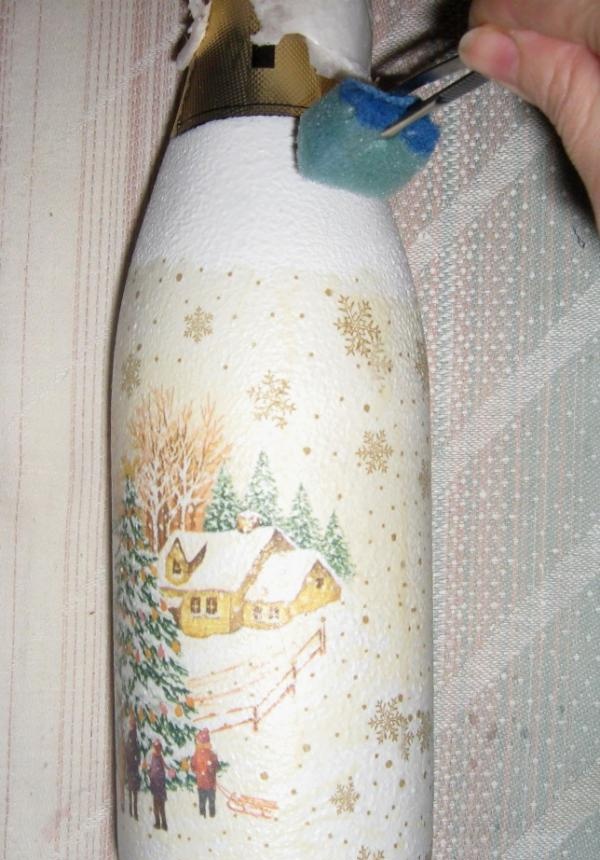
decoupage champagne bottle

decoupage champagne bottle

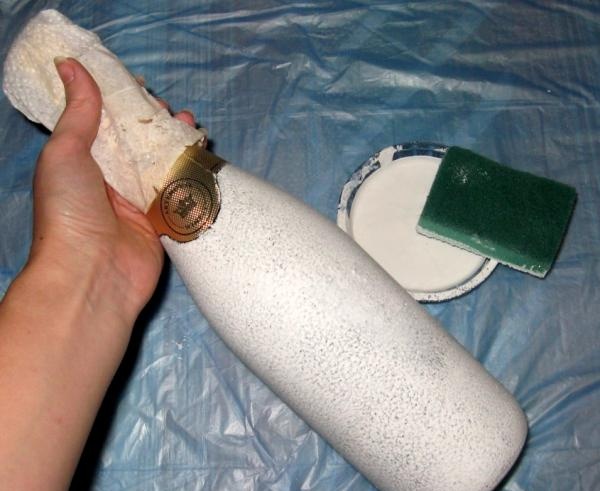
Let it dry for half an hour. Now remove the napkins.
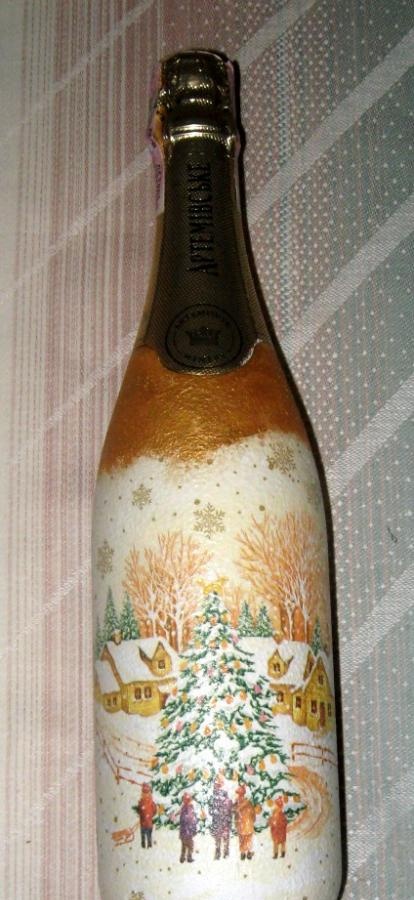
decoupage champagne bottle

decoupage champagne bottle

We take decoupage varnish and a brush and cover the surface of the bottle with glossy varnish. We still do not cover the top label. The layer dries, apply the next one, and so on for a total of 5-6 layers of varnish. Then we separately varnish the bottom of the bottle, placing it on its side. The surface is completely dry, now there are little things left. Using a gold outline, we beautifully outline the border between the napkin and the gold paint, and also carefully outline the top label. You can now paint snowflakes with gold and liquid glitter, and then sprinkle the bottle with dry glitter.
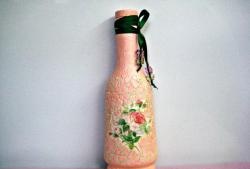
There you go! The festive New Year's bottle is ready and will perfectly decorate your New Year's table! Good luck and enjoy your crafting!
come back
Comment
  • bowtiesmilelaughingblushsmileyrelaxed relaxedsmirk
    heart_eyeskissing_heartkissing_closed_eyesflushedrelievedsatisfiedgrin
    winkstuck_out_tongue_winking_eyestuck_out_tongue_closed_eyesgrinningkissingstuck_out_tonguesleeping
    worriedfrowninganguishedopen_mouthgrimacingconfusedhushed
    expressionlessunamusedsweat_smilesweatdisappointed_relievedwearypassive
    disappointedconfoundedfearfulcold_sweatperseverecrysob
    joyastonishedscreamtired_faceangryragetriumph
    sleepyyummasksunglassesdizzy_faceimpsmiling_imp
    neutral_faceno_mouthinnocent
4 minus one =
Comments (0)

Useful DIY door hinge device

Snail pillow for pins and needles | Do it yourself

How to assemble a simple grinder from bicycle hubs with your own hands

An accelerated method of removing rust with citric acid solution

«Do it yourself - with your own hands» - a site of interesting homemade products made from scrap materials and items at home. Step-by-step master classes with photos and descriptions, technologies, life hacks - everything a real master or just a craftsman needs for needlework. Crafts of any complexity, a large selection of directions and ideas for creativity.

We recommend reading

Washing machine error codes