- Patterns for the name FIELD;
- Calico orange plain;
- Green calico with a pattern;
- Orange threads;
- Green threads;
- White dublerin;
- Filler.
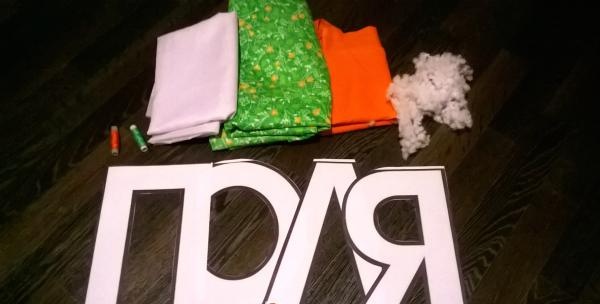
You can use absolutely any fabric at your discretion, I took calico. As they say, whatever was at hand. Dublerin can also be a different color, but for these colors of the main fabric, it is better to take white, since it does not shine through the base. The filling can also be different, and the ones used in stuffing such pillows are also different. I took synthetic down, it is light, elastic, environmentally friendly, that is, it can be used if anyone has allergies, it allows air to pass through well, in general, this filler has a lot of advantages. So, let's begin:
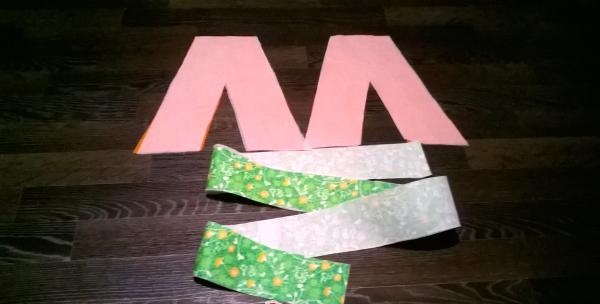
1. Let's start with the letter Y. To sew such a letter, we first take the pattern of this letter. I downloaded it from the Internet, the height of the letters is 30 centimeters.

2. Using it, we cut 2 parts from the main fabric, but at the same time we fold the fabric face to face.
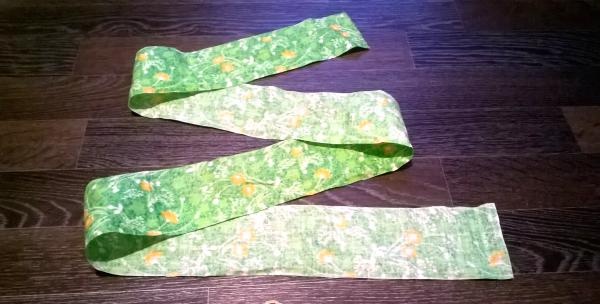
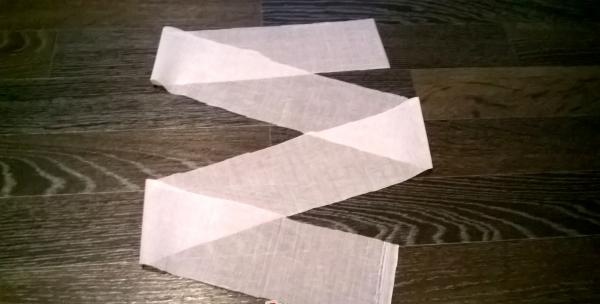
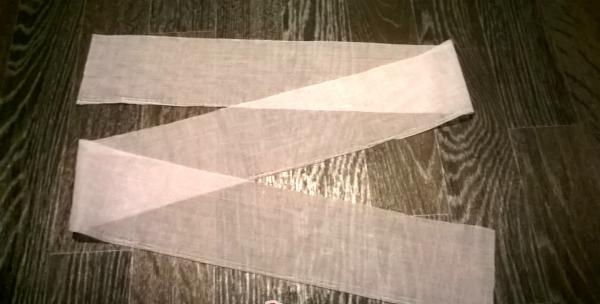
3.We measure the side parts of the letter, make a small allowance and cut out of green fabric a strip of the same length as planned, and 6 cm wide, plus allowances.
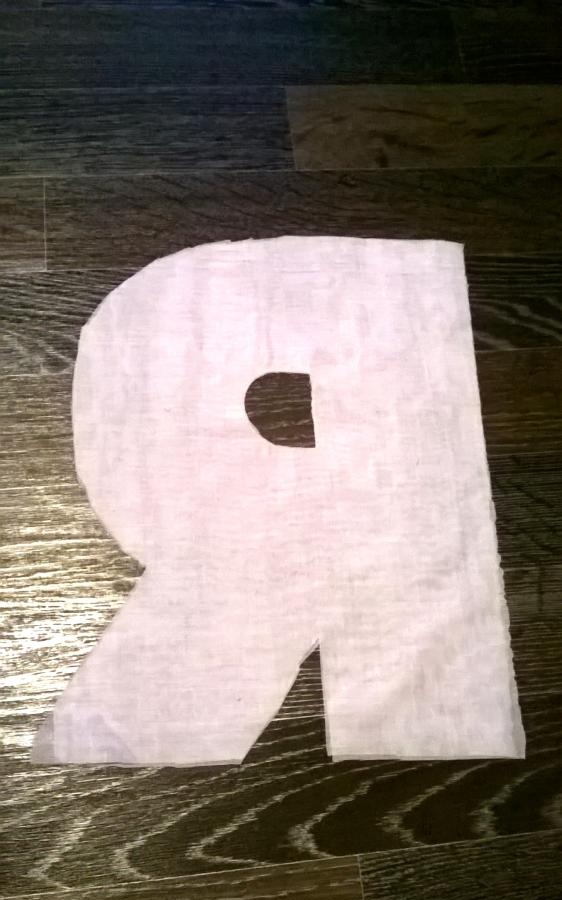
4. Cut out exactly the same parts from dublerin.
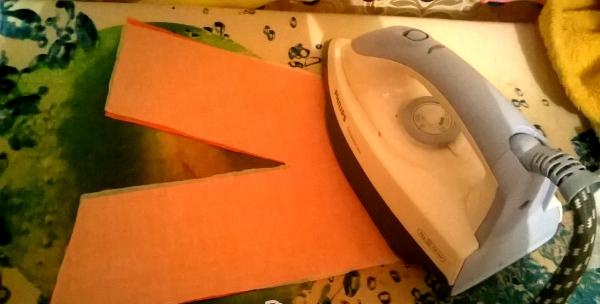
5. Duplicate the details with an iron.
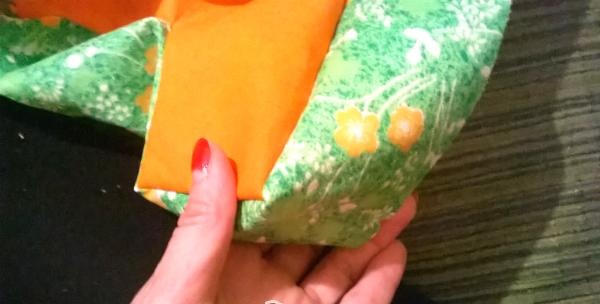
6. We begin to stitch the letter. To do this, we first sew the main and side parts of the letter, but first of all we sew the letter I inside the circle on one side, otherwise it will not be turned out later, then from the outside we sew the side part to the main part on one side, and then only to the other.
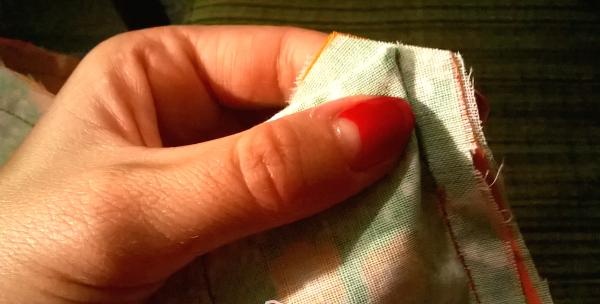
7. For even corners, so that they lie evenly and neatly, we cut out the corners.
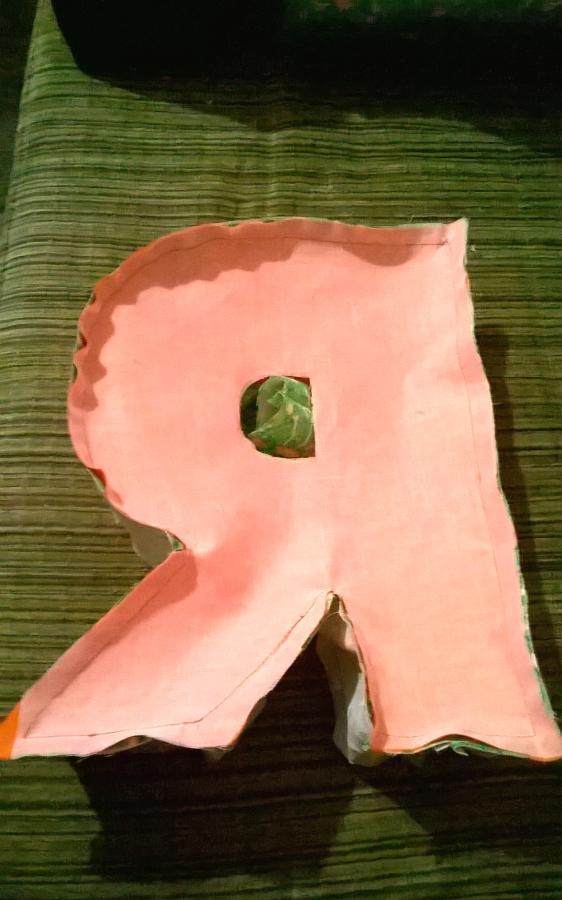
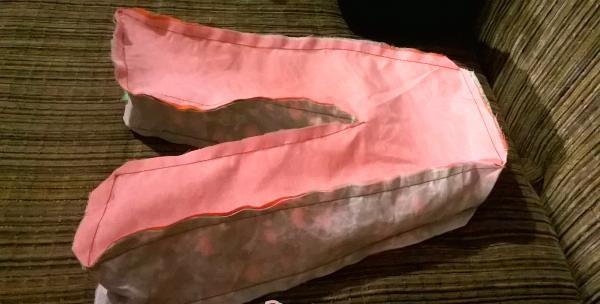
8. Turn the resulting letter inside out.

9. We fill in the letter through the unsewn opening. I did it a little differently because I found it inconvenient. I ripped open a small area on the side and sewed up the opening inside the round piece, and through the ripped opening I filled in the letter. Here you can do as you please!

10. Carefully fill in the corners of the letter.
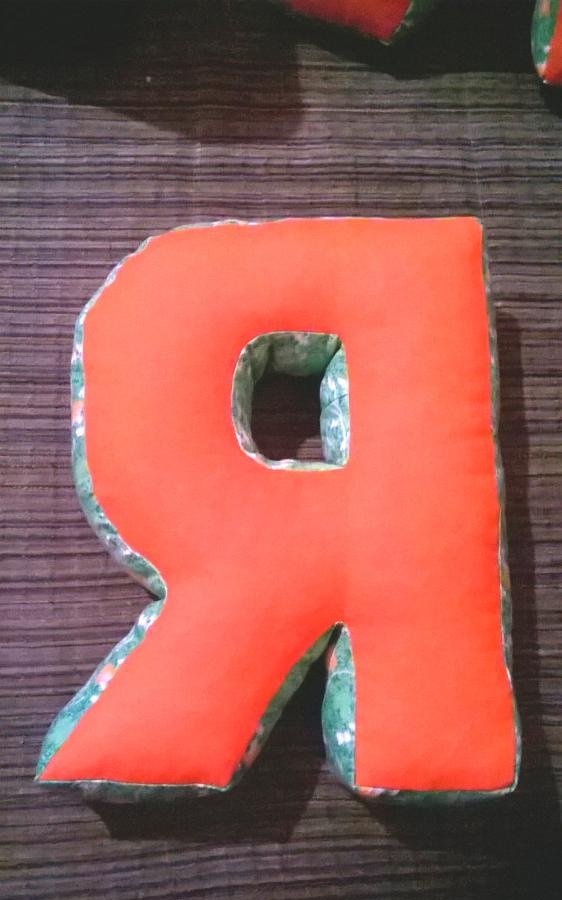
11. Once the pillow is stuffed, sew the opening by hand. It turned out to be one letter.
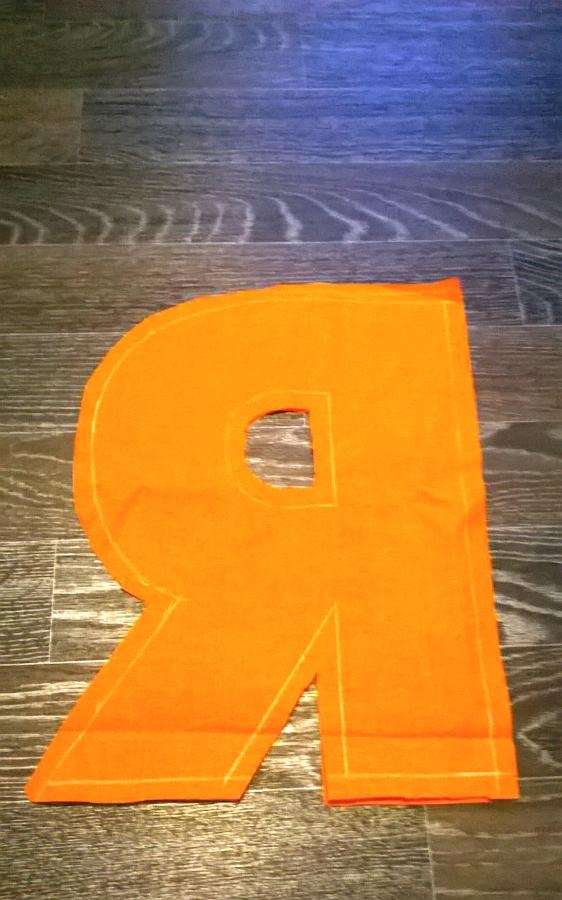
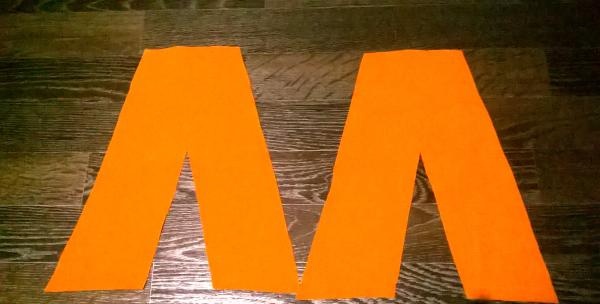
12. Let's make another letter using the same principle. We take a pattern of the letter L. From it we cut 2 patterns from orange fabric.
13. We also measure the side parts of the letter, making a small margin.

14. Cut out exactly the same parts from dublerin.
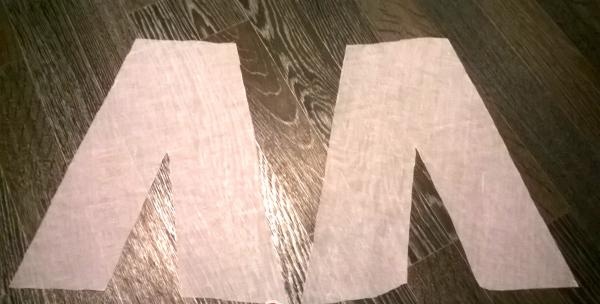
15. Duplicate the details.
16. Sew the side part to one main part, and then to the other main part, remembering to leave an opening for stuffing.
17. Again, cut out the corners.
18. Turn it inside out.
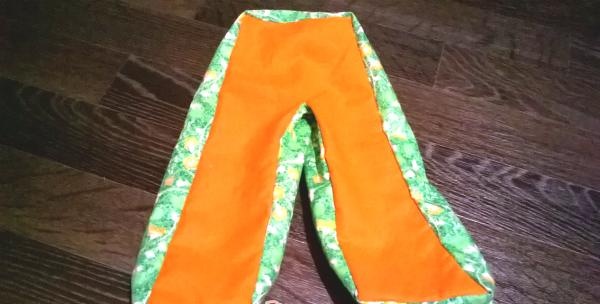
19. Stuff the letter pillow. We sew up the opening.

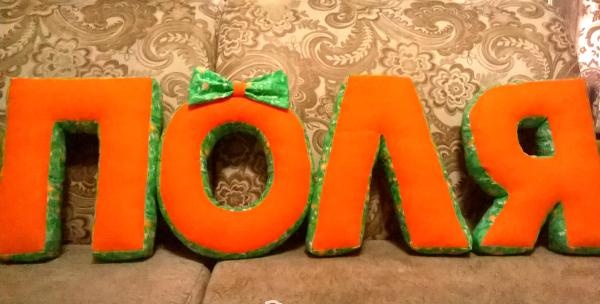
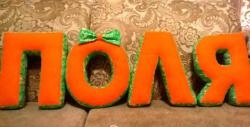
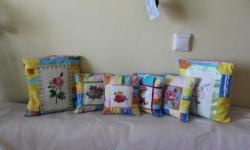
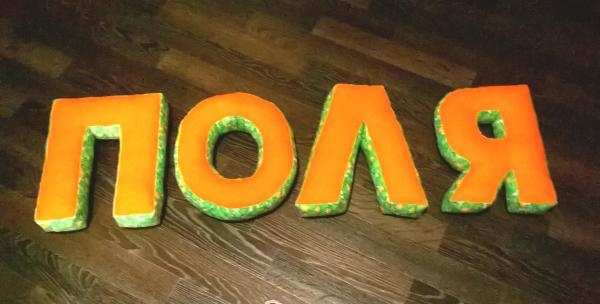
20. We sew the remaining letters in the same way. We get the name of the FIELD.
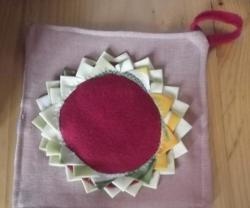
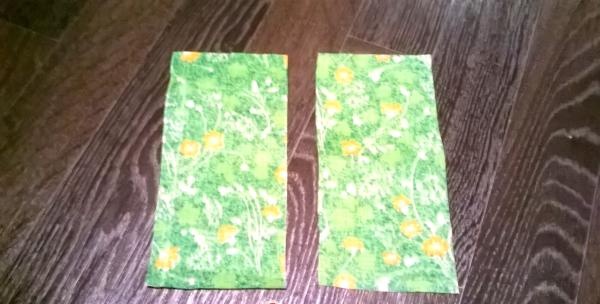
21. Now you need to decorate the letters. I made a bow on the letter O, for this I cut out 2 rectangles from green fabric measuring 12*7.
made of orange fabric 5*7
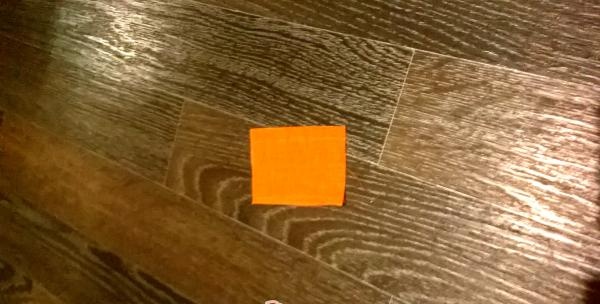
and duplicated them.

22.We sew the green rectangles together, leaving an opening for turning out. Turn it inside out.
23. Fold the orange rectangle in half lengthwise, stitch it, and turn it inside out. Again we fold it in half and stitch it. We make a green bow detail into this loop. We get a bow.
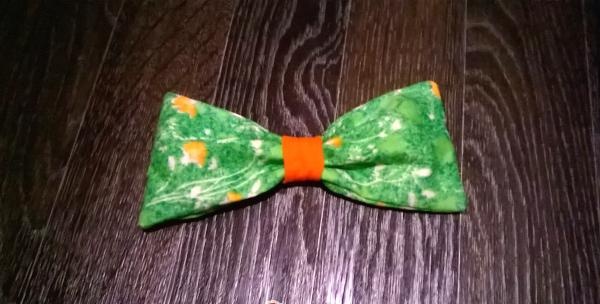
24. Hand sew a bow to the letter O
It turned out to be such a beautiful name FIELDS.