For work we take materials:
- “Kristalin” fabric in red and green colors.
- an ordinary candle.
- scissors.
- a needle and thread to match the fabric of the flower.
- glue gun.
- tweezers.
- some floss threads.
- fishing line and beads.
- a piece of thick fabric.
- scrunchy.
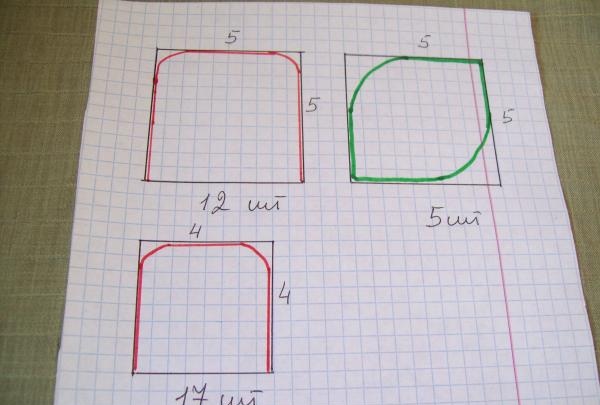
We start any product by preparing templates. For flowers we will use 3 types. Small petals look like a square with a side of 4 cm. And we place large petals in a square 5 x 5 cm. In all petals we round the two upper corners. Next we draw another square with a side of 5 cm, but this time for leaves. Here we will round two opposite corners.
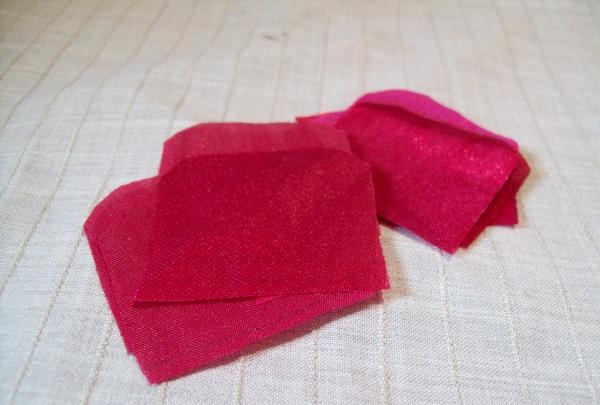
Let's get to work. We take red fabric and cut out 12 large petals and 17 small ones using the templates.
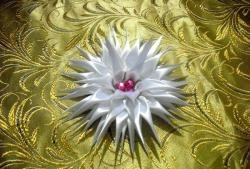
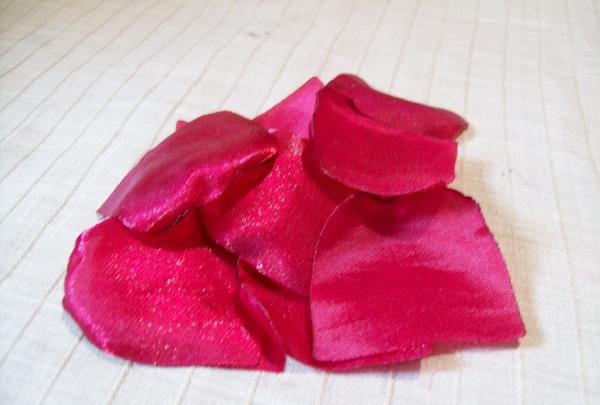
Light the candle and start processing all the petals. Carefully burn each edge of the petals. And then, one by one, we bring the blanks above the candle, face down. From the heat, the edge of the petal itself makes a beautiful bend towards the candle.And such bends will be on all petals.
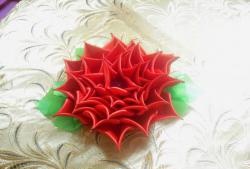
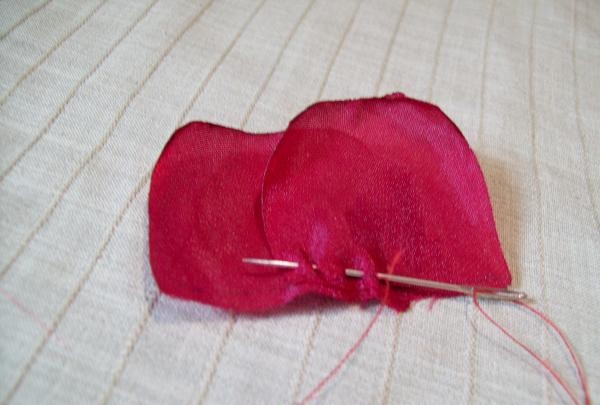
For a large flower, take 12 large processed petals. First you need 7 pieces. We fold one petal onto the second, overlapping it to the middle of the lower piece. We place the petals with the wrong side up. Using a needle and thread, we collect small stitches along the lower edge of the petals.
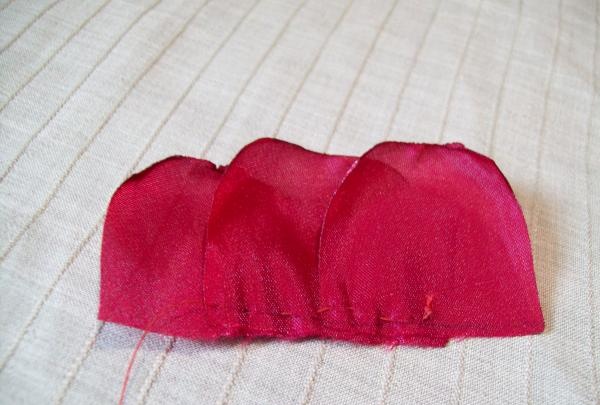
For the first row of the flower we collect 7 petals. We tighten the thread and secure it with a knot.
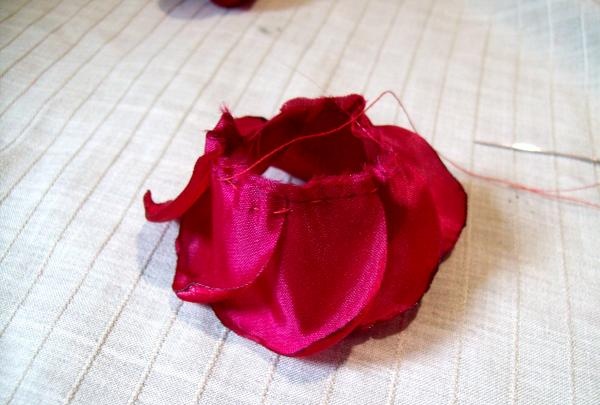
But our flower consists of two rows. In the second, we will collect only 5 petals together.
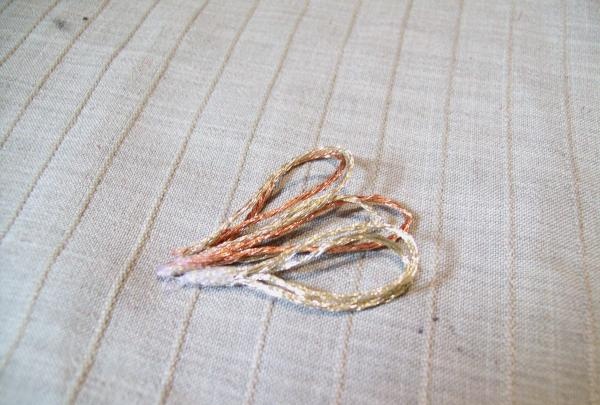
Now you need to make the stamens. From the “Muline” threads we cut pieces 7 cm long, 18 pieces in total. Fold in half and secure in pairs with a glue gun.
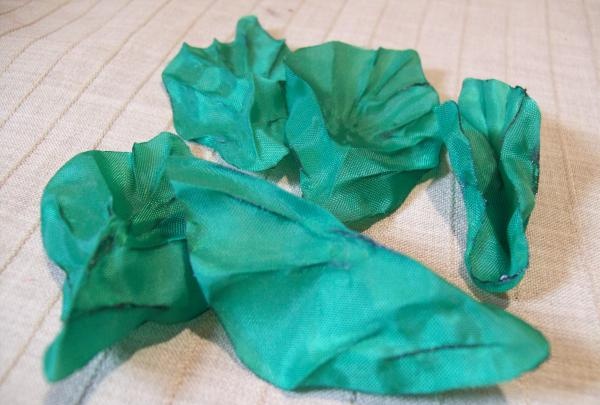
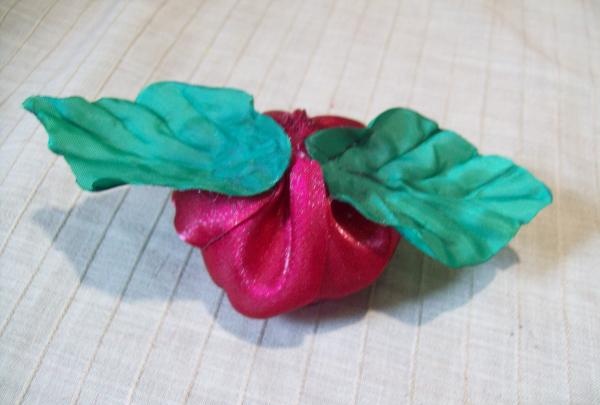
Now we begin to cut out leaves from green fabric, of which we need only 5 pieces. Let's use a template. We also process all the cuts on the candle. Then we bend the sheet in half and bring it to the candle with the fold. Having warmed it up, immediately press the warm place with your fingers. It turns out that there is a middle vein in the leaf.
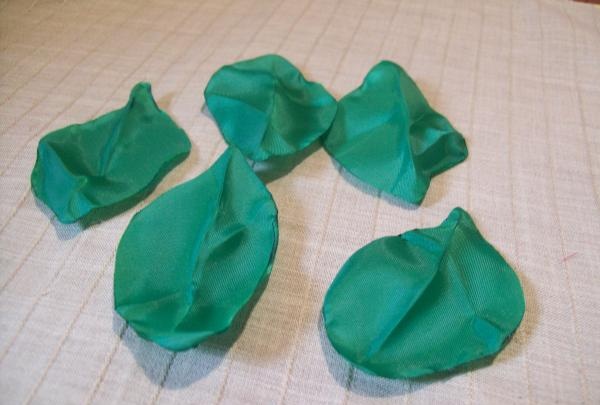
We warm the veins lateral from the center and clamp them with tweezers.

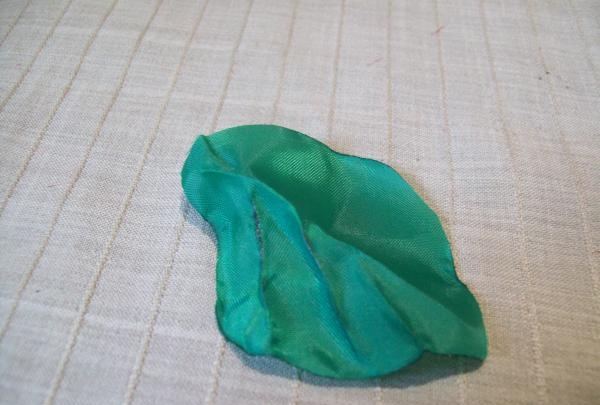
At this stage of work, you need to show the direction of the veins on both sides of the center line.
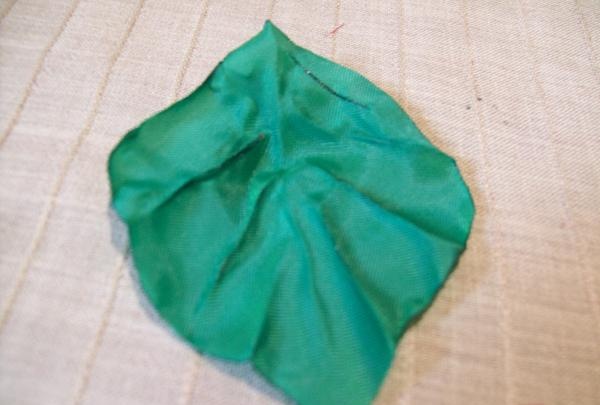
The leaves have an interesting shape.
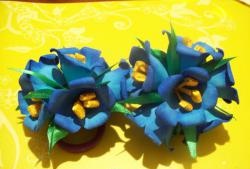
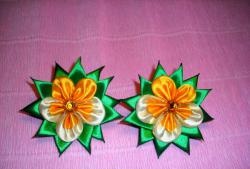
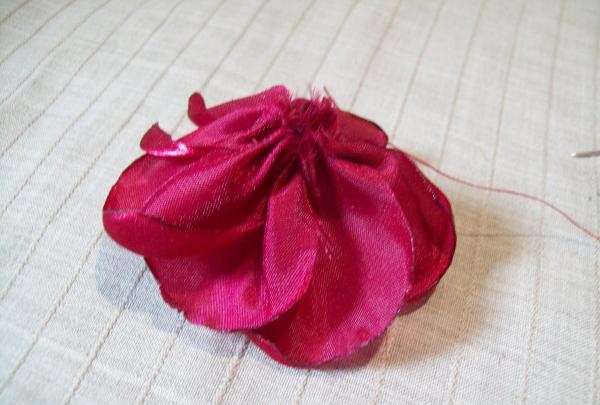
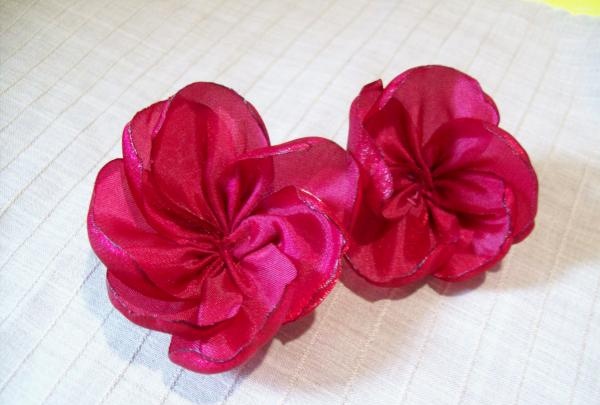
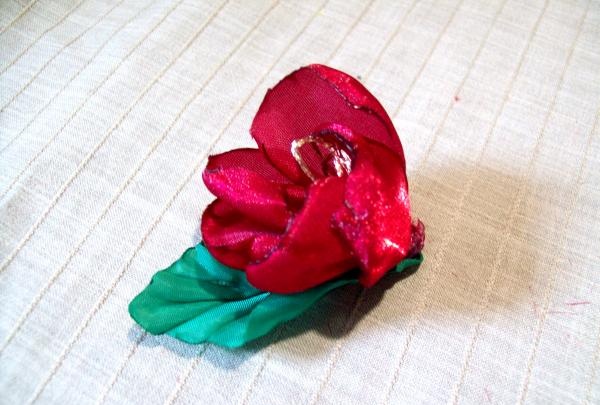
Let's start assembling 3 flowers. Let's start small. From the smaller petals we collect 5 blanks per thread, assemble and fasten. We glue ready-made stamens from threads into the middle and take 3 pairs. And the flower is ready. But don’t forget that the wrong side of the fabric is inside the flower. And we glue a green leaf to the bottom of the product.
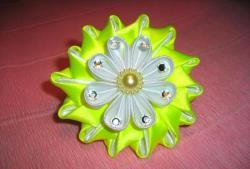
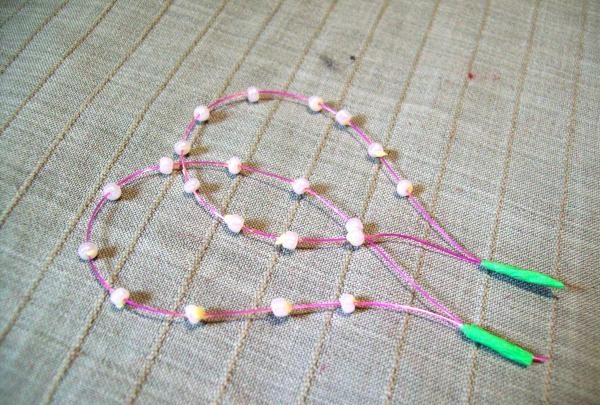
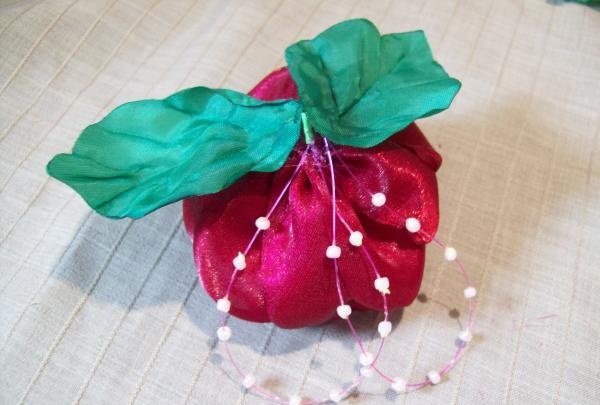
The large flower is almost ready, but we will glue the decoration from fishing line and beads. We secure with a gun at small intervals. We will have two rings with a diameter of 5 cm.
And we assemble the large flower itself from two ready-made rows.The first row is of 7 petals, and the second is of 5 pieces. We fix the smaller row in the center of the larger one, and glue 3 pairs of stamens into the middle of the small row. Now we turn the finished flower upside down and fasten the decoration on one side. And next to it we also glue two green leaves, pointing them away from each other.
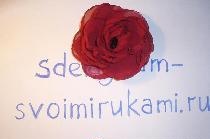
All that remains is to collect a medium-sized flower. It will also consist of two rows. We take 7 small petals and collect them on a needle and thread, securing them together. We make the second row from 5 of the same petals. To decorate this flower we will use two green leaves.
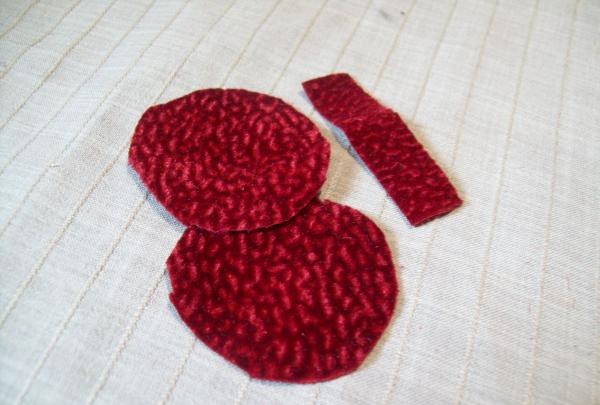
Now we will make the basis for the bouquet from thick fabric. Cut out two circles with a diameter of 4 cm and a strip of that length.
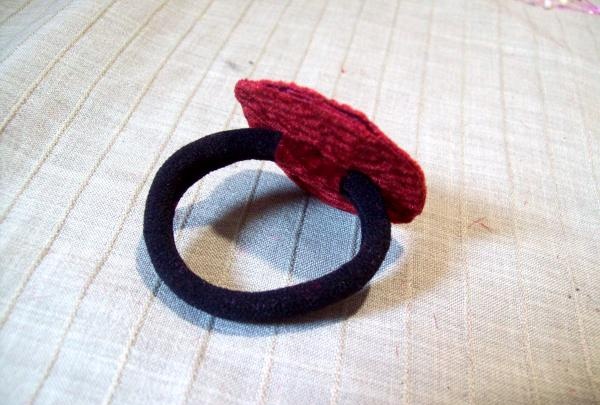
On one circle there are two notches, with a gap of 1 cm. We glue the hair elastic in this place along the front side of the circle. We fasten the strip over the elastic, and thread the edges through the slits, turn them inside out and glue them. Then we fix the second circle on the first, placing the wrong side in the middle of the base.
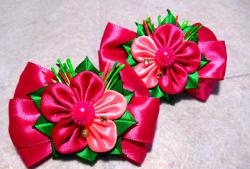
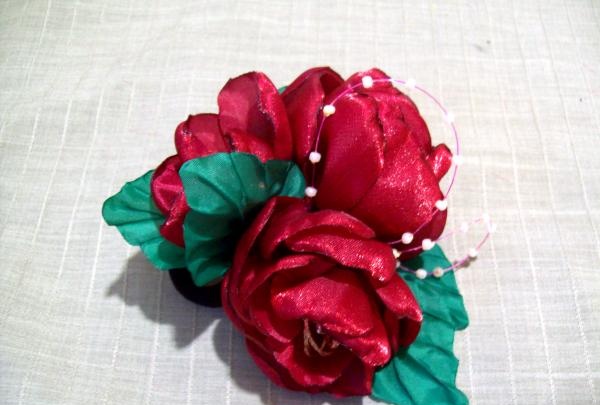
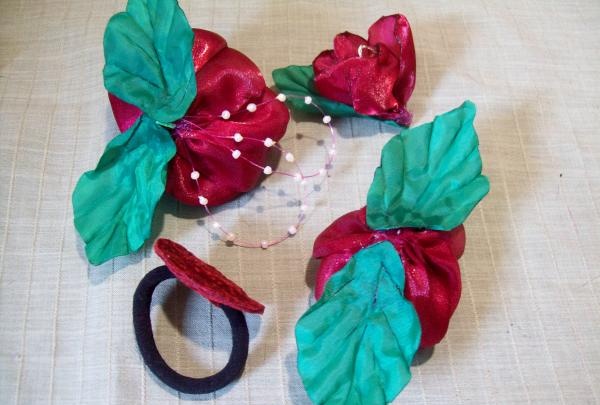
All the details of the composition are ready. There are 3 flowers with leaves, a base with an elastic band.
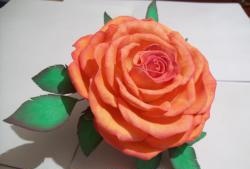
All that remains is to assemble the bouquet on the base. The decoration is ready.

Good luck to all!