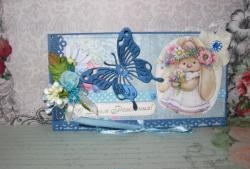
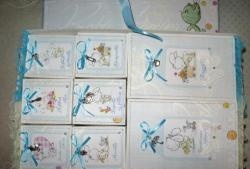
Such an envelope can be made thanks to this master class, and it will have an unusual appearance, since it will have a frame with a chipboard. Now let’s do just that and take the following:
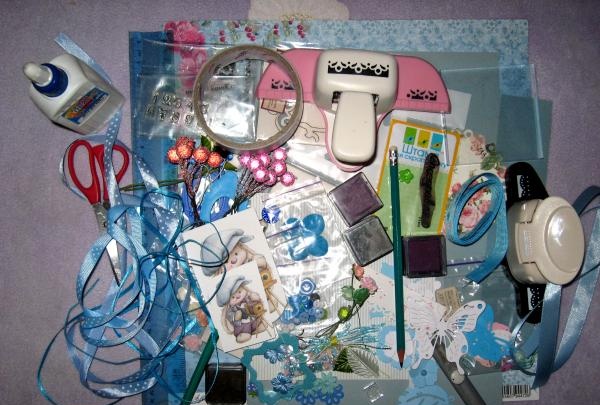
• Blue sheet of A4 cardboard or pastel paper;
• Scrappaper in two colors;
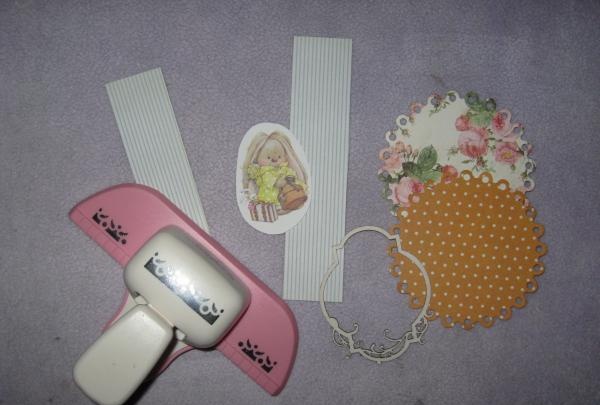
• Two pictures with bunnies;
• Chipboard frame made of beer cardboard;
• Openwork circle with cut-out roses;
• Cutting: white and blue flowers, blue butterfly and blue lace;
• Blue polka dotted rep ribbon;
• Stamens, berries and rosettes;
• Wooden flower buttons of different colors;
• Leaves are green and beige fabric;
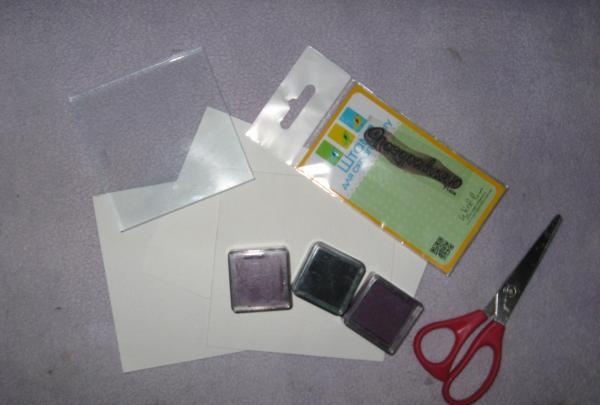
• “Congratulations” stamp and ink;
• Blue satin ribbon 1.2 cm wide;
• Cabochon white and blue;
• Half beads;
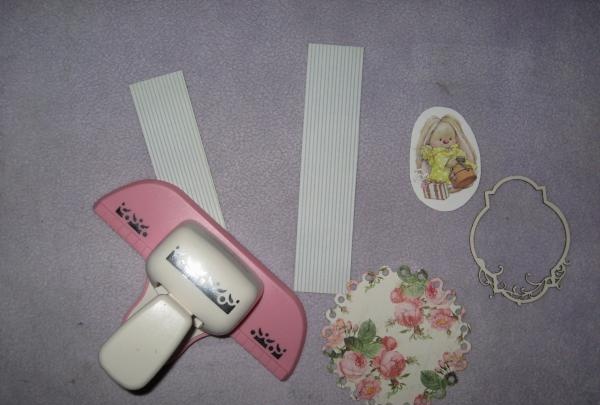
• Curb hole punch;
• Scissors, double-sided tape, PVA glue, ruler, pencil, glue gun;
• Sewing machine.
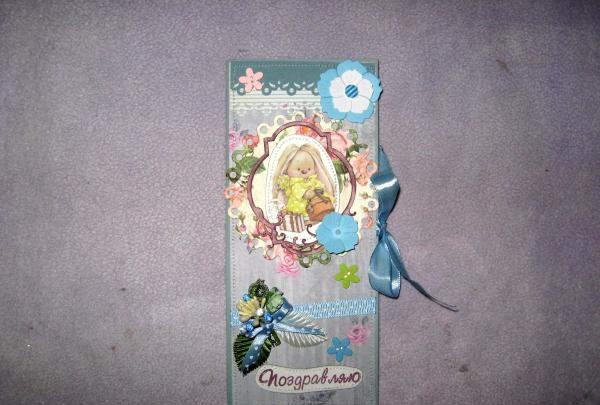
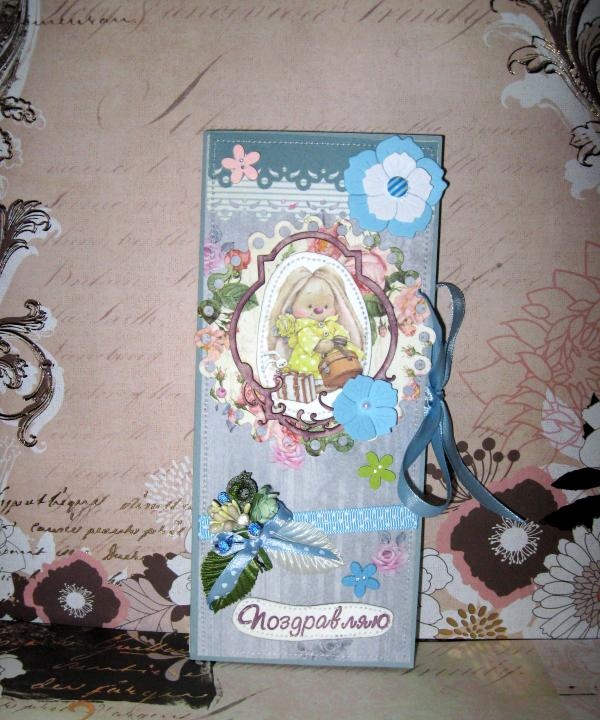
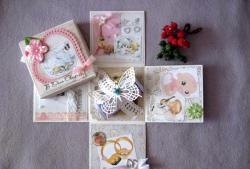
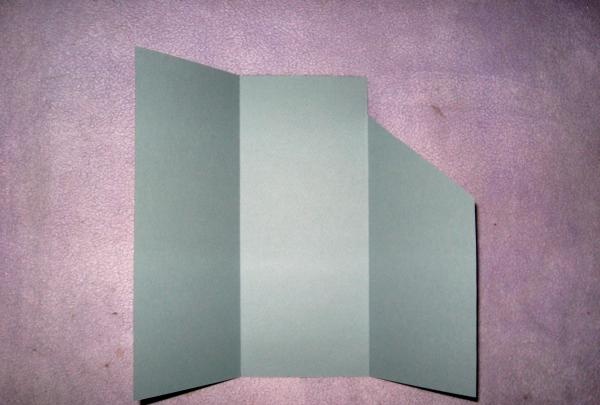
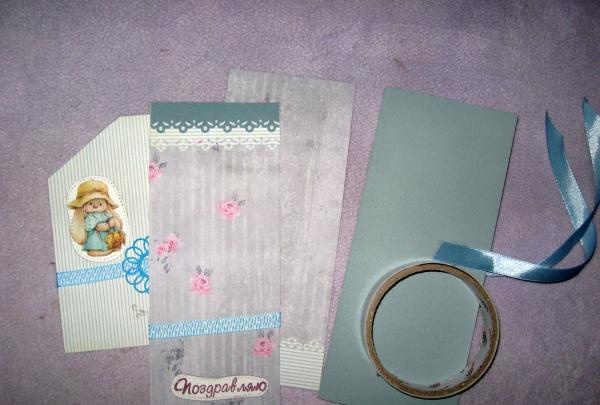
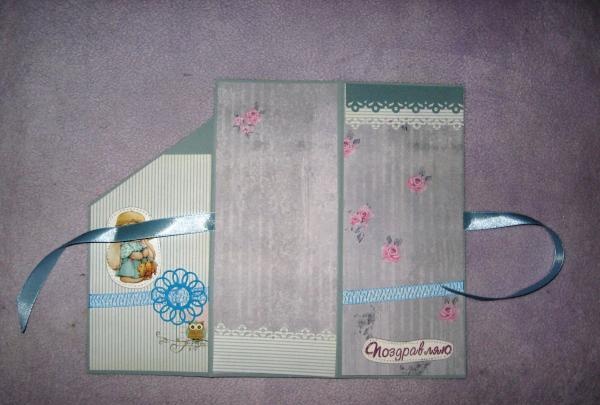
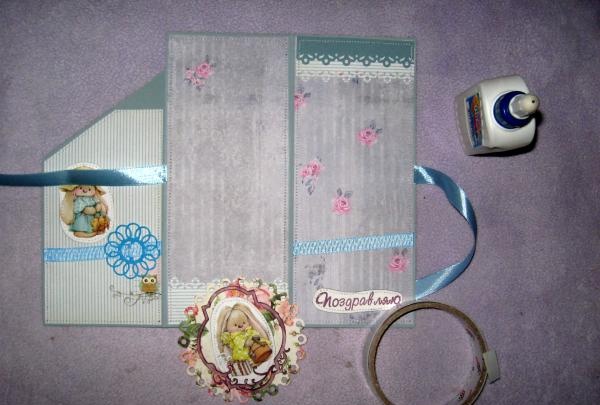
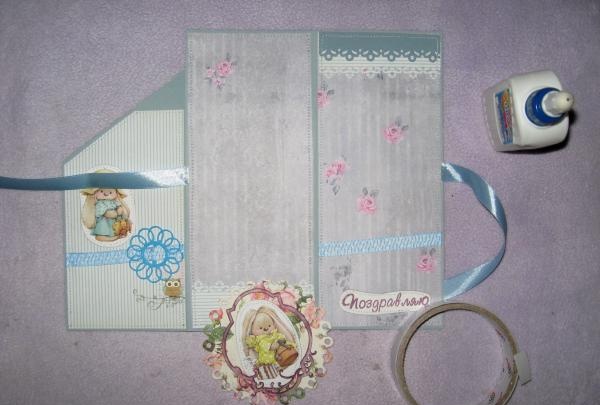
We unfold the blue cardboard horizontally, divide it along the large side into three parts 9.5 * 9.5 * 8.5 cm, and 21 cm in height. We make bending lines with scissors and a ruler.
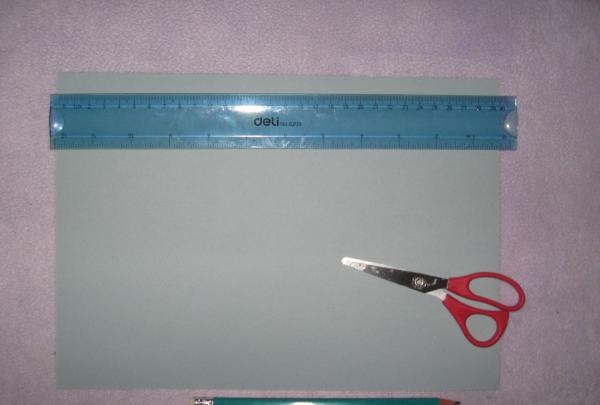
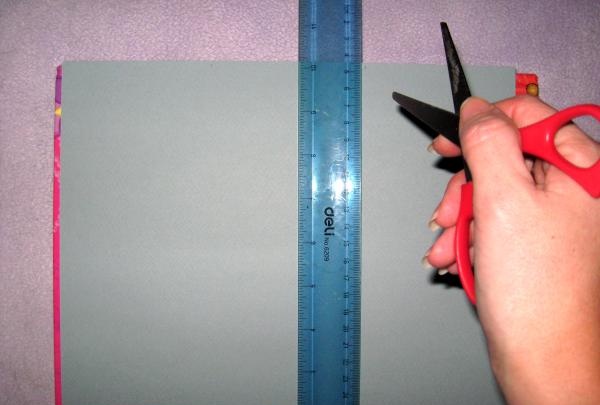
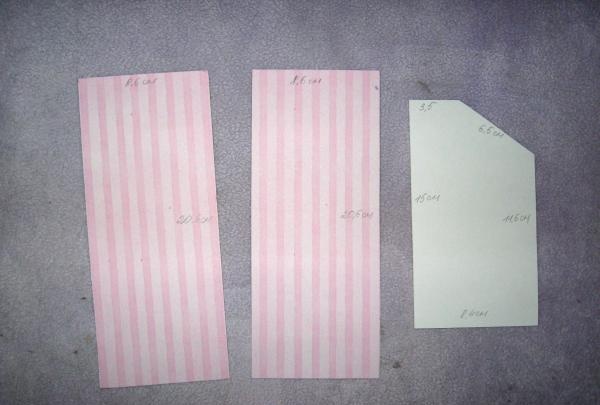
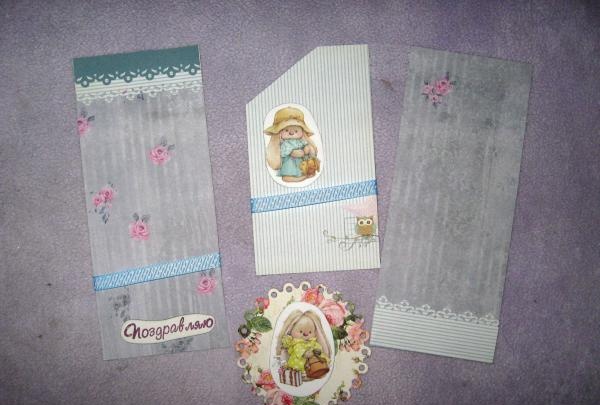
Side 8.5 cm, cut obliquely from the top. We prepare the top design from scrap paper.
We cut out blanks of these sizes. We use a border hole punch to make lace from two narrow strips.
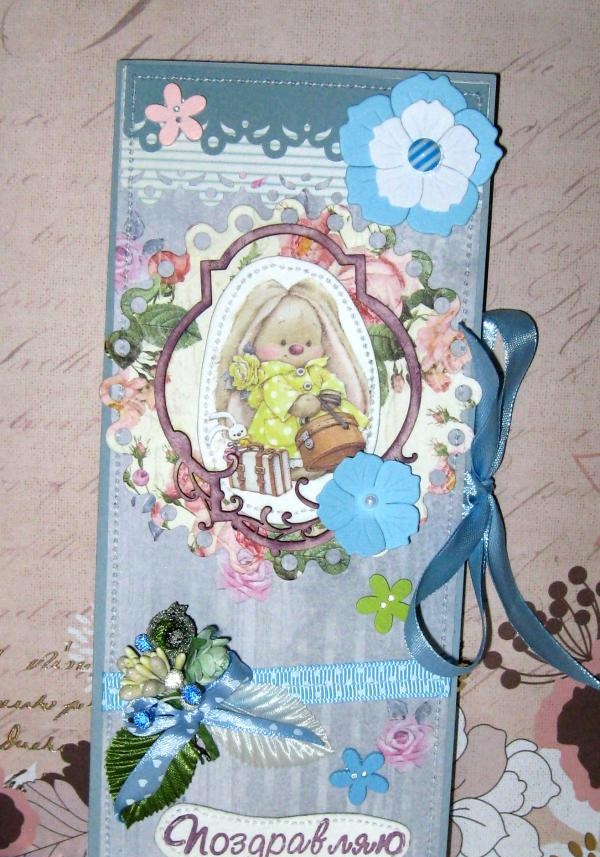
We stamp “Congratulations” on white cardboard, cut it out and tint the edges of the inscription itself.
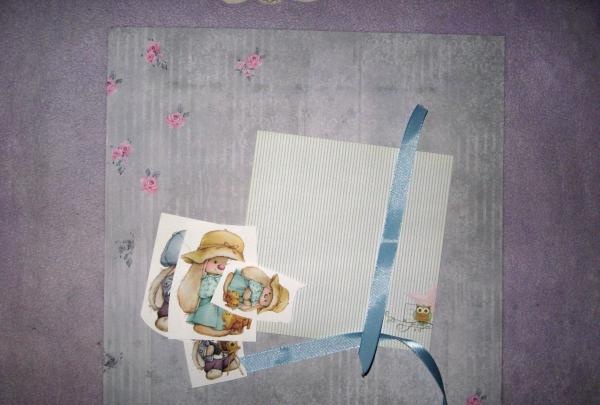
We cut out two strips of 10.5 cm from the grosgrain ribbon, apply it, wrap it and glue it from the inside out. We glue the pictures as in the photo.
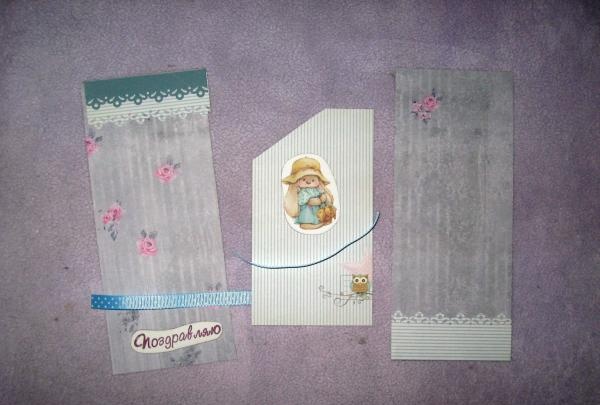
We sew pictures, ribbons and inscriptions on a typewriter. We measure two 15 cm sections from satin ribbon and glue them to the base in the center.
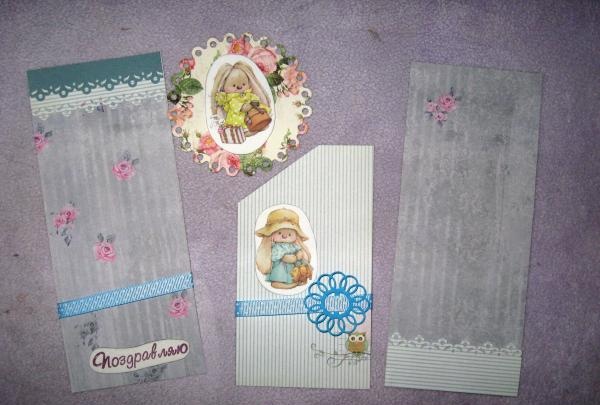
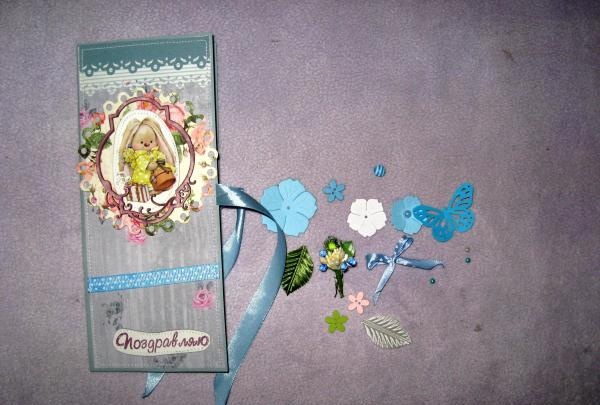
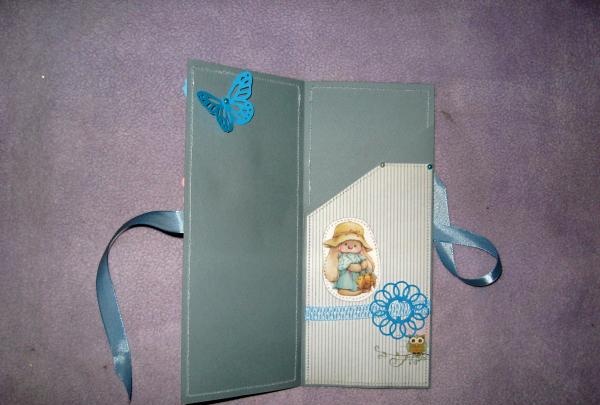
We glue the scrap blanks to the base with double-sided tape. We sew each one separately. We glue the chipboard with PVA onto the circle around the bunny.

We glue the circle itself to the front side with PVA glue.
We make a bouquet of berries, stamens and first glue the leaves, then the bouquet, flowers, cabochon and flower buttons. We glue a butterfly inside.
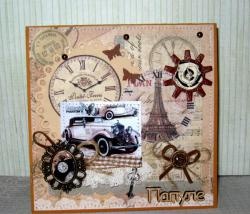
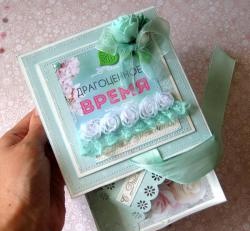
This is an interesting version of an envelope wallet for money. Good luck and thanks to everyone for participating!