To sew them you will need:
- main fabric (preferably dense, shape-resistant, color - optional),
- sewing thread (to match the color of the fabric),
- cutting scissors,
- measuring tape (long ruler),
- chalk or soap for cutting,
- felt for applique (multi-colored, different densities),
- any transparent fast-acting glue,
- household sewing machine,
- overlog,
- iron,
- needle for hand sewing,
- plastic buttons of different shapes and colors,
- pins for pinning parts.
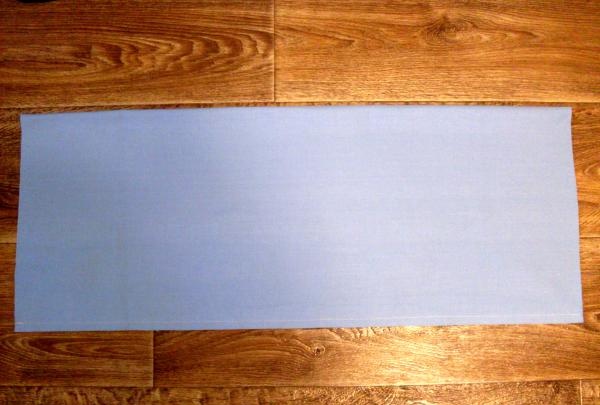
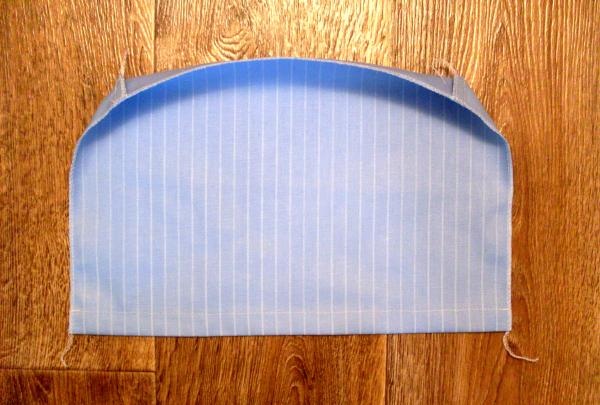
The size of the pockets directly depends on the size of the cabinet door where they will be hung. The most common size is 30*75 cm.In order to sew pockets of this size, you need to cut out the main part measuring 63*80 cm.
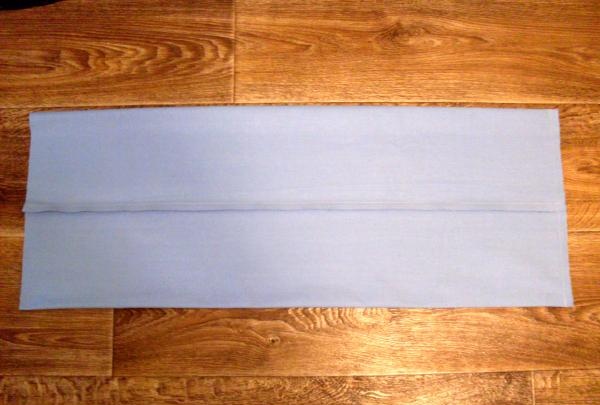
The cut out rectangle of fabric must be sewn by folding its longitudinal sections together. It is recommended to make the seam no more than 1 cm. The seam allowances can be ironed (if the fabric is thin) or ironed out (if the fabric is thick enough).
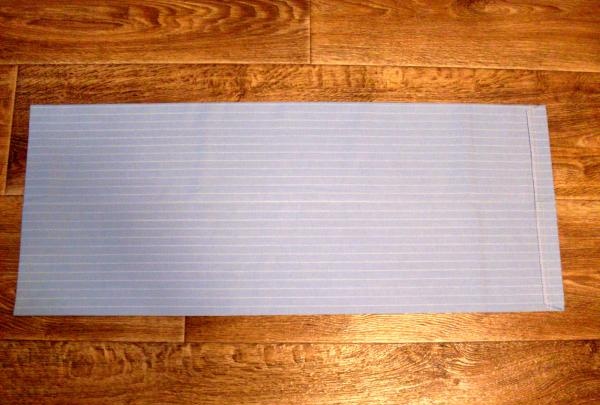
The sewn middle seam of the base of the pockets must be positioned so that it is located strictly in the middle of their reverse side, that is, the wrong side. After this, you should sew up any one bottom edge of the pockets.
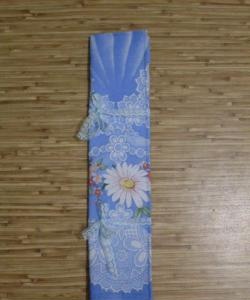
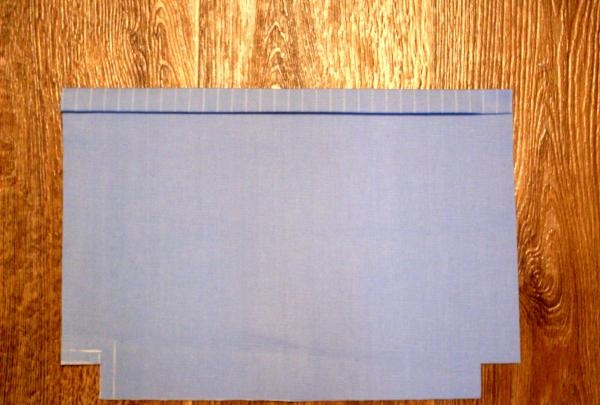
The prepared base must be turned right side out, the corners straightened and ironed. Using a measuring tape, from the sewn bottom edge up, set aside a length of 75 cm and draw a line. Using this mark you need to iron the part towards the wrong side. The open cut can be folded one more time or overcast so that it does not fray, and hemmed at a distance of at least 2 cm from the bend. This will be a drawstring for threading the stick, which, in turn, thanks to the ties, is suspended in the cabinet.
After this, you should cut out 3 pocket pieces that will be sewn onto the base. In the case under consideration, the pockets have a three-dimensional shape (the so-called “briefcase pockets”), so in the cut they have a specific shape and size of 31 * 38 cm (rectangle) with 4 cm corners cut out at the bottom. The top edge of the pockets is hemmed 2*2 cm. For convenience, the hem can be ironed immediately.
The pressed hem of the pocket should be stitched using a sewing machine. Then you need to sew up the end corners. The seam should be 1 cm. Missing seams, as well as external sections of the pocket, must be overcast to avoid fraying.
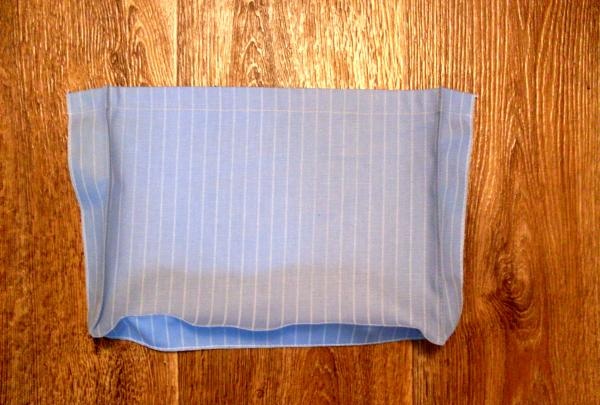
Using an iron, you should give the future pocket a three-dimensional shape, namely, iron its side and bottom walls in accordance with the stitched corners. To further secure the shape of the pocket, you can also lay a finishing machine stitch along this fold, 2 mm from the fold.
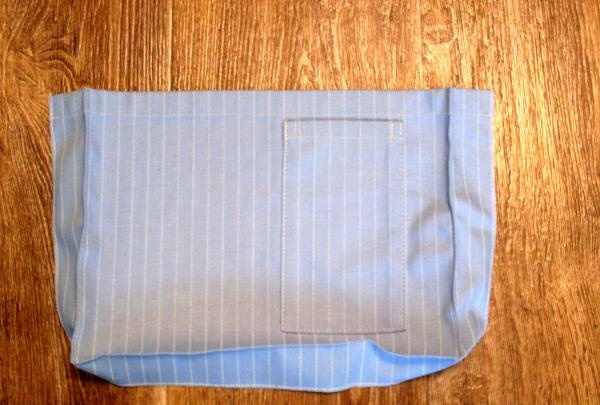
If desired, you can sew smaller pockets onto the pocket details, for example, for a comb.
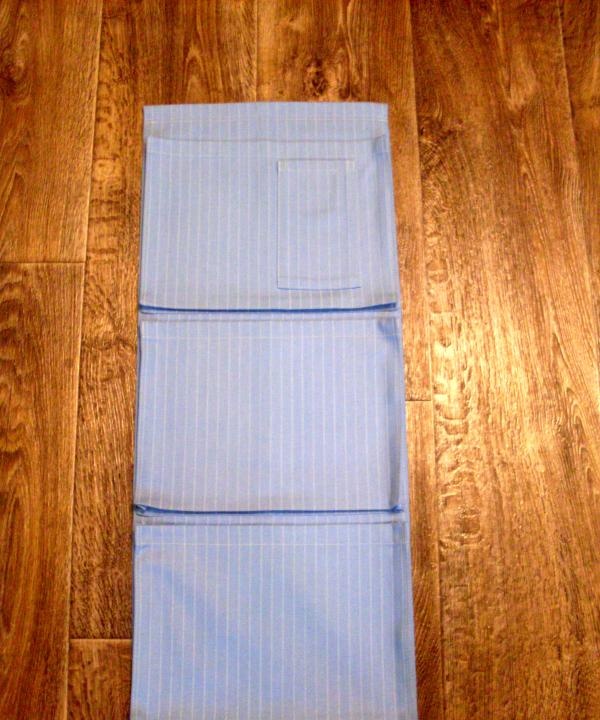
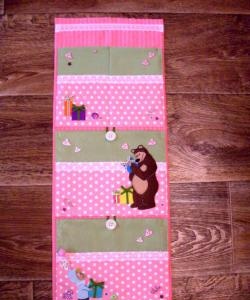
Completely prepared pockets should be stitched onto the main part. It is important not to forget to sew additional bartacks in the ledges of the pockets. This will prevent their premature tearing off during product operation. It is more convenient to customize the pockets by first placing them on the main part and pinning them with pins.
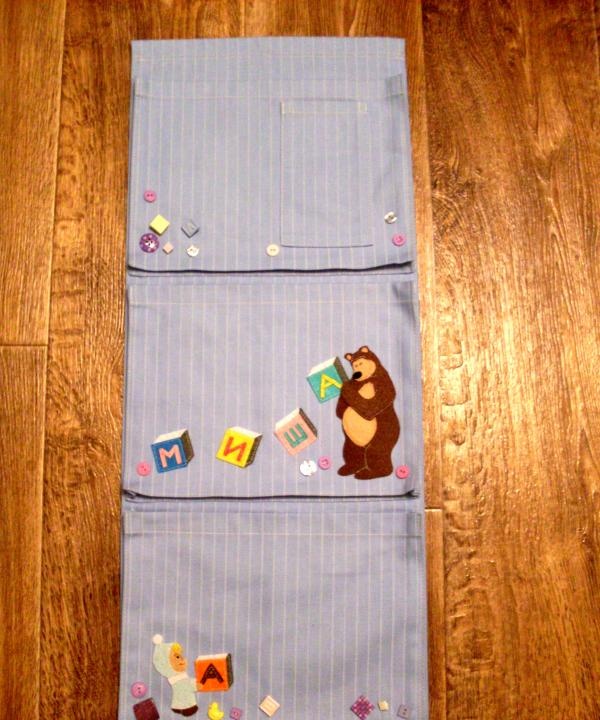
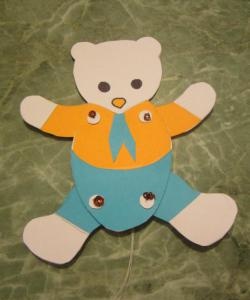
Completely finished pockets can be decorated with interesting appliqué made of felt and plastic buttons. The theme and style of the applique can be absolutely anything, and depend only on the imagination and capabilities of the needlewoman, as well as the wishes of the child.