Do it yourself
Life hacks, master classes, useful tips, recipes.
home » Present » DIY gifts » Glowing pictures


To make pictures we need to decide on a drawing. I chose a Christmas tree - simple and tasteful!
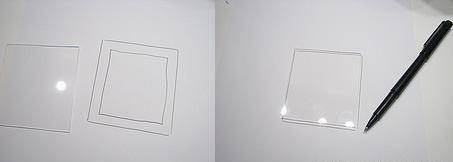
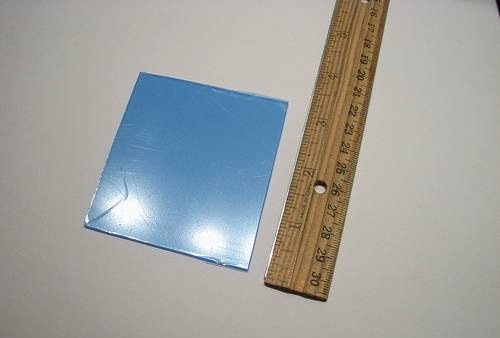
I took the plexiglass and cut it off. The size is arbitrary. You can also take plexiglass from a CD case.


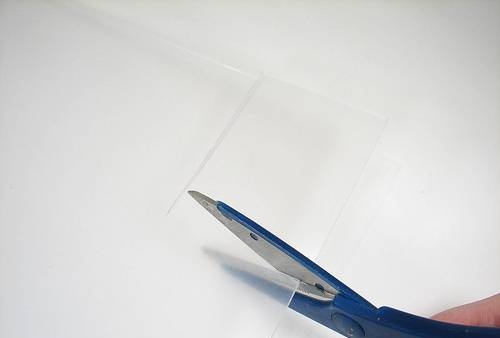
Next, using a felt-tip pen, I drew an outline beyond which the drawing will not protrude. The color of the marker does not matter.


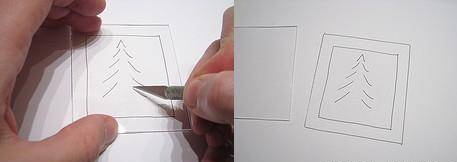
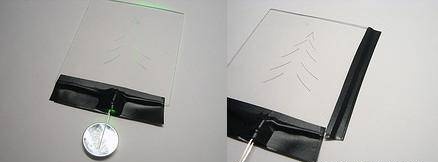
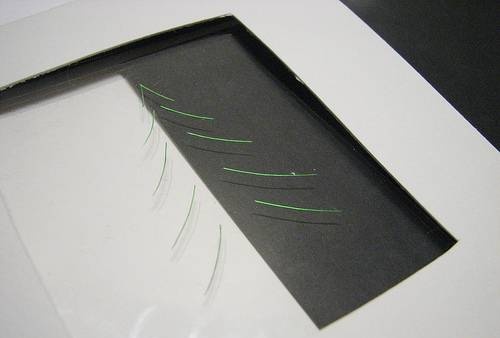
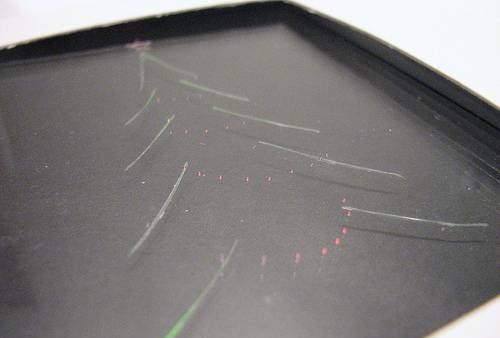
My next action was to apply the picture to the glass. I took a sharp scalpel. Plexiglas is easily scratched, but you should not be overzealous, as it may burst.
The deeper the grooves, the brighter the pattern.
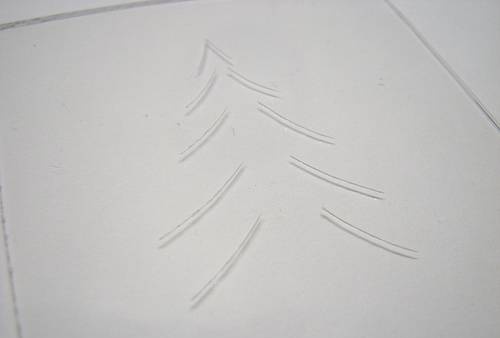
The drawing is ready. We erase the felt-tip pen. Here's what happened:


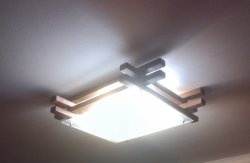
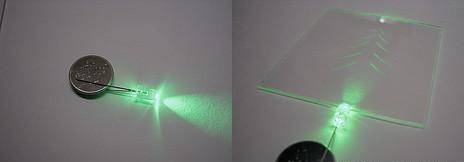
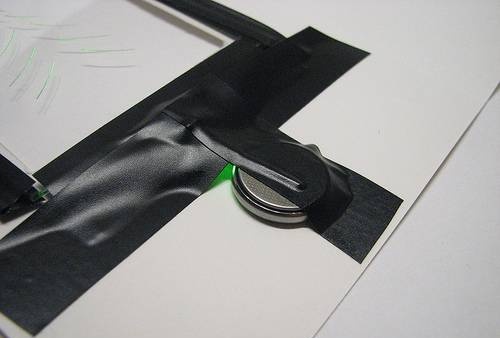
I'm doing the lighting. Necessary: Light-emitting diode and a 3 volt battery. If you are planning a large stationary painting with a large number of LEDs             
then you can power them from the block.


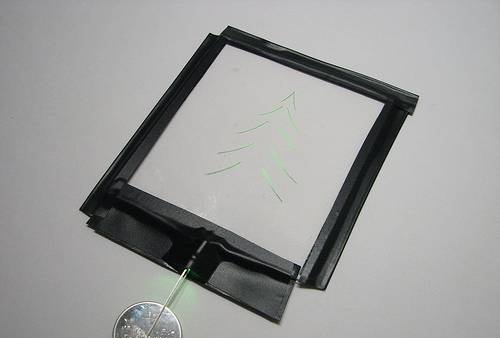
The next step is to cover the edges of the glass with black electrical tape so that the light does not pass where it is not needed. And we glue it on both sides.


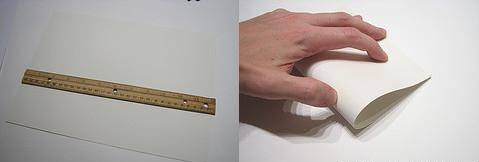
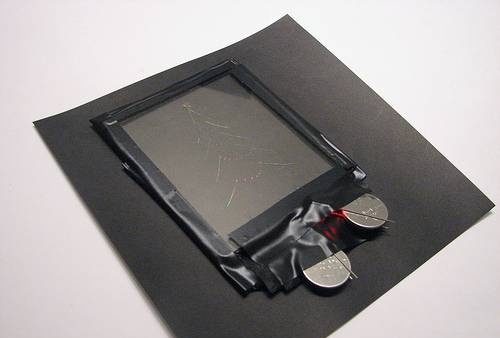
We make a picture frame with our own hands. I came across some wonderful white cardboard. I folded it like a postcard and cut out a window under the glass with a margin so that the electrical tape would not be visible.


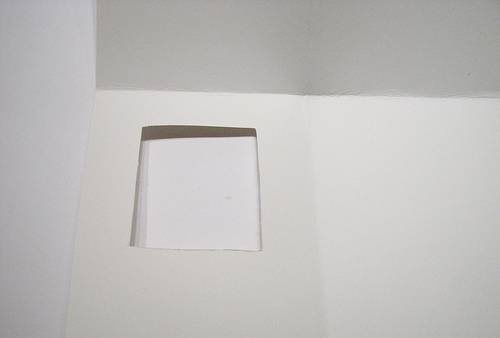
Next is the assembly of two parts, gluing one to the other.


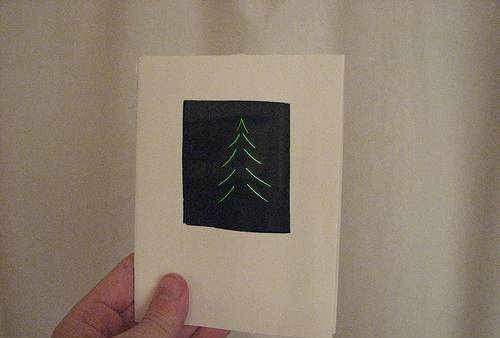
Then I began to be tormented by doubts - which background to choose? On white it is difficult to see in the light, but it is better visible in the dark. . .


I settled on black. . .


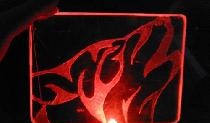
That seems to be it, but I didn’t stop there. I decided to attach red garlands and a star to the tree. To do this, I put another layer of plexiglass with garlands, but they
now it's starting to light up red Light-emitting diode.


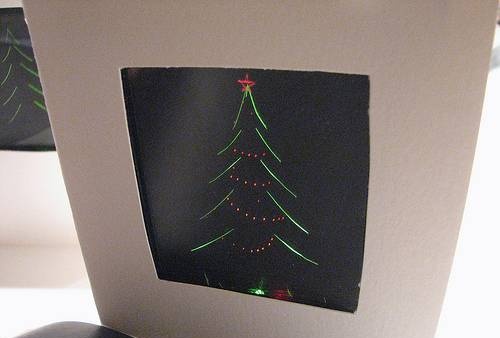
It turned out great!

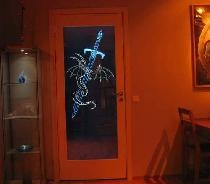
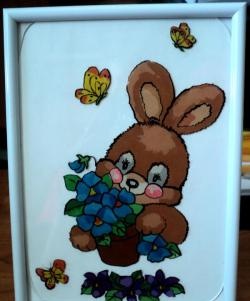
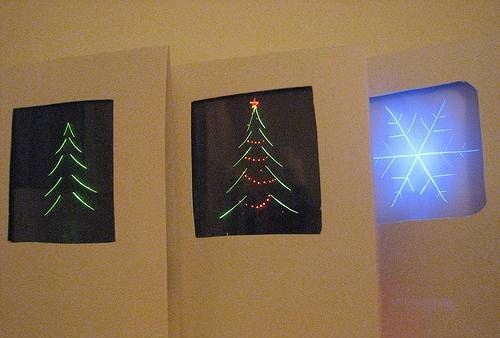
I liked it and started creating my own collection:


Here the background is bluish - I painted the glass on the back side with blue paint, after applying the drawing, of course:


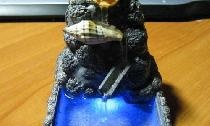
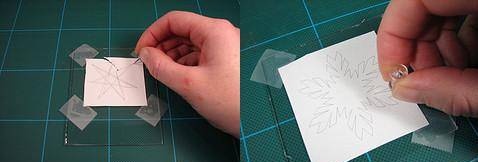
And for a snack - a snowflake:


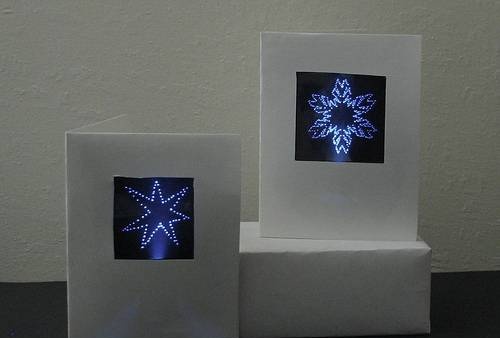
It is done by perforating a hole with a needle:


Thank you! Good luck !


come back
Comment
  • bowtiesmilelaughingblushsmileyrelaxed relaxedsmirk
    heart_eyeskissing_heartkissing_closed_eyesflushedrelievedsatisfiedgrin
    winkstuck_out_tongue_winking_eyestuck_out_tongue_closed_eyesgrinningkissingstuck_out_tonguesleeping
    worriedfrowninganguishedopen_mouthgrimacingconfusedhushed
    expressionlessunamusedsweat_smilesweatdisappointed_relievedwearypassive
    disappointedconfoundedfearfulcold_sweatperseverecrysob
    joyastonishedscreamtired_faceangryragetriumph
    sleepyyummasksunglassesdizzy_faceimpsmiling_imp
    neutral_faceno_mouthinnocent
4 minus one =
Comments (4)
  1. Danish
    #1 Danish Guests 4 January 2012 14:25
    2
    Thank you very much for the idea!
    I did this:
    - I took plexiglass from CD boxes and cut it out with a cheap engraver I bought in OK.
    -Instead of cards, I put all the joy in a 10x15 frame
    The problems were:
    -it was necessary to introduce a switch. This means you won’t be able to connect the batteries separately. But they didn’t want to shine yellow and green lights in parallel/sequentially. This is almost the first time I’ve encountered electronics, I distorted the circuit - I did almost everything separately, only the contacts on the switch converged. It worked.
    -It was burning dimly/rattling.I thought it was twisted badly and tried to solder. Didn't really help. Then the wire (multi-core) began to fray and press more tightly against the battery. It became more stable and brighter.
    -The light went straight. I understood the solution only after I gave it away: cut out a nest in the plexiglass under Light-emitting diode. Whether it will help or not, I don’t know.
    -The switch was glued to the side with supermoment.

    Everyone liked it to whomever I gave it to.
  2. Turich
    #2 Turich Guests 8 January 2012 16:02
    0
    Can this be done on plain glass?
  3. Victor
    #3 Victor Guests August 2, 2014 01:46
    0
    You can do it on plain glass, just be careful not to swallow dust.
  4. Roman
    #4 Roman Guests 27 November 2017 23:04
    1
    Cool idea! Just a question - how long does the battery last?

Lifehacks that will improve the quality of welding joints

Matchbox chest of drawers | Do it yourself

Wooden lamp shaped lamp

Gel candle | Do it yourself

«Do it yourself - with your own hands» - a site of interesting homemade products made from scrap materials and items at home. Step-by-step master classes with photos and descriptions, technologies, life hacks - everything a real master or just a craftsman needs for needlework. Crafts of any complexity, a large selection of directions and ideas for creativity.

We recommend reading

Washing machine error codes