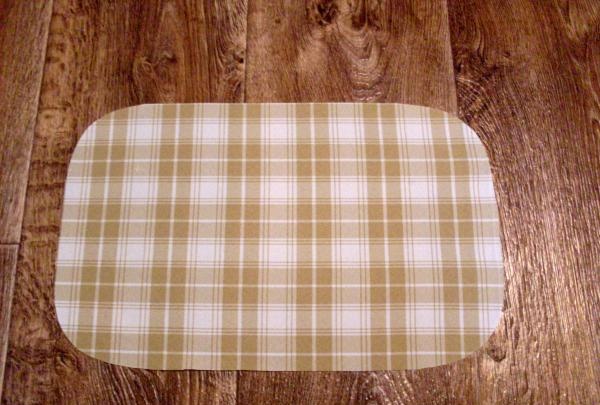
- checkered fabric in beige shades,
- padding polyester in one piece and in scraps,
- a piece of beige felt,
- black floss threads,
- beige threads for machine work,
- household sewing machine,
- scissors for cutting,
- needle for handwork,
- safety pins,
- tailor's chalk.
Before cutting the fabric, it should be ironed with steam or through a damp cotton cloth.
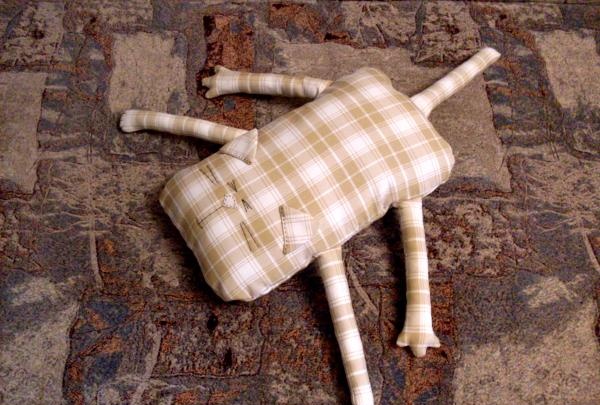
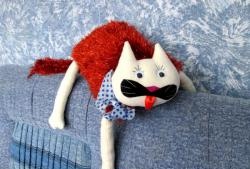
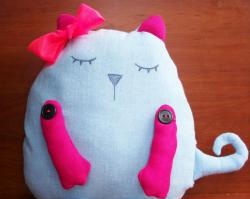
The pillow consists of several main parts (dimensions are indicated in the cut, with seam allowances):
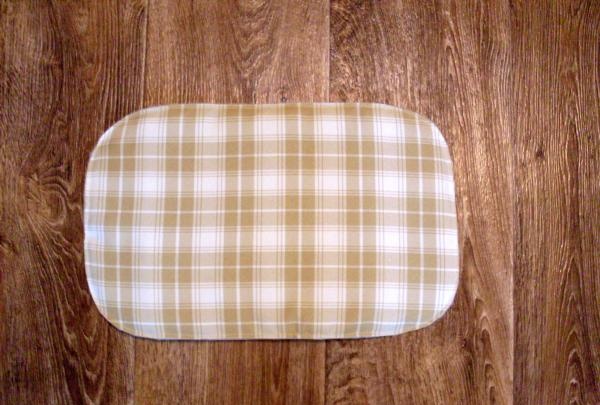
- cat’s body combined with the head – 2 pcs. (rectangle 35*25 cm with corners rounded by 6 cm),
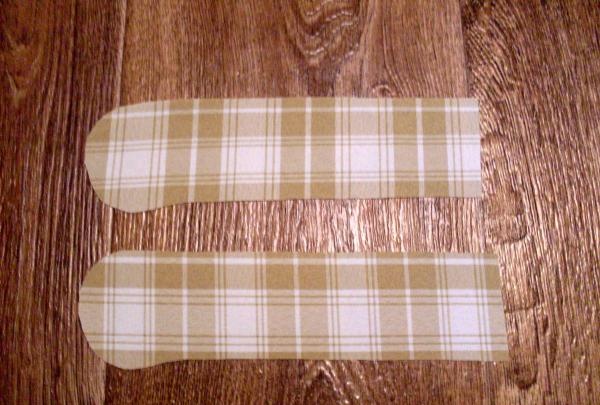
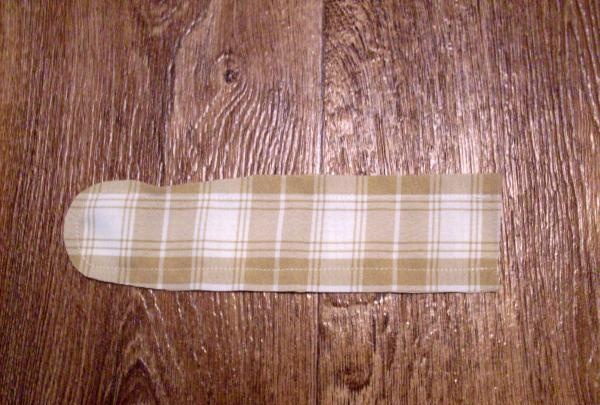
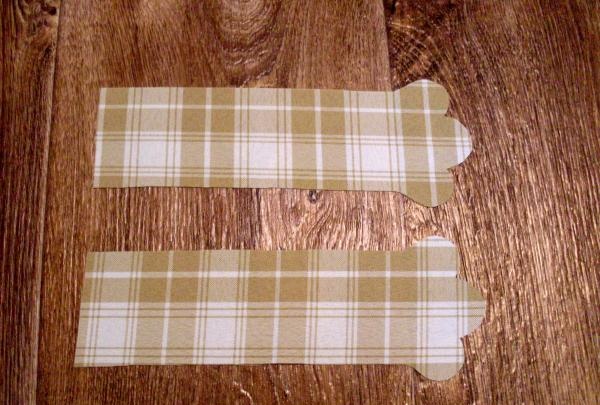
- front paws – 4 pcs. (rectangle 22*6 cm with rounded edge),
- hind legs – 4 pcs. (the same rectangle as for the front paws, but with a more flared rounded part with the toes),
- tail – 2 pcs. (rectangle 22*6 cm with one rounded edge),
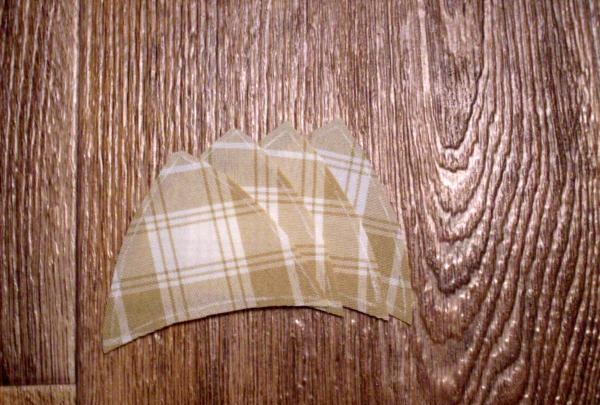
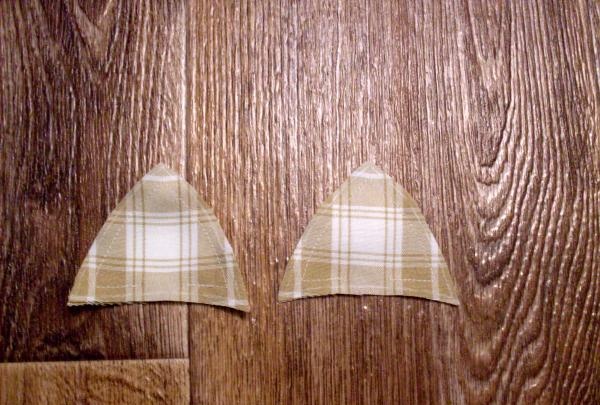
- ears – 4 pcs. (size and shape are arbitrary, in accordance with the proportions of the pillow),
- nose – 1 pc. (size and shape are arbitrary, cut out from felt).
Based on the indicated dimensions, you need to cut out the parts of the pillow, matching the cage and maintaining symmetry.
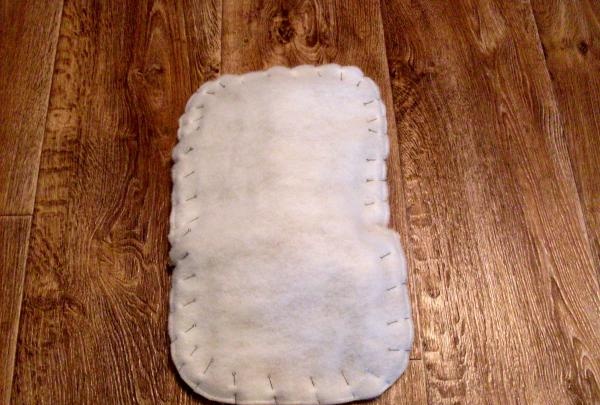
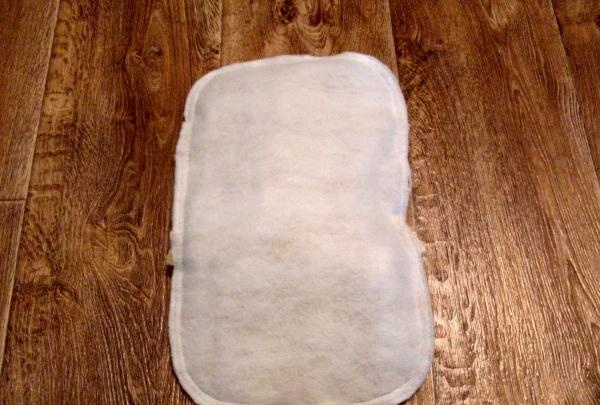
The body blank must be pinned onto the padding polyester.
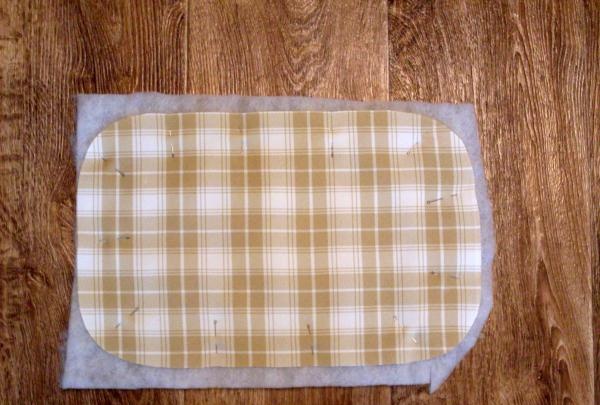
Using a sewing machine, you should fasten the fabric and padding polyester with an auxiliary stitch at a distance of 5 mm from the cuts, remove the pins.
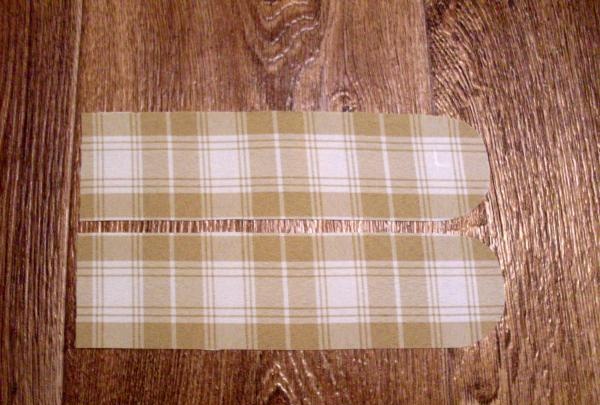
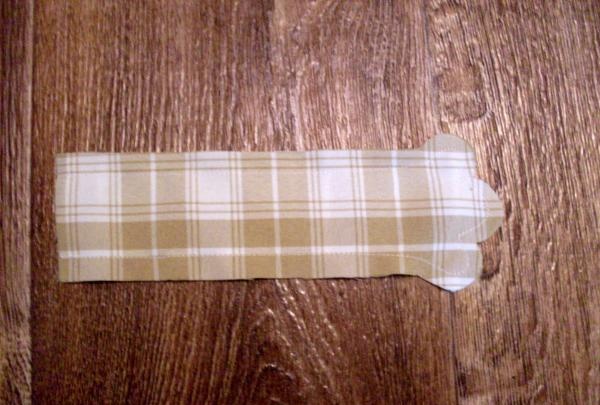
The parts of the paws and tail should be folded in pairs facing inward and sewn around the perimeter at a distance of 1 cm from the cuts; on the curves, the seam allowances should be trimmed to 4 mm (this will make it easier to turn the parts inside out).
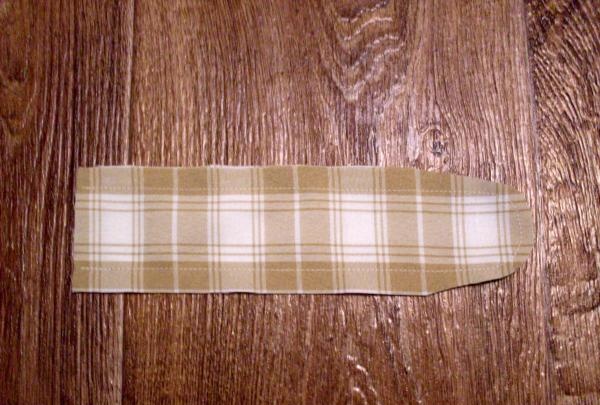
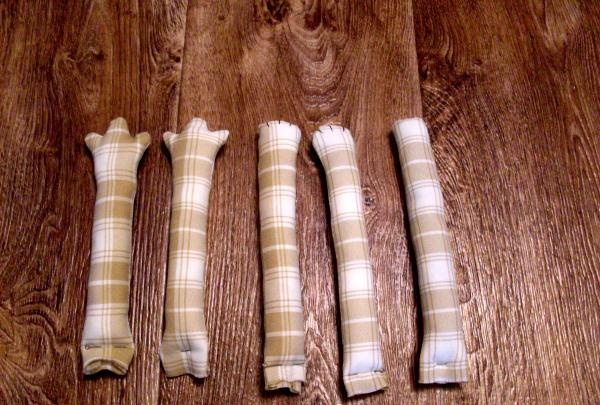
The prepared parts need to be turned right side out, the curves straightened, and stuffed with padding polyester scraps. You can embroider toes on the front paws.
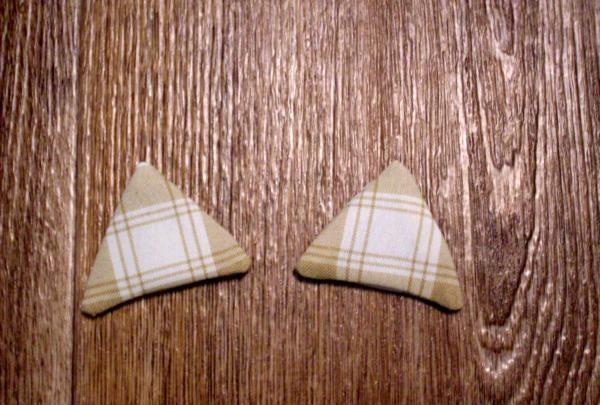
The ears also need to be prepared before installing the entire pillow. The cut parts should be folded in pairs facing inward and stitched around the perimeter with a 7 mm seam. In one place the line needs to be cut off - through this hole the ears turn out onto the face. The corners should be straightened with a needle, and the finished ears should be properly ironed.
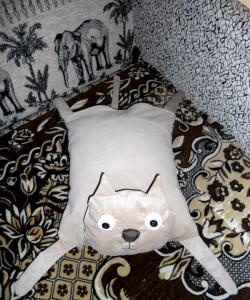
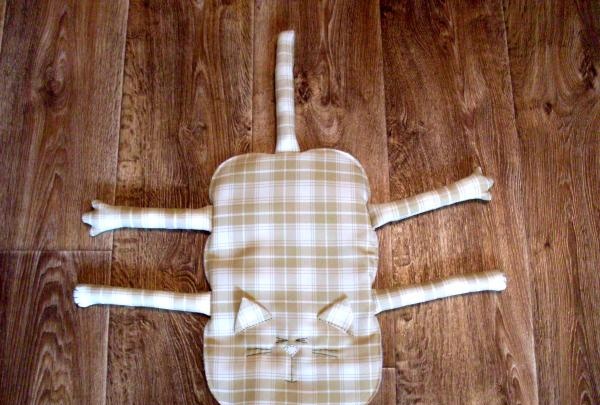
On one of the pillow blanks you should decorate the face of a cat. To do this, you need to sew on the ears, sew on the nose from felt, embroider the eyes, mustache and mouth with floss threads. Also at this stage you need to baste the paws and tail.
Then you need to cover this part with a second one and pin both around the perimeter with pins.
After this, you need to machine stitch parallel to the outer edges of the parts at a distance of 1 cm from them, leaving a hole in one place for turning the pillow out.
The finished pillow must be turned out and filled with pieces of padding polyester, and the hole must be sewn up with hand-made blind stitches.