Do it yourself
Life hacks, master classes, useful tips, recipes.
home » Handicraft techniques » Kanzashi » Kanzashi headband » Handmade kanzashi headband
Currently, handmade hair decorations that are made using the technique are considered very popular and very beautiful. kanzashi. Such decorations are very famous and beautiful because they can be used to make flower arrangements of any complexity. Flowers in this technique take on different shapes, and they can also combine, at first glance, very different colors and materials. These floral arrangements look very beautiful on hairpins, elastic bands, brooches, headbands and headbands. Kanzashi came to us from Japanese beauties, and we all know that they were great fashionistas and were the first to decorate their hairstyles with flowers, adding some zest and sophistication to their hairstyles. Now kanzashi hair decorations are very common on the hairstyles of children and young girls who complement their outfits, both for every day and for social parties, graduations, discos and others. In addition, such a product as a gift would be very relevant and quite unusual. You can always please your friend, sister, mother with an individual handmade product that will always remind you of you.
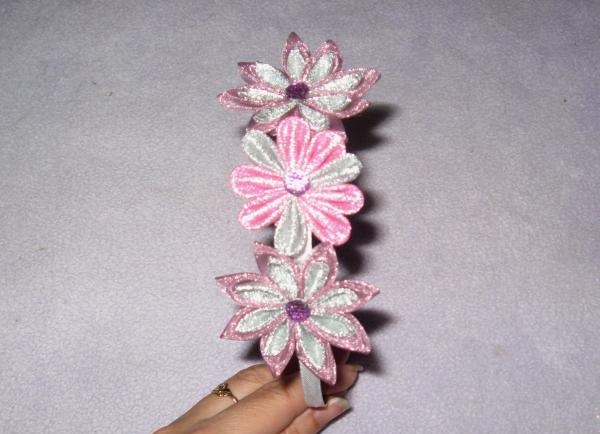
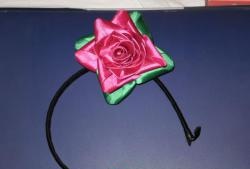
In this joint master class we will learn how to make a bright and shiny hairband, which is very suitable for hairstyles for both babies and girls. This headband will be very relevant to any summer outfit in pink and burgundy tones.
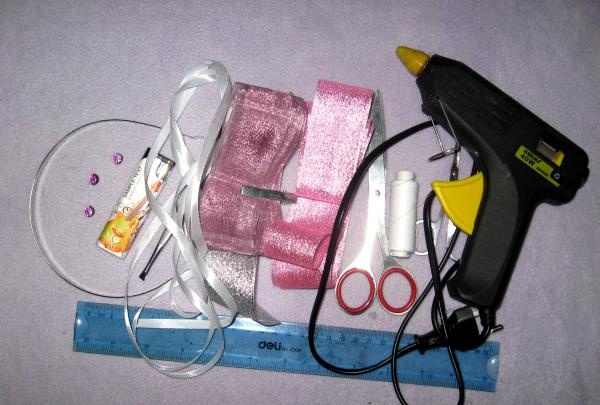
What we need for the rim:
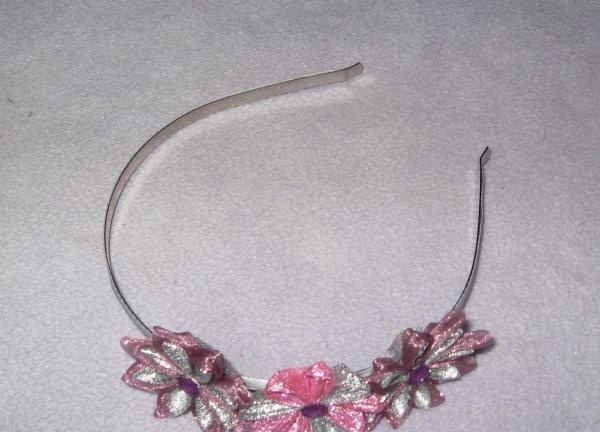
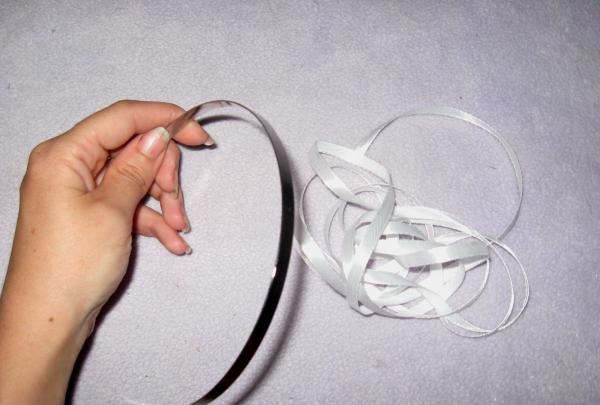
• Metal hairband 5 mm wide;
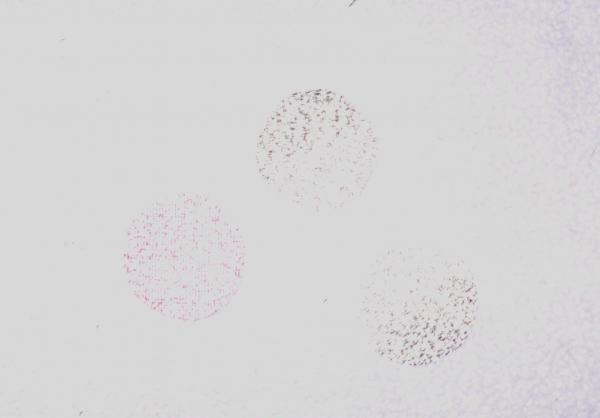
• Three shiny purple cabochons with a diameter of 5-6 mm;
• Narrow white satin ribbon, 5 mm wide, approximately 30 cm;
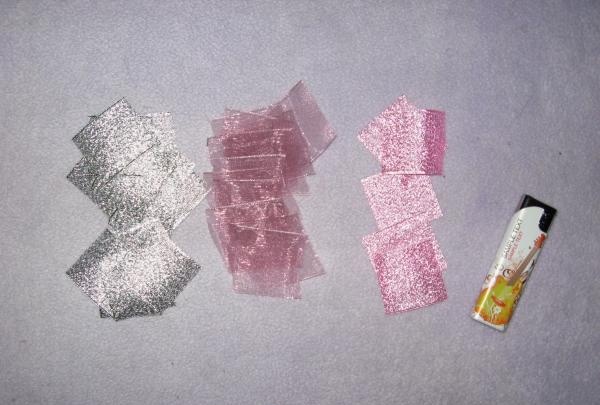
• Ribbons made of brocade in silver and pink, both 4 cm wide, each meter long;
• Burgundy organza ribbon, width 4 cm, length 70-75 cm;
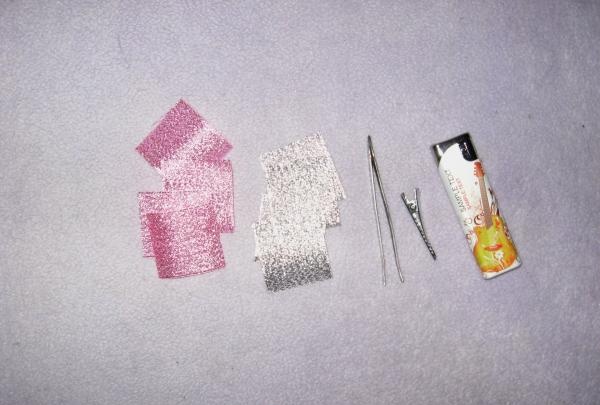
• Lighter;
• Ruler and scissors;
• Tweezers;
• Glue gun;
• Metal clips or clothespins;
• Needle with thread.

Handmade kanzashi headband

What do we need for the rim?


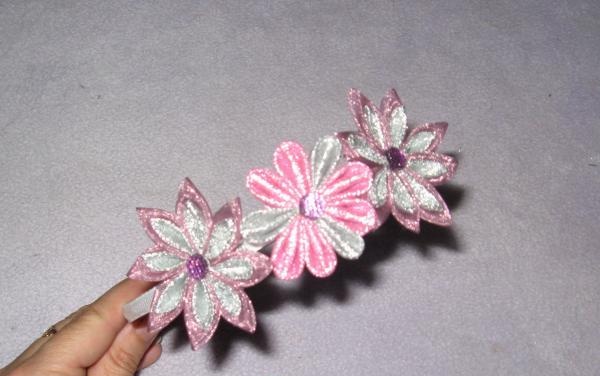
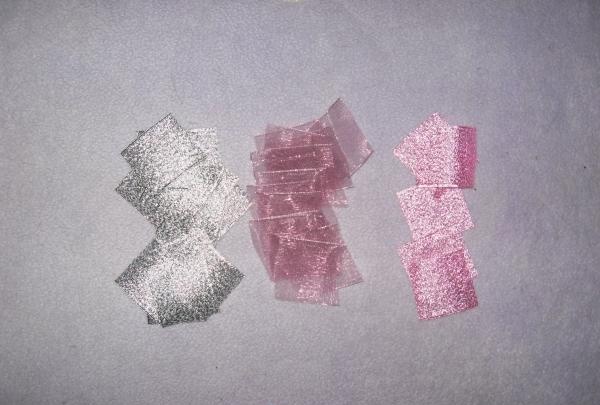
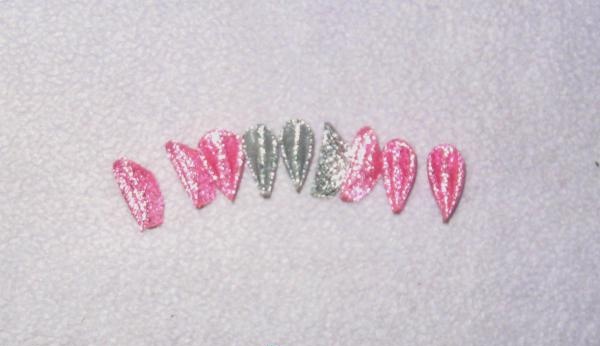
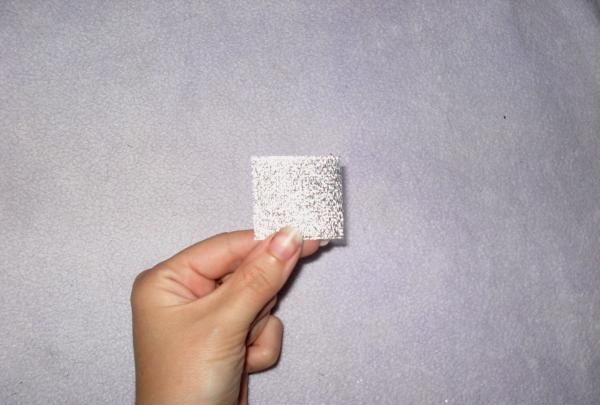
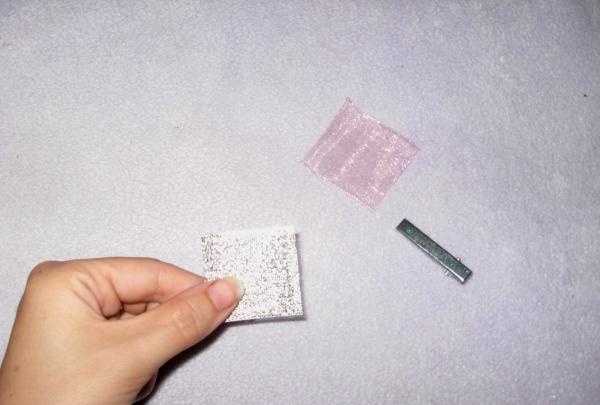
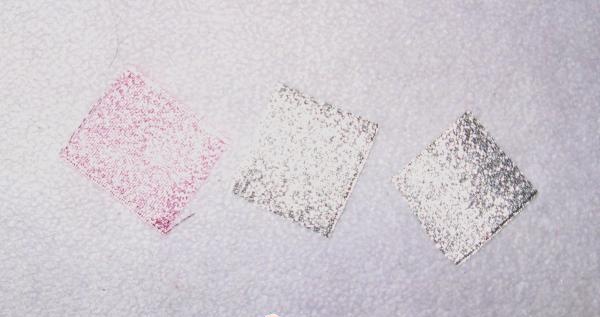
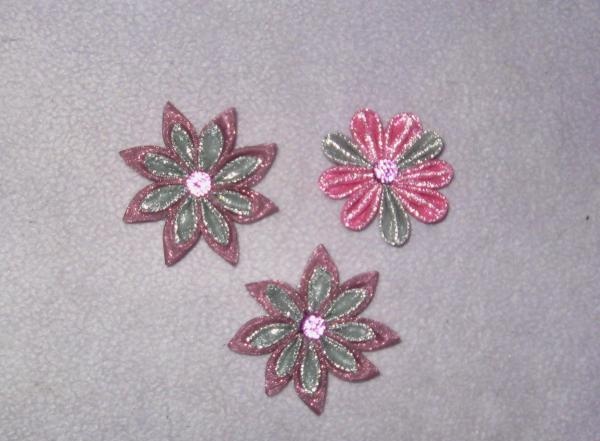
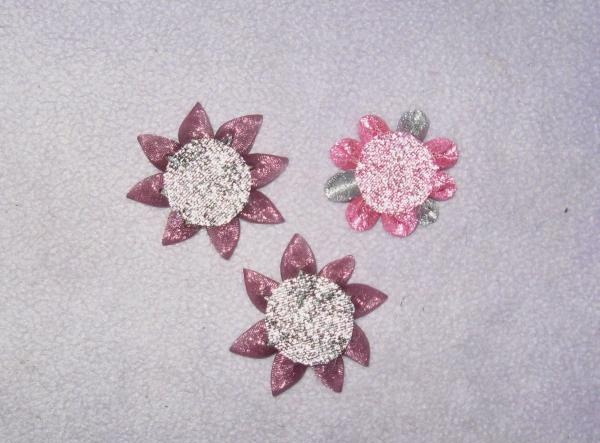
All our ribbons come with a shiny base, both brocade and organza. Therefore, the flowers will turn out very rich and bright with a brilliant tint. So, there will be three flowers in total on our hoop. Some flowers are sharper, while others are rounded, which is why they are made differently. One flower will have nine rounded organza petals, and two flowers will have double flowers, consisting of eight pointed petals each. We measure out 19 squares of silver brocade 4*4 cm, 6 squares of pink brocade 4*4 cm and 16 squares of burgundy organza also 4*4 cm. We cut out all the squares and burn the sides of each with a lighter.

We measure out 19 squares of silver

squares


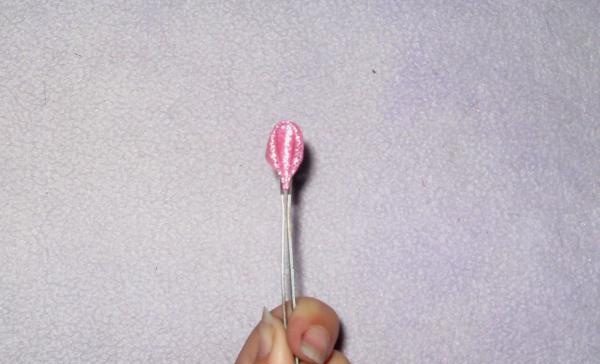
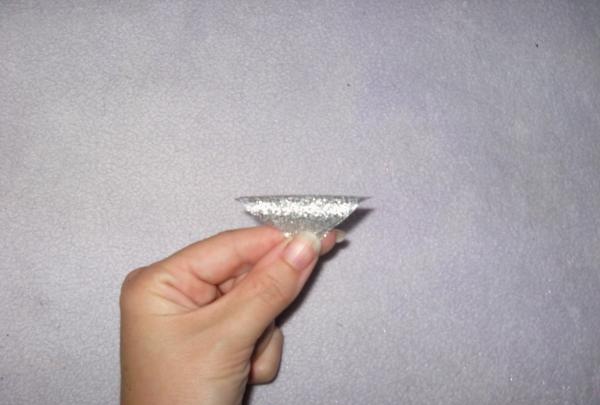
Making a rounded petal. Let's take a square.

Making a rounded petal


square


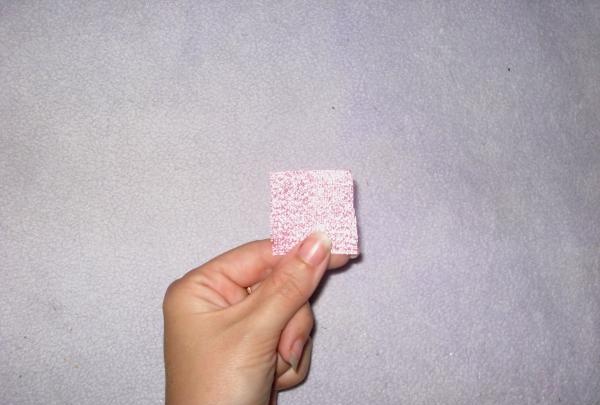
Fold it once diagonally. Then we take the acute angle and first apply the right side to the center

Making a rounded petal

Stacked it up


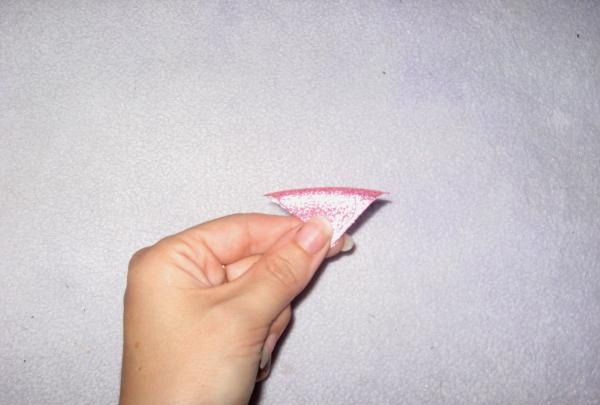
Then left. We bend it back and make an even cut from the bottom and back, parallel to the front of the petal.

Stacked it up

petal


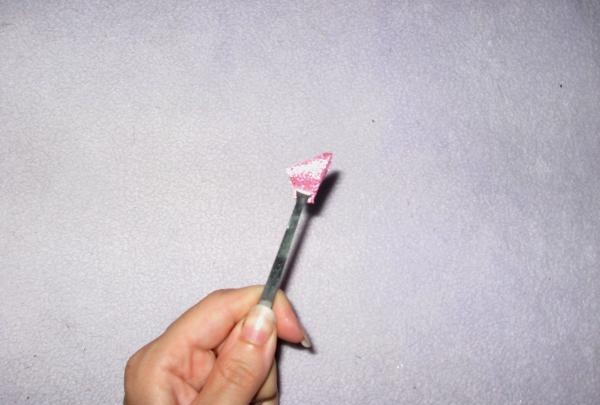
We process the cuts so that the threads do not unravel. Press down well with tweezers.

petal

petal


Leveled, ready. In total we make 6 pink and 3 silver petals of this shape.

petals

fold the silver square diagonally


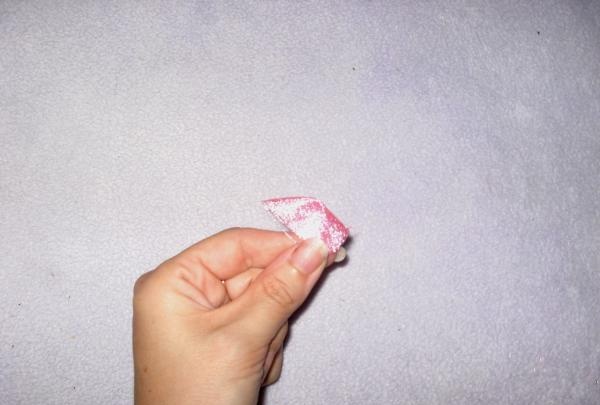
As for the second type of petal: fold the silver square diagonally.

fold the silver square diagonally

fold the silver square diagonally


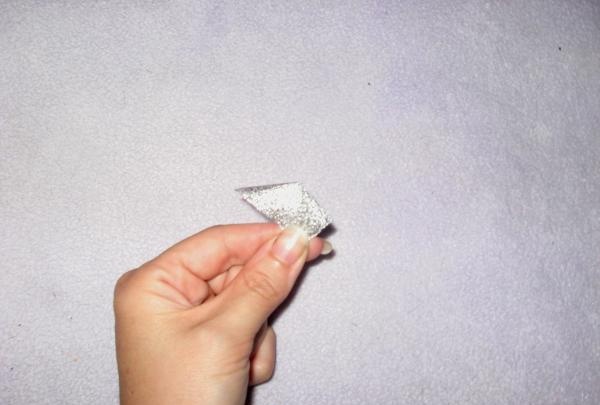
The second time, also in half, take the clamp and press it. Now we fold the organza.

fold the silver square

fold the silver square


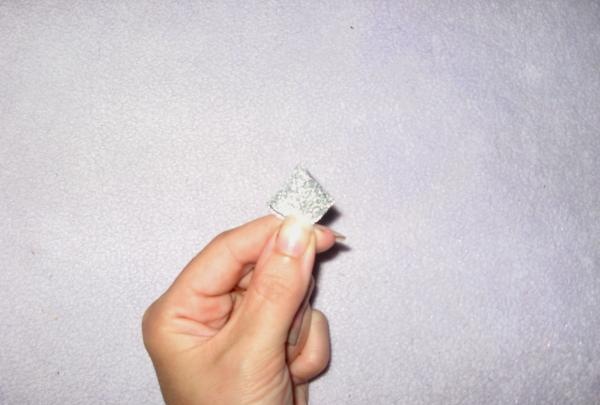
Also twice, like the previous one.

fold the silver square

fold the silver square

fold a square

fold a square


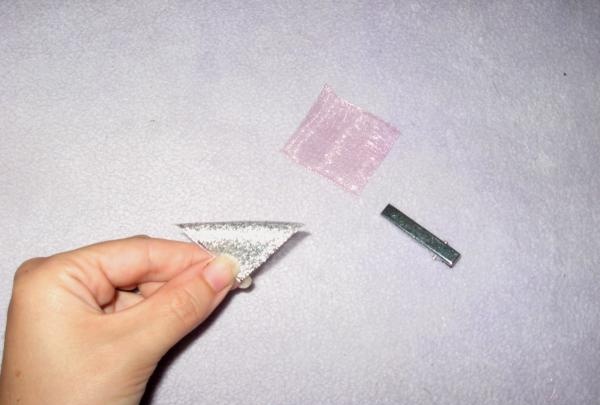
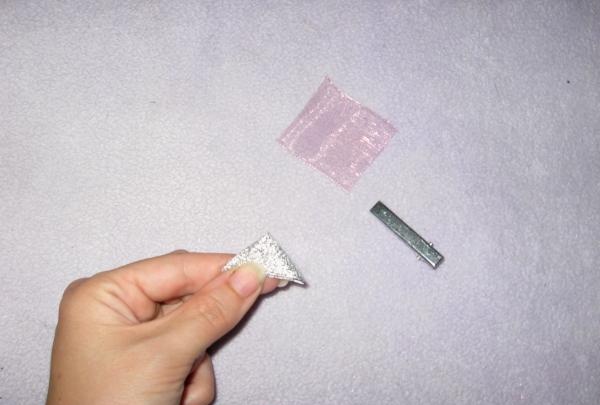
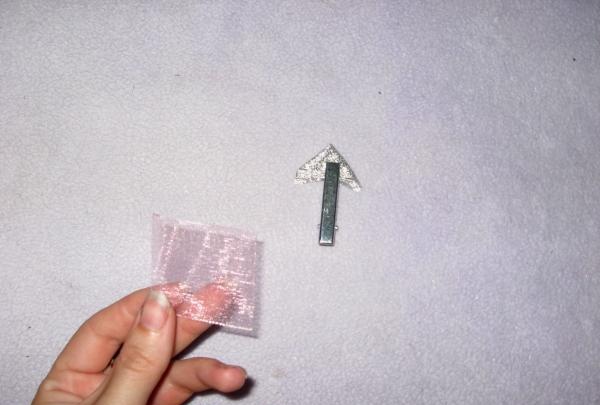
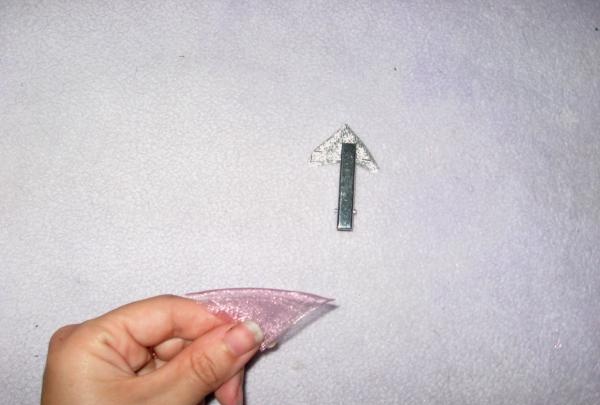
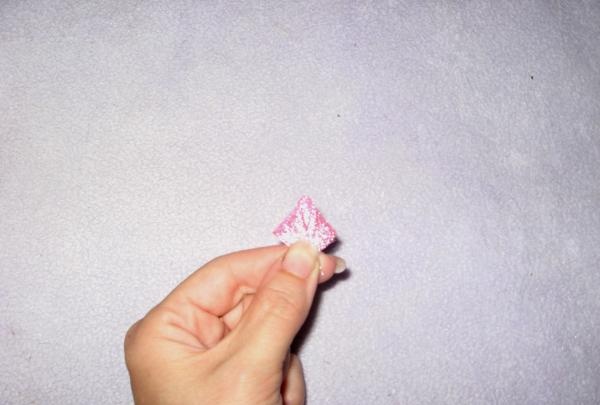
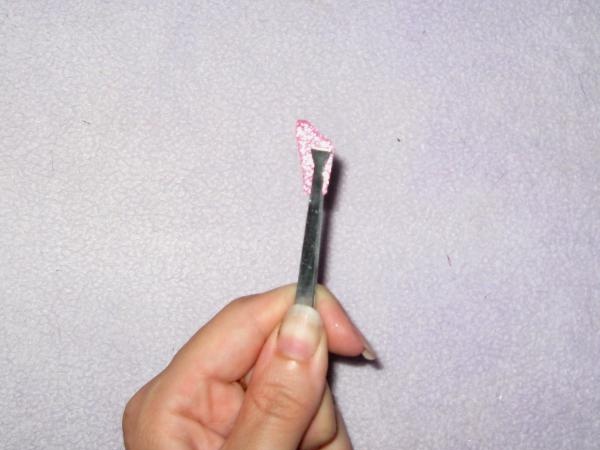
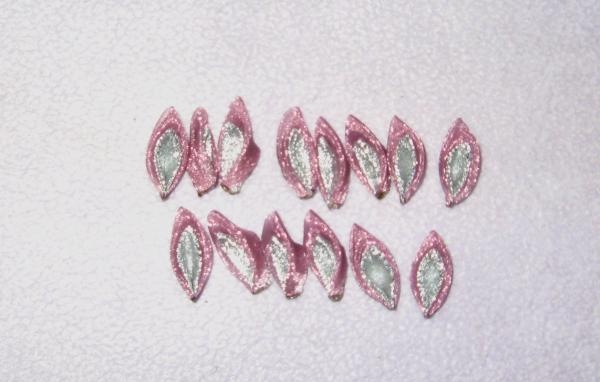
With the pointed corner up, we now fold the brocade triangle onto the organza triangle only a little lower, an indent of approximately 2-3 mm. Fold it in half exactly. We cut evenly from the bottom, burn and clamp. Then we cut it off from the side and process it.

fold a square

fold a square

fold a square

fold a square


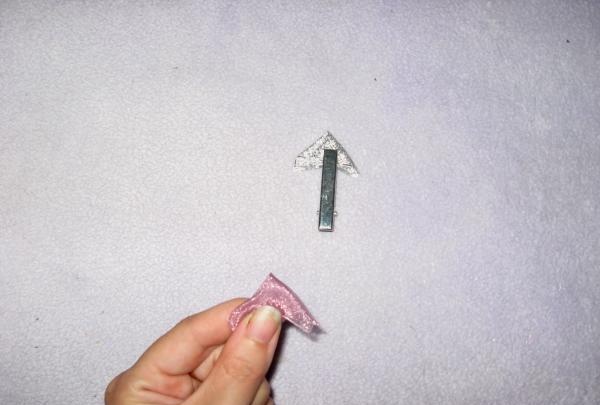
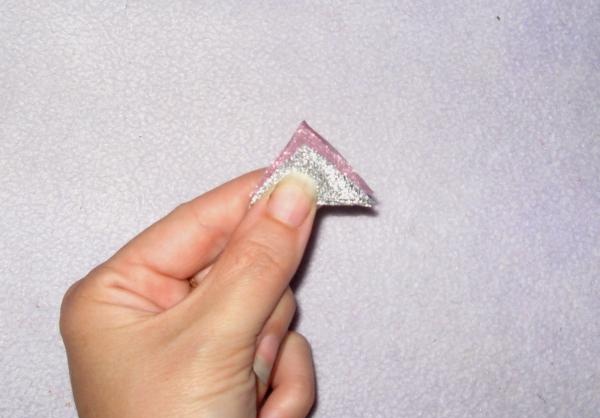
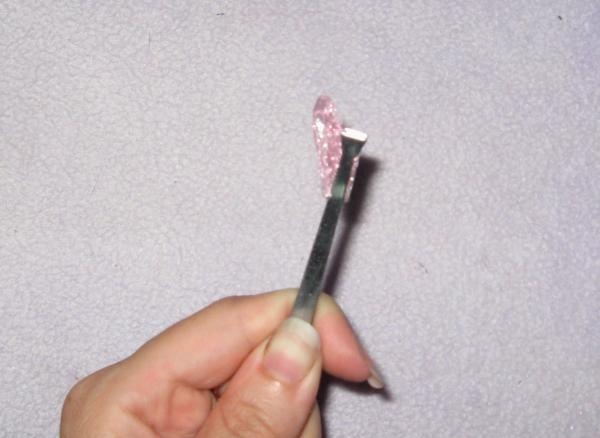
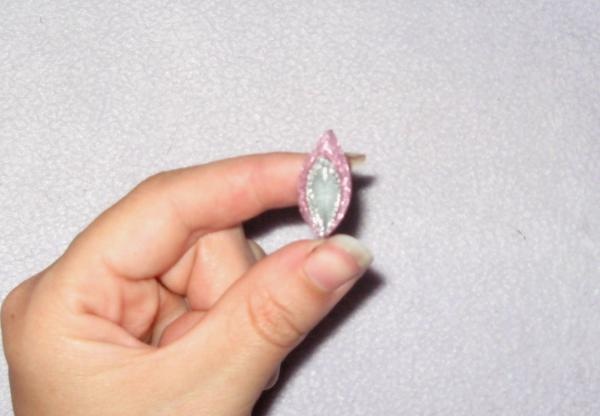
We get a petal like this. In total, we make 16 of them for two flowers.

petals

Handmade kanzashi headband


We have three colors, we are preparing three substrates. Cut out squares, then circles.

Handmade kanzashi headband

Handmade kanzashi headband

Handmade kanzashi headband


We sew the petals one to one with a thread, and glue the centers and backings with a gun.

Handmade kanzashi headband


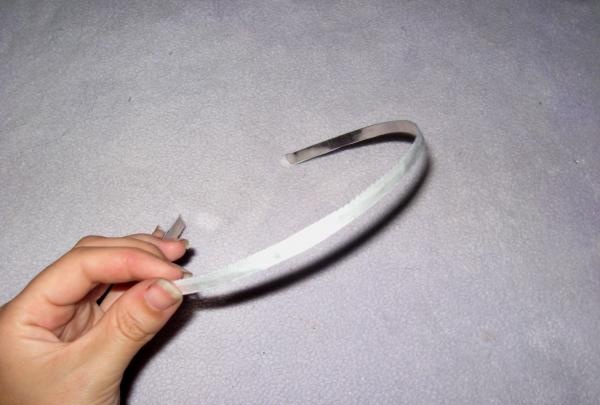
We cover the rim with a narrow white tape.

Handmade kanzashi headband

Handmade kanzashi headband


Glue the flowers on the rim more to the right and you're done! The bright summer hoop is ready! I thank everyone and wish you good luck.

Handmade kanzashi headband

Handmade kanzashi headband

Handmade kanzashi headband

Handmade kanzashi headband
come back
Comment
  • bowtiesmilelaughingblushsmileyrelaxed relaxedsmirk
    heart_eyeskissing_heartkissing_closed_eyesflushedrelievedsatisfiedgrin
    winkstuck_out_tongue_winking_eyestuck_out_tongue_closed_eyesgrinningkissingstuck_out_tonguesleeping
    worriedfrowninganguishedopen_mouthgrimacingconfusedhushed
    expressionlessunamusedsweat_smilesweatdisappointed_relievedwearypassive
    disappointedconfoundedfearfulcold_sweatperseverecrysob
    joyastonishedscreamtired_faceangryragetriumph
    sleepyyummasksunglassesdizzy_faceimpsmiling_imp
    neutral_faceno_mouthinnocent
3+three=
Comments (0)

Postcard “Tree of Love” | Do it yourself

Painting "Turtles" | Do it yourself

How to repair and convert a glue gun from 220 V to 12 V

Paper crocodile | Do it yourself

«Do it yourself - with your own hands» - a site of interesting homemade products made from scrap materials and items at home. Step-by-step master classes with photos and descriptions, technologies, life hacks - everything a real master or just a craftsman needs for needlework. Crafts of any complexity, a large selection of directions and ideas for creativity.

We recommend reading

Washing machine error codes