To make a toy bag in the form of a dog, we need:
- Fleece or any fabric for the bag;
- Lining fabric;
- A bit of fur to create an image;
- A little bit of any filler (synthetic winterizer or holofiber);
- Button for the nose;
- Two eyes;
- glue;
- Threads, needle, sewing machine;
- Snake lightning.

1. Cut the dog’s pattern along the lines, as in the photo. This is done so that there are seams on all the details that need to be filled with holofiber.

2. Lay out the patterns on the main fabric, secure them with safety pins.

3. Cut along the contour leaving 0.5 cm seam allowances.

4. Baste the ears face to face or pin them with pins. Also fasten the frontal part to the muzzle of the dog.

5. Sew on the typewriter. Place thin paper so that the knitwear does not come loose and is easy to sew.

6. Pin the legs to the torso. Place the parts facing each other.

7. Sew the parts on a typewriter. You can use backing paper. Needles do not need to be removed. The main thing is to stab them perpendicular to the alleged seam. Then the machine will sew unhindered, and they will enter between the line.

8. Fold together the upper parts of the dog and sew on both sides as shown in the photo.

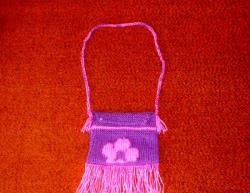
9. Insert the prepared handle for the bag from the stitched sides. She can be made of the same fabric as the dog.

10. Sweep the edges to sew the snake.

11. Secure the snake with pins.

12. Stitch it.

13. Align the lower parts of the dog and stitch together.

14. Sweep the dog along all contours.

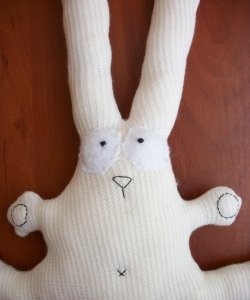
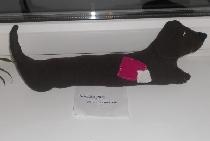
15. The upper front of the dog bag is ready. Now we just have to fill our legs and face with a synthetic winterizer so that it takes the form of a soft toy.

16. We fill the details with a synthetic winterizer. In order for it to not fall out during operation and washing, we fix it with threads. To do this, we just needed the seams on these parts. You can put a small piece of fabric on the holes on top and then sew at the seams.

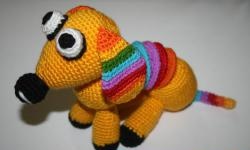
17. Now we proceed to the design of the image. After all, we will have a poodle. Therefore, we cut small strips:
- for legs and tail, along the perimeter equal to legs and tail;
- one piece for the head, so that it covers the place of suturing the ears;
- and two parts for the bottom of the ears.

18. Parts for the tail and head are sewn from one side.

19. Sew ears to the head. We glue the prepared details from the fur to the dog.

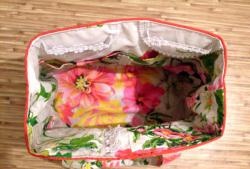
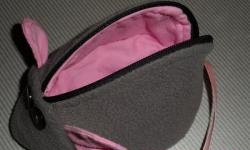
20. Now we cut two parts for the lining. In size, they coincide with the details of the upper and lower parts of the bag without a head and legs.

21. On the inside, sew any seam to the snake.

22. Glue the eyes and nose.

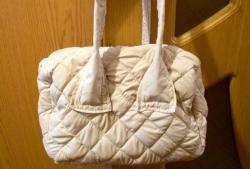
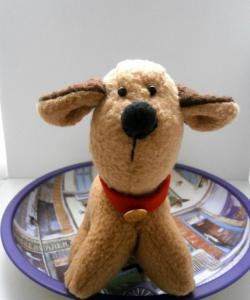
23. Bag dog toy is ready! She turned out to be very cute and my granddaughter gladly wears it everywhere.