Laying tiles on cable electric heated floors includes a number of important steps:
1) Firstly, you need to use a special tile adhesive for heated floors that can withstand temperatures of at least 50-60 degrees. Since when the heating element is turned on for the first time, the temperature on the thermostat is set to the maximum, and it can be 40-50 degrees. You need to be sure that the glue will hold it.
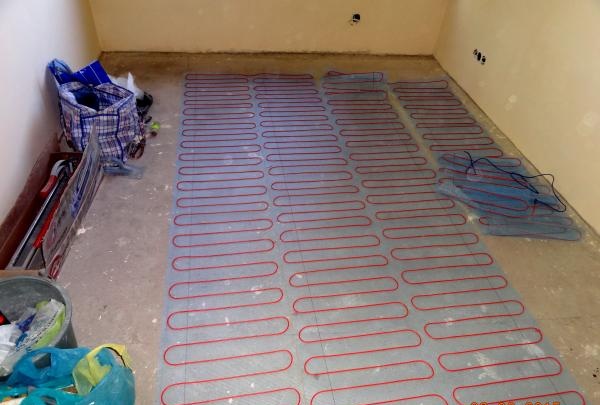
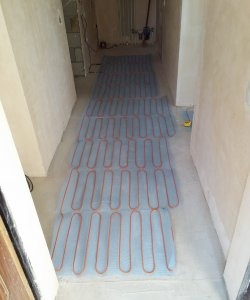
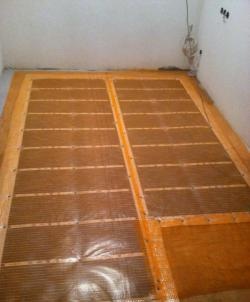
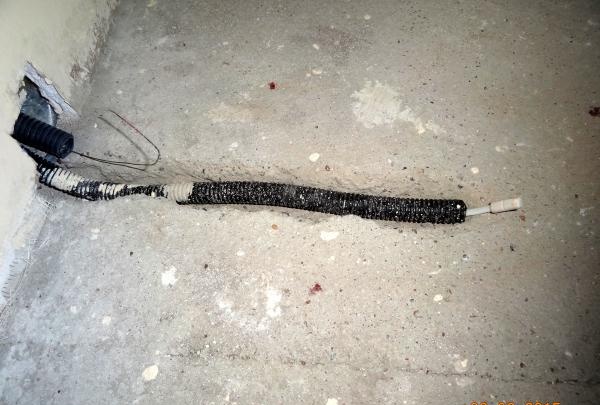
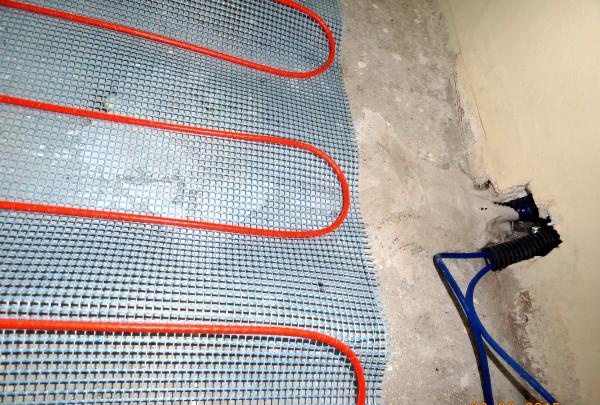
2) Secondly, the floor sensor from the thermostat must be in the corrugation.A canvas is cut under the corrugation, which is covered with glue so that the level of the heating cable is the same everywhere.
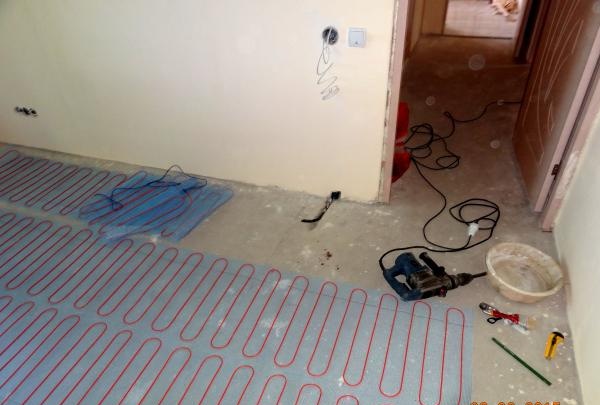

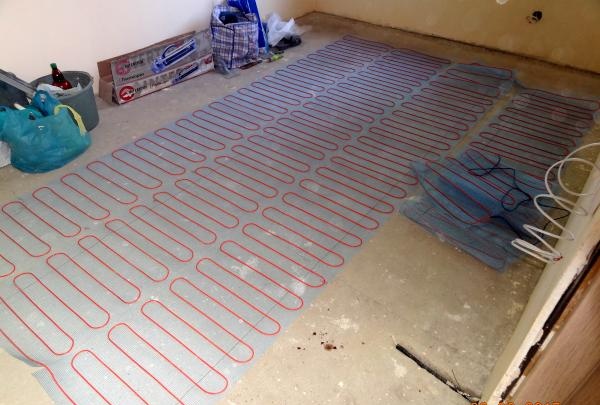
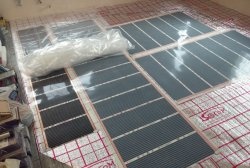
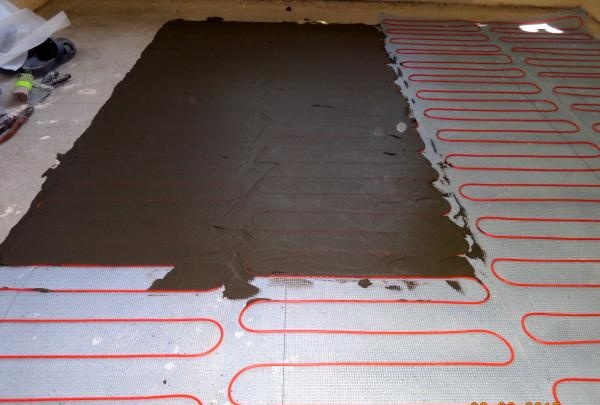
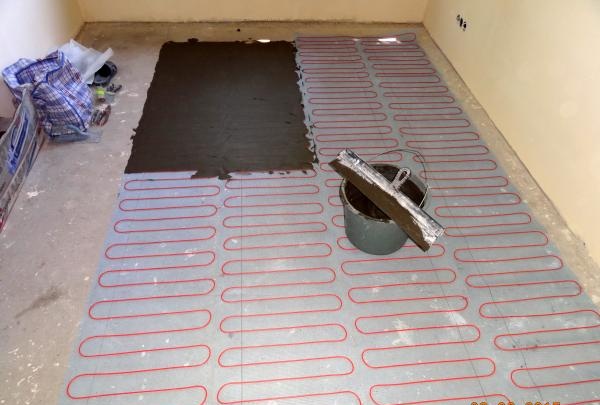
3) Thirdly, if a heating mat is used as a warm floor, many experts recommend pre-tightening it with a thin layer of tile adhesive. This is done so that during the process of laying the tiles you do not accidentally damage the heating cable, otherwise the entire floor will completely fail. And only after complete drying can you proceed to the next stage of work.
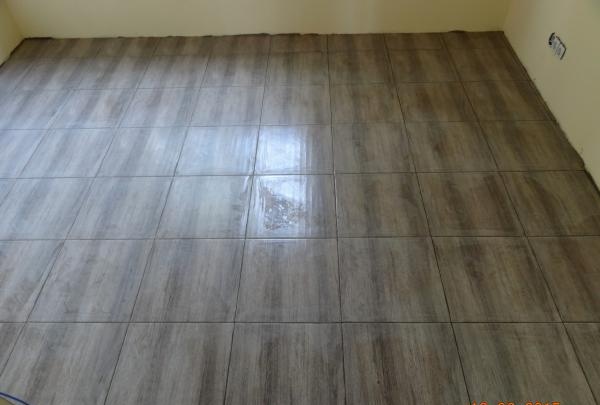
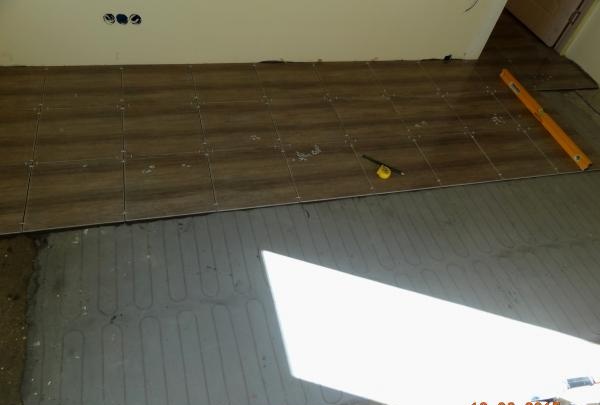
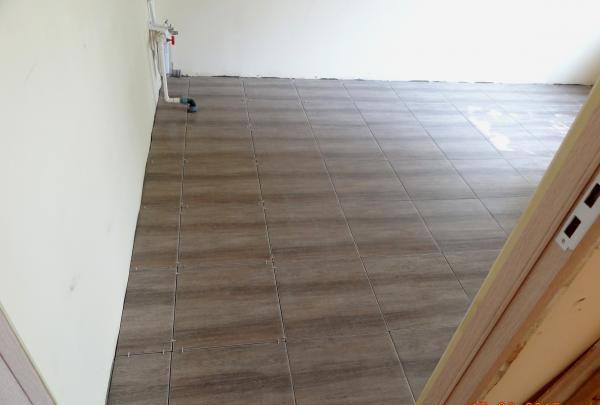
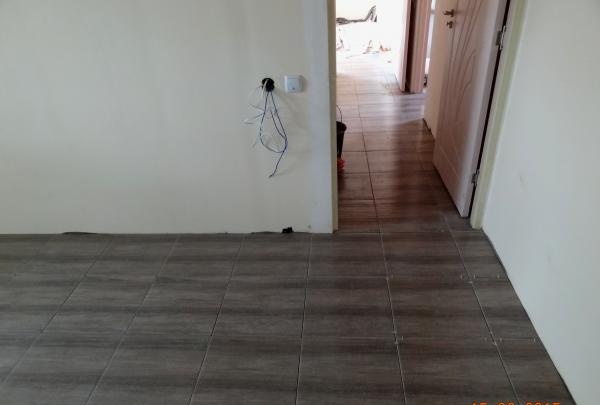
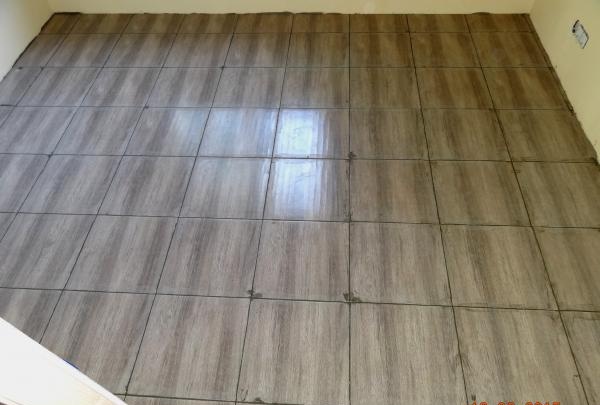
4) Before you start working with tiles, it is worth calculating where to start. If there is a pattern, then you need to start from it (it should be in the central part of the room); if the tile moves from one room to another, then the transition and trimming of the tiles in the area of the doorway should not be visible. It is recommended to plan in such a way that there is as little trimming as possible, and it is located in the most inconspicuous places.
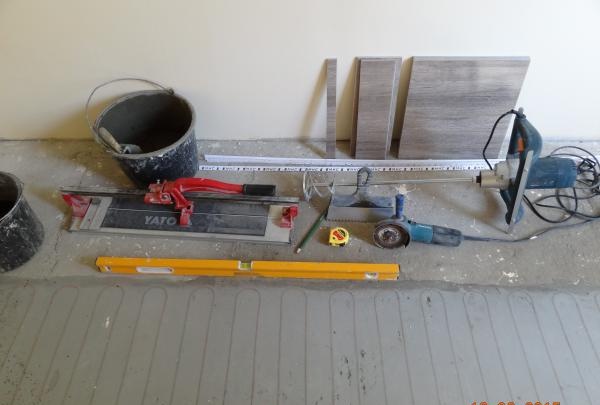
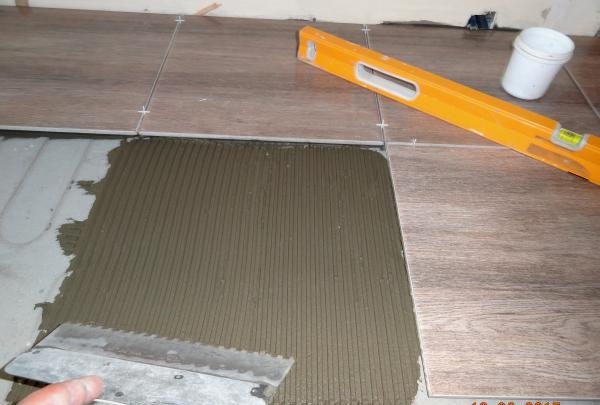
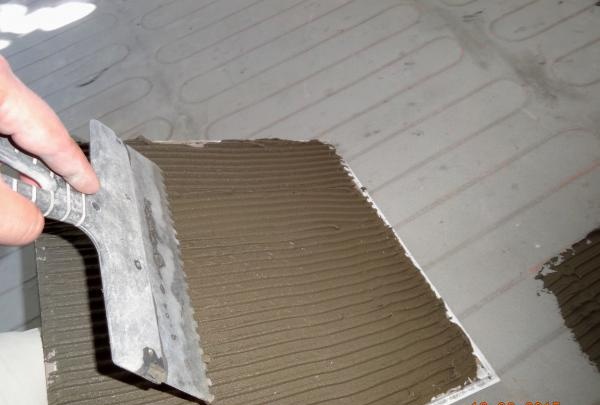
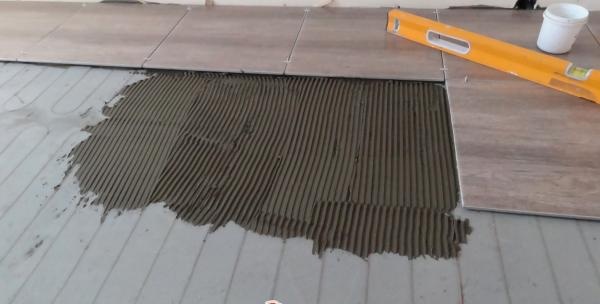
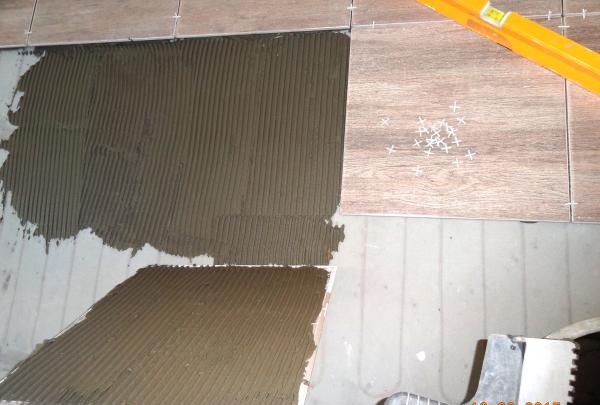
5) Apply glue using a 7-8 mm comb to the work surface, as well as to the tiles. If necessary, its inner side is first wiped with a damp cloth in order to remove dust (otherwise, there is a high probability that the tile may quickly come off due to lack of proper adhesion). In this case, you always need to monitor the floor level, removing excess glue if necessary, and also, to maintain the same distance between the tiles, use crosses, which in turn have different sizes.
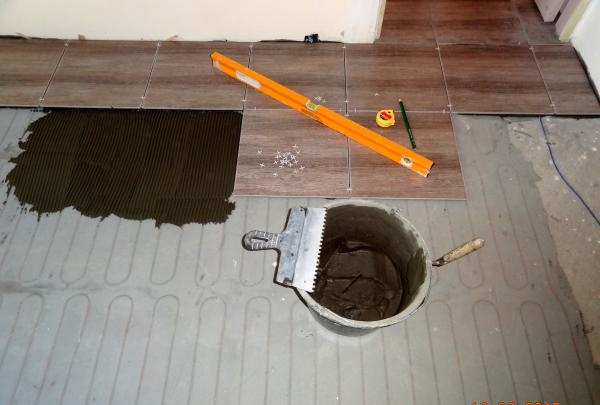
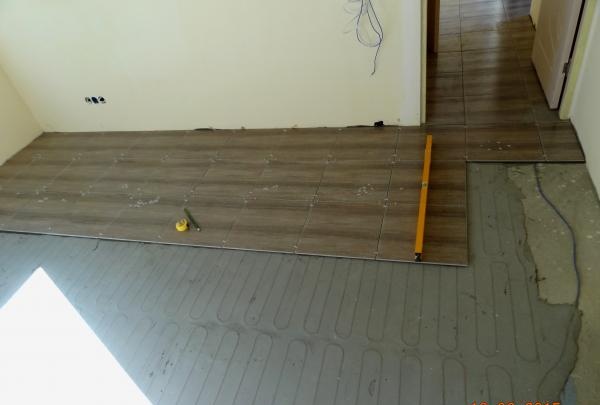
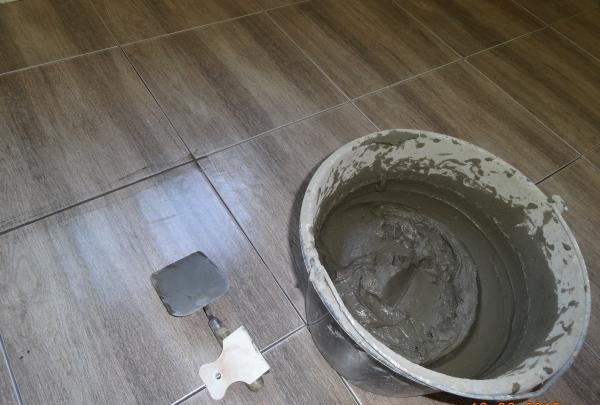
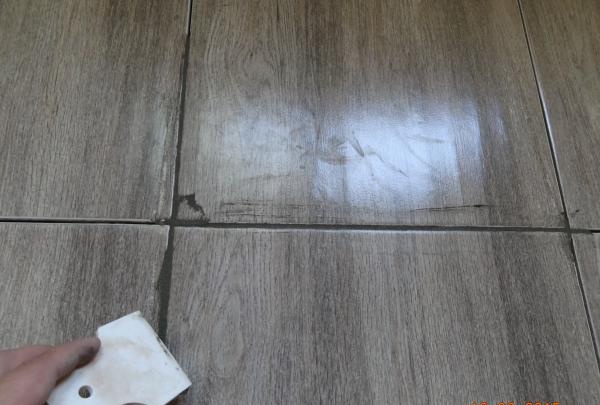
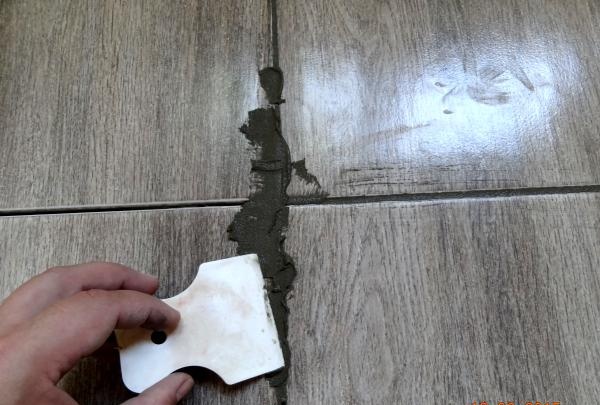
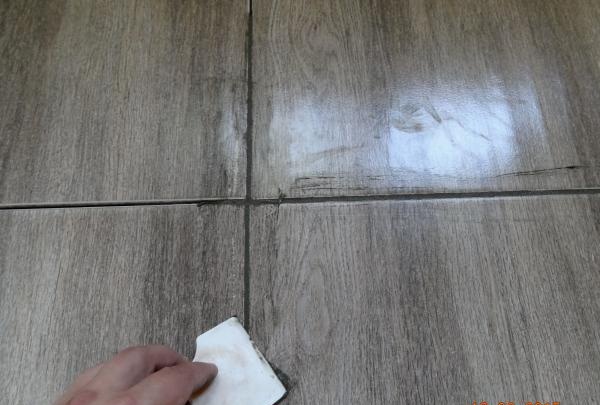
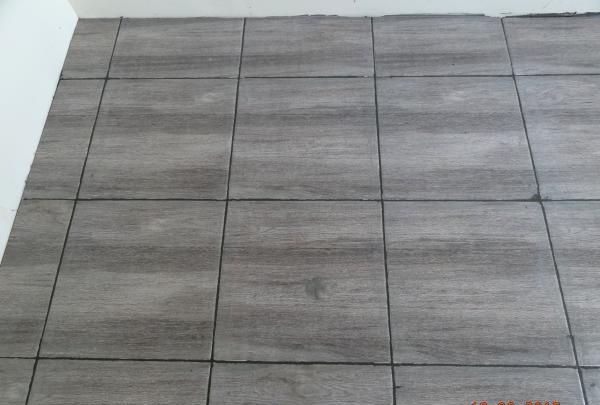
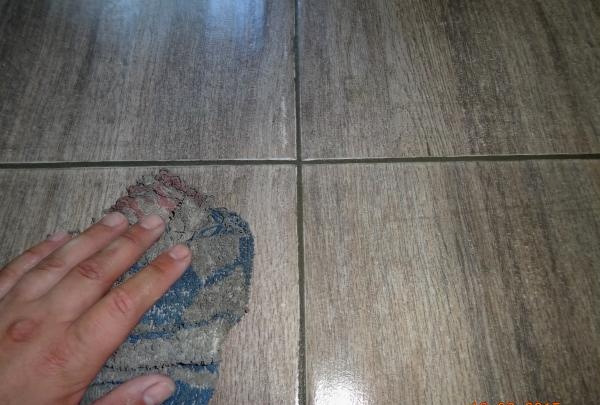
6) After the glue has dried, you can begin sealing the seams. For this, special putties of different colors are used.If this is a production facility and beauty is not so important, or there are financial constraints, you can use the same tile adhesive as a putty. All seams are first cleaned of dust using a knife; if necessary, an industrial vacuum cleaner is used. The glue is applied using a special flexible (rubber) spatula. After 10-20 minutes (depending on the room temperature), all excess is wiped off with a damp sponge (rag). After this, walking on the tiles is prohibited until the joints are completely dry, at least a couple of hours.
Another important point is that heated floors should never be turned on until the tile adhesive has completely dried. If, when laying the tiles, the rough screed was completely dry, then the heated floor system can be put into operation no earlier than after 14-16 days. If the screed was previously insulated and poured, then the drying time increases to a month. If you turn on the heated floor earlier than specified, in most cases the tiles may move away from the base.