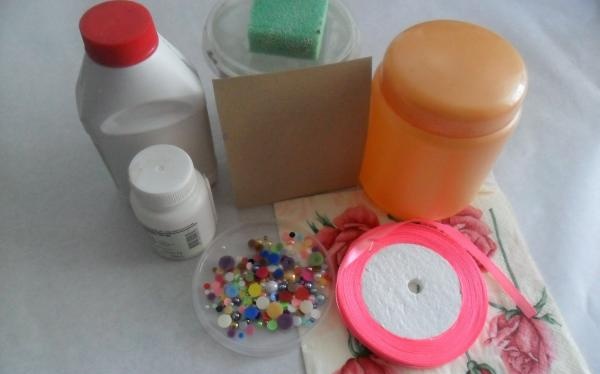
List of materials:
• Plastic jar (for balm);
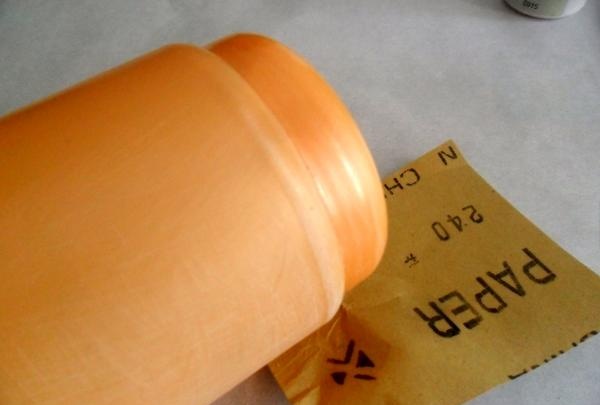
• Sandpaper (fine-grained);
• PVA glue;
• Napkin with a pattern;
• Liquid for degreasing (something containing alcohol);
• Dish sponge.
• Acrylic primer (can be replaced with acrylic paint).
• Acrylic varnish (no pungent odor).
• Brush (synthetic).
• Beads.
• Bead glue.
• Satin ribbon.
How to prepare a jar
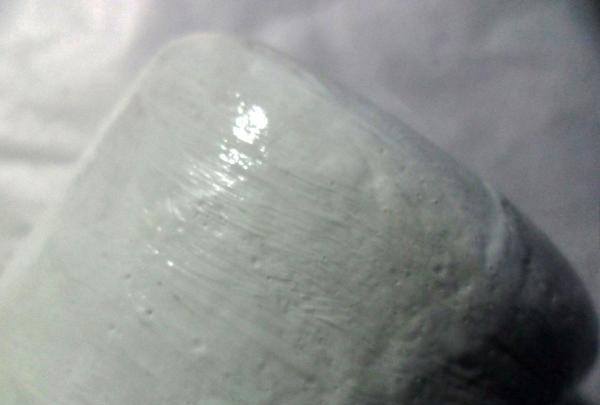
In order for your DIY decoupage to look professional, you will have to follow all the necessary steps. First of all, you need to prepare the surface: remove the stickers, be sure to degrease the dry, clean jar.Any alcohol-containing nail polish or liquid will do. After this, it is advisable not to touch the outer surface of the jar with your hands, or to wipe it again.
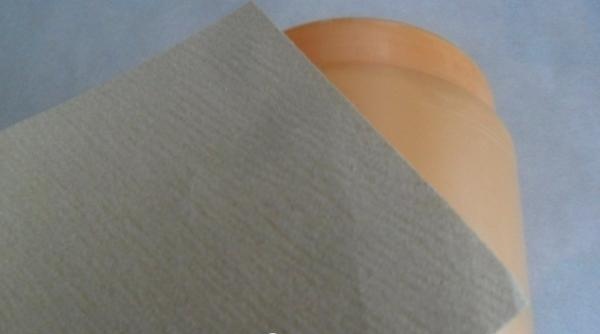
Sanding is also necessary, otherwise the primer will have to be applied much longer. You need to go over the entire surface with fine sandpaper, work especially carefully on the bends, and wipe off the dust with a damp cloth.
Primer
The jar is ready for processing. Primer is sold in art stores and is inexpensive. You can replace it with white acrylic paint, but it is more liquid, which will increase the working time. You will have to apply more layers to achieve uniformity.
You need at least 2 layers, each one must be dried thoroughly, otherwise a thing made using the decoupage technique with your own hands will turn out sloppy. For convenience, the soil can be poured into another container so as not to introduce dirt, which may then end up on the surface of the work. You don’t need to apply very much, the can will be visible on the first layer, it’s not scary. It is important to let the soil dry completely before continuing. Subsequent layers will hide all the imperfections. Their number varies, you must continue until you are satisfied with the result. The stains must be sanded down and the surface leveled as best as possible. Before applying the napkin, it is worth covering the jar with varnish. Otherwise, the napkin will gather in folds and the work will look sloppy.
Acrylic varnish can be purchased at the building supplies department, any will do. You can also use regular varnish if there are no problems with odor tolerance. You don't need many layers, 1-2 is enough. The brush must be rinsed immediately and wiped with a dry cloth.
Working with a napkin
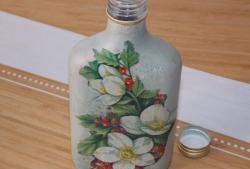
Selecting pictures is a very exciting and creative activity.It is not necessary to use large fragments of motifs; you can use several small ones.
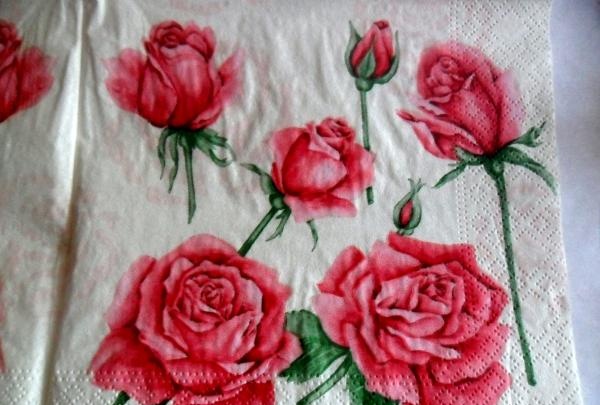
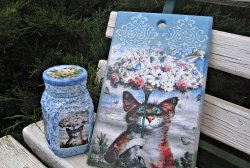
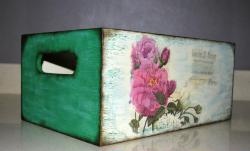
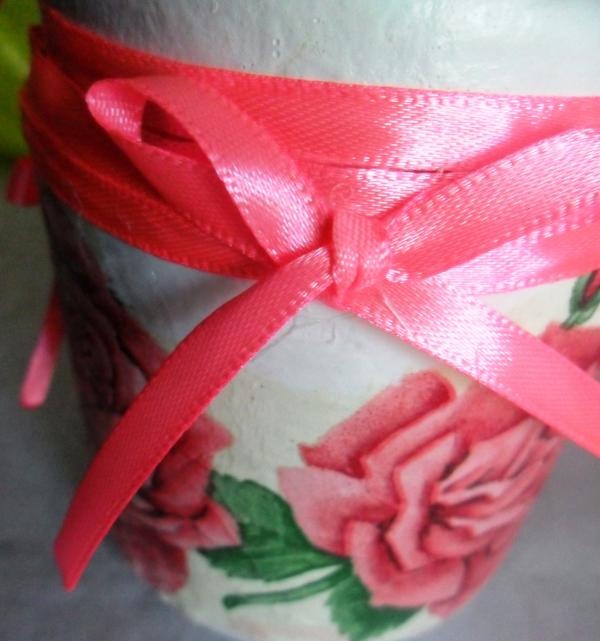
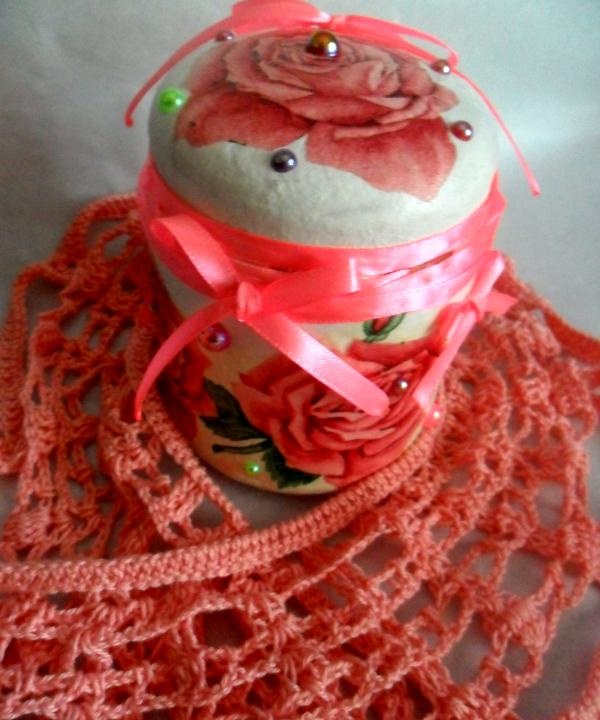
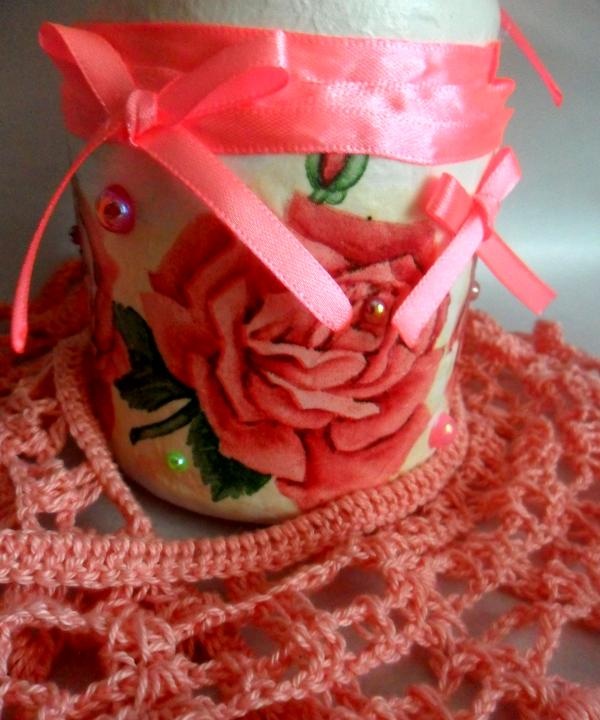
In this case, I took several roses, occupying almost the entire front part of the jar, and another one for the lid.
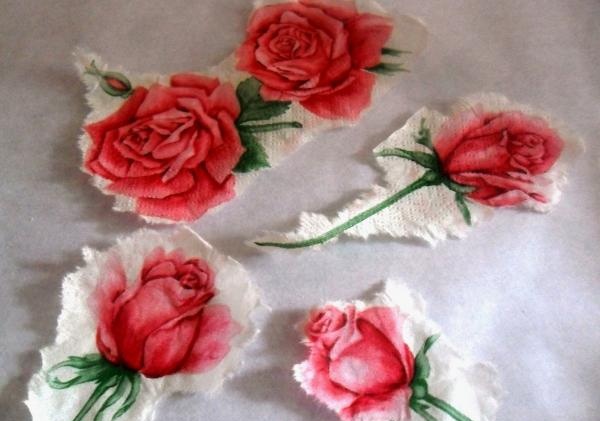
The cut fragment should be moistened with water in the center, and gradually smooth the napkin towards the edge using a brush or fingers.
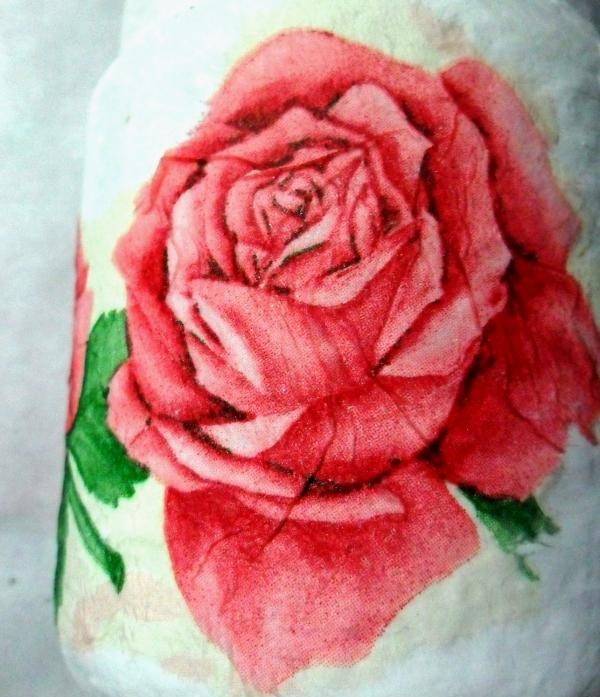
The main goal is to expel air bubbles while trying to prevent wrinkles from forming.
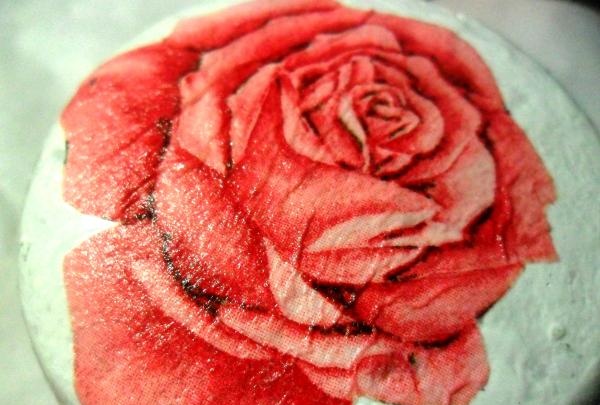
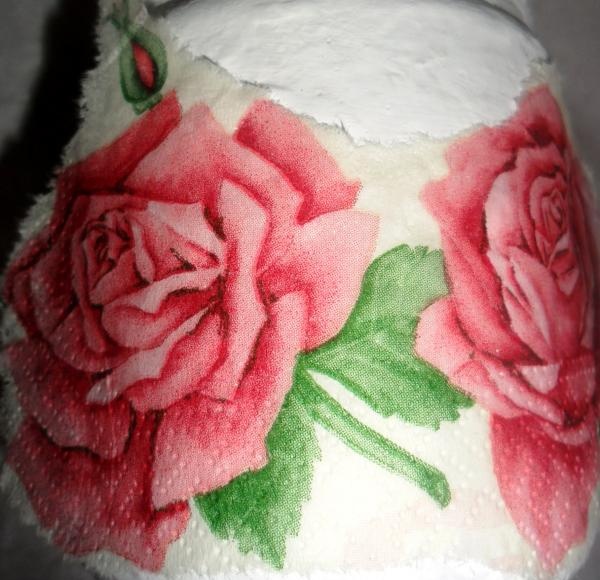
It is important to avoid sudden movements and strong pressure, or the thin paper will tear. To secure the napkin, PVA glue is most often used. It should also be applied from the center, it can be thick, after drying the glue will not be visible. Then the product must be dried. This can be done at room temperature without using a hair dryer.
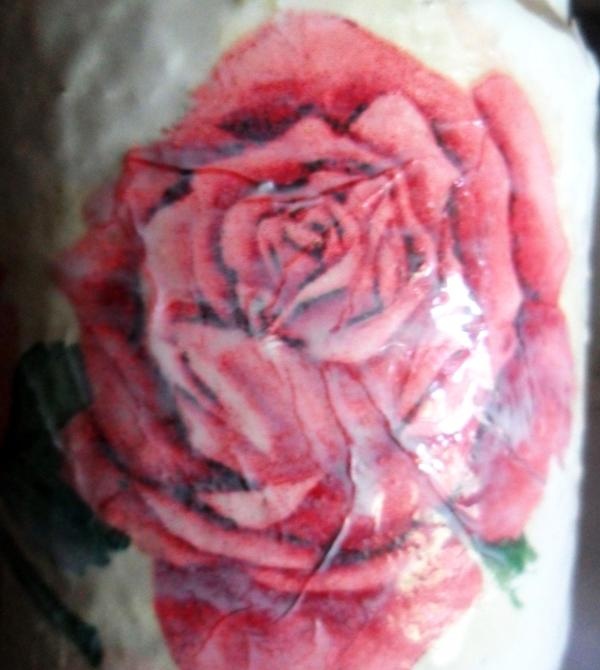
The napkin is finally fixed with varnish; here you will need up to 30 layers to even out the edges of the motifs. But if a thing is made using the decoupage technique with your own hands, like present for a loved one who will not find fault with the “step” at the edge of the picture, 3-5 layers are enough. Acrylic varnish has a milky color when applied, this is normal, as it dries it will become transparent.
Decoration
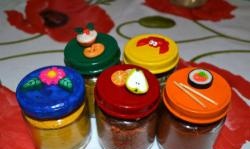
I also primed the lid and glued the motif. But why not use other materials that are at hand? These could be remnants of beads, rhinestones, fimo. I found beads of different colors. The beads were arranged in random order. Any brand of glue will work as long as it is universal.
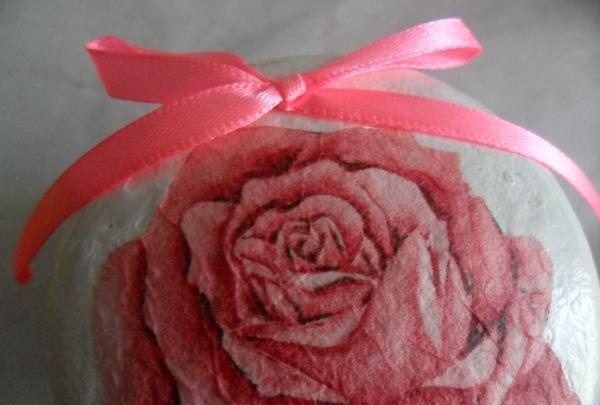
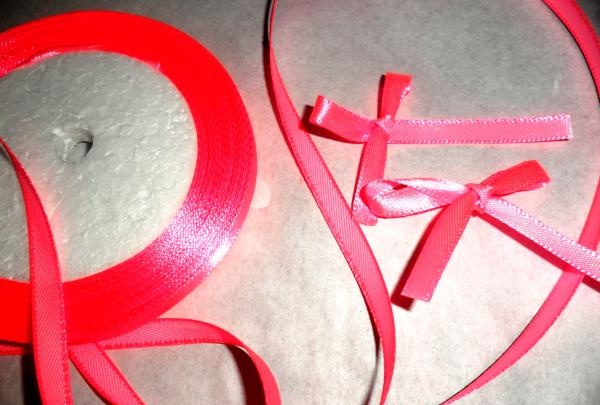
I made bows from a narrow satin ribbon, and also glued strips at the joints, but it’s quite possible to get by with just beads. The best gift is the one made with soul!
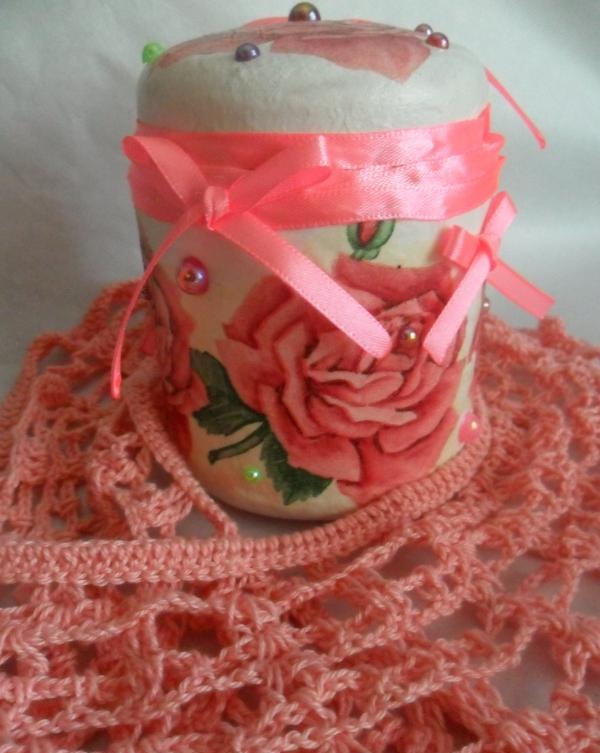
Using decoupage, we turned a hair mask jar into a unique piece of furniture with our own hands. You can store hairpins, souvenirs, and jewelry in it.
The author's flight of imagination is not limited by anything; it is not at all necessary to adhere to certain rules or exactly copy someone else's work. Although the technology should not be violated, so that the work does not go to waste.
But the most important thing is that such a gift will make a deep impression, because the author spent a lot of time and effort on making it, which means he really tried to please the person close to him.