To work on the product you will need materials:
- foamiran in two colors – orange and green.
- lighter.
- glue gun.
- scissors.
- light satin ribbon 1 cm long, 40 cm long.
- a small piece of thick fabric,
- a little lace.
- several toothpicks.
- hair band.
- foil.
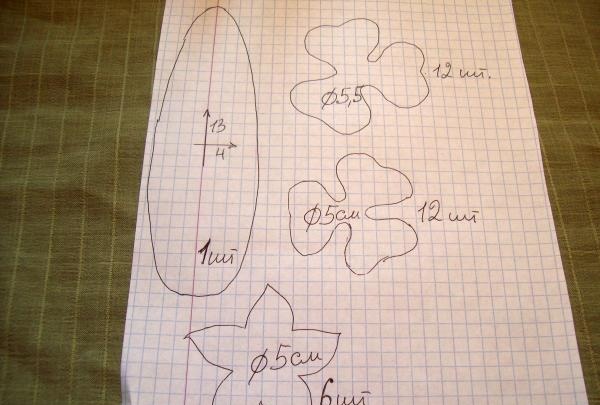
Let's get started by drawing the templates. There will be 6 flowers, of which 3 large and 3 small, several buds. Each rose contains three petals. One blank looks like a pyramid of three balls, the diameter of which is 5.5 cm and the small ones are 5 cm. You need 12 of these petals of each size. Substrates for flowers are needed with a diameter of 5 cm and 6 pieces in the shape of an irregular star. And also a base for flowers in the shape of a long oval measuring 13x4 cm, 2 pieces.
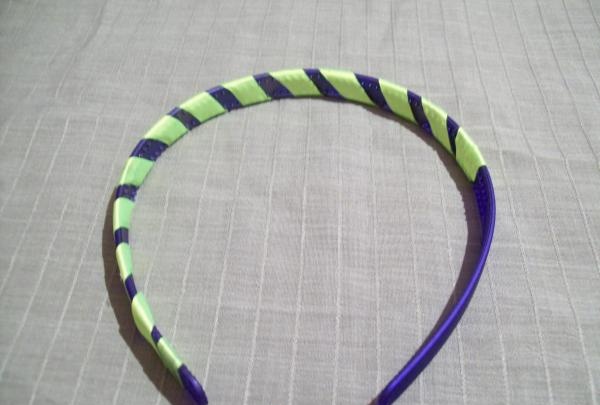
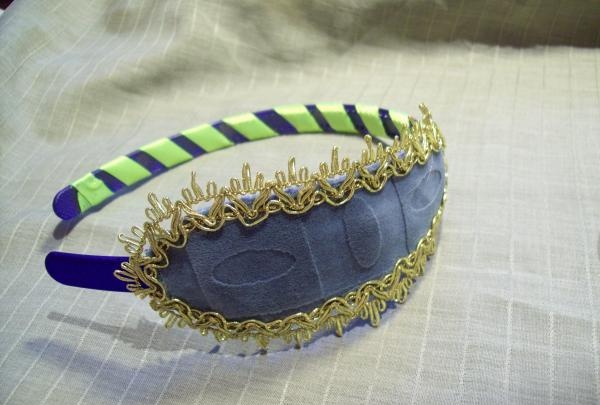
We start by preparing the rim. Let's take a narrow satin ribbon and wrap it around the headband, with a slight tilt. We do not wrap the entire rim, but from one edge and reaching beyond the middle. Glue it well.
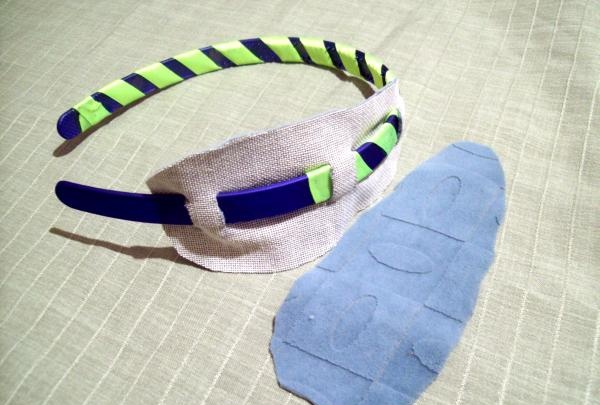
Now we cut out 2 oval bases from thick fabric. On one piece we make 3 double parallel cuts the width of the rim.And secure it by threading it onto the rim.
And we glue the second element on top, covering the fastenings with the rim.
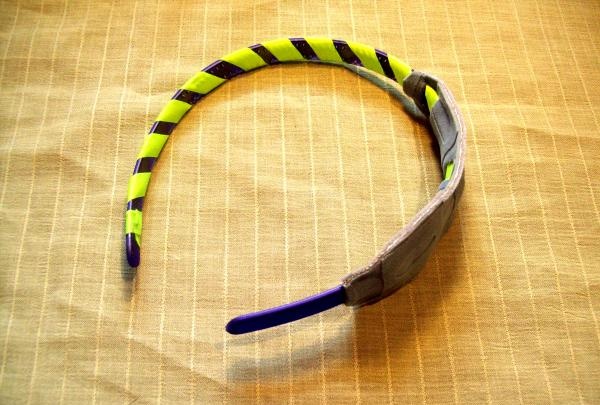
You will also need a lace braid, which we glue around the entire perimeter of the base, about 30 cm long.
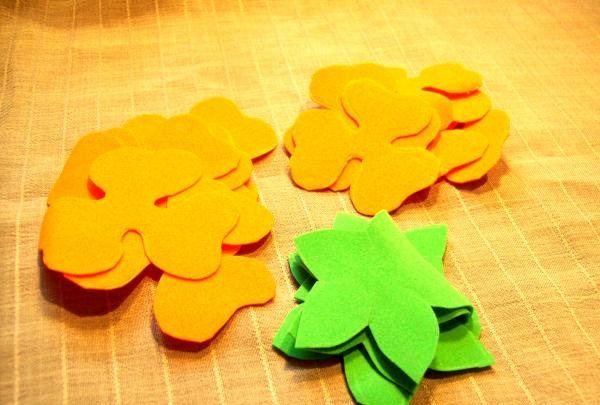
For the petals, we take plastic orange suede and cut out blanks of two sizes, 12 pieces each, according to templates. And 6 more green suede backings.
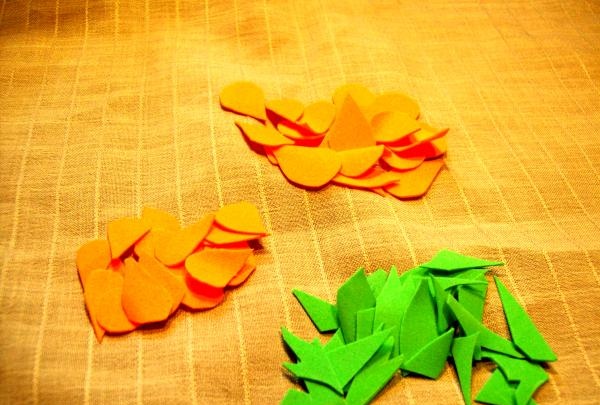
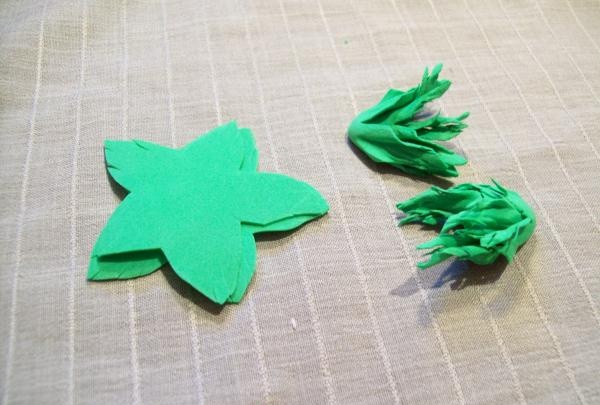
And from the remains, after cutting out the blanks, we will make small parts for the buds. We cut droplets ranging in size from 1 to 1.5 cm in height. And we cut small green pieces into any shape.
Now knead the petals with your fingers. First we twist it, and then we straighten it, and a new structure of the material is obtained in the petals.
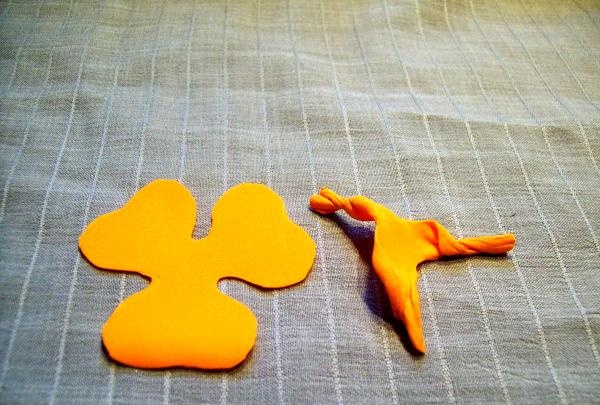

Then we begin to process these blanks with a lighter. We take a petal and heat each part of it separately along the edge, the suede folds itself and makes a bend.
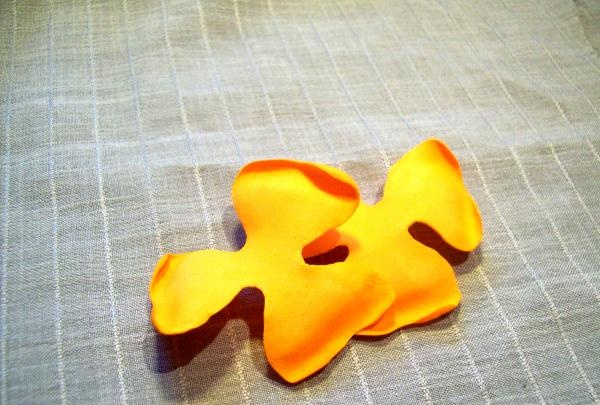
In this way we change the shape of all the petals.
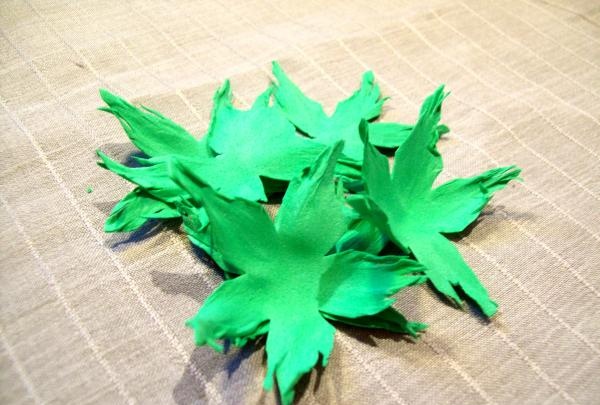
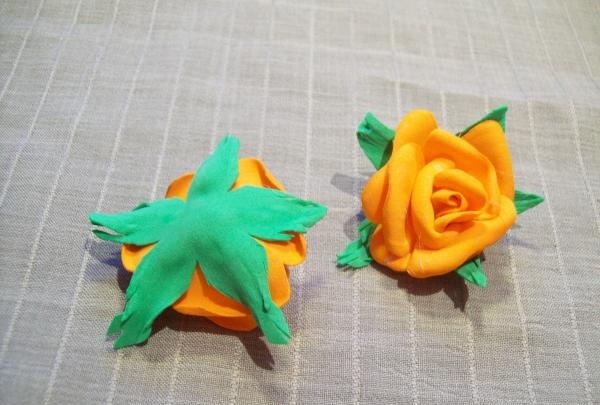
Now we take the green substrates. We also knead them and twist them with our fingers, but do not straighten them much.
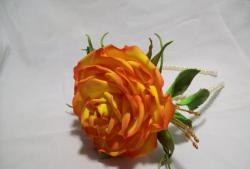
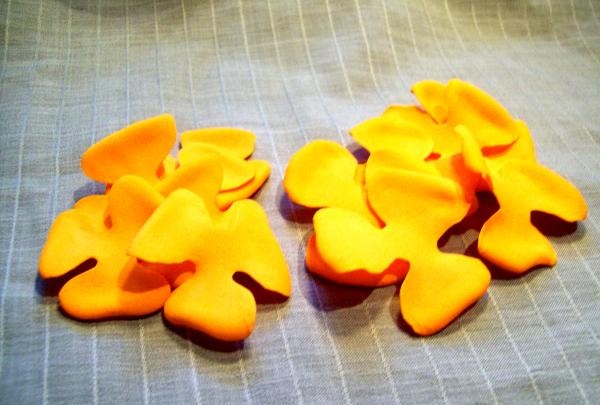
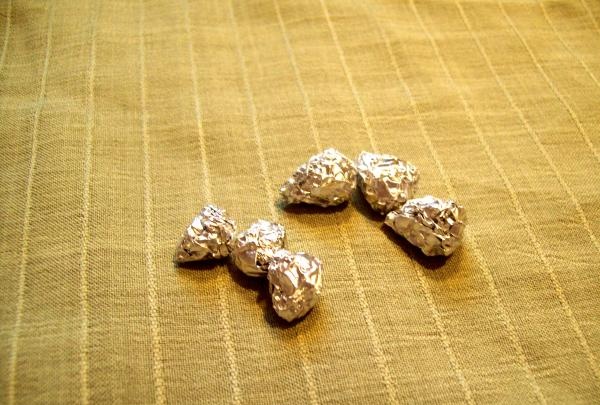
Let's start making roses. But first you need a base for the flower and we make it from foil, rolling up droplets measuring 0.8 and 1.2 cm, 3 pieces of each size.
For one flower we take three petals and a foil base.
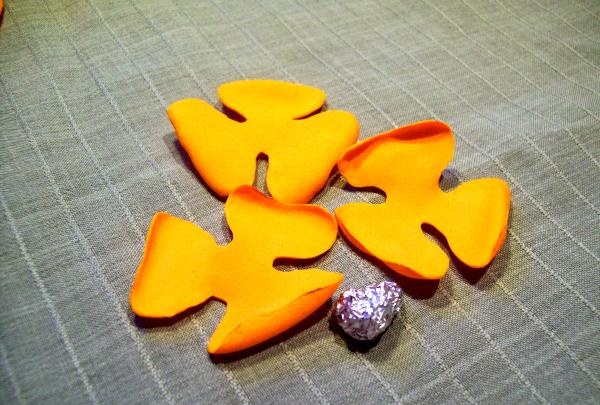
We attach the foil droplet with a glue gun to the middle of the first petal. And one by one we glue the remaining two parts of it to it.
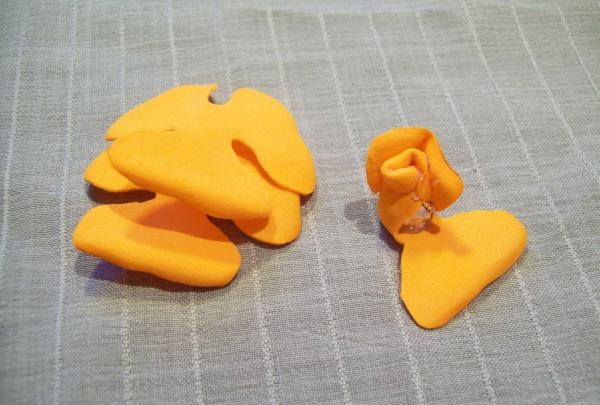
Now we take the second petal and glue the already secured first petal to its middle.
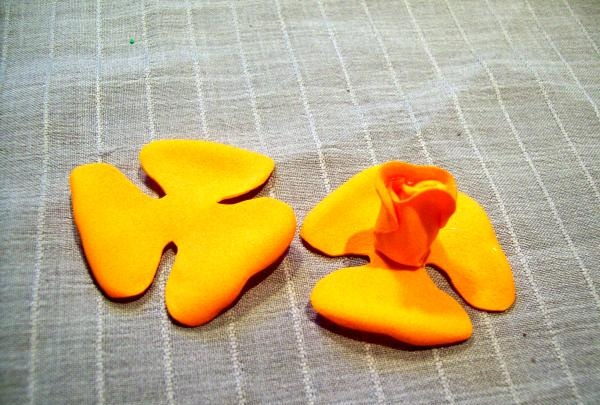
And also, one by one, we lift and glue all parts of the workpiece. And with the third row - the petal - we do the same. And the rose is ready.
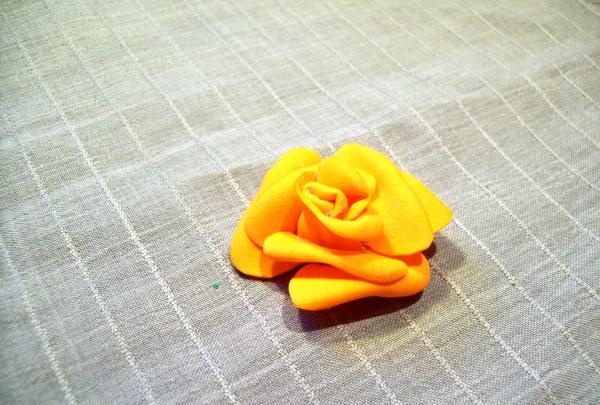
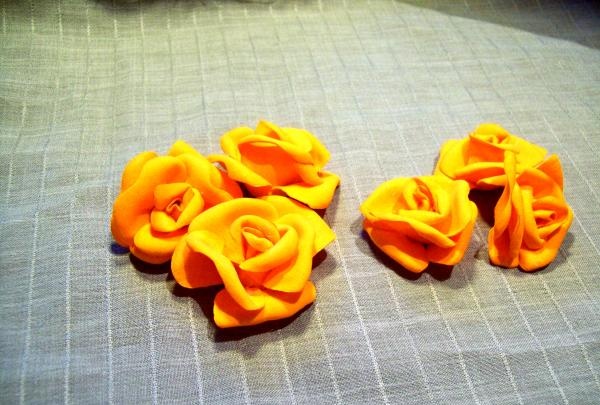
There are 6 roses in our composition.
Glue green backing onto the finished flowers from the reverse side.
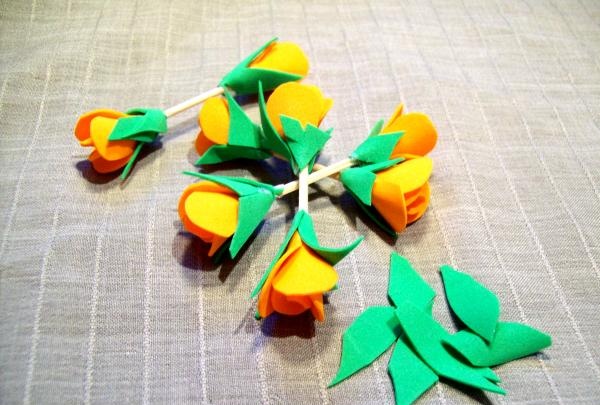
Now let's start cutting.We make buds from them. We take a toothpick, it will serve as a base on which we attach the petals of the bud. For one bud, 5 petals and 3 leaves are enough. Glue them together one by one, twisting them a little along the toothpick. And we make two buds on one stick.
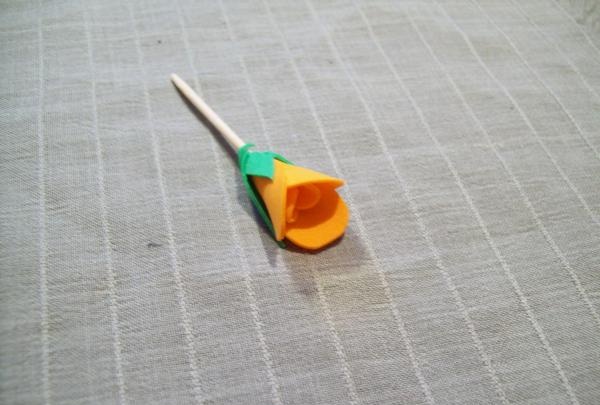
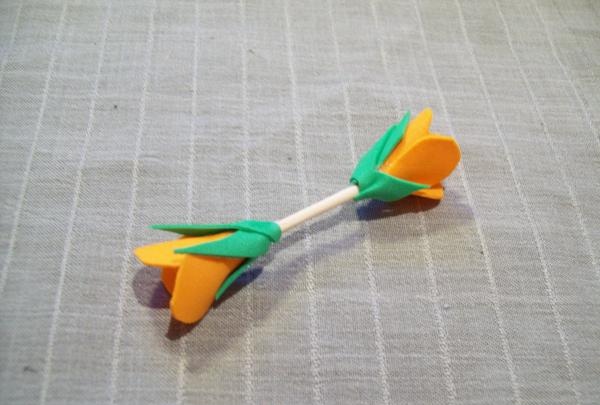
And we got 8 of these buds and we still need 6 free leaves.
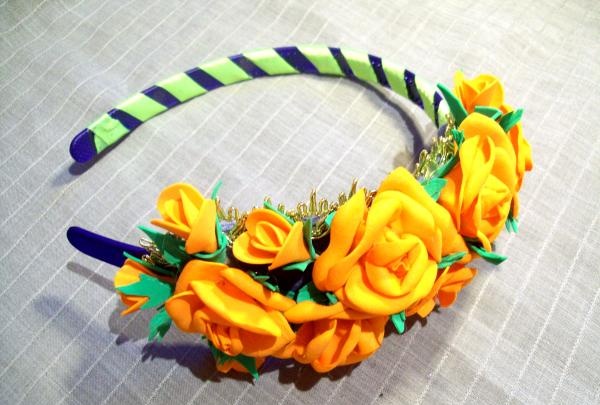
All roses and buds are ready, we will assemble the bouquet on a base attached to the rim. Let's start from the top corner. First, glue three buds onto the edge, arranged like a fan, and one leaf between them. And in the middle of them we place a small rose.
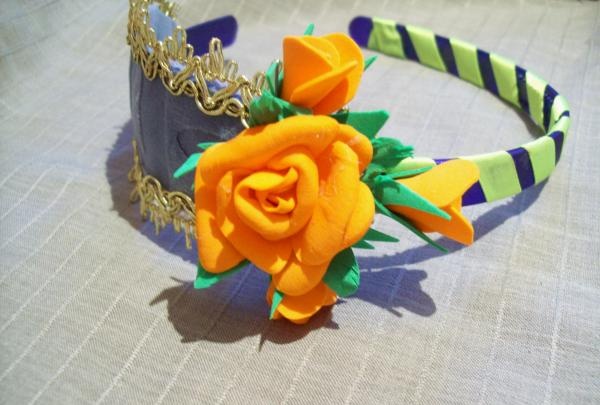
We do the same on the other lower corner.
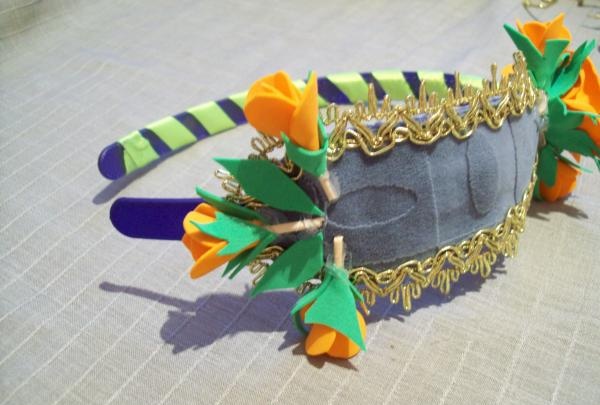
And all that remains is to fasten the remaining 2 buds, 3 large roses and 1 small, between the two corners. And our “Sun” is ready.

Good luck to all.