I recently bought myself a home. The former owner turned out to be a decent person and immediately warned me that the boards from which the floor above the basement was made were rotten from time and dampness and required urgent replacement. He was probably afraid that one day I might fall through there. The basement itself was located in the house under the kitchen and had the following dimensions: width - 2.4 m, length - 2.3 m. The inside was lined with brick and coated with a layer of clay.
The floor above it lay on two wooden beams and consisted of boards with chipboard slabs laid on top of them. It was made crookedly and deteriorated to such an extent that walking on it was really dangerous. All the wood was damaged by wood-boring beetles, and some of the chipboards became damp and friable.
At first, I expected to simply replace the boards on it, but then, after slowly thinking it over, I decided to make a metal frame and fill it with concrete. Firstly, there will always be dampness in the basement, no matter how you look at it, which means that new boards, given the current quality of the wood, will definitely not be enough for a long time, and secondly, if we are going to do it, then it will be done reliably, once and for all, and what could happen stronger than reinforced concrete?
Removing the old floor
The first step was to remove the chipboard, and then the boards. Using a nail puller, a hammer and a crowbar, I managed to do it in three hours. There were no problems with the slabs, but disassembling the boards took more time: they were nailed to the beams with huge nails, so they came off with great difficulty. After the wooden floor covering was completely removed, I had to remove a decent layer of earth (one bayonet) along the entire perimeter near the walls with a shovel in order to remove all existing unevenness and level the surface. This matter took the rest of the day. The next morning there was welding work to be done.
Frame making
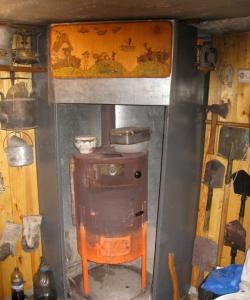
I did not spare any metal to make the frame. Perhaps he used it even more than necessary, but only in order not to install additional support pillars inside the cellar, which would reduce its free space. The design was based on thick-walled pipes (? 61 mm, wall thickness 5 mm), which I didn’t even have to buy. The fact is that previously heating was made from them in the house. It looked terrible and bulky, so it was only natural that I removed all this iron from the rooms, replacing it with modern heating devices. And the pipes, as you can see, were useful for the basement.
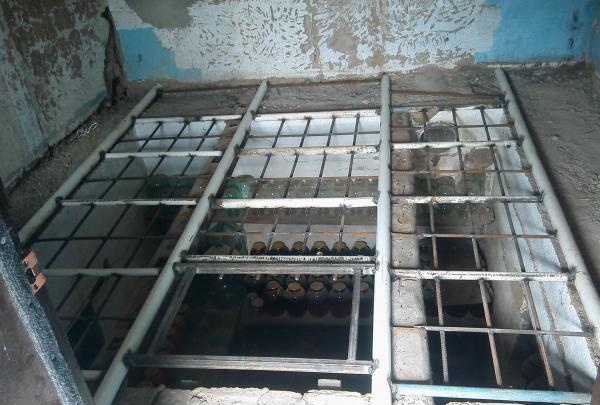
First, I evenly distributed four powerful three-meter pipes, which are load-bearing beams, above the cellar pit (every 80 cm). Then, having aligned them exactly to the level, he began welding them together. To do this, I needed pipes of a smaller diameter (? 32 mm - 12 m) and thick fittings (? 12 mm - 40 m). First of all, I welded 15 jumpers between the beams, after which I strengthened the entire structure with reinforcing rods welded to them from below.The result is a very reliable metal frame.
Separately, I would like to dwell on the manufacture of the frame framing the entrance to the basement. I made it from a 40/20 mm profile pipe in the shape of a rectangle (length - 70 cm, width - 50 cm). What should you pay attention to here? Firstly, all the corners of the frame must be perfectly straight, the dimensions of the sides must be strictly consistent, otherwise the lid will not fit into it tightly, and it will leak out of the cellar. Secondly, it should be welded in such a way that it is at the same height as the beam pipes, which are also beacons.
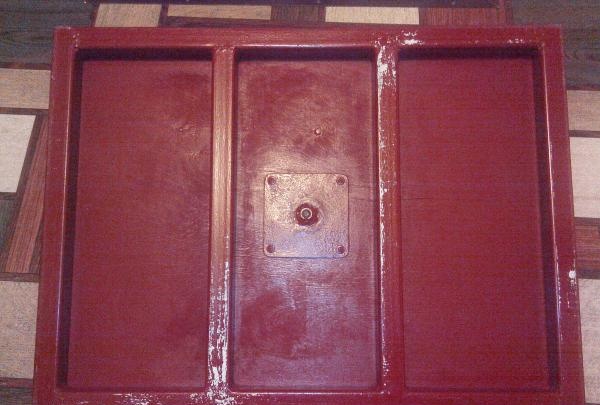
The cover itself was also made by me from a profile pipe (40/20 mm) and a thick piece of plywood, securely connected to its metal base with self-tapping screws. The limiter for the lid, preventing the possibility of it falling into the basement, was a corner welded to the underside of the framing frame. That day I worked with welding from the heart: from early morning until late at night, but still finished the job. I burned almost two packs of electrodes alone, and inhaled acrid smoke - terrible! (the pipes were covered in paint).
Installation of formwork
The metal frame was ready, but now I had to solve a new problem - installing the formwork above the cellar. Various options for its manufacture were considered, but in the end my choice fell on chipboard slabs that were removed from the old floor. Why? Firstly, it was easier and faster to cover the large space above the pit with them, and secondly, thanks to the slabs, there were practically no gaps where liquid concrete could spill. I attached them to the frame from the bottom with thick binding wire: first I drilled holes in the chipboard with a drill, then threaded the wire through them, after which I screwed it tightly to the reinforcement with pliers.It turned out to be reliable, but given the heaviness of the concrete, I put several temporary supports underneath just in case.
Pouring the floor
Working with concrete is a serious challenge, especially if you need to concrete 12 m in one day? with a layer thickness of 10 cm. For this reason, I called a friend to help, having previously prepared everything necessary for this task: gravel screening, cement, a mixing trough, shovels, buckets, rule. We distributed ourselves like this: we mixed the concrete together (in a ratio of 1/5), then one brought it in buckets to the pouring site and poured it out, and the other leveled the finished mixture using a three-meter rule, pressing it tightly against the beacons and making frequent oscillating movements to the sides.
The two of us worked on the hunt. Having started working at eight o'clock in the morning, by lunchtime we had already finished pouring. The result was pleasing. The floor came out smooth, and the whole room was immediately transformed. Two days later, when it was already possible to walk on the concrete, I took an old car wheel and, making circular movements on the floor surface, removed small irregularities from it. Now all that remained was to wait until the concrete dried completely.
Final chord
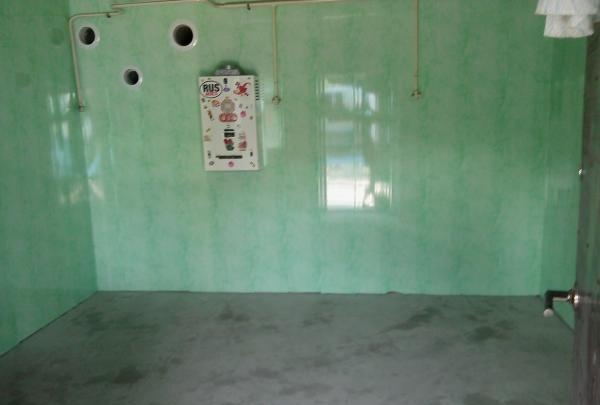
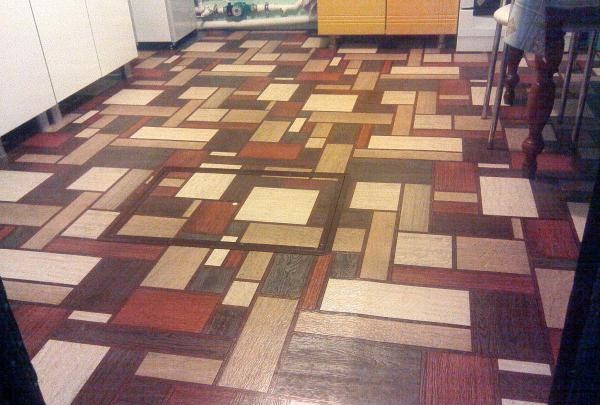
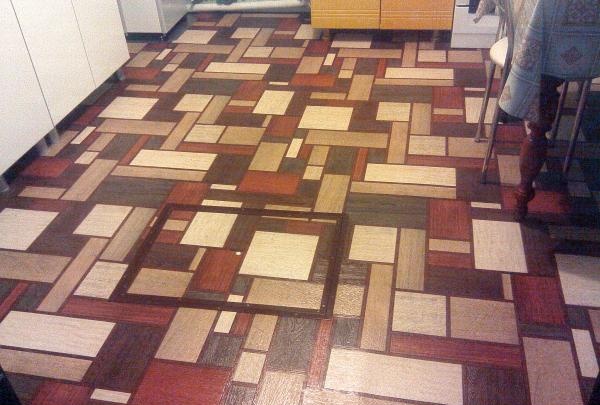
A week passed and I started finishing work. First of all, I liberally painted the dry concrete surface with primer. But not for beauty, no, but to reduce the amount of dust that inevitably forms when walking. When the paint had dried, I placed a waterproofing film on the floor to prevent moisture from penetrating from the concrete into the linoleum. After that, as you may have guessed, linoleum was laid, but not simple, but thick, insulated, with an abrasion-resistant surface that is not afraid of even dragging on it furniture. It’s an expensive pleasure (the price per linear meter is about 2 thousand rubles), but, believe me, it’s worth the money spent.
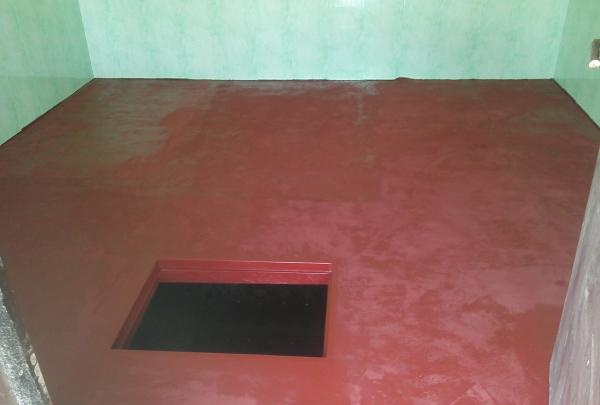
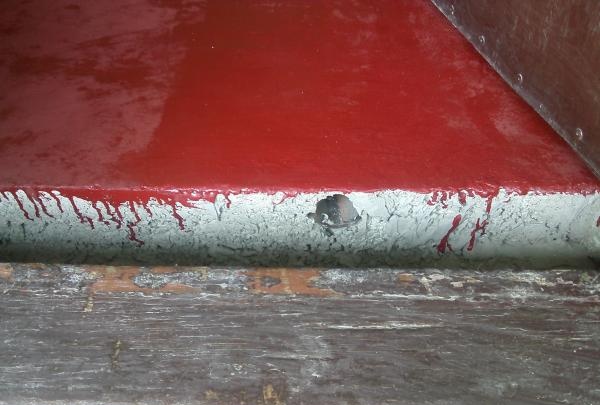
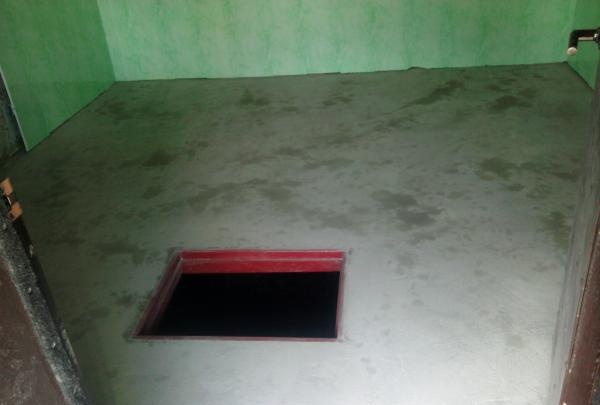
I trimmed the entrance to the basement and the lid itself with a decorative metal corner. It turned out neatly and beautifully: under the corner we managed to hide the unevenly cut edges of the linoleum, and besides, it pressed them tightly to the surface. I made the handle for the lid not an ordinary one, but a removable one so that it would not interfere with walking. To do this, I drilled the lid in the center, screwed a metal plate on its back side, to which I spot welded a regular nut. I made a special key for it, which is a small twig with a thread and a knob at the end.
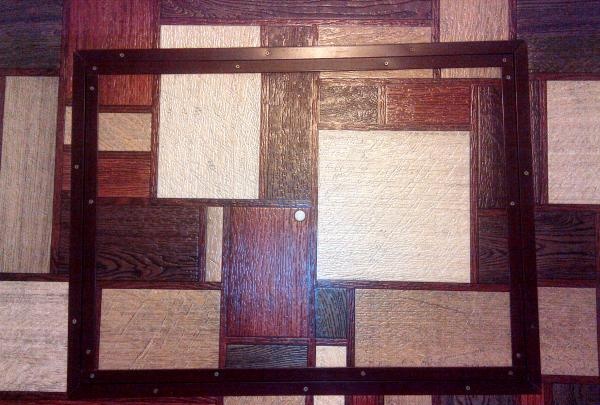
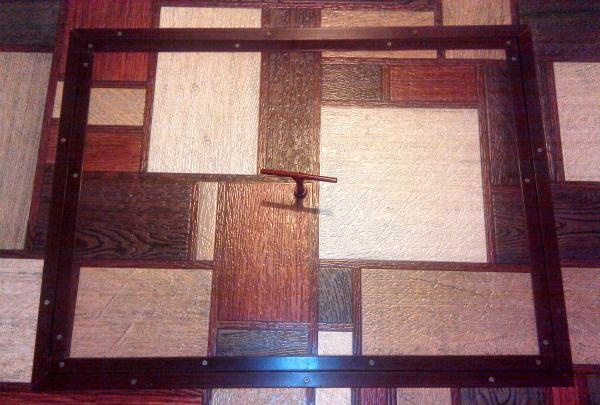
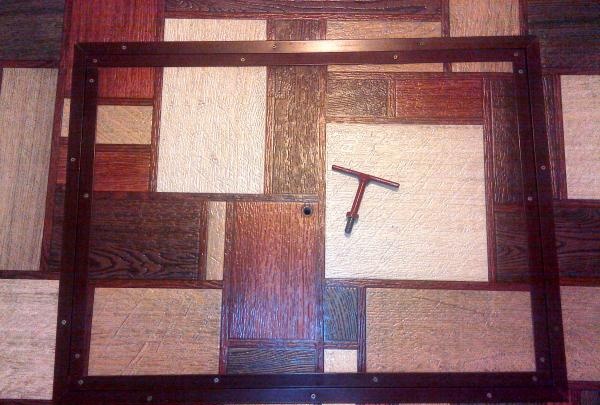
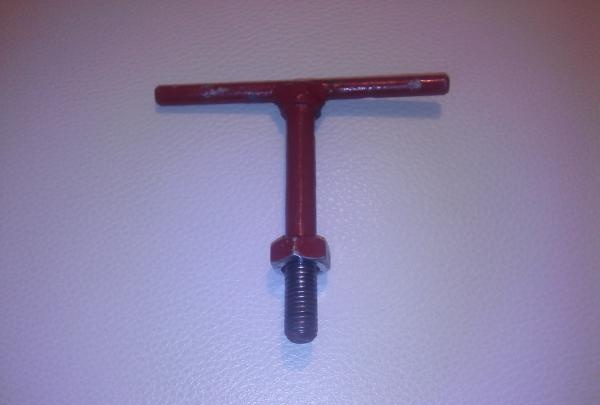
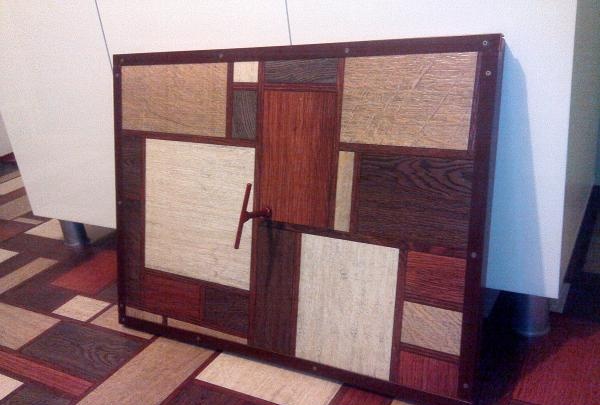
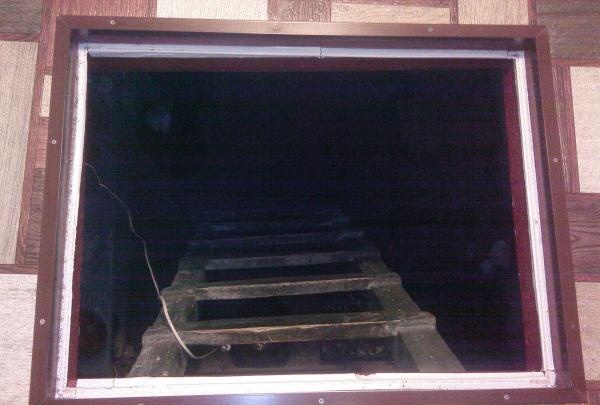
Now, to go down to the basement, it was enough to take the key, insert it into the hole, then screw it onto the nut and lift the lid. Agree, it’s an interesting solution, and most importantly, there’s nothing unnecessary on the floor. The hole itself, when the key was removed, was closed with a plastic furniture plug. That seems to be all, dear readers, if you have any questions about the article, then I hope that the photographs I took will help you understand the details.