Do it yourself
Life hacks, master classes, useful tips, recipes.
home » Handicraft techniques » Scrapbooking » Scrapbooking cards » Children's folding birthday card
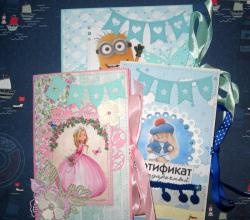
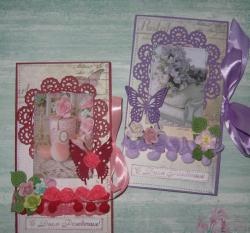
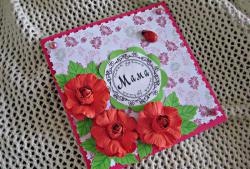
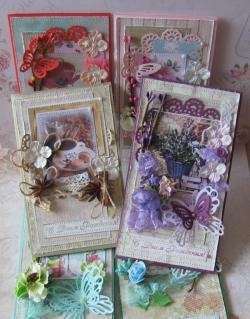
The most favorite children's holiday, which they look forward to every year with great impatience, is their birthday. Many of them simply associate this holiday with a huge number of sweets and gifts, without understanding exactly its meaning. Over the years, they grow up and understand, but they still expect to be lulled with surprises and souvenirs on this day. Well, naturally, the design, preparation and holding of a children's birthday falls on the shoulders of the parents. They are responsible for this day, and they know best who to invite and what to prepare. Basically, the birthday person is congratulated by parents, godparents, brothers and sisters, and, if desired, some friends, it all depends on the age and needs of the child. For example, what should you give your child? Toys, candies, balls are all understandable, but they all break, get eaten, and eventually get bored and that’s it. But many people prefer to give money, and the child, together with his parents, chooses what he wants at the moment. But do not forget that money must be presented beautifully and tastefully.Therefore, you need to give them along with a postcard and sincere congratulations. You can be very original and make a postcard with your own hands, and even in a very interesting shape. Such postcards are made using the technique scrapbooking and right now we will consider one of these master classes.

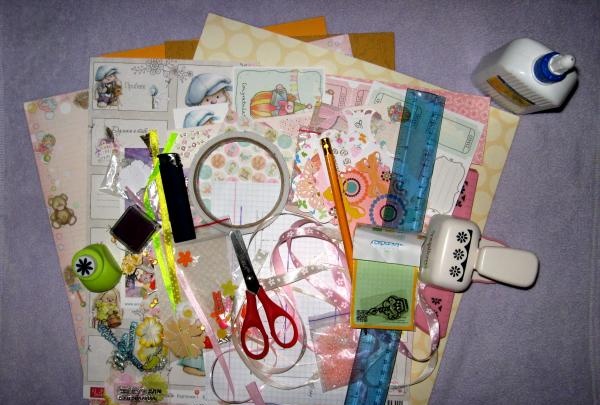
For such an interesting master class we will need to take:
• Orange sheet of thick cardboard A4;
• Children's paper for scrapbooking in yellow-orange colors;
• Postcard layout;
• Children's pictures with fairies and bunnies, as well as various children's cuttings;
• Acrylic stamps with congratulatory inscriptions;
• Greenish ink and black;
• Figured white cutting for the inscription;
• Floral border hole punch;
• Wooden buttons, lettuce and orange flowers;
• Plastic yellow buttons;
• Satin ribbons, cream and pink;
• Clothespin;
• White and pink lace;
• Polymer peach rose;
• Small plastic buttons;
• PVA glue;
• Stationery knife;
• Ruler, pencil, double-sided tape, scissors.
Children's folding card

Children's folding card


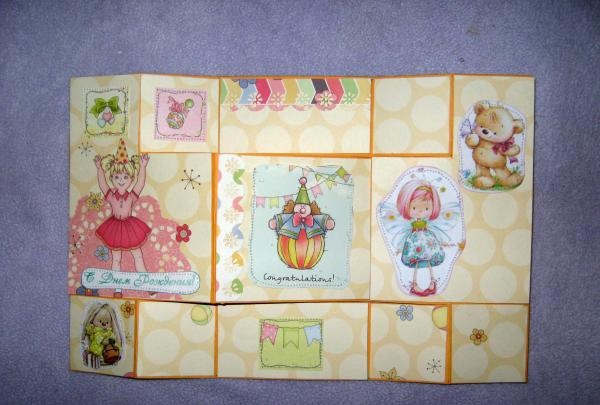
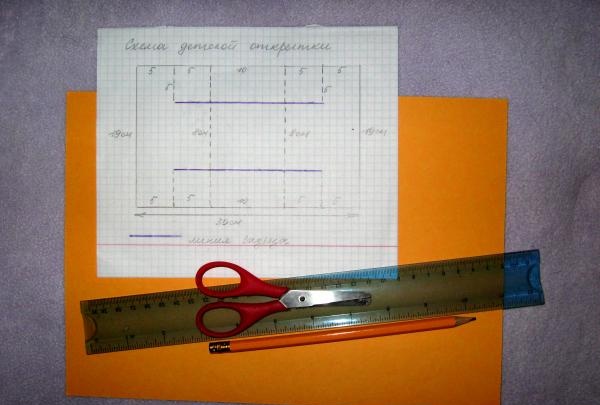
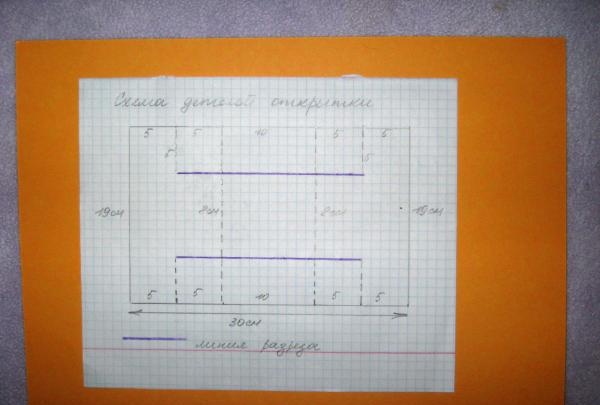
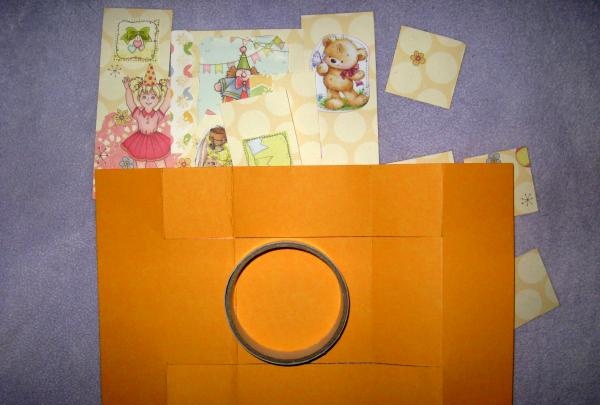
So, first of all, we need a diagram and a sheet of cardboard to cut out the base of the folding shape. In our case, the cardboard is orange, and the card itself will be in yellow-orange colors.
Children's folding card

Children's folding card


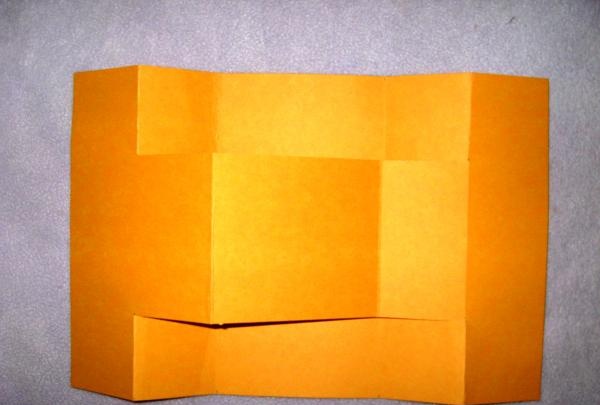
We make all the marks according to the diagram, and in the place marked in purple, we make cuts with a stationery knife. We bend it at the bends and get this interesting base.
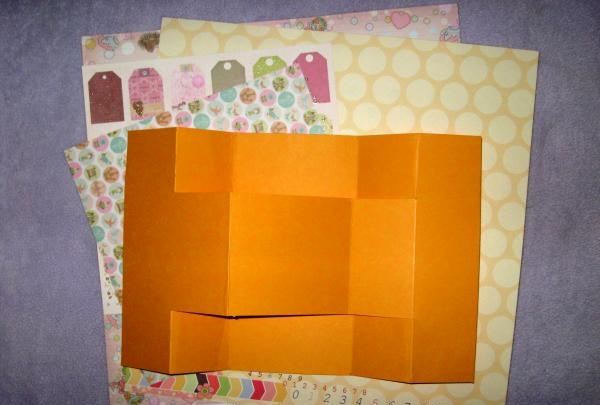
Children's folding card

Children's folding card


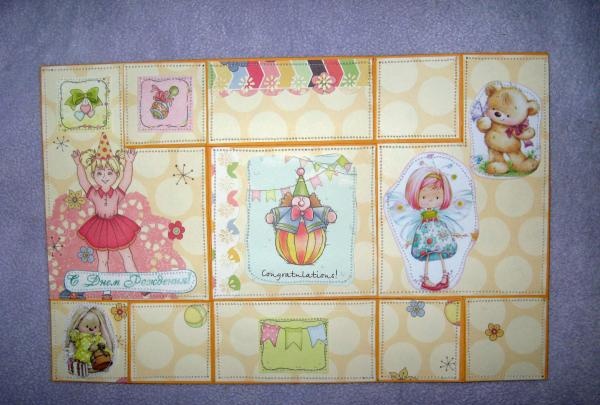
Now we cut out different figures from scrap paper to decorate the postcard, we also measure them against the ready-made base, removing 1-2 mm from the edges. We glue the pictures onto the shapes with double-sided tape.
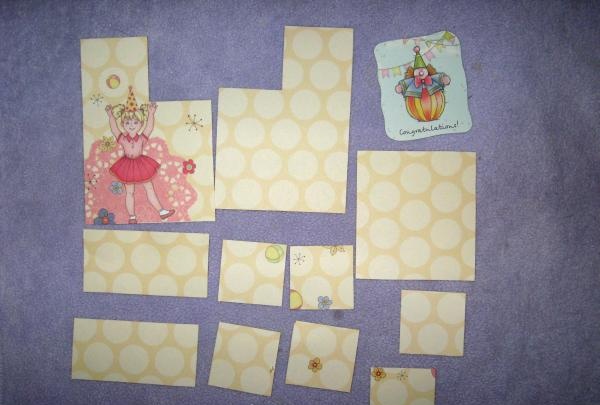
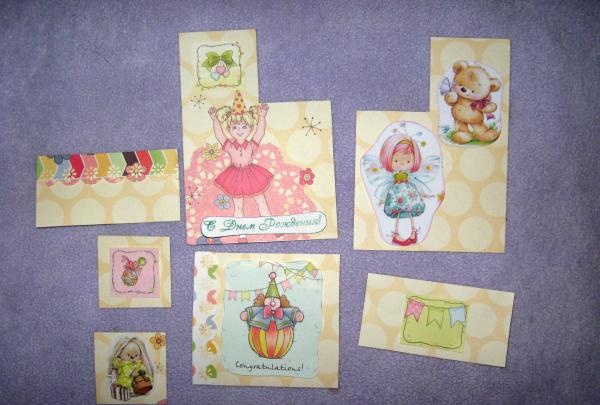
Children's folding card

Children's folding card


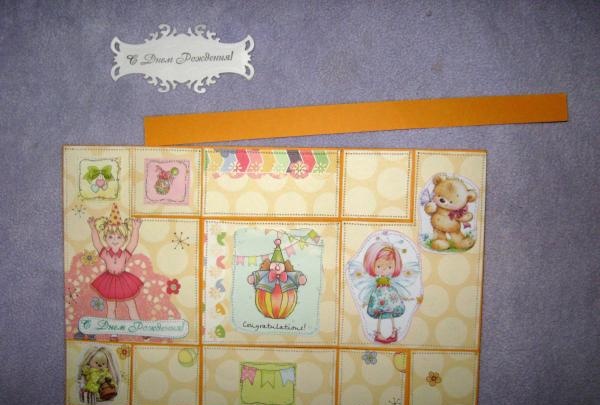
We stamp “Happy Birthday” on the cut out frame. We make another stamping on white thick paper in green, and glue it onto the scrap figure. We sew on all the pictures and other elements.Now we glue all the figures in small pieces to the base.
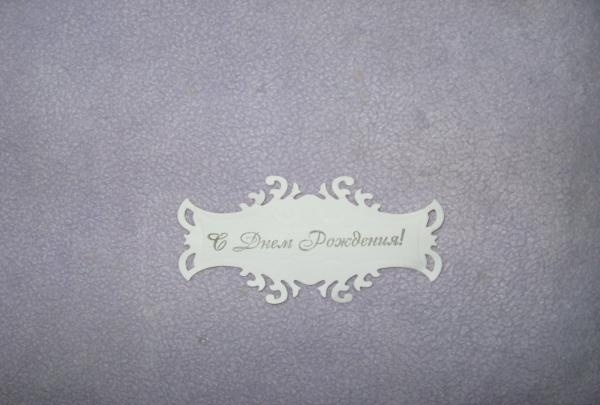
Children's folding card

Children's folding card


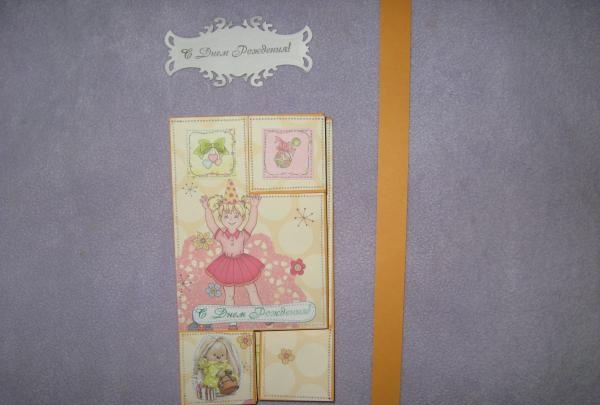
We sew each fragment separately.

Children's folding card

Children's folding card


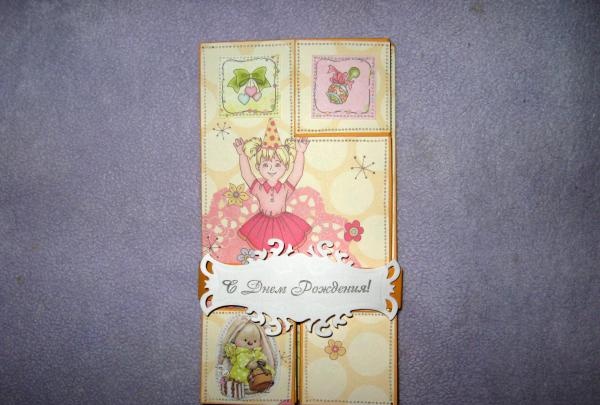
From the remaining strip of orange cardboard we make a loop and glue it together, and glue a frame with an inscription onto it. The card is folded and a loop with the inscription is put on.
Children's folding card

Children's folding card


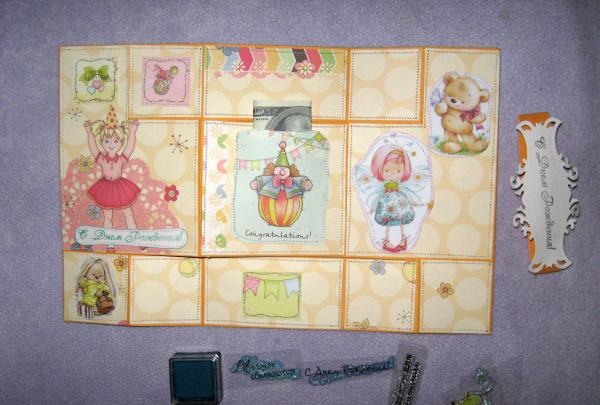
Now we make stamped inscriptions on the postcard with different inscriptions.
Children's folding card

Children's folding card


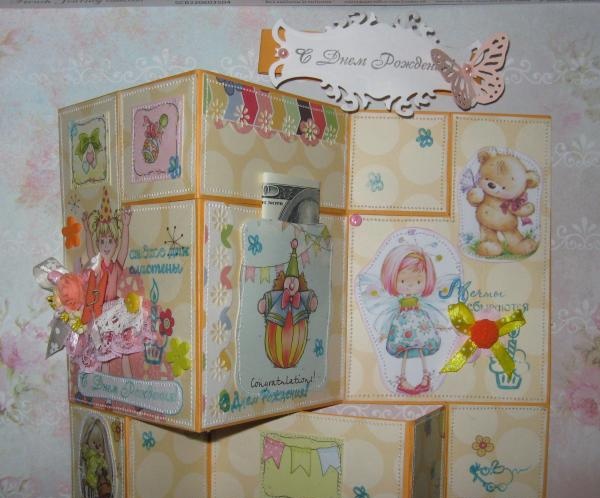
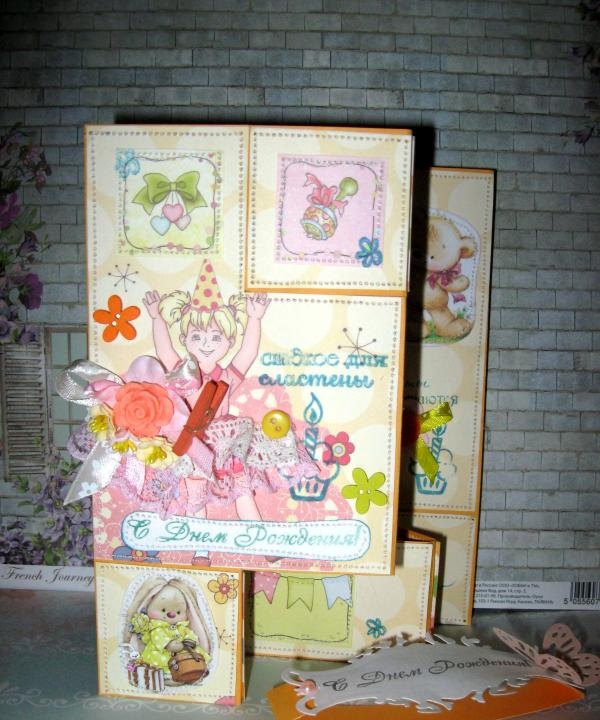
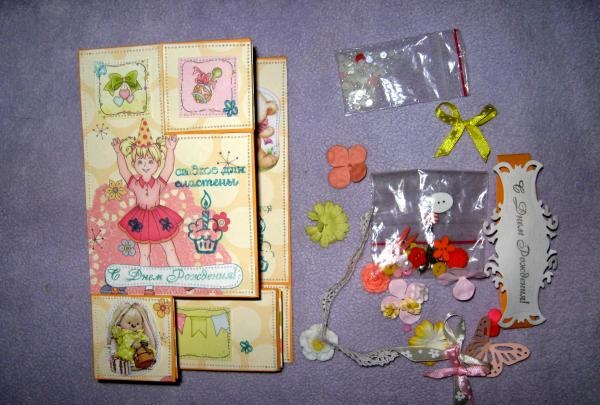
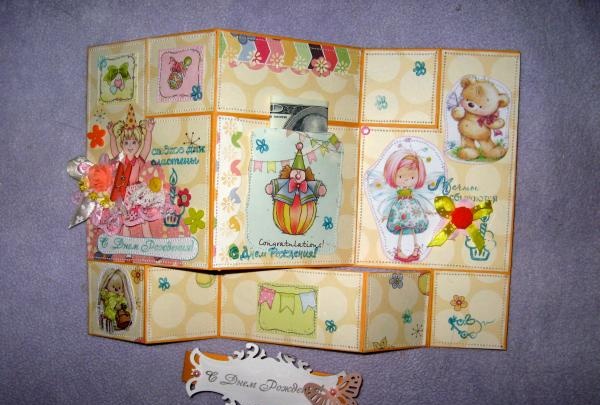
Finally, now we glue decor. A little inside, a bow and flowers, and we decorate the front side. There we glue strips of lace, bows, flowers, beads, attach a button and you're done!
Children's folding card

Children's folding card


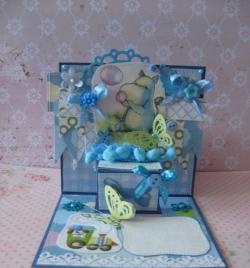
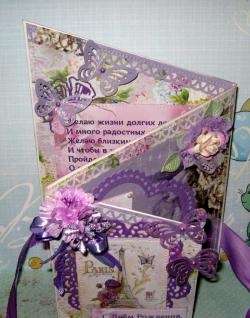
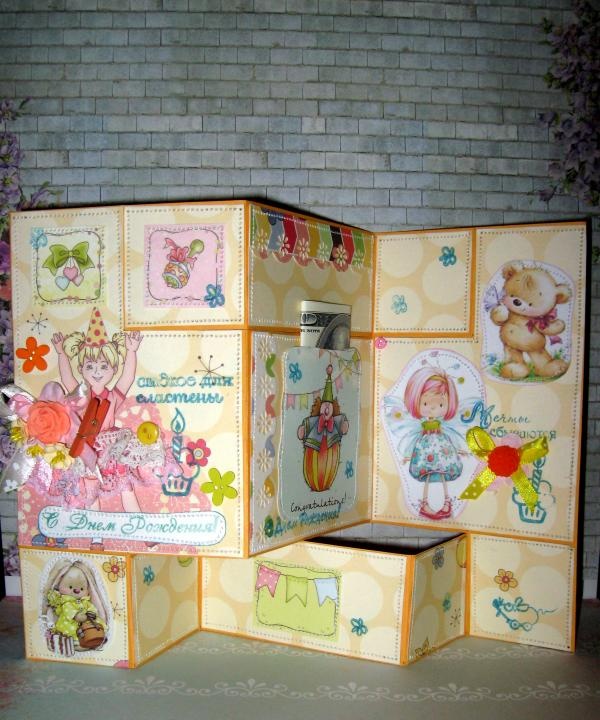
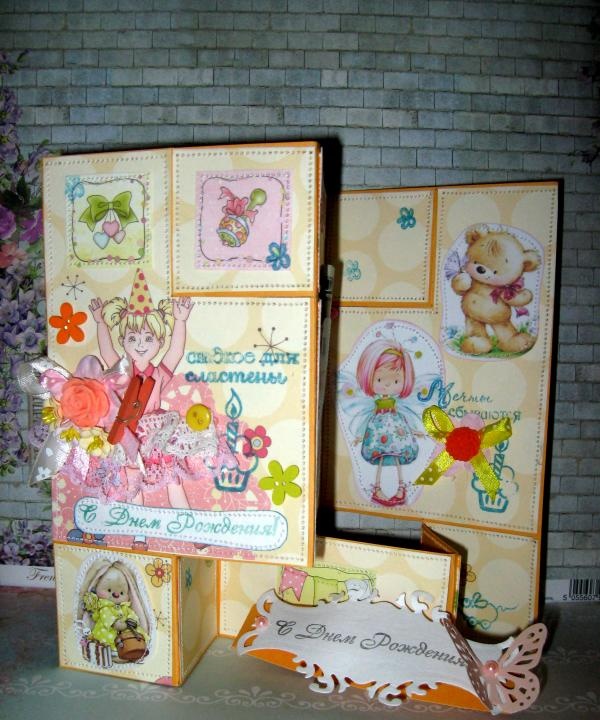
What came out was such an interesting postcard, just like a whole house. In the center, we don’t add one picture on top and put money there.
Children's folding card

Children's folding card


Thank you for your attention!

Children's folding card
come back
Comment
  • bowtiesmilelaughingblushsmileyrelaxed relaxedsmirk
    heart_eyeskissing_heartkissing_closed_eyesflushedrelievedsatisfiedgrin
    winkstuck_out_tongue_winking_eyestuck_out_tongue_closed_eyesgrinningkissingstuck_out_tonguesleeping
    worriedfrowninganguishedopen_mouthgrimacingconfusedhushed
    expressionlessunamusedsweat_smilesweatdisappointed_relievedwearypassive
    disappointedconfoundedfearfulcold_sweatperseverecrysob
    joyastonishedscreamtired_faceangryragetriumph
    sleepyyummasksunglassesdizzy_faceimpsmiling_imp
    neutral_faceno_mouthinnocent
3+three=
Comments (0)

How to galvanize car metal in a garage

How to make a root irrigation system from PVC pipe with which a tree will grow 3 times faster

Wireless bedside table for charging gadgets

Blue wisteria | Do it yourself

«Do it yourself - with your own hands» - a site of interesting homemade products made from scrap materials and items at home. Step-by-step master classes with photos and descriptions, technologies, life hacks - everything a real master or just a craftsman needs for needlework. Crafts of any complexity, a large selection of directions and ideas for creativity.

We recommend reading

Washing machine error codes