What you need to take for two cacti:
-Green yarn (wool with acrylic) – 100 g.
-Hook No. 1,2.
- Yarn “Iris” in white, yellow, pink.
-Any brown yarn for soil.
-8 large yellow beads.
-4 small golden beads.
-Small pink beads or needles with beads.
-Toothpicks.
-Filler for cacti.
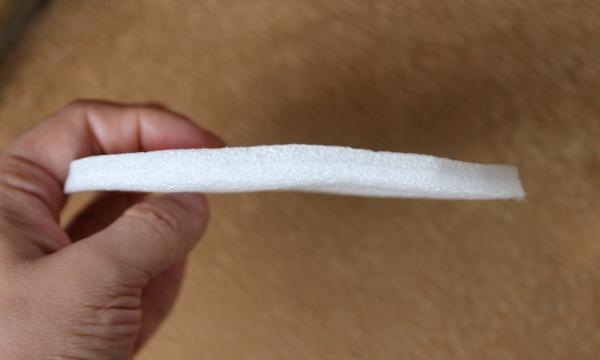
-Some foam for the potty.
-2 flower pots.
-2 sticks approximately 30 cm long.
How to tie cacti:
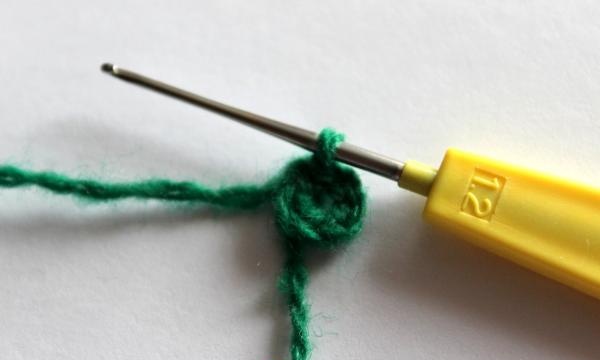
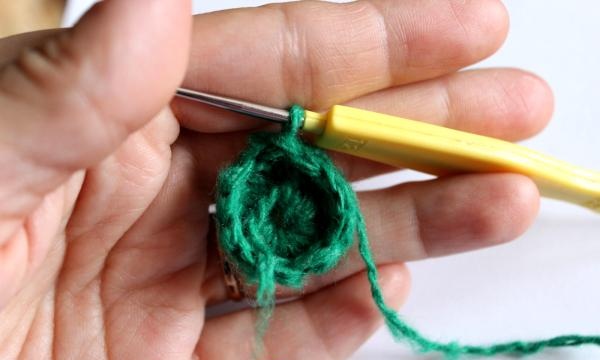
The base for both cacti is done the same way. A chain of six chain stitches is made and closed into a circle:
The second row consists of twelve double crochets:
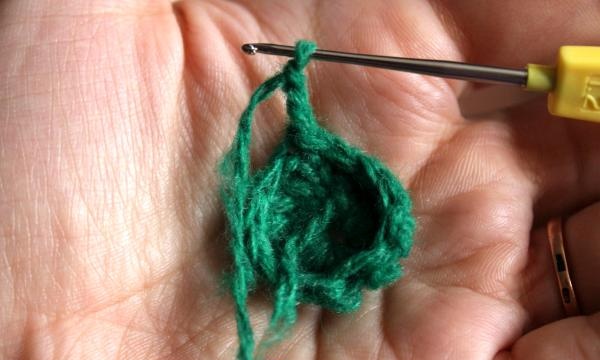
The third row will have twenty-four columns, half in relief. This is done as follows: first, three air loops are cast on:
Then the hook is inserted through the column of the previous row:
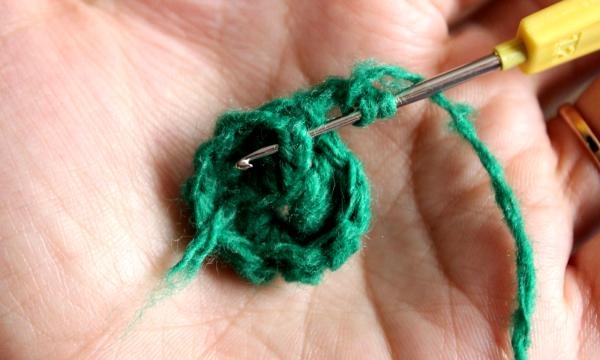
And knit an ordinary double crochet:
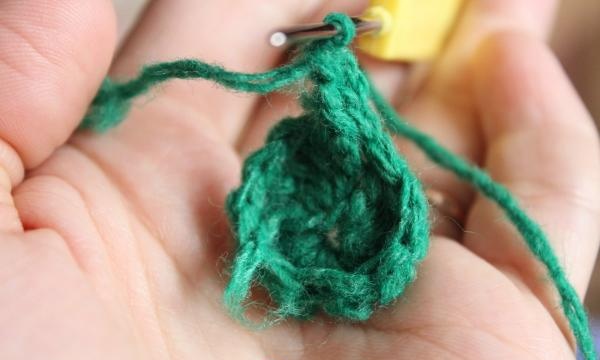
The next column is a regular one, then a relief column is made under its own base. This is what you should get:
The third row needs to be knitted in the same way, increasing the number of loops. There should be forty-eight:
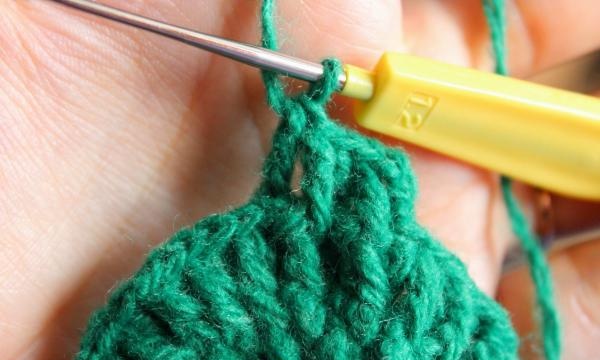
The fourth row contains the same forty-eight loops. But now the front embossed loops alternate with the back ones. When making knit stitches, the hook goes under the column like this:
In the case of reverse stitches, the tool is inserted from the reverse side of the fabric:
As a result, the canvas resembles an elastic band:
Completed fourth row:
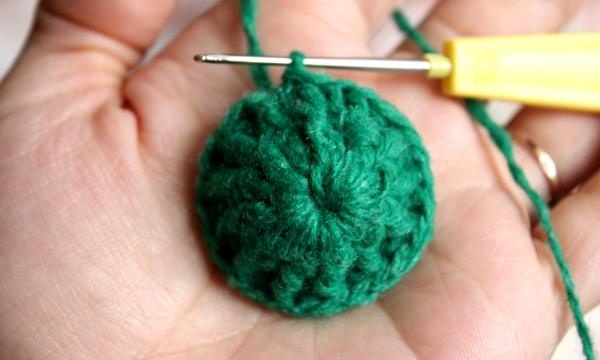
In the fifth row, loops are added again, the total number increases to seventy:
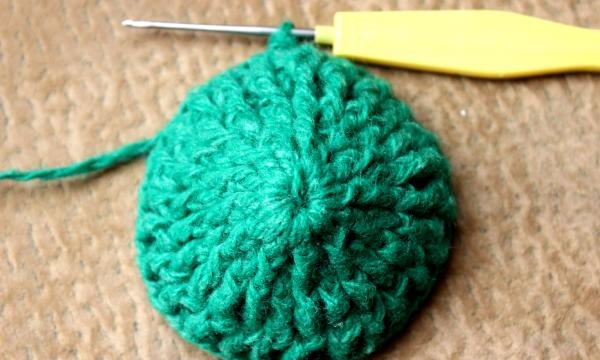
View from above:
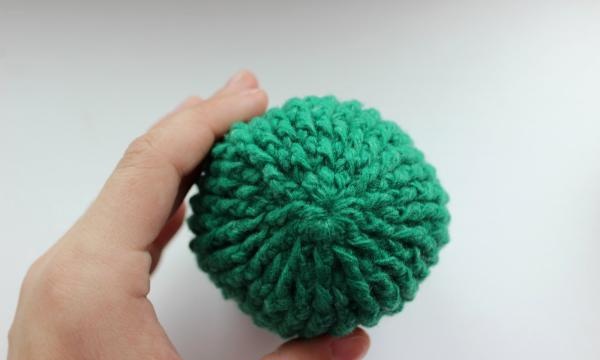
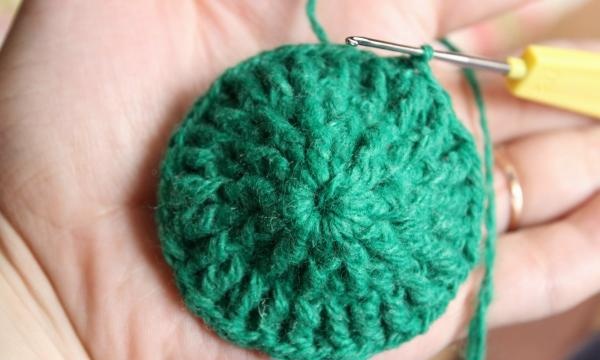
The next two rows do not contain any changes (they contain 70 columns):
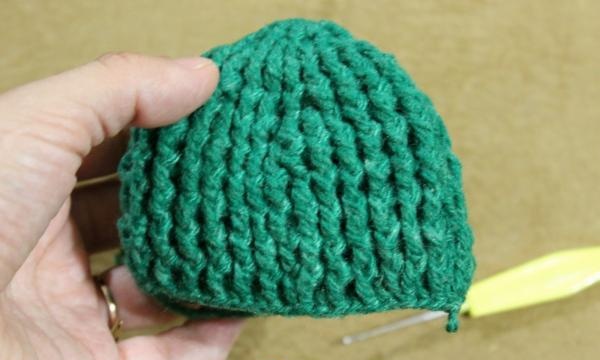
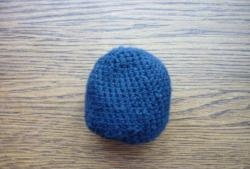
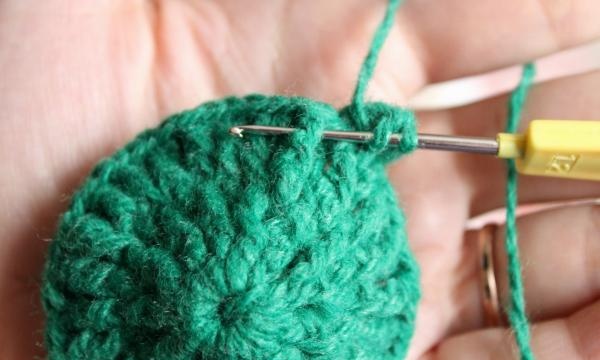
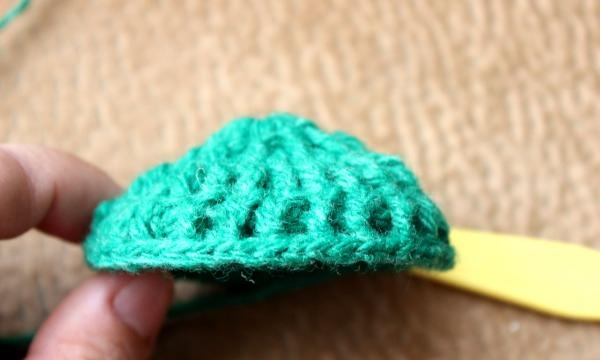
In the eighth row, it is necessary to reduce the number of loops by knitting two stitches together until the total number is reduced to sixty-three. The ninth row also has sixty-three columns. The tenth row is again a decrease to fifty-six. From the eleventh to the fifteenth row the number of loops does not change. In the sixteenth row of columns there will be forty-nine, in the seventeenth the same. That's it, the base for the cactus is ready:

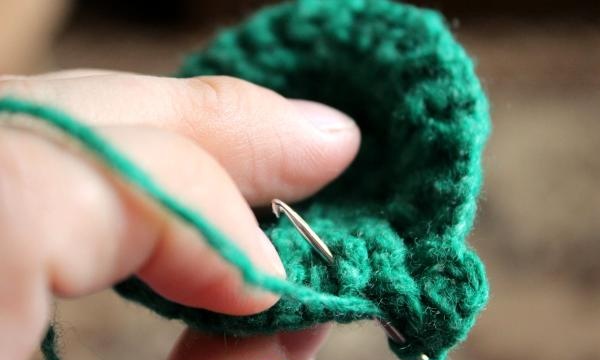
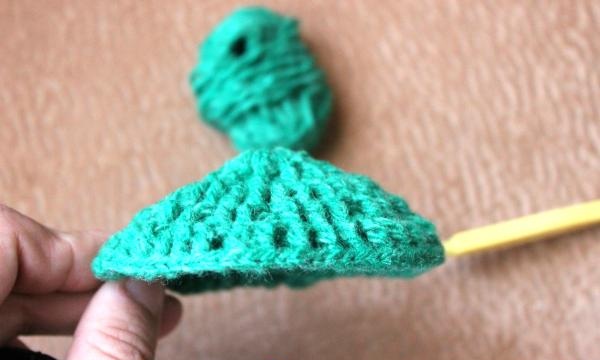
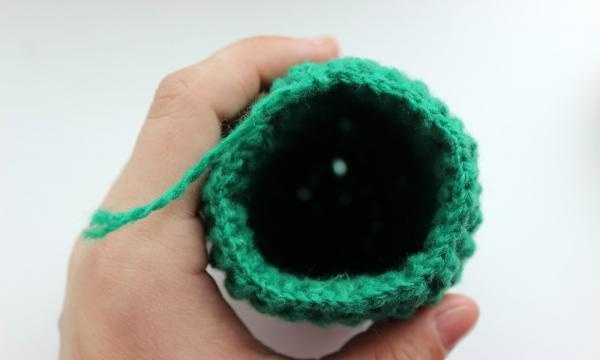
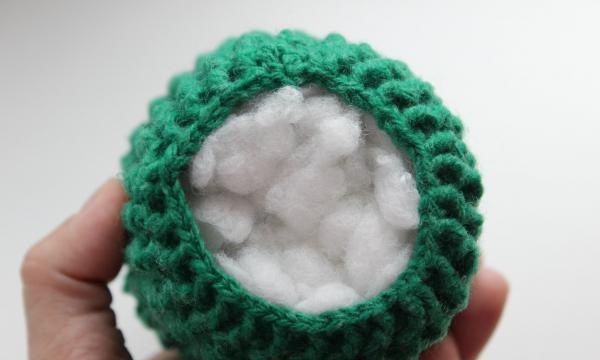
This is what it looks like inside:
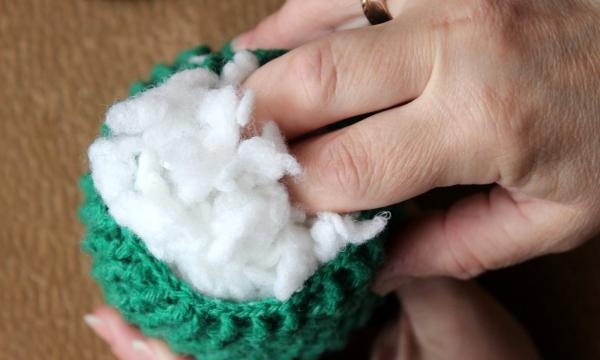
Now you can take the filler and thoroughly fill the body of the plant:
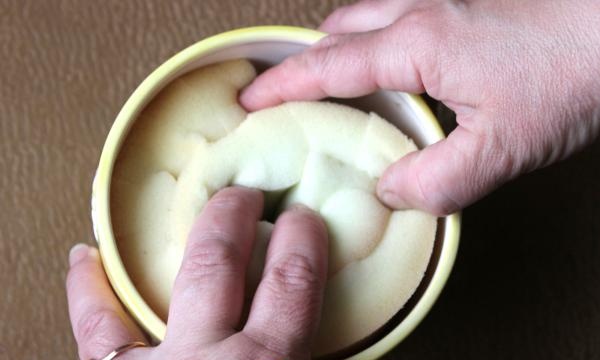
A rolled sheet of foam rubber is placed in the pot chosen for the cactus. In principle, you can take any other filler, even rolled paper:
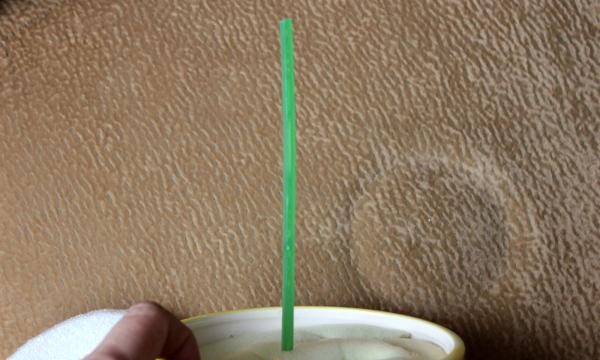
Any hard plastic stick, twig, or piece of branch is inserted into the center.
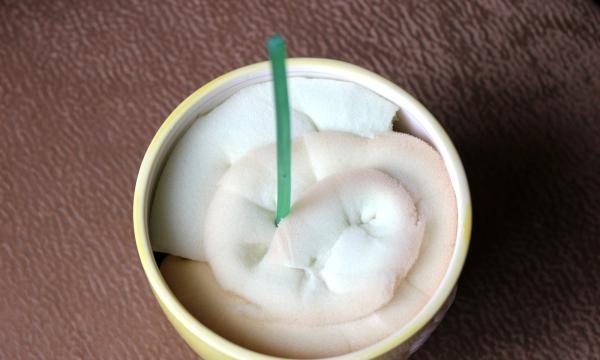
A circle of cardboard or thin foam rubber is placed on top, equal to the diameter of the pot:

This is what should come out:

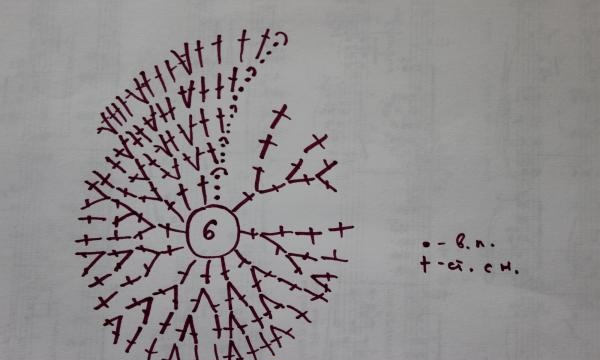
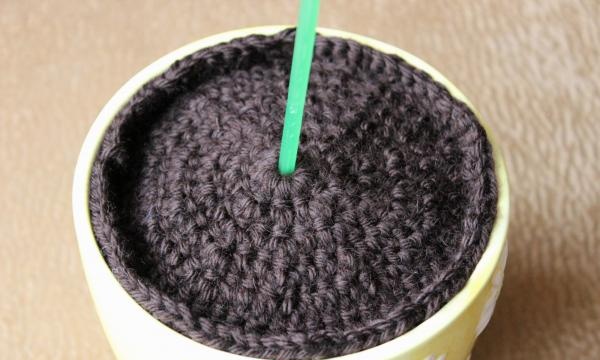
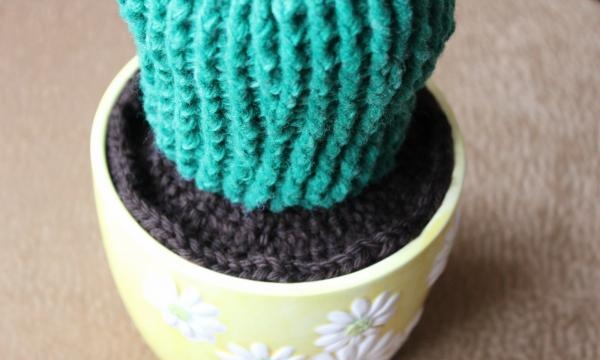
The next stage is making soil.To do this, you need to knit an even circle from brown yarn according to the pattern below:
The soil is not attached to the pot in any way, it is simply carefully laid out on a layer of foam rubber.
You can simply “pin” the cactus from above, but it’s better to sew it to the soil:
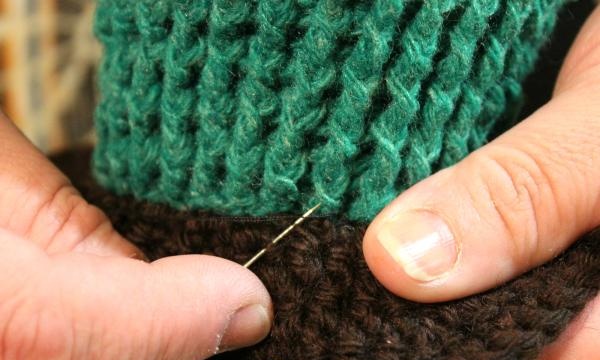
This is what a flower in a pot looks like:
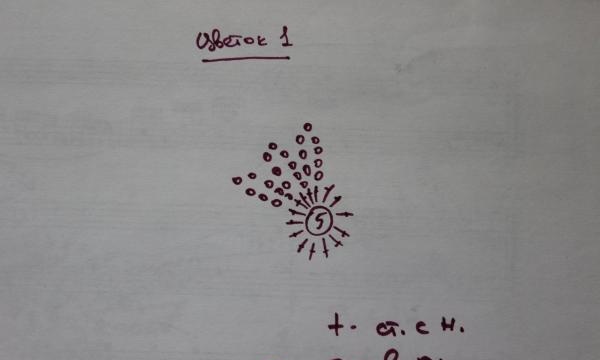
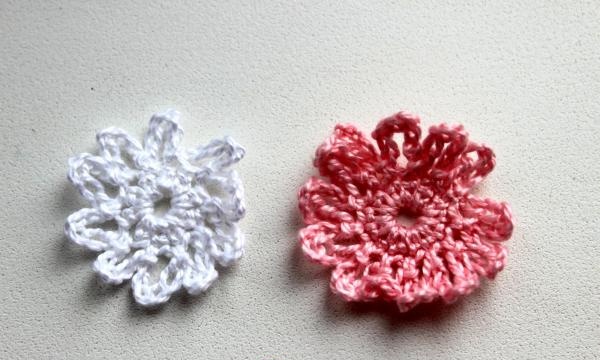
The flowers of cacti will be different. For the first option you will need pink and white “Iris”. Each flower consists of two layers. The bottom one, pink, is performed according to the following scheme:
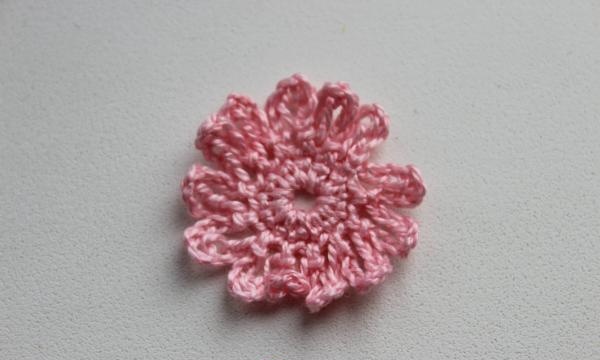
Finished flower layer:
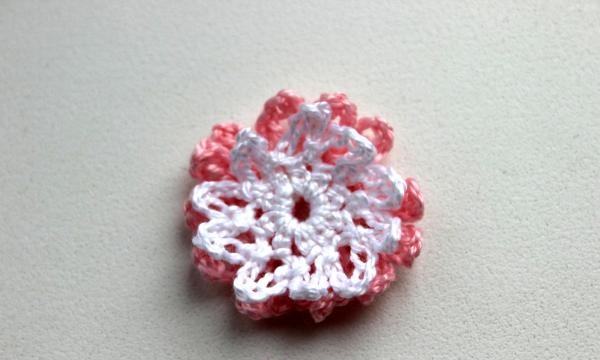
Upper, white, slightly smaller in size:
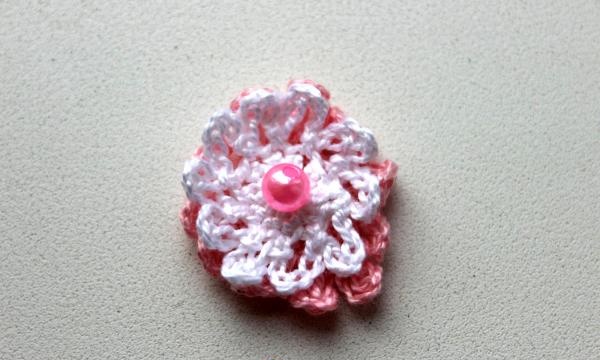
This is what the almost finished flower will look like:
All that remains is to decorate it with a pink bead:
In total you will need eight of these flowers. They can be sewn to the cactus or attached using a needle with a bead at the end. For cactus needles you will need ordinary toothpicks:
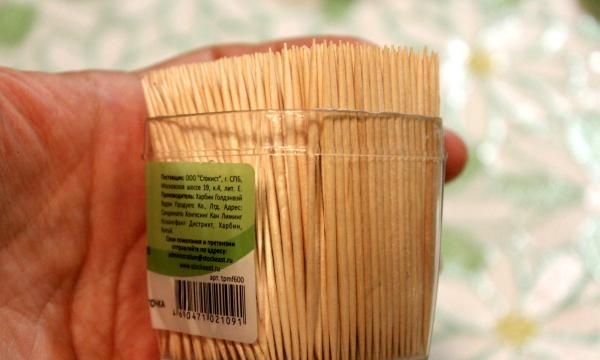
They are stuck into the first cactus in random order:
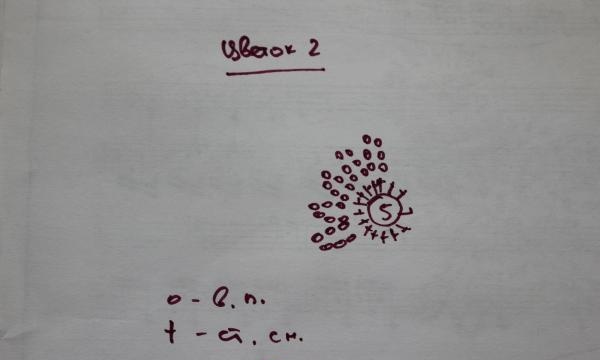
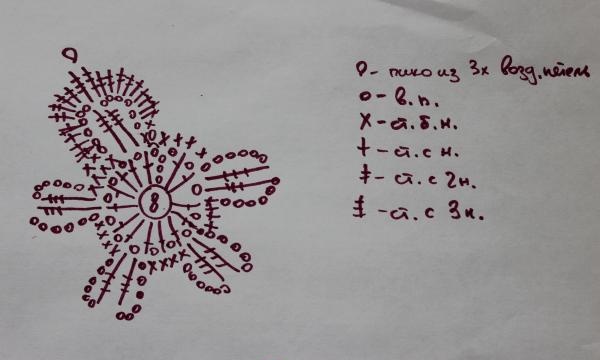
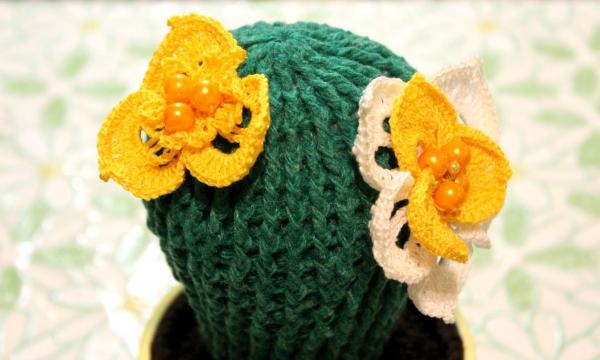
The flowers for the second cactus are a little more complicated. They are also two-layer, knitted according to the following pattern:
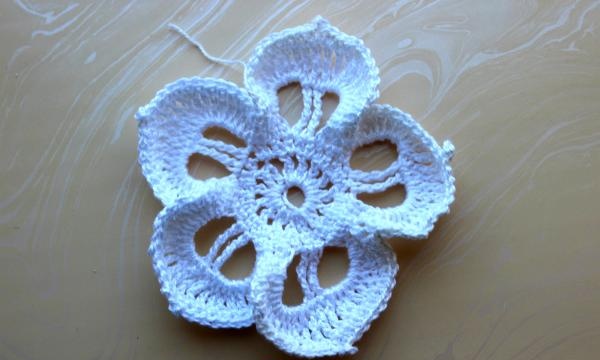
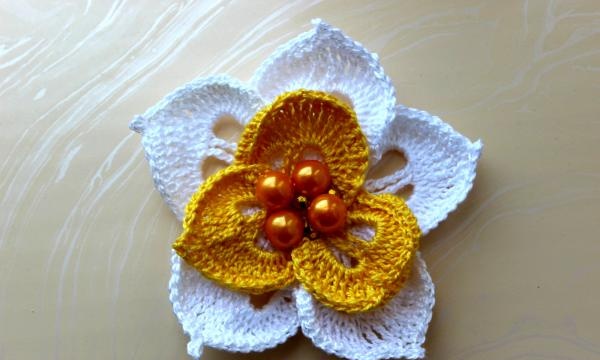
For the first flower, you should make two layers. The first is from white “Iris”, with five petals:
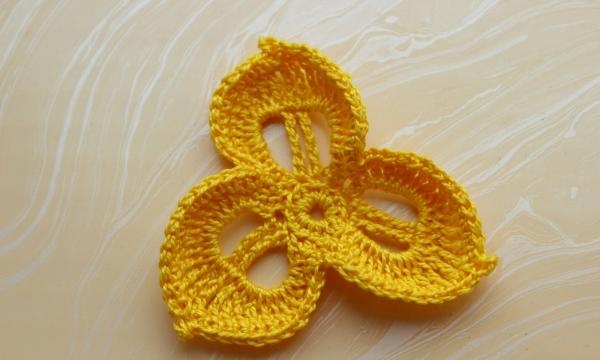
The second is made of yellow thread, with three petals.
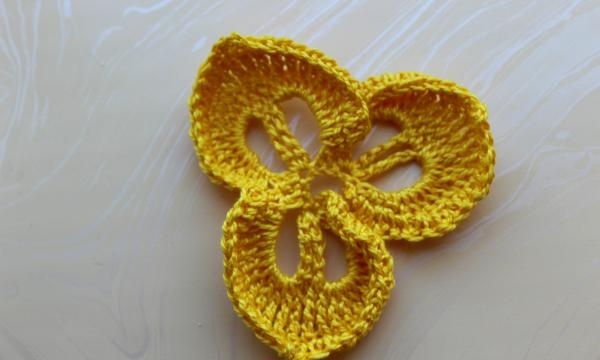
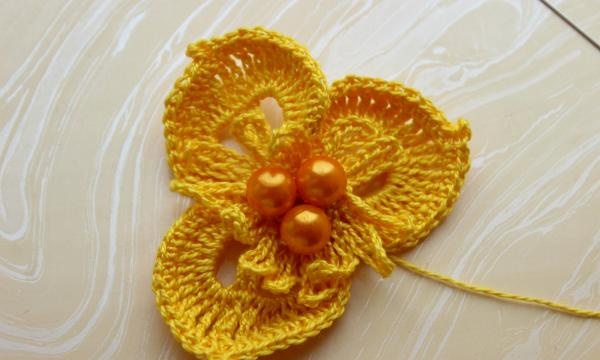
The flowers are folded and decorated with yellow and golden beads:

Finished item:
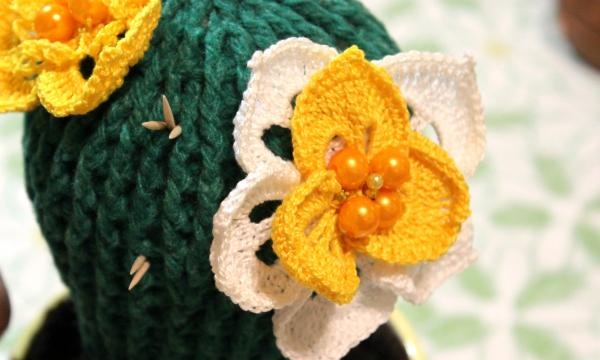
For the second flower, the first layer must be knitted in exactly the same way as for a large flower:
The second one is different, it is knitted according to the same pattern as the pink flowers, only for the petals, not eight air loops are cast on, but twelve:

Only large beads will serve as decoration:
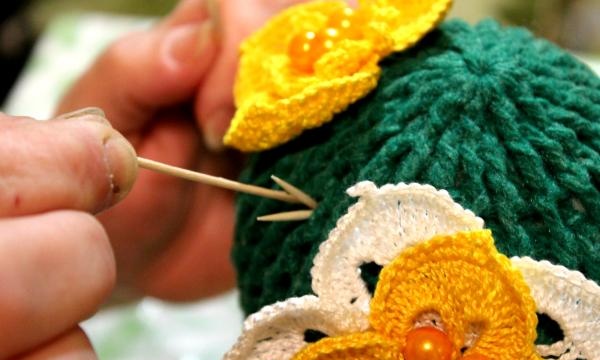
Finished flowers are attached to the cactus using needles with balls:
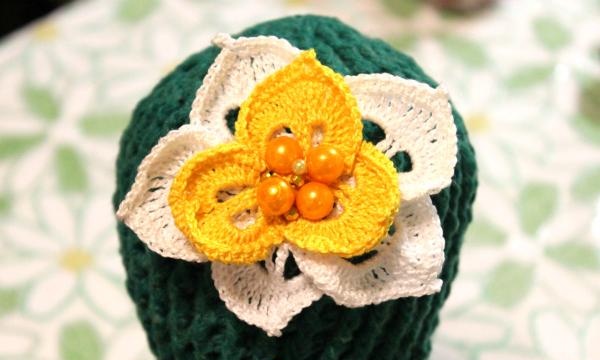
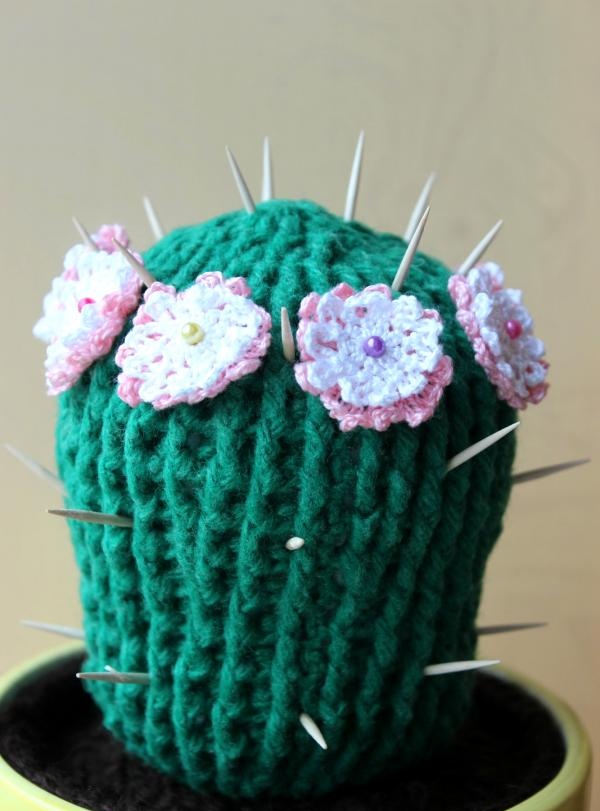
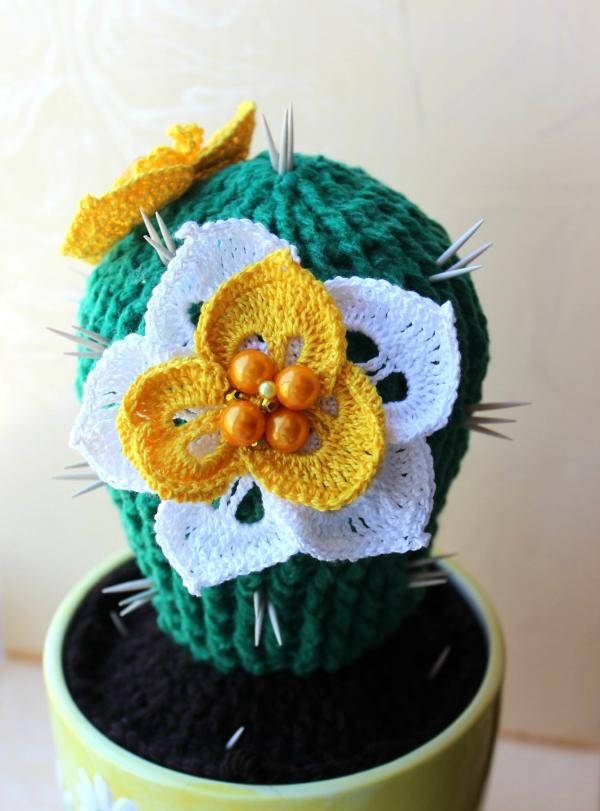
This is what an interesting artificial flower looks like. All that remains is to supplement it with needles. Toothpicks are stuck in threes, forming clusters of needles:
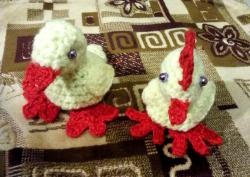
That's it, the second cactus is ready:
Crocheted flowering cacti turn out to be very elegant, original and interesting. If desired, you can change the shades of flowers or beads, adapting them to your interior.