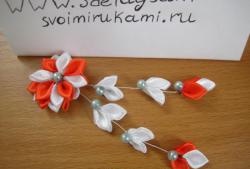
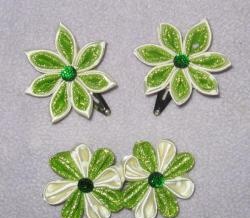
To make hairpins using the kanzashi technique, we will need the following materials:
-Transparent glue gun.
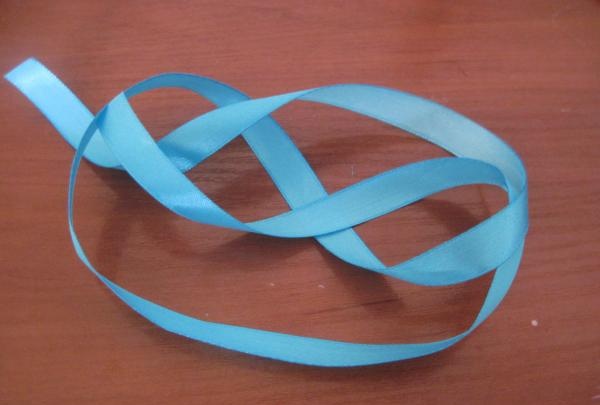
-Satin ribbon in a blue shade (2 cm wide).
-Green satin ribbon (4cm wide).
-Standard size hairpins (without any decorations).
- Beads or seed beads.
-White cardboard.
-Candle.
-Matches.
-Scissors (sharp).
-Tweezers.
-Coin.
Let's start making hairpins using this technique. First you need to take a blue ribbon 2 centimeters wide.
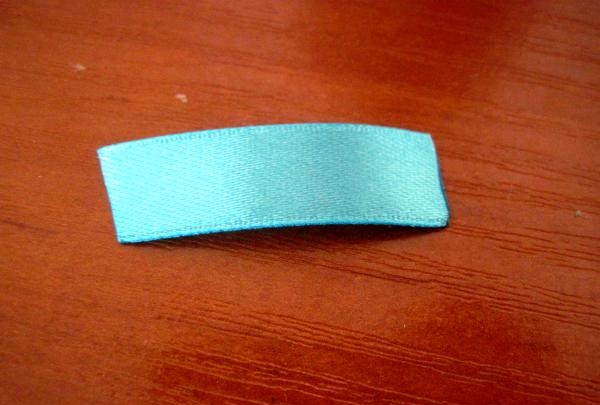
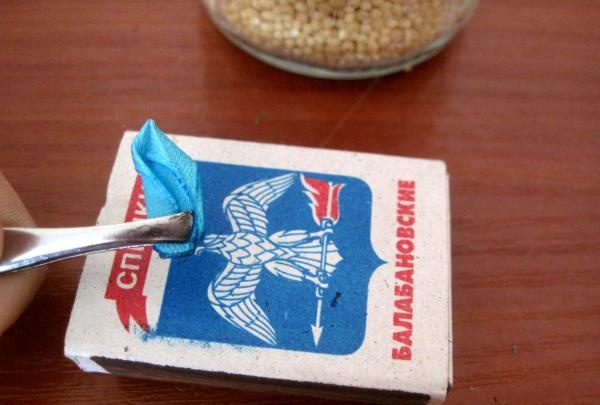
Using sharp scissors, cut it into rectangles 4 centimeters by 2 centimeters. Then we light a candle and burn the edges of the tape so that it does not start to fray while working.

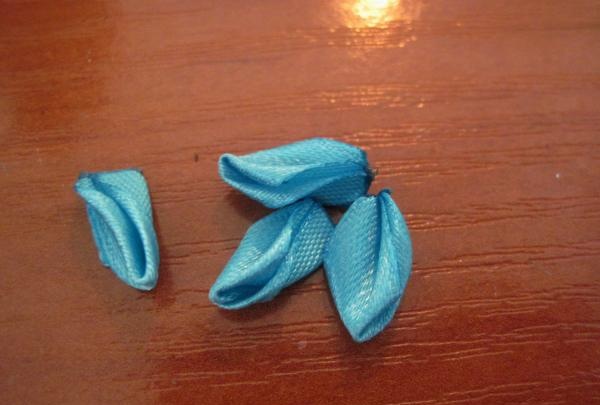
Take one rectangle.
We roll it up as shown in the pictures. It is best to perform all movements using tweezers, so the parts will turn out smoother.
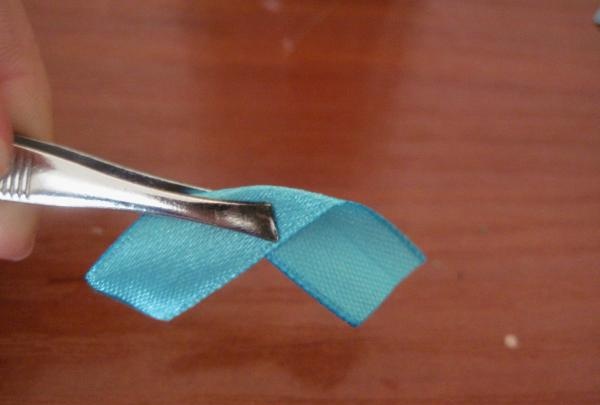
Then fold the ribbon in half.
And then in half again. Next, we burn the ends with fire and press them against each other. When heated, the tape melts and sticks together.
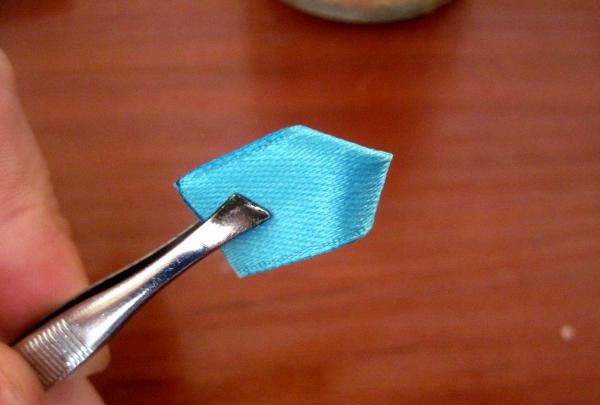
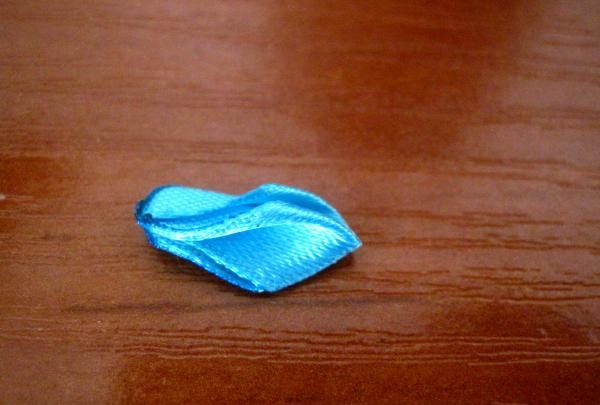
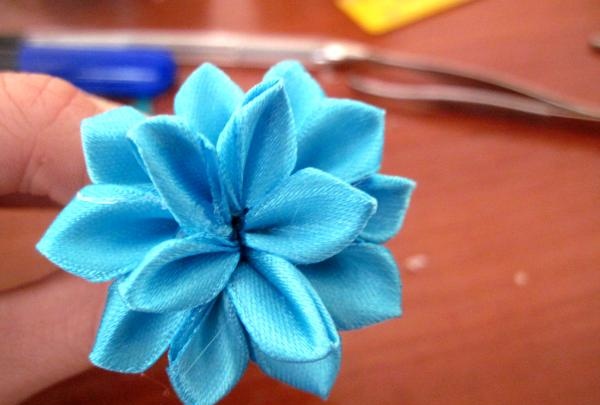
As a result, we get a petal like this.
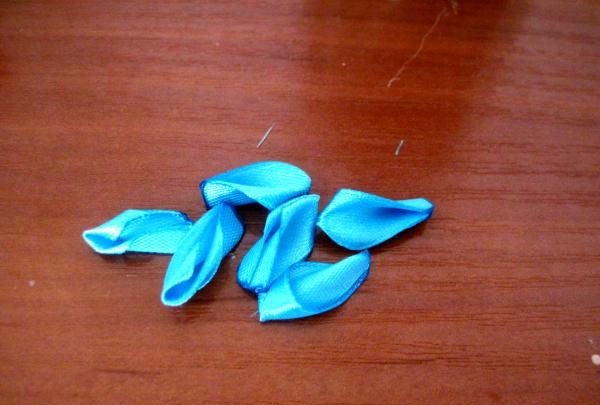
For the first tier we need ten such petals. It’s best to make them in advance so that you don’t have to be distracted by making them during gluing.
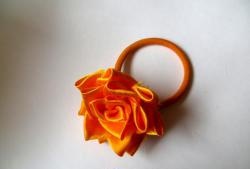
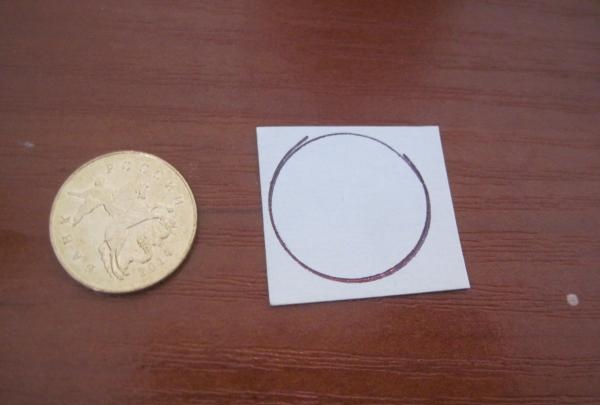
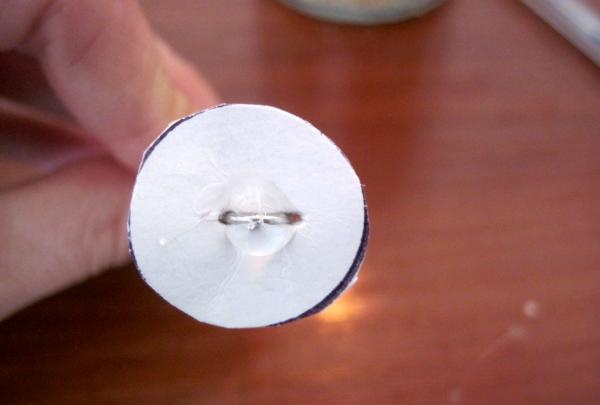
The next step is to make a support for the flower. For this we need a fifty-kopeck coin. We trace it on cardboard and cut it out. This size of cardboard is the most optimal for support - it is neither big nor small.
Next, take a pin and thread it into the cardboard and secure it with transparent glue with a gun.
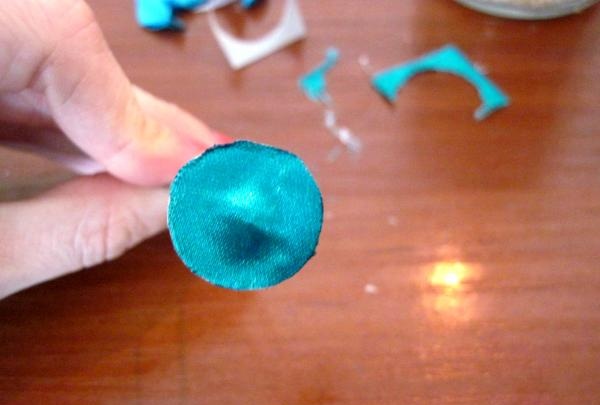
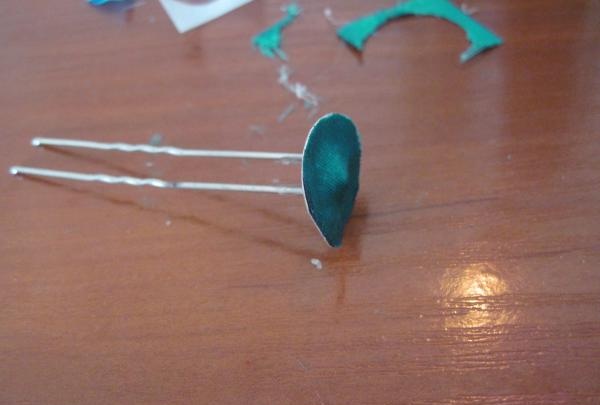
On top of the stud, in order to hide all fastening interference, we glue a green satin ribbon.
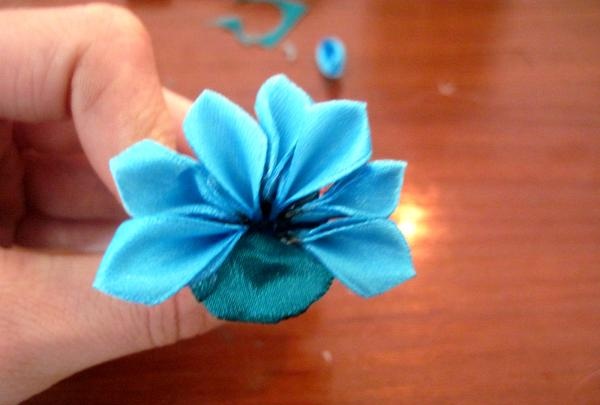
Let's start gluing the lower tier of the flower. We drip glue onto the base and attach one petal on top. We arrange the petals so that the second tier can fit in. Glue the petals in a circle, pressing them tightly to the base.
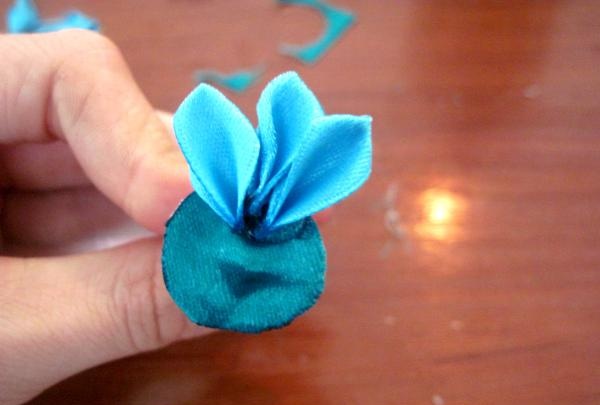
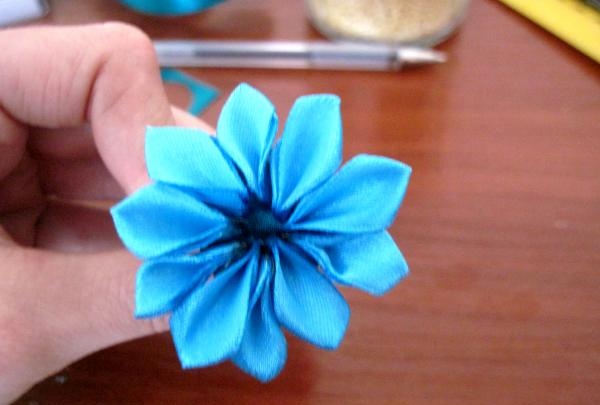
Then we attach the second tier. For the second tier you will need smaller petals. They will be 2 centimeters by 3 centimeters. We will need five of them.
We attach them in the same way as the first tier, only we drip the glue not onto the cardboard, but onto the petals of the first tier.
To decorate the flower, we also attach a bead or large beads to the middle using a transparent glue gun.
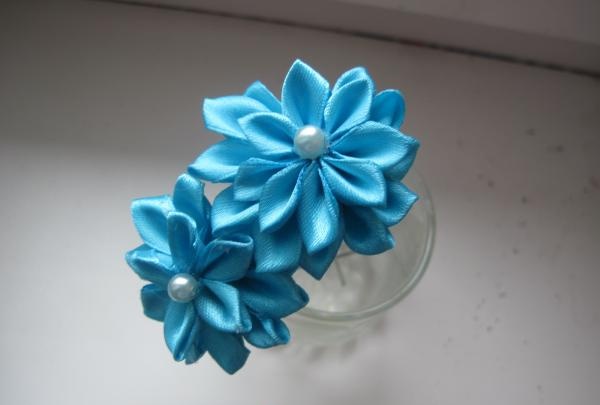
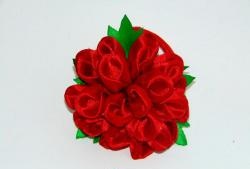
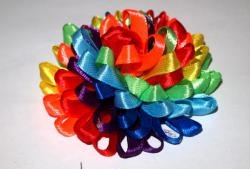
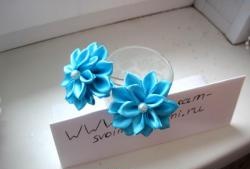
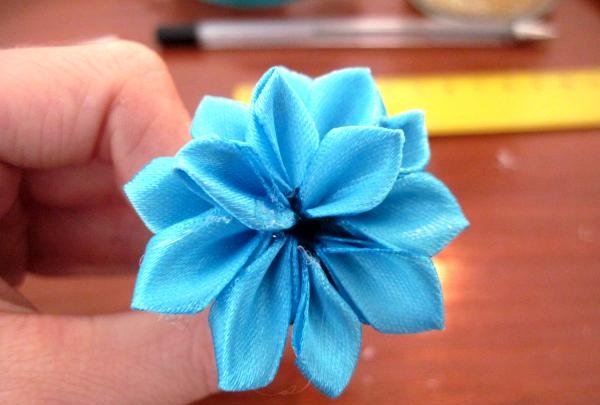
These are the studs we got. You have learned how to decorate hairpins using the kanzashi technique.A little practice in this matter and you will be able to quickly and efficiently make any decoration. You can use them to create beautiful and interesting hairstyles, they will decorate them and give them elegance.