satin ribbons 0.5 cm wide;
beads;
- a ruler, scissors and a pencil;
-glue (I use a glue gun);
- thick fishing line;
- stand (for me it is polystyrene from a reel with ribbons).

First of all, we cut all the ribbons into segments of 10 cm.

In order to make one petal, you need to fold in half a segment, face inward, with tweezers to clamp the corner that turned out when bending.

Then, cut the corner with scissors and solder over the fire.

Now you need to expand the “daw” and, aligning the lower edges with an overlap, solder the bottom.


In this way, you need to complete all the petals.

By the way, they will need quite a few, and it took about the same time. While doing, a couple of times there was a desire to quit everything and do something else. I burned 2 candles while I got used to these petals. Now you can do other components of the future flower. To do this, cut the fishing line into pieces of 10 cm.

Now with a glue gun, glue the beads on the fishing line at the desired distance.

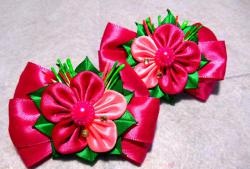
For my flower, I decided to make 6 twigs. 2 of each color and 2 mixed colors.

As a result, I came to the conclusion that it is better to make such cables with the help of glue moment crystal. The pistol quickly hardens and creeps out a little beyond the bead.
We begin to put together all our details. To do this, on the basis of the desired diameter (I have skin), glue in random order the first row of petals.


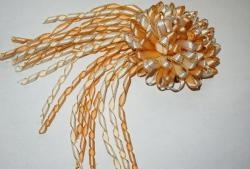
So that they do not interfere, since they are not completely flat, it is best to put a stand under the base. Glue the cables over the first row and cover them with the second row of petals.

In order to make the cables more visible, and in the end they would not be tangled in my hair, I decided to pass them through the petals of the second row up.

Little by little, preferably in a checkerboard pattern, we paste row after row, until there is a small circle for the middle.

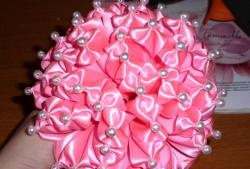
Then, I filled the middle with glue and made a slide of beads.

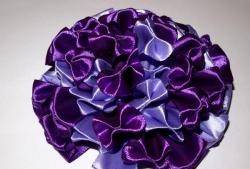
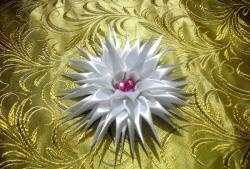
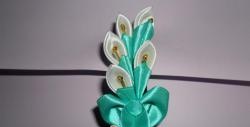
As a result, it turned out like this.

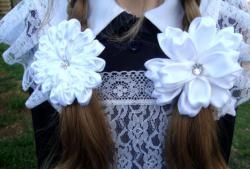
And so the flower looks without a stand. Petals are stretched and the hairpin looks more voluminous.

Glue the desired bow clip to the back of the base. It’s better to choose it not for luck, but for the thickness of your princess’s hair.


All! Unleashed! Done!