Do it yourself
Life hacks, master classes, useful tips, recipes.
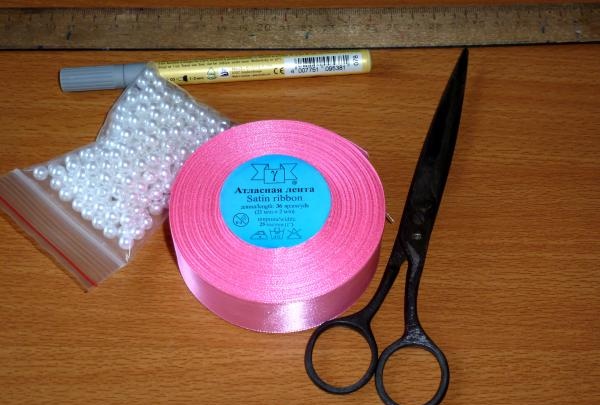
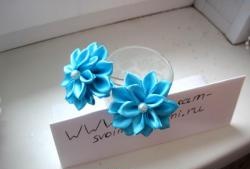
When a baby appears in a family, you want him to be the most beautiful and cheerful child. You can, of course, go shopping in search of exclusive items, but I prefer to make them myself. Thus, such a cute bow for a princess was born. To make it, it took me very little nerve, a couple of hours of time and these materials:
  • satin ribbon 2.5 cm wide;
  • scissors;
  • ruler;
  • pencil;
  • beads;
  • glue gun;
  • hairpin base;
  • two circles of leather.


such materials


First of all, we need to cut the tape into 11cm long pieces. We will need about 60 such pieces.
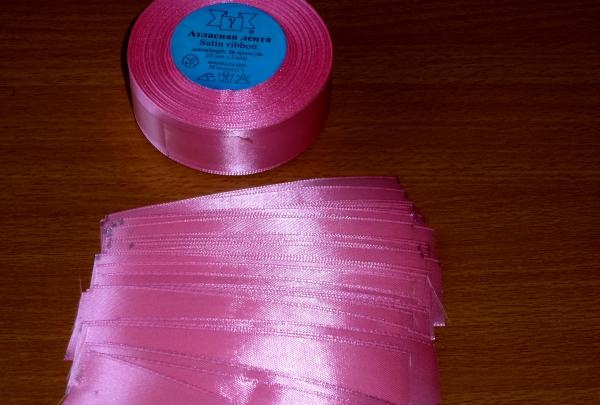
cut the tape


Let's start creating. The piece needs to be folded in half, right side inward.
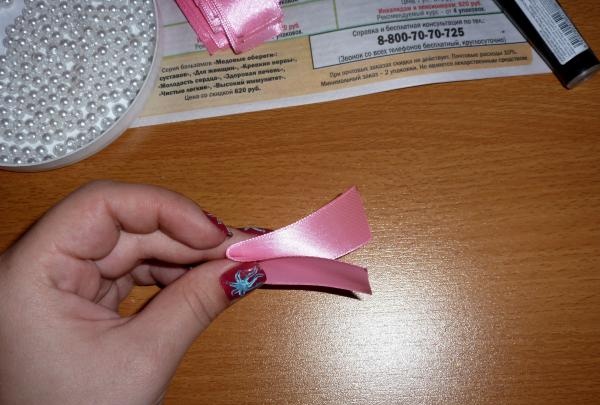
The piece needs to be folded


Place a drop of glue on the fold, preferably in the center, and press well.
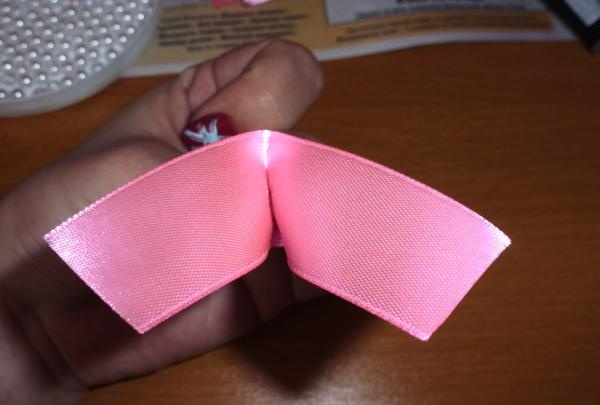
preferably in the center


When the glue has dried a little, fold the edges in half again, also facing inward.
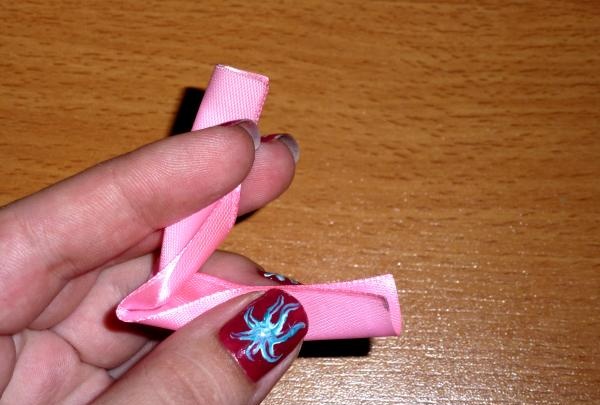
combine with each other like this


Now they need to be combined with each other so that they are layered.
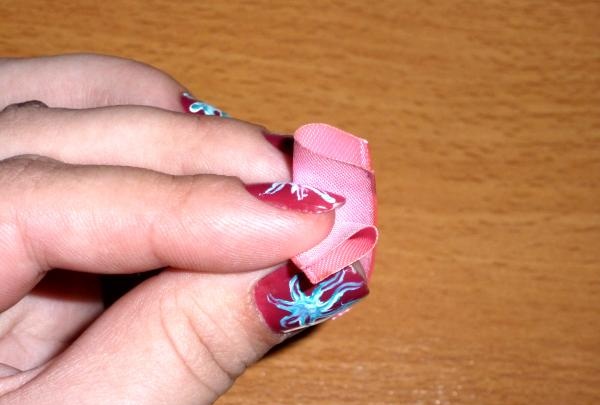
did everything right


We singe the ends with fire, thereby gluing all the edges together. If everything was done correctly, the top of your head should look like this.
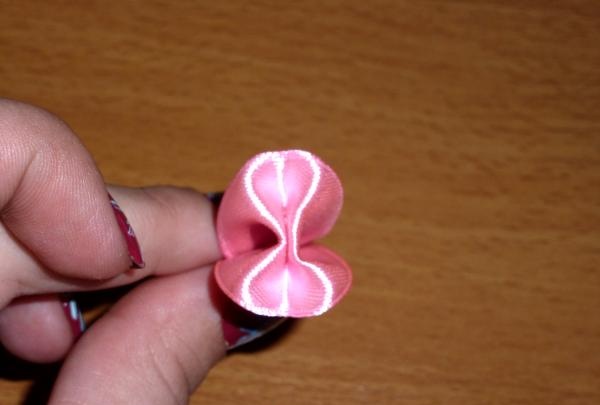
did everything right


Then, on the place where the tape is stuck together, we glue a bead.
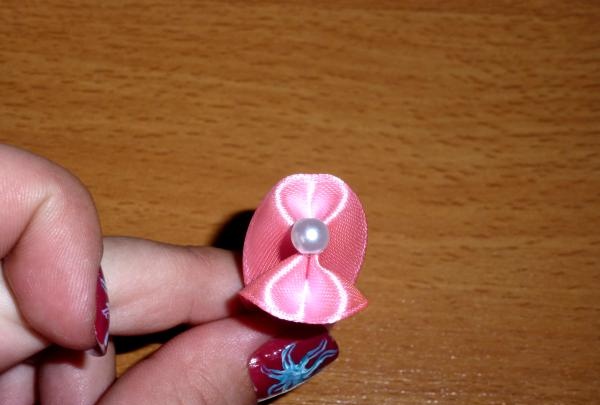
glue the bead


We carry out this procedure with all pieces of tape. When all the pieces are prepared, we begin to assemble the bow. For this I use leather.
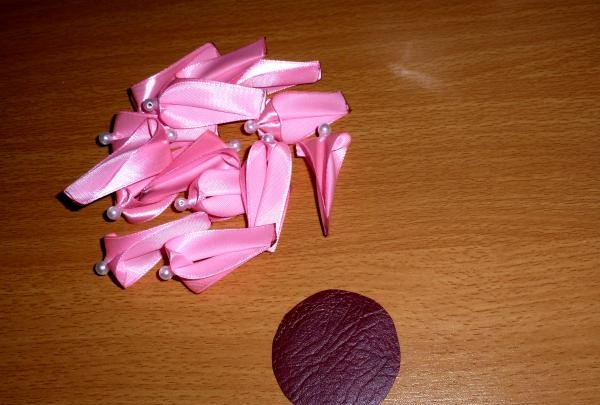
Let's start gluing


We begin gluing from the outer edge of the circle to the center.

Let's start gluing


I decided to glue it to the beautiful side, because another such circle will be used, which will hide all the imperfections on the wrong side. It is better to stick the second and subsequent rows in a checkerboard pattern, relative to the previous one, then the bow will be more magnificent.
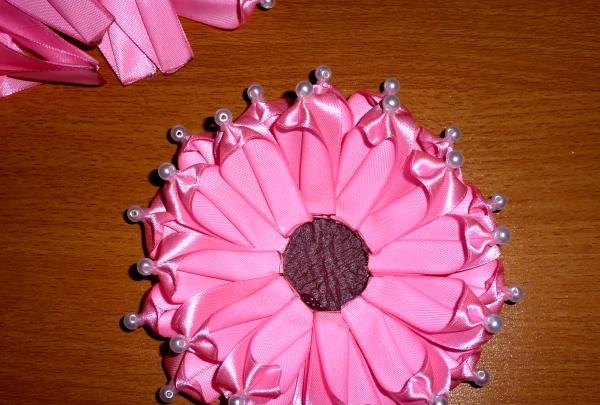
Let's start gluing


When it came time to make the center, I simply poured a lot of glue into it and inserted the blanks into it.
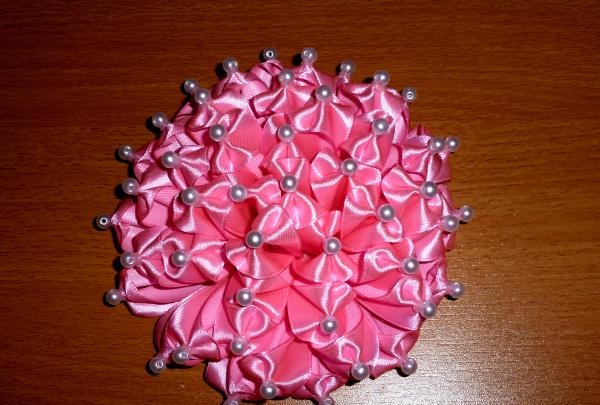
Pink bow with beads


The bow is ready, all that remains is to secure it to the base for the pin. To do this, I decided to use a second piece of leather of the same size. In it, having previously measured along the hairpin, we make two cuts, drag the edges of the hairpin through and glue it to the first piece of leather with a bow.
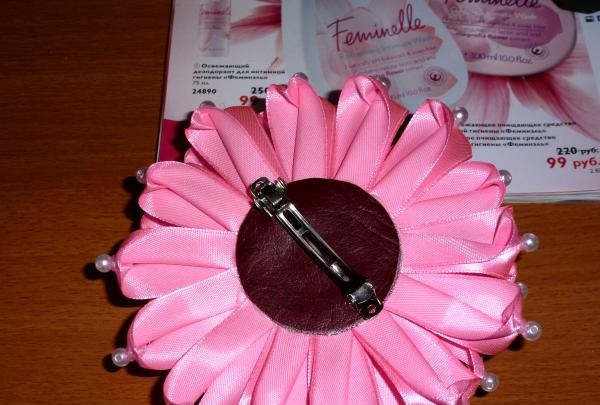
Pink bow with beads


As a result, a wonderful bow will decorate the princess’s head.
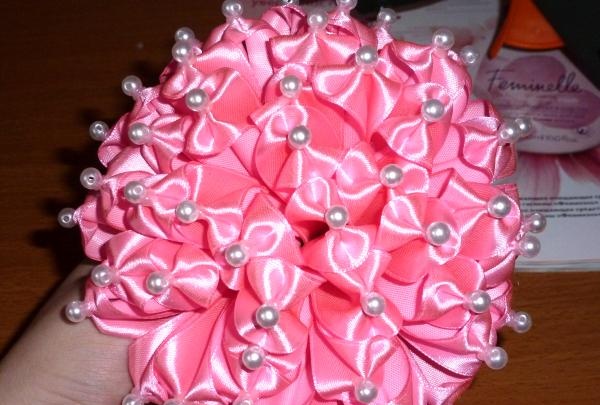
Pink bow with beads
come back
Comment
  • bowtiesmilelaughingblushsmileyrelaxed relaxedsmirk
    heart_eyeskissing_heartkissing_closed_eyesflushedrelievedsatisfiedgrin
    winkstuck_out_tongue_winking_eyestuck_out_tongue_closed_eyesgrinningkissingstuck_out_tonguesleeping
    worriedfrowninganguishedopen_mouthgrimacingconfusedhushed
    expressionlessunamusedsweat_smilesweatdisappointed_relievedwearypassive
    disappointedconfoundedfearfulcold_sweatperseverecrysob
    joyastonishedscreamtired_faceangryragetriumph
    sleepyyummasksunglassesdizzy_faceimpsmiling_imp
    neutral_faceno_mouthinnocent
4 minus one =
Comments (0)

How to make a charger for car batteries

Reinforced concrete floor over basement | Do it yourself

Crocheted mesh vest | Do it yourself

Fridge magnet machine | Do it yourself

«Do it yourself - with your own hands» - a site of interesting homemade products made from scrap materials and items at home. Step-by-step master classes with photos and descriptions, technologies, life hacks - everything a real master or just a craftsman needs for needlework. Crafts of any complexity, a large selection of directions and ideas for creativity.

We recommend reading

Washing machine error codes