To make the box you will need:
- Small cardboard box.
- Acrylic paint (construction or decoupage).
- PVA glue.
- Easter napkin.
- Gouache paints of different colors.
- Lacquer.

1. Choose a box that fits the size. The external surface with images should be evenly painted over with white acrylic. If the picture appears through a layer of paint, apply acrylic repeatedly with thicker strokes. After covering the box with paint on all sides, leave it to dry completely. It takes an average of 20 minutes.


2. While the box is drying, prepare the glue. Mix in a small saucer of PVA with water until a homogeneous liquid consistency.

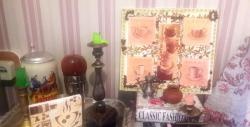
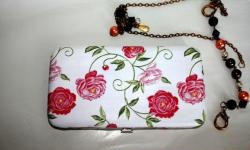
3. Napkin choose bright, spring. Easter motifs with chickens, rabbits and flowers will do. Cut the napkin into squares slightly larger than the wall of the box. Separate the lower white layers of the napkin from the upper layer with the image.


4. Start pasting from the top of the box, carefully applying glue to each piece of cloth. Using a soft brush, immediately smooth out any irregularities on the surface of the box. After drying, many small folds will disappear by themselves, so it’s not worth worrying about them.


5. In work, take small pauses, allowing the glue to dry slightly. This is necessary so that accidentally when touching does not damage already pasted fragments of the picture. With the remnants of napkins, glue the bottom of the box, layering them on top of each other. Leave it upside down until it dries completely.


6. The dried-up box should be slightly decorated and give the picture the appearance of handicraft. Volume contours and gouache paint are perfect for this. The inside of the box is densely covered with paint, trying to bring the surface color as close as possible to the background of the napkin. And also individual elements of the picture can be painted with a brush. For example, the middle of daisies can be painted with yellow paint, leaving thick strokes. Or leave light strokes of white and yellow paint in the background, which will create the feeling of a hand-drawn picture.


7. The varnish will help to finally give the box a finished look. You can choose a matte decoupage varnish or ordinary building. But any varnish will dry for a long time. There is an express method for varnishing decoupage products - spray the surface with hairspray. In this case, the box will acquire a light elegant shine, dry in a minute and, most importantly, no extraneous odors.