For this master class you will need:
- a small transparent jar (this is sold in supermarkets with mustard or adjika);
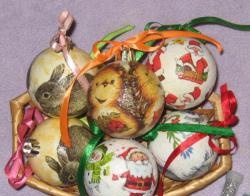
- a napkin with the image of animals;
- paints or contours of black and white;
- acrylic lacquer;
- PVA glue or glue for decoupage;
- brush, scissors.
1. Wash the plastic jar, degrease with alcohol, remove the labels, cover the front, back and side parts in small circles with white acrylic paint or soil.

2. We take a bright baby wipe with animals.

3. Cut the desired element from the napkin, separate the two lower layers, leaving only the top.

4. Measure the cut-out element to the previously primed surface.

5. If the size is satisfactory, we begin to glue with PVA glue using decoupage glue or diluted 1: 1 with water. Glue from the center to the edges.

6. On the side primed part, glue the pattern as described above.

7. The second side part is also decorated with a napkin pattern.

8. And on the fourth primed area we also glue the drawing.

9. And now it's time to connect the fantasy, and we draw green grass, blue sky to our duck, paint on the contours and missing details.

10. Using white paint or contour, set points along the perimeter of the picture.

11. Using black paint or a contour, trace the place where the napkin touches the ground, thereby masking the joint.

12. Finish the jar with acrylic varnish.


14. Now we proceed to the lid, primer its upper part with soil or white paint.

15. From the napkin we cut out the motif “heart”.

16. Separate only the top layer from the napkin. Along the perimeter of the motive we break through the edge.

17. Try on the heart to the primed surface on the lid. Glue with decoupage or PVA glue diluted 1: 1 with water, from the center to the edges.

18. Open the finished cover with acrylic varnish.

19. Well, that's all, having spent quite a bit of time and effort, we get such beauty. We wish you creative ideas.