Do it yourself
Life hacks, master classes, useful tips, recipes.
home » Handicraft techniques » Sewing » Sewing clothes » We sew a baptismal shirt
In order to sew a baptismal shirt, you will need white cotton fabric (preferably calico), sewing with a figured edge on a cotton base, white satin ribbon 5 mm wide and 2 * 15 cm long for ties, sewing threads, sewing machine, overlog, scissors . The manufacturing process of any textile product consists of 3 stages: cutting, sewing, ironing. Before cutting, it is better to soak cotton fabric in warm water and then let it dry, or at least iron it with steam. Then the fabric will allow possible shrinkage, and thereby prevent possible deformation of the finished product due to changes in the linear dimensions of the fabric after washing. From calico you need to cut out the following parts: the right and left shelves, the back and two sleeves of the future shirt.

We sew a baptismal shirt

We sew a baptismal shirt

We sew a baptismal shirt


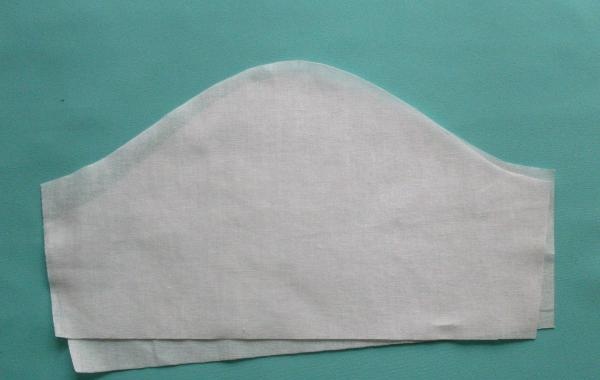
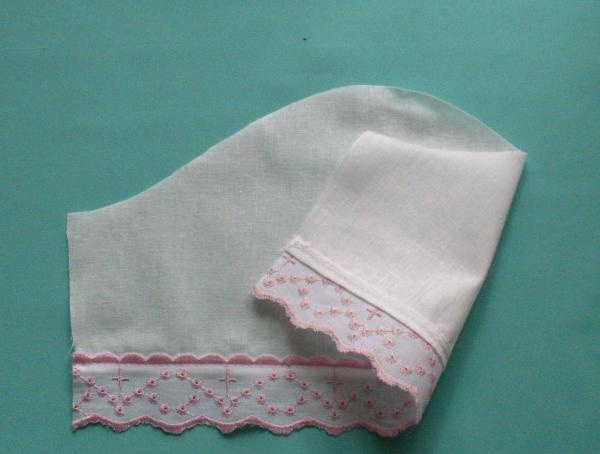
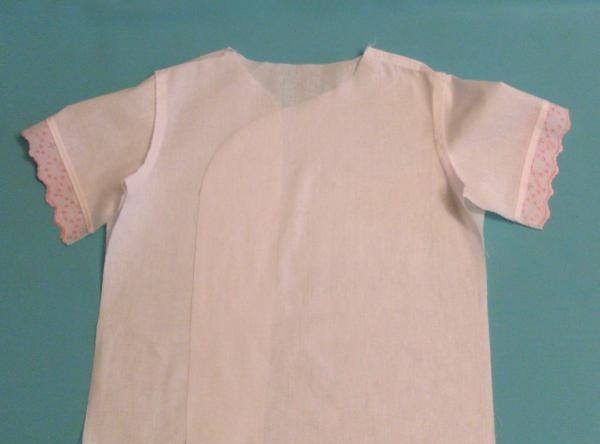
Sewing a shirt includes preparing individual parts and directly assembling the product into a single whole. Thus, the preparation of sleeves consists of stitching sewing along their lower edges.

We sew a baptismal shirt


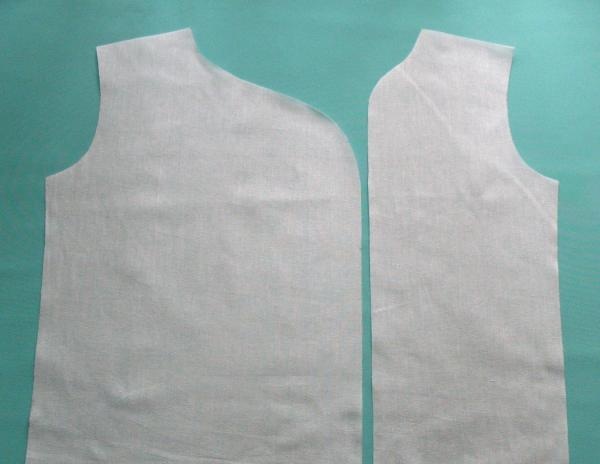
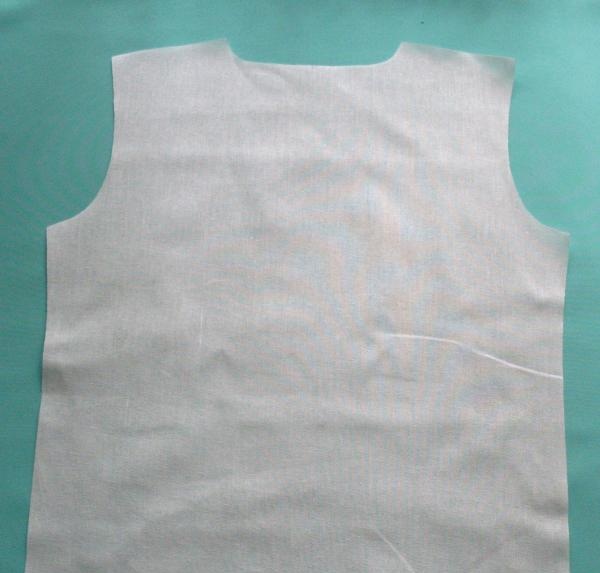
Installation of the product includes assembling the product along the shoulder seams, sewing sleeves into open armholes.

We sew a baptismal shirt


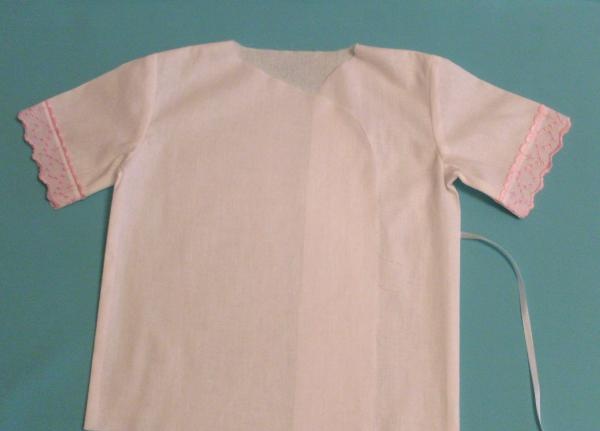
Then the side seams of the shirt are sewn down at the same time as the bottom seams of the sleeves. A tie is inserted into the left side seam.

We sew a baptismal shirt


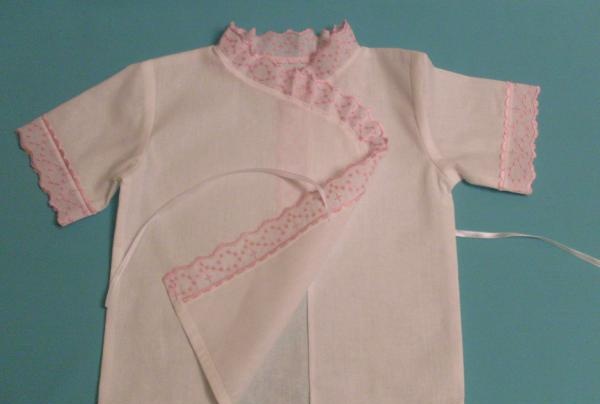
After this, sewing is sewn along the edges and neckline, and the bottom of the shirt is hemmed. A second tie is sewn into the right side.

We sew a baptismal shirt


The final stage in sewing a baptismal shirt is to embroider a cross with a side of 5 cm on the back. This can be done either with a tight zig-zag seam, laying it along the markings, or by sewing a narrow ribbon. Cotton fabrics are highly wrinkleable, so you shouldn’t pick up the finished shirt immediately after ironing; it’s better to let it lie on the ironing board until it cools completely. Or you can give it shape using starch.
come back
Comment
  • bowtiesmilelaughingblushsmileyrelaxed relaxedsmirk
    heart_eyeskissing_heartkissing_closed_eyesflushedrelievedsatisfiedgrin
    winkstuck_out_tongue_winking_eyestuck_out_tongue_closed_eyesgrinningkissingstuck_out_tonguesleeping
    worriedfrowninganguishedopen_mouthgrimacingconfusedhushed
    expressionlessunamusedsweat_smilesweatdisappointed_relievedwearypassive
    disappointedconfoundedfearfulcold_sweatperseverecrysob
    joyastonishedscreamtired_faceangryragetriumph
    sleepyyummasksunglassesdizzy_faceimpsmiling_imp
    neutral_faceno_mouthinnocent
3+three=
Comments (0)

Do it yourself - crafts and master classes | Page 227

How to make a spring remover from a Zhiguli jack with your own hands

Learning to cook delicious borscht | Do it yourself

How to make a device for quickly sharpening a saw chain

«Do it yourself - with your own hands» - a site of interesting homemade products made from scrap materials and items at home. Step-by-step master classes with photos and descriptions, technologies, life hacks - everything a real master or just a craftsman needs for needlework. Crafts of any complexity, a large selection of directions and ideas for creativity.

We recommend reading

Washing machine error codes