Do it yourself
Life hacks, master classes, useful tips, recipes.
home » Present » Photo frames » Soft frame
When reading master classes, you have to face such a problem as the lack of the necessary material. But handicrafts involve creativity, so do your crafts from what is at hand, replacing expensive materials. In this master class I will tell you how to make a soft frame from scrap materials. Naturally, if you have the necessary cardboard or paper for scrapbooking, use them in your work. I found: an unnecessary hard book cover, a piece of wallpaper, the remains of padding polyester, the remains of cotton fabric, PVA glue and moment. We will also need scissors, ideally a stationery knife, if not, we will cut with a regular one, a ruler and anything else you would like to decorate the frame with.

materials


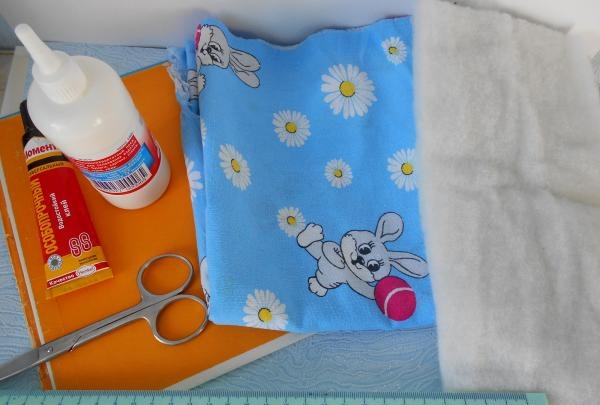
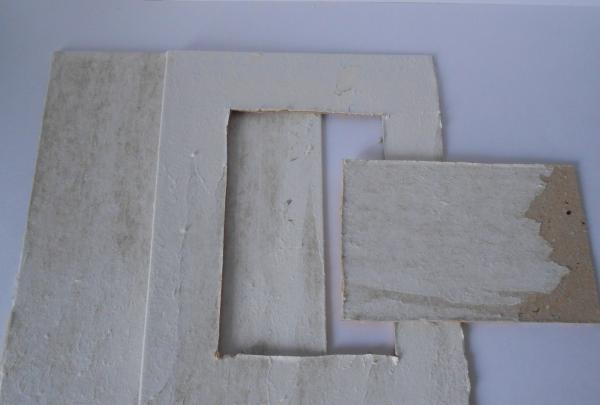
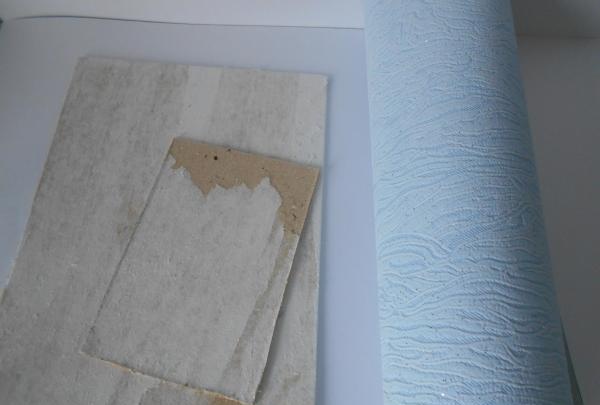
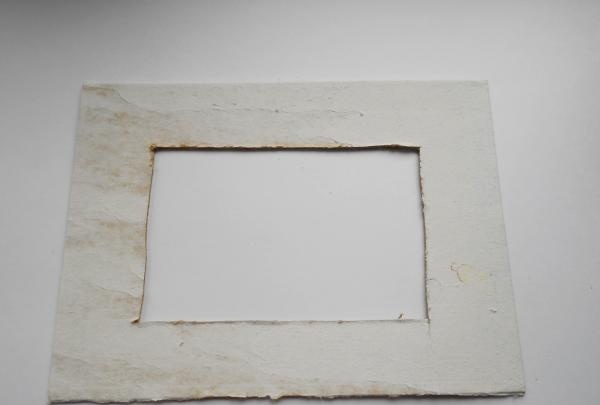
Let's prepare our cardboard, that is, we will free the covers from all unnecessary layers. The size can be any. The main thing is to cut the correct internal window. We will make it on one of the cardboards. The easiest way is to attach and circle the photo in the center. Then add 5 millimeters to the inside of the frame and cut a hole. We don’t throw away the inner cut out part, it will serve as a leg.

cut out

cut out

soft photo frame


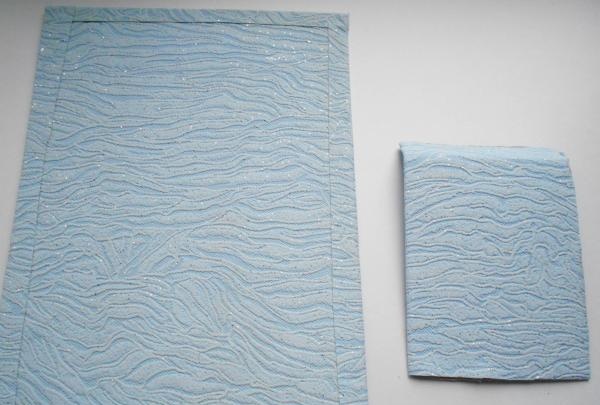
The second cardboard and the future leg need to be covered with our paper or wallpaper using PVA glue.On one side, the wall must be glued with an overlap in order for our outer sides to look neat.

soft photo frame

soft photo frame


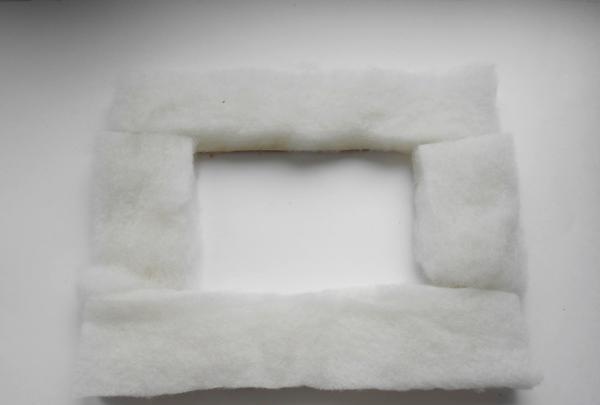
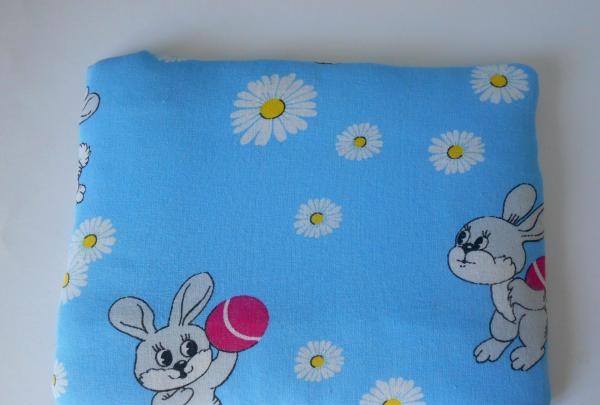
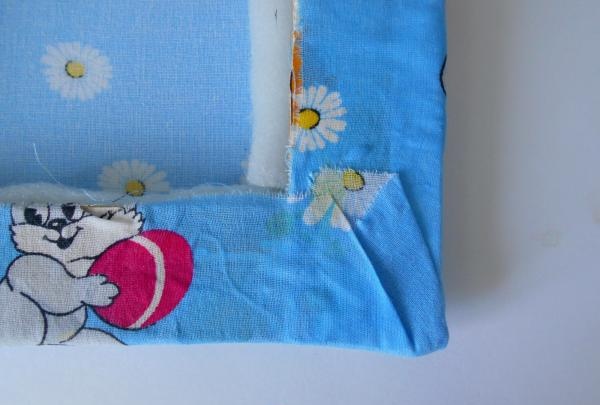
While our back wall is drying, let's start decorating the front side. To do this, you need to glue pieces of padding polyester to the frame and let them dry. Try the frame on the fabric and cut out the desired size. We place the frame with the padding polyester down on the fabric, fold the edges and, stretching, glue it around the perimeter. The corners need to be glued especially carefully so that they do not puff up on the front side.

soft photo frame


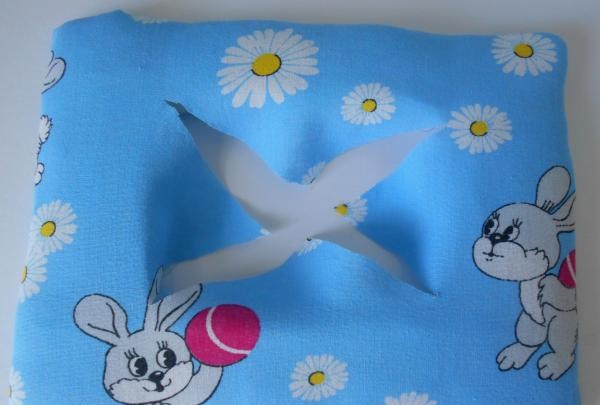
Next, we make an X-shaped cut in the center and glue the corners carefully back.

soft photo frame

soft photo frame

soft photo frame


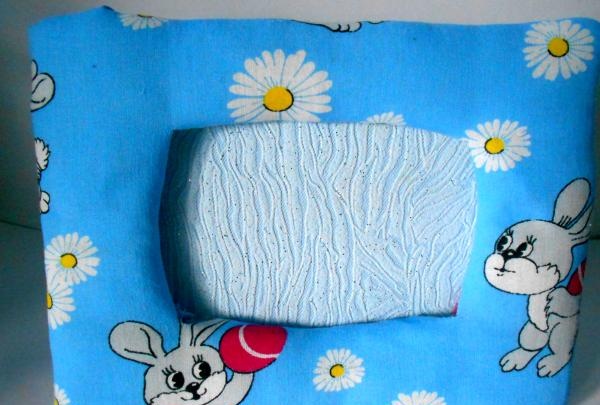
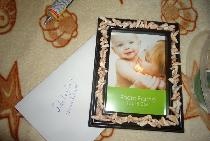
Our frame is almost ready, all that remains is to attach the leg to the back. It is better to do this with quick-drying glue. After it dries, we connect the two halves together, gluing all sides except the top side. Through this hole we will insert a photograph into it.

soft photo frame

soft photo frame


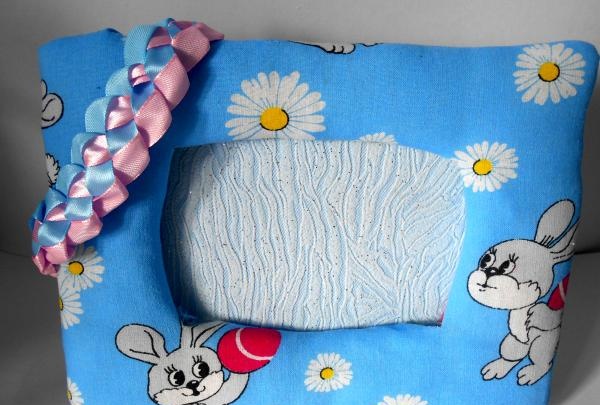
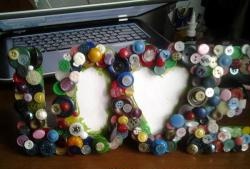
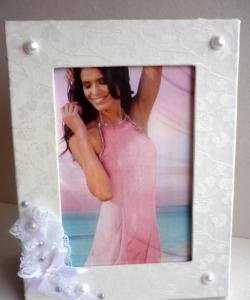
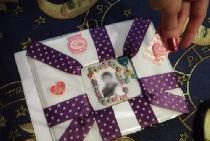
You can decorate the frame with ribbons, beads or bows, at your discretion.
come back
Comment
  • bowtiesmilelaughingblushsmileyrelaxed relaxedsmirk
    heart_eyeskissing_heartkissing_closed_eyesflushedrelievedsatisfiedgrin
    winkstuck_out_tongue_winking_eyestuck_out_tongue_closed_eyesgrinningkissingstuck_out_tonguesleeping
    worriedfrowninganguishedopen_mouthgrimacingconfusedhushed
    expressionlessunamusedsweat_smilesweatdisappointed_relievedwearypassive
    disappointedconfoundedfearfulcold_sweatperseverecrysob
    joyastonishedscreamtired_faceangryragetriumph
    sleepyyummasksunglassesdizzy_faceimpsmiling_imp
    neutral_faceno_mouthinnocent
3+three=
Comments (0)

Wool beads | Do it yourself

The laziest dumplings with cottage cheese

Knitted Rosary Necklace | Do it yourself

Shortbread cookies “Through a meat grinder”

«Do it yourself - with your own hands» - a site of interesting homemade products made from scrap materials and items at home. Step-by-step master classes with photos and descriptions, technologies, life hacks - everything a real master or just a craftsman needs for needlework. Crafts of any complexity, a large selection of directions and ideas for creativity.

We recommend reading

Washing machine error codes