Do it yourself
Life hacks, master classes, useful tips, recipes.
School years pass and every girl and every guy, from the teenagers and students they were at school, move into a new feature of their life, this is already an adult and responsible branch of their life, student years. Students are already adults and accomplished individuals, since it is not easy for them to study at universities, but they consciously master and study for the profession in which they will continue to work and provide for themselves and their families. In other words, a student is an adult and already a completely responsible person. Simultaneously with the transition to adulthood, each student receives two more important documents in his life: a student ID and a grade book. These two documents are just as important for every person as a passport, especially since the student must carry them with him every day of study. And in order for these documents to always be in proper form, they simply need to be carried in protective covers, this way they will be preserved much longer and will not get dirty. Since students are bright and very special people, their clothes and all accessories should correspond to their bright image. This applies especially to female students.They literally run fashion in front of each other. So, in order to be a genius in everything, you can make the same accessories, that is, covers for documents, with your own hands. For this purpose, technology will be very relevant scrapbooking, this is where we will make the cover for the student ID card.
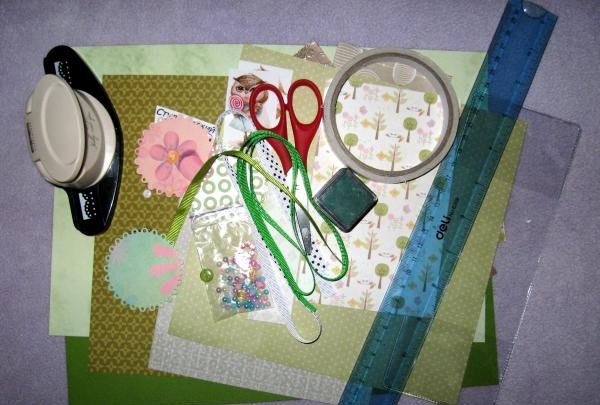
To create a cover you will need:
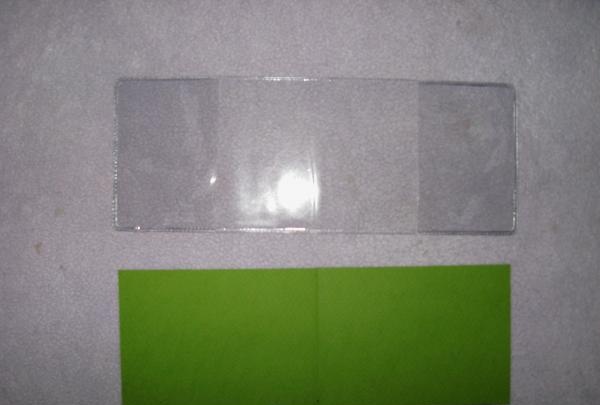
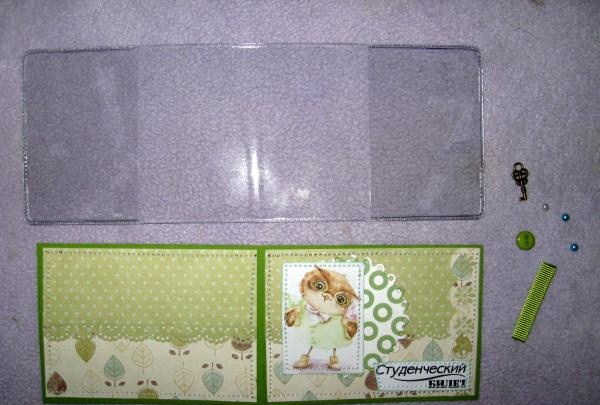
• Transparent cover for student ID;
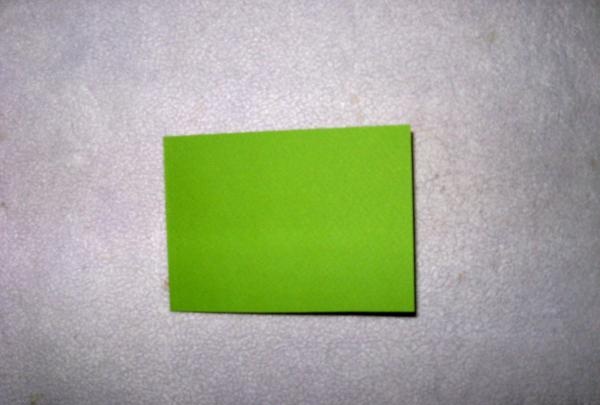
• Green pastel paper;
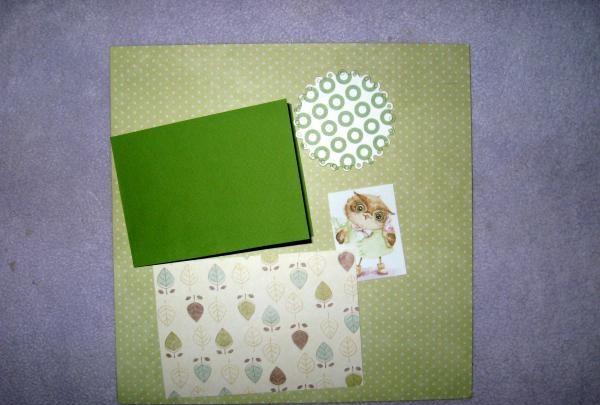
• Green polka dot scrapbooking paper;
• A piece of scrap paper with leaves in green and beige tones;
• Picture with an owl;
• The cut out circle is white and green;
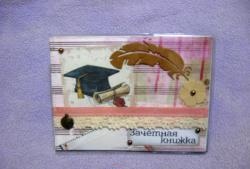
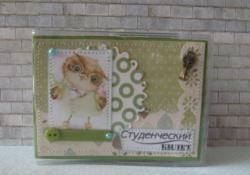
• Printed inscription: student card;
• Bronze-colored metal key;
• Green plastic button;
• Turquoise half beads 4 mm in diameter;
• Green ink pad;
• Narrow rep ribbon in marsh color;
• Double-sided tape, ruler, scissors, glue gun, pencil, PVA glue, lighter.

Cover for student ID

To create the cover you will need


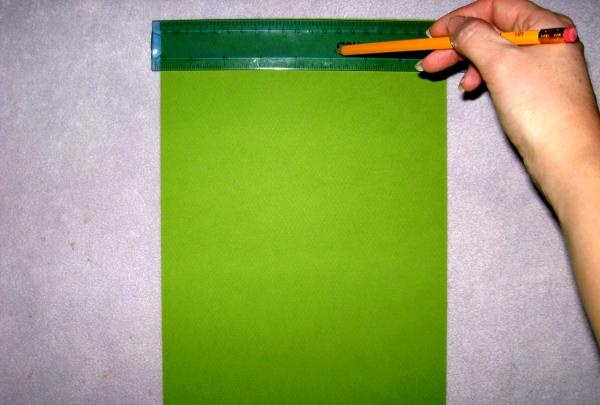
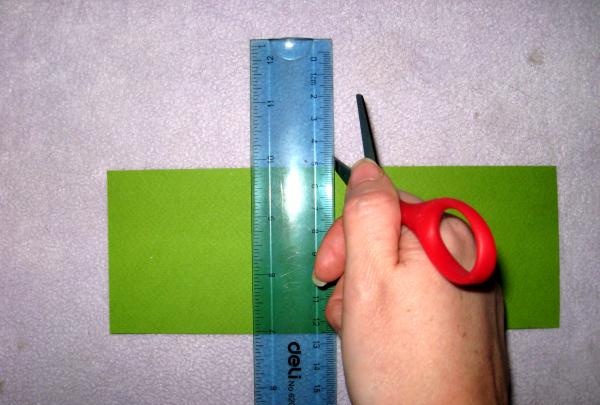
First, we need a cardboard base for a student card, which we cut out of pastel paper. We cut out one large rectangle 7.4 * 20.6 cm, then divide it in half and fold it.

cardboard base

cardboard base


Trying it on with a transparent cover.

Trying it on with a transparent cover

Trying it on with a transparent cover


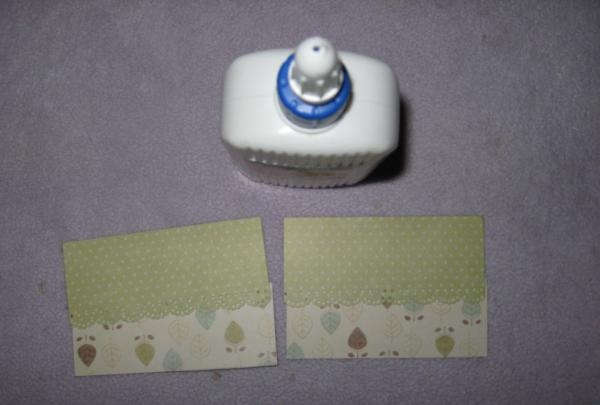
Now we cut out two rectangles from scrap paper, 5 * 9.8 cm from one paper and 3.5 * 9.8 cm from another paper.

Now cut it out of scrap paper

Cut out from scrap paper


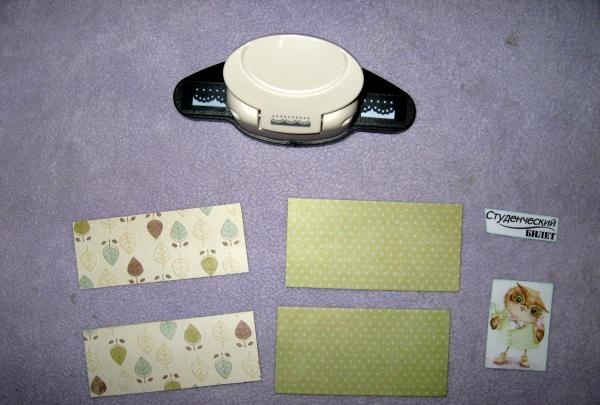
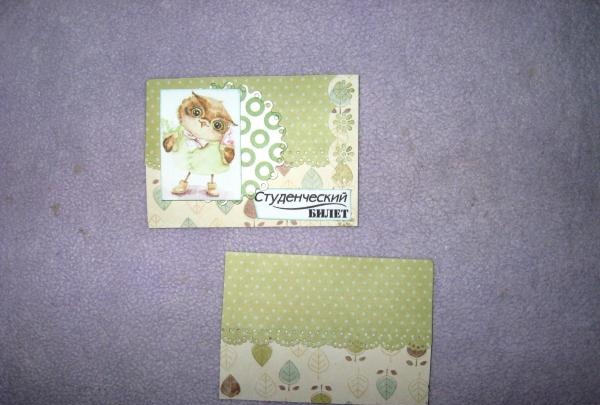
Using a hole punch, we make one paper openwork from the bottom and glue it to the other with PVA glue, we get two rectangles 7 * 9.8 cm. On one of them we glue a picture, a circle, an inscription and a cut-out strip on the left.

make it openwork

Sew on a sewing machine


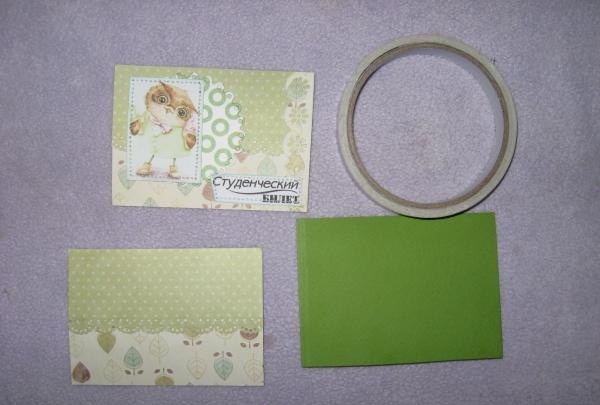
We sew on the inscription and picture using a sewing machine. We glue both rectangles to the base with double-sided tape.

Sew on a sewing machine

Machine sew both parts


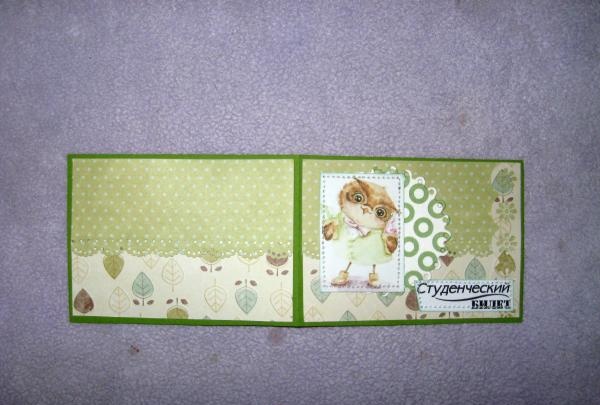
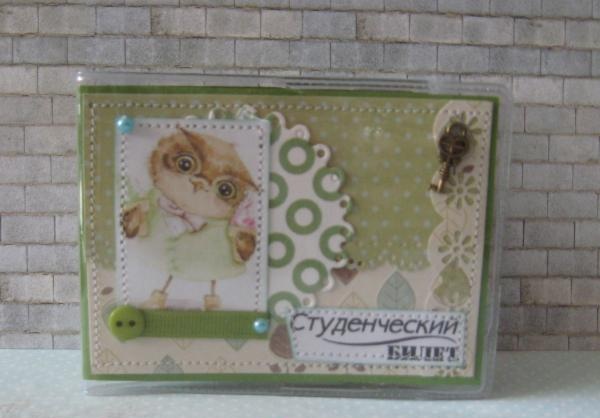
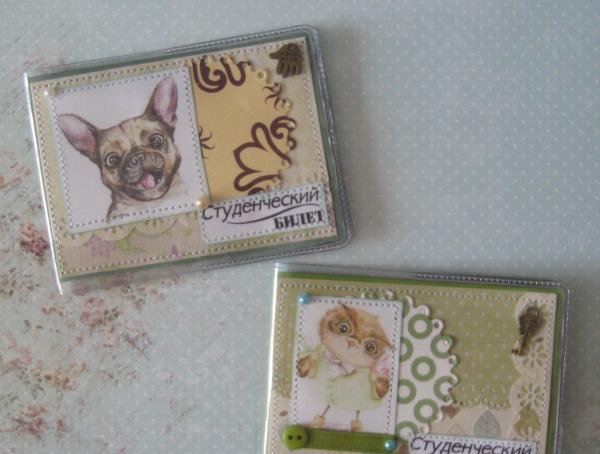
We machine sew both parts of the cover separately. We cut the grosgrain ribbon to the width of the picture, burn its edges, glue it under the picture, with a button on one side.We glue beads in the corners of the picture, and in the other corner we glue a key.

Machine sew both parts

Now insert it into the transparent cover


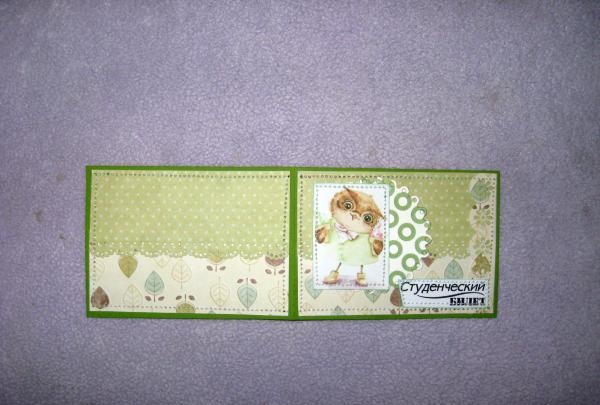
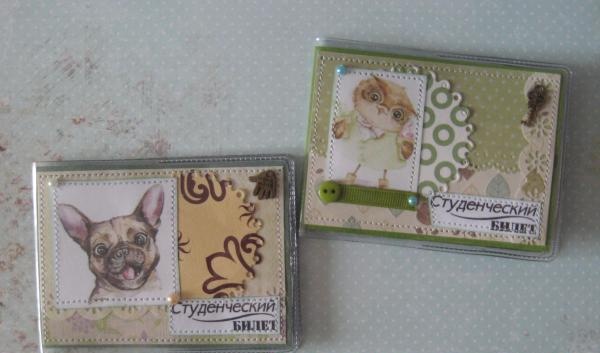
Now we insert it into a transparent cover, the cover for a handmade student card is ready. Thank you and good luck with your production.

Cover for student ID

Cover for student ID
come back
Comment
  • bowtiesmilelaughingblushsmileyrelaxed relaxedsmirk
    heart_eyeskissing_heartkissing_closed_eyesflushedrelievedsatisfiedgrin
    winkstuck_out_tongue_winking_eyestuck_out_tongue_closed_eyesgrinningkissingstuck_out_tonguesleeping
    worriedfrowninganguishedopen_mouthgrimacingconfusedhushed
    expressionlessunamusedsweat_smilesweatdisappointed_relievedwearypassive
    disappointedconfoundedfearfulcold_sweatperseverecrysob
    joyastonishedscreamtired_faceangryragetriumph
    sleepyyummasksunglassesdizzy_faceimpsmiling_imp
    neutral_faceno_mouthinnocent
5+two=
Comments (0)

How to drill a quick cutter - P18 steel

How to make a miniature drilling machine

Sewing clothes | Do it yourself

How to make a “drunk” float with your own hands

«Do it yourself - with your own hands» - a site of interesting homemade products made from scrap materials and items at home. Step-by-step master classes with photos and descriptions, technologies, life hacks - everything a real master or just a craftsman needs for needlework. Crafts of any complexity, a large selection of directions and ideas for creativity.

We recommend reading

Washing machine error codes