Do it yourself
Life hacks, master classes, useful tips, recipes.
home » Handicraft techniques » Scrapbooking » Scrapbooking cards » Handmade wedding card
Spring has come and brought with it not only spring joy, warmth, the first flowers and leaves, but also opened the 2015 wedding season. Starting from spring and ending in mid-autumn, it has long been customary to marry off brides, so this tradition has reached our times. In spring, weddings are light, beautiful, and blooming, since spring is the most blooming time of the year. Preparing for a wedding already feels especially light and joyful, but nevertheless, it is just as responsible as at any other time of the year. The young people carefully think through everything, prepare, choose the date and place of celebration, prepare a list of guests, order a car, buy outfits and rings, in a word, there are a lot of worries. But these are pleasant and sweet chores that bring pleasure, since a wedding is a special celebration, which is once and for all. Guests, in turn, also have a very difficult time, since they have to choose present for young people, and believe me, this is not at all easy.What is the most common gift given at weddings? It’s different for everyone: some give travel vouchers, others give household items, others give souvenirs and interior decorations for the home, and many prefer to give money. Since it is difficult and difficult to please the tastes of today’s youth, but a cash gift is somehow more acceptable in this case, and the young people will then decide for themselves what they need to buy first. But even giving money needs to be done with taste, and for this, an envelope or a postcard with a pocket for money comes to our aid. Since a wedding is a special holiday, verbal congratulations are also required, so it would be better to have a postcard in which these words can be written.
To be an original guest at a wedding, you can make such a card with your own hands, which is what we are now, in fact, doing, and our beloved and rich in materials will help us with this scrapbooking.

So, let's get started and take the following:
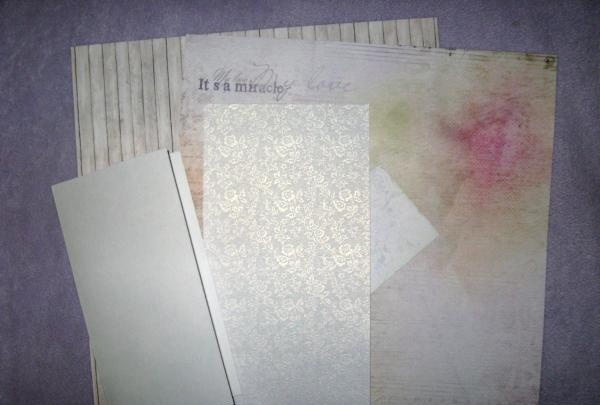
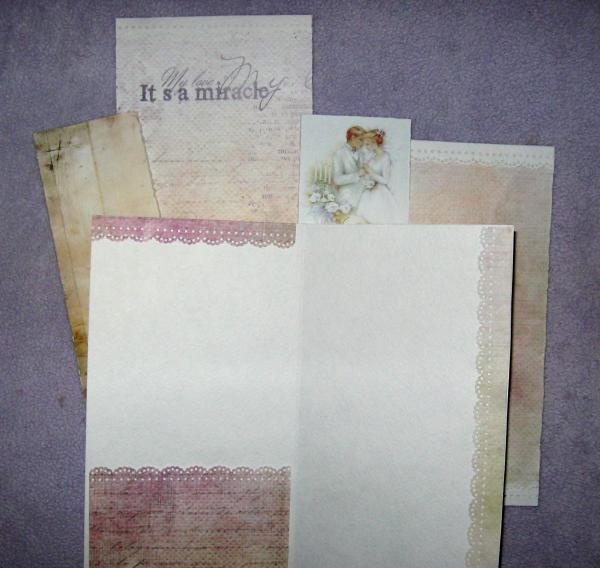
• Watercolor paper;
• Wedding shabby scrap paper, several similar colors;
• Mother-of-pearl cardboard with embossing;
• Picture with young people;
• Openwork white cutting;
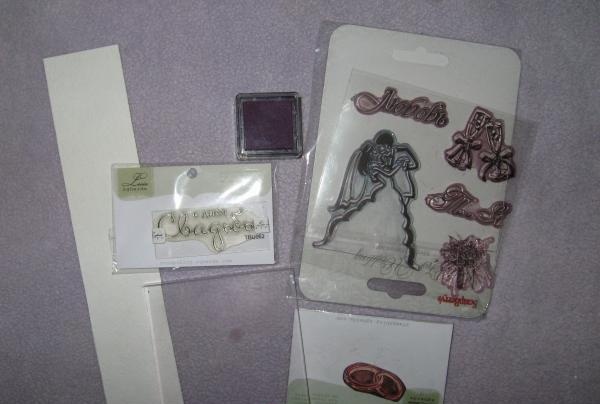
• Stamp “Happy Wedding Day”;
• White poppy, complex mother-of-pearl stamens, white berry in sugar;
• White polymer frame;
• White die-cut bow;
• Long branches with stamens;
• Long white feather;
• White large hydrangea;
• A piece of white lace;
• Peach paper butterfly;
• Mother of pearl hollow heart and half beads;
• Stamp with rings, newlyweds, glasses and inscriptions;
• Dark pink ink;
• White and peach ribbons made of satin and organza;
• Curb punchers;
• PVA glue, glue gun, double-sided tape;
• Scissors, pencil and ruler.

Handmade wedding card

we take the following


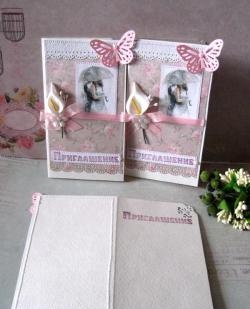
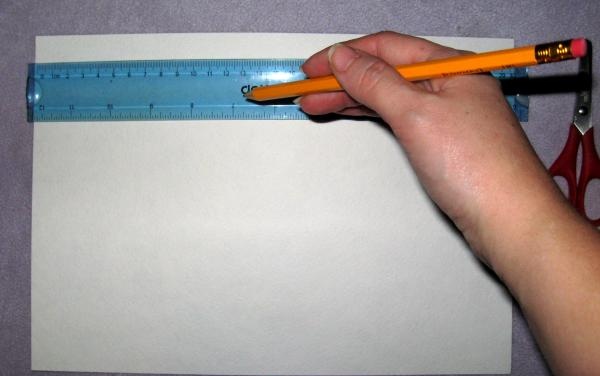
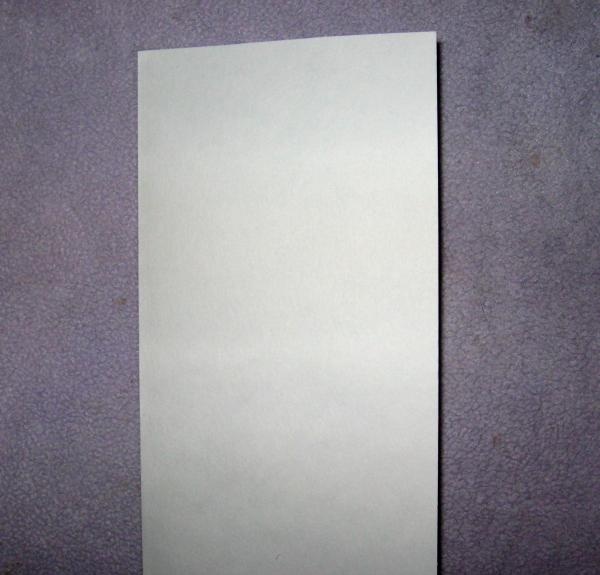
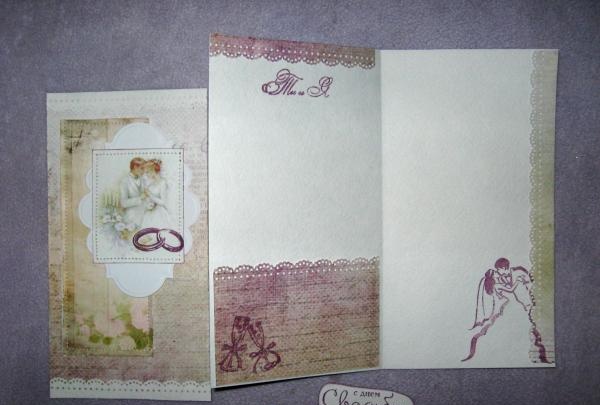
We cut out the base of the postcard from watercolor paper, fold it in half and get an 11*20 cm blank when folded.

Cut out from watercolor paper

cut out rectangles


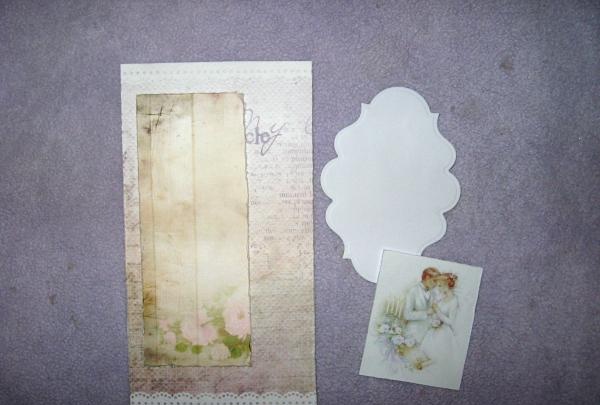
From scrap paper we now cut out two large rectangles 10.5*19.5 cm and small quadrangles, as in the photo.

cut out rectangles

make lace stripes


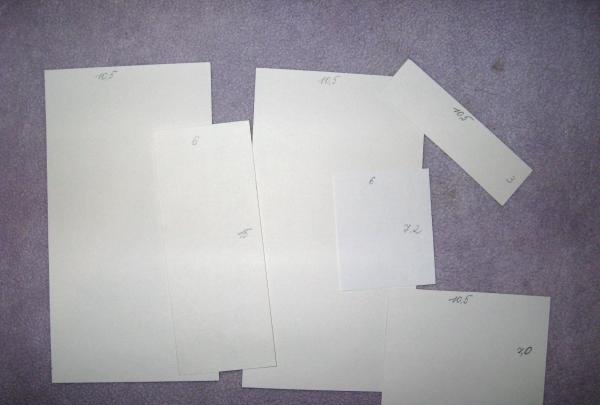
We scratch two large and one small rectangles with scissors, so to speak, we age them. We make lace strips from pearl cardboard using a hole punch.

make lace stripes

glue the inner pocket


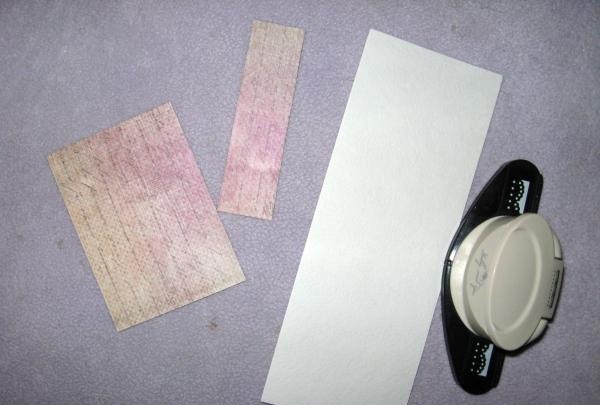
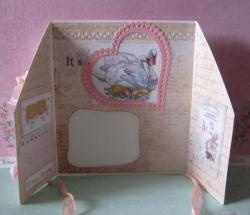
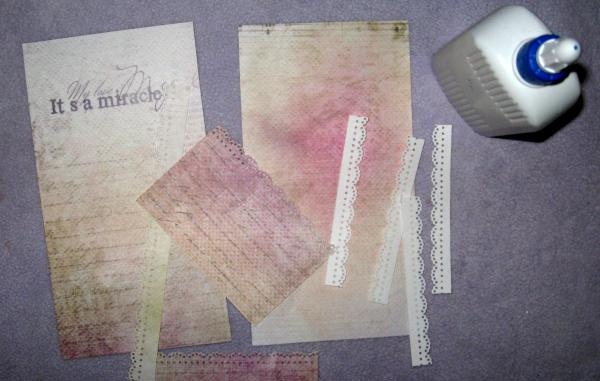
Using PVA glue we glue the inner pocket, along the top and sides along the strip, as well as mother-of-pearl lace onto large rectangles.

glue the inner pocket

Assembling the front of the postcard


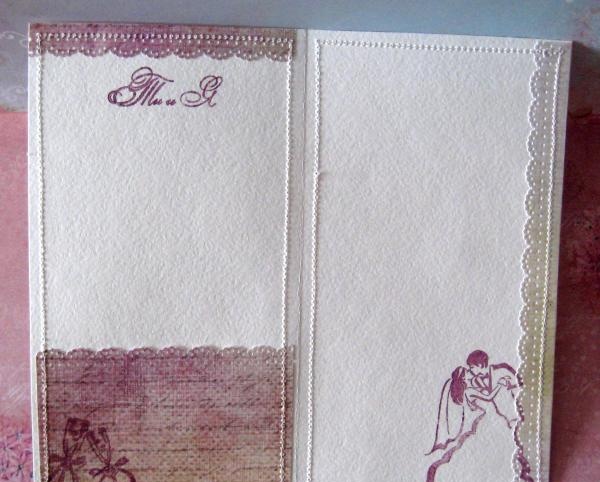
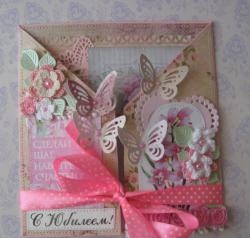
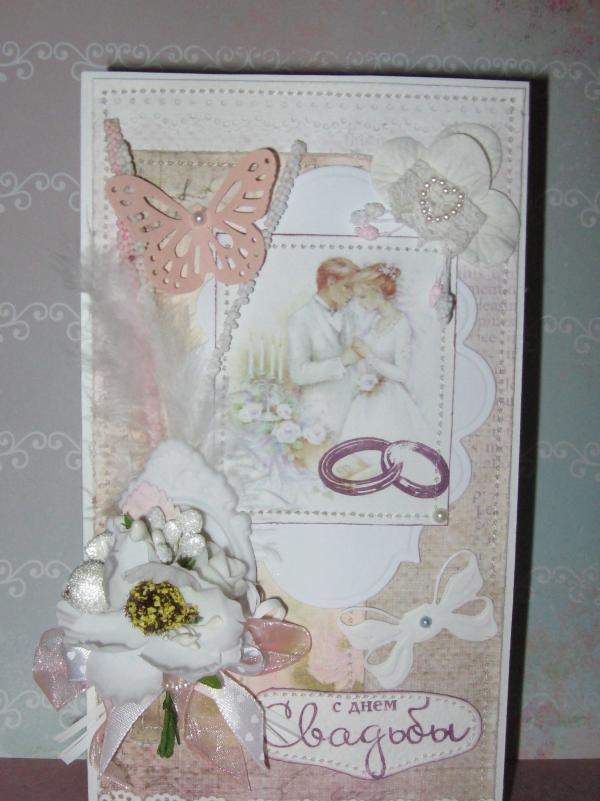
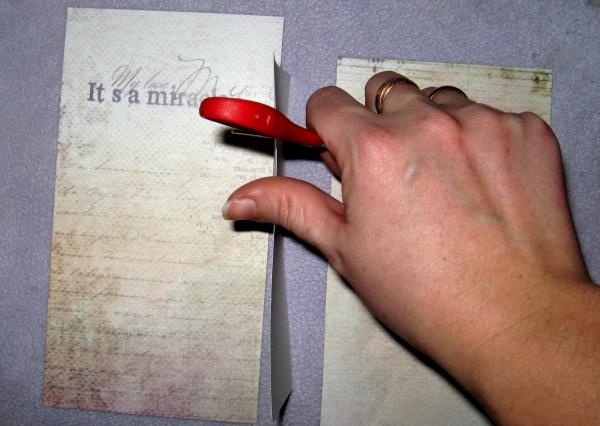
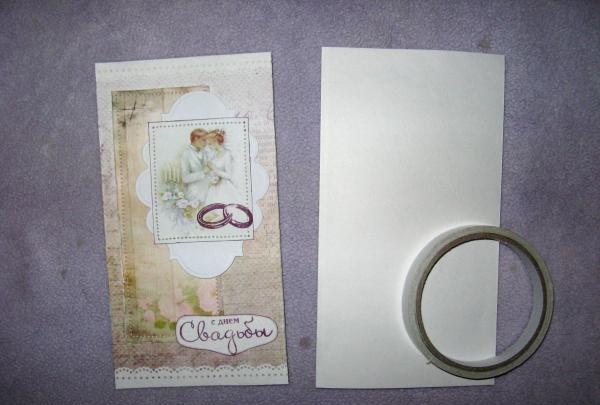
We assemble the front part of the card, glue the rectangle, and sew it on a machine. On top we glue a cut-out figure from white cardboard, a picture of the newlyweds on it, and we also sew it on with a machine.

Assembling the front of the postcard

Assembling the front of the postcard


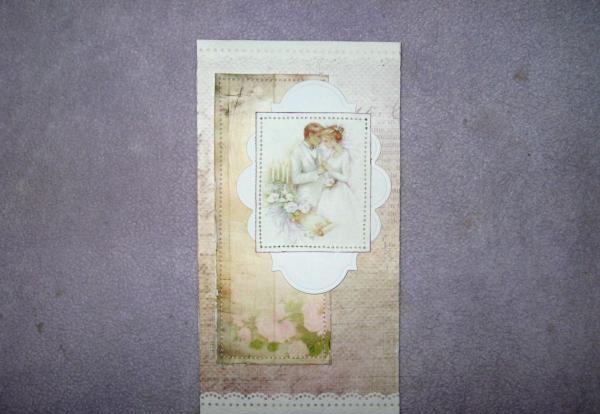
We stamp the inscription, tint it, glue it to the front and sew it on. We also stamp the remaining inscriptions.

We make stamping of the inscription

We make stamping of the inscription


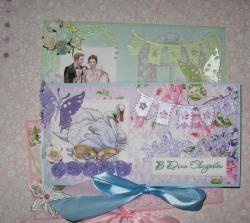
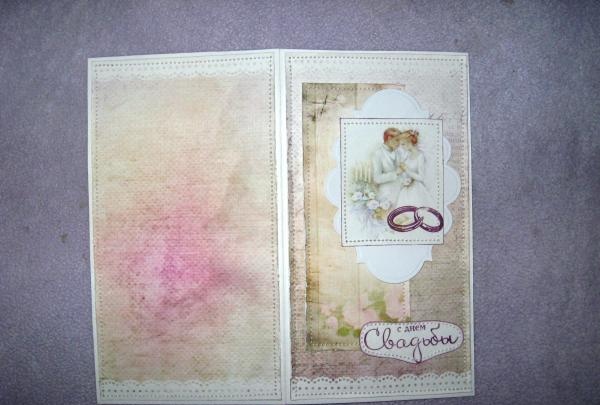
Glue both rectangles to the base.

Glue both rectangles to the base

Glue both rectangles to the base


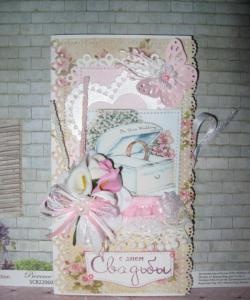
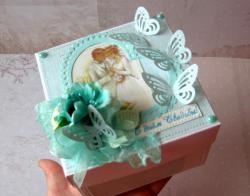
We sew each one by machine. We make a bouquet of flowers.

sew on with a machine

sew on with a machine


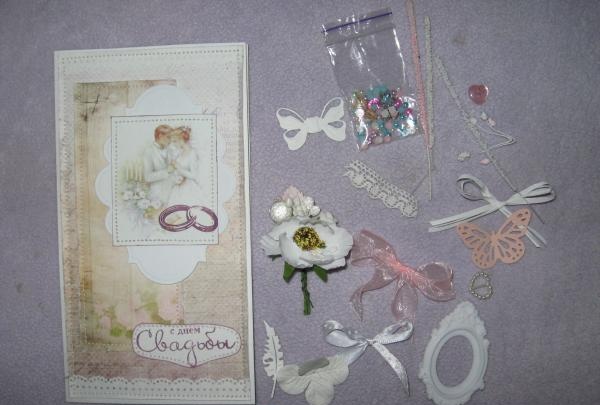
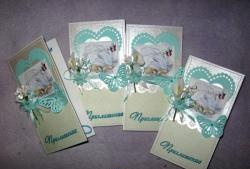
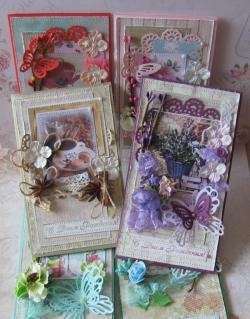
We glue a feather and twigs under the frame, a frame on them, and a bouquet and bows with ribbons on the frame. We glue the bow, flower, lace and butterfly as in the photo.

Glue a feather and twigs under the frame

Handmade wedding card


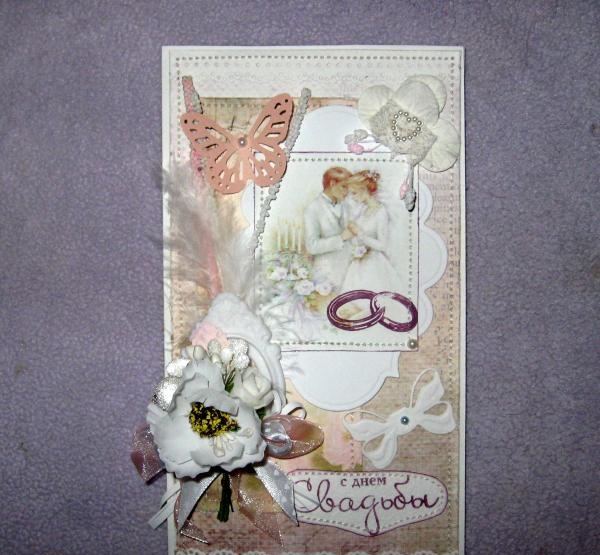
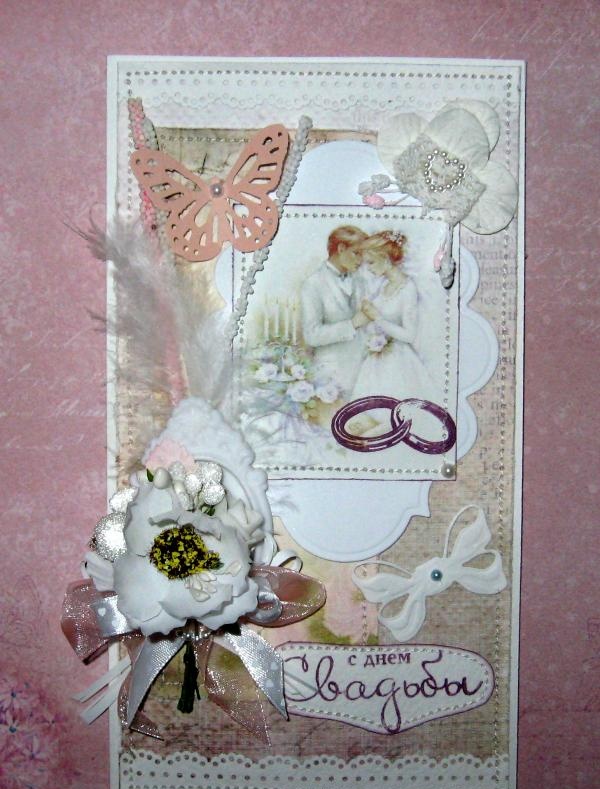
The card with the pocket is ready, you can congratulate the newlyweds. Thank you for your attention!

Handmade wedding card
come back
Comment
  • bowtiesmilelaughingblushsmileyrelaxed relaxedsmirk
    heart_eyeskissing_heartkissing_closed_eyesflushedrelievedsatisfiedgrin
    winkstuck_out_tongue_winking_eyestuck_out_tongue_closed_eyesgrinningkissingstuck_out_tonguesleeping
    worriedfrowninganguishedopen_mouthgrimacingconfusedhushed
    expressionlessunamusedsweat_smilesweatdisappointed_relievedwearypassive
    disappointedconfoundedfearfulcold_sweatperseverecrysob
    joyastonishedscreamtired_faceangryragetriumph
    sleepyyummasksunglassesdizzy_faceimpsmiling_imp
    neutral_faceno_mouthinnocent
5+two=
Comments (0)

How to improve the performance of a car air conditioner with your own hands

How to make a silicone gasket or membrane at home

Do it yourself - crafts and master classes | Page 257

Do-it-yourself solar power plant

«Do it yourself - with your own hands» - a site of interesting homemade products made from scrap materials and items at home. Step-by-step master classes with photos and descriptions, technologies, life hacks - everything a real master or just a craftsman needs for needlework. Crafts of any complexity, a large selection of directions and ideas for creativity.

We recommend reading

Washing machine error codes