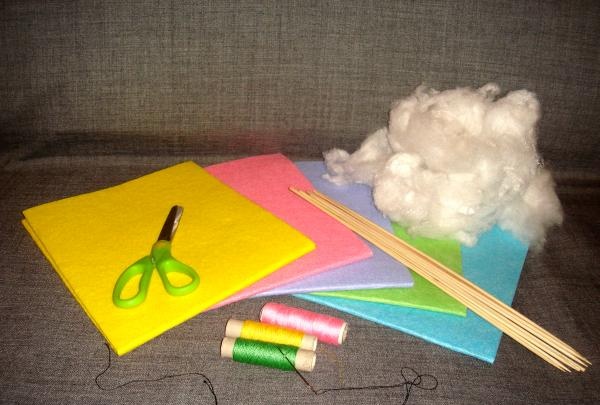
Prepare the following components for work:
- material that can be cut off and no threads will be visible at the edges (felt, fleece), in the photo these are napkins for cleaning the house;
- scissors;
- padding polyester or cotton wool;
- a sheet of paper or cardboard;
- wooden thin and long skewers (according to the number of colors);
- sewing threads to match the color of the material and needle.
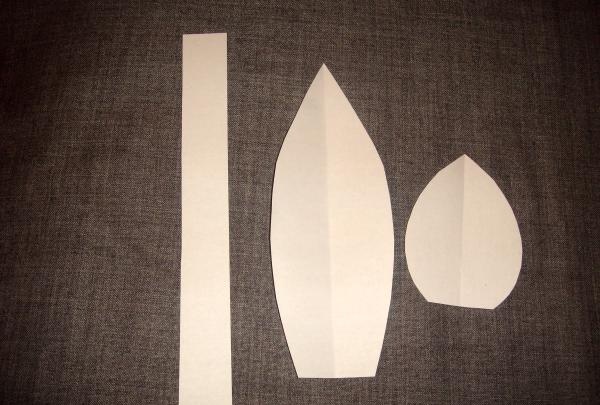
First you need to prepare patterns for future flowers.Take a sheet of cardboard or plain paper and draw the following details: a strip of 2.5 cm by 21 cm is for the stem of a tulip, an oval leaf with a pointed end (width 6 cm, length 17 cm, bottom edge 3 cm), petal for a bud ( width 6.5 cm, height 8.5 cm, bottom edge 3.5 cm).
Take a material (for example, yellow) and a flower bud pattern.
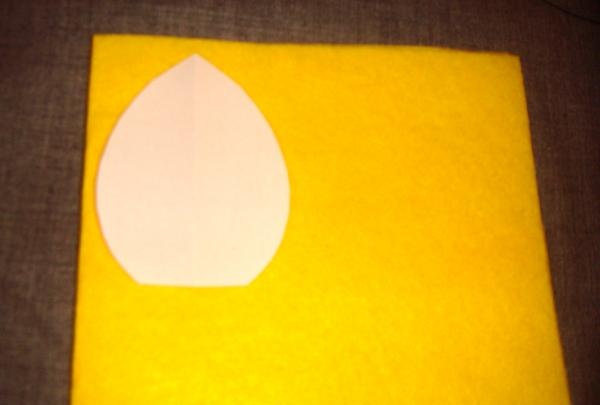
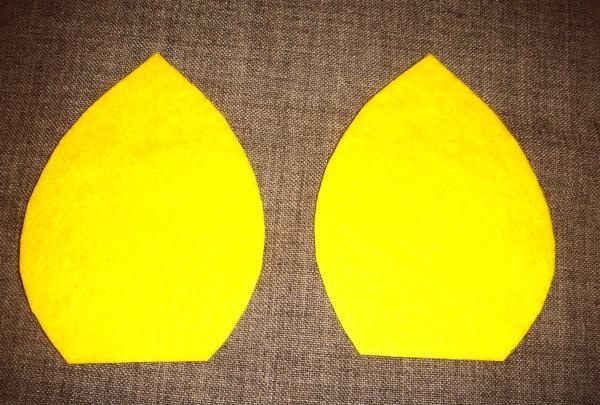
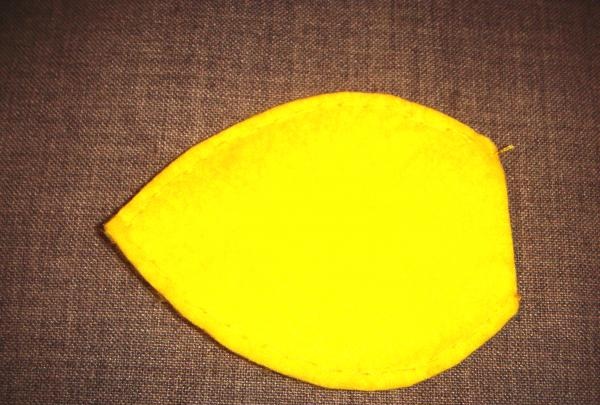
Cut out two identical pieces.
Place them together and start stitching in a circle. Only the bottom strip remains free.
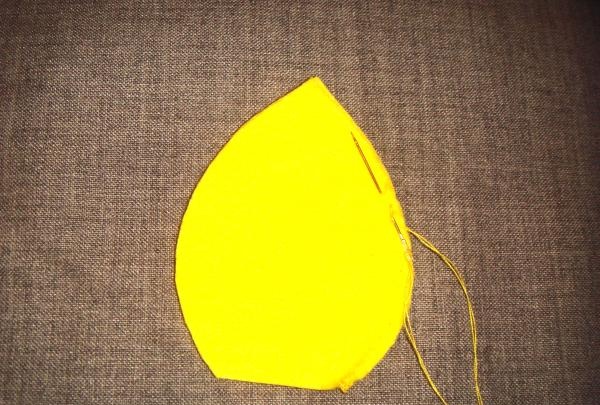
This is what the final piece looks like, stitched along the edge.
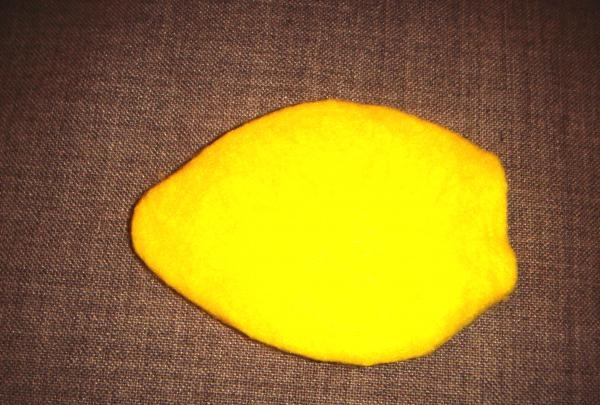
Turn it right side out so that the seam is hidden in the middle.
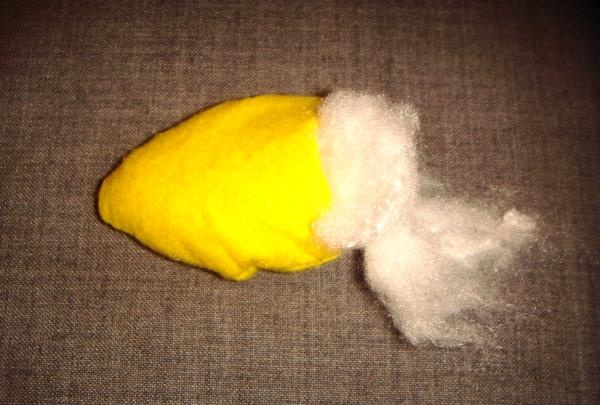
Fill the workpiece to the maximum with padding polyester or cotton wool through the hole left. There is no need to stitch it at this stage; you will do this when the stem is ready.
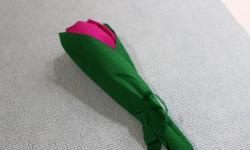
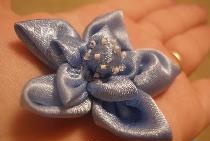
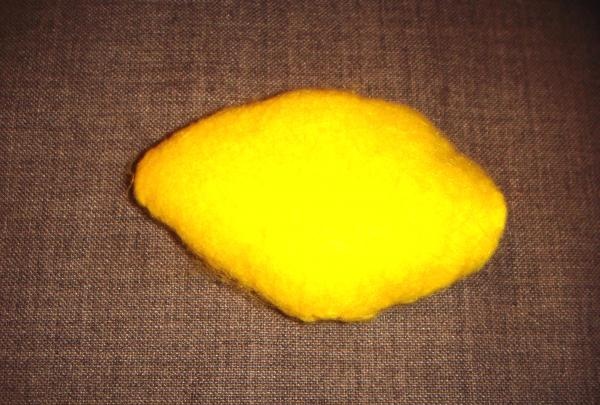
This is what a finished tulip bud looks like.
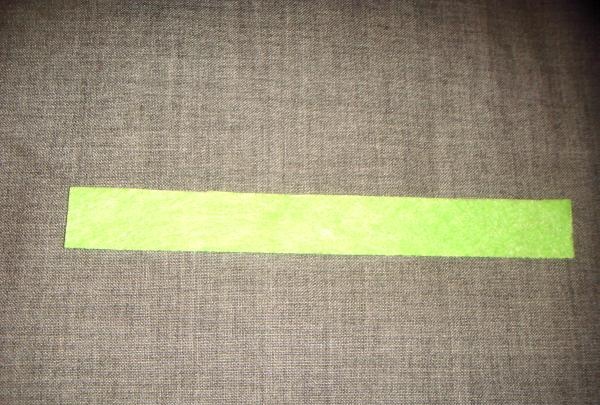
Now you need to cut out the stem. Take green fabric and cut out a strip according to the pattern.
It also needs to be sewn so that one short edge remains free.
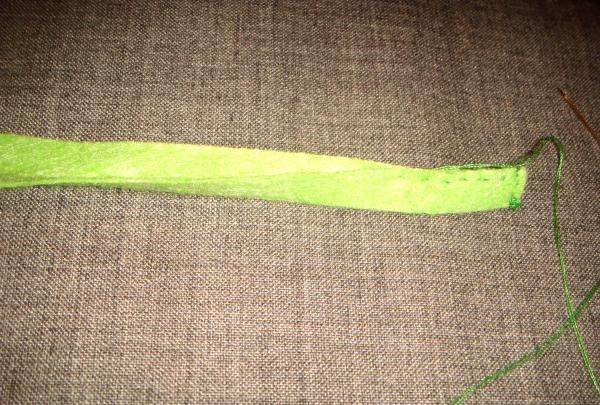
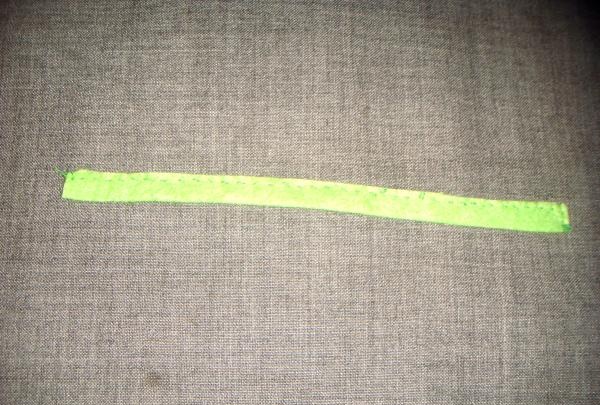
This is what the stitched stem blank looks like.
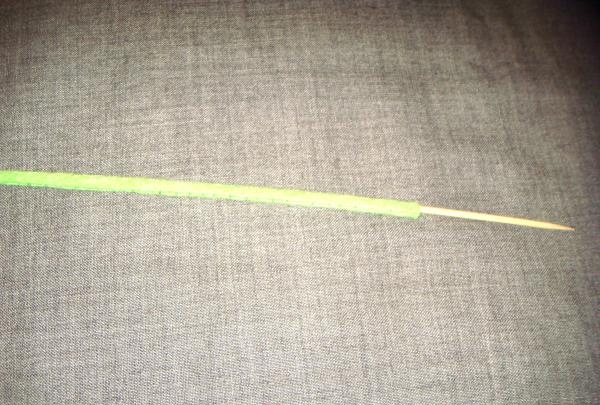
It must be turned right side out. Place a thin wooden stick against the narrow stitched edge and gently pull the fabric over it so that it turns out. Like this.
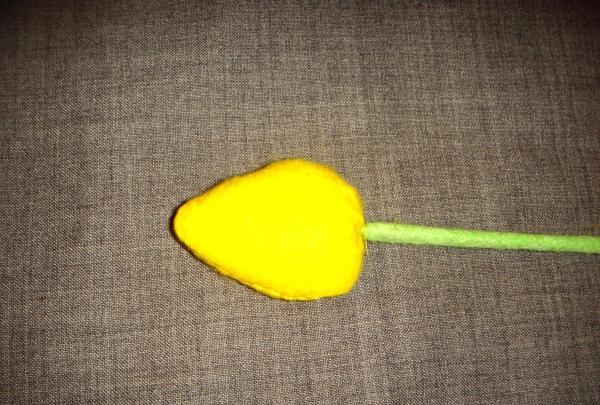
Break off the edge of the protruding skewer and sew the finished yellow bud to the stem. Try to keep the edges of the yellow fabric hidden inside the flower.
All that remains is to make a leaf. Again you need to cut out the green blank using a stencil.

Attach it to the stem, slightly covering the flower.
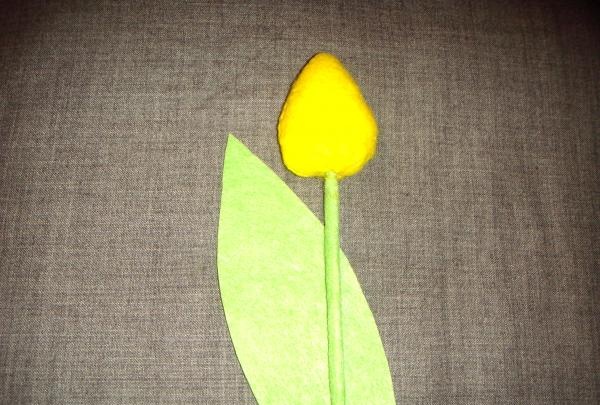
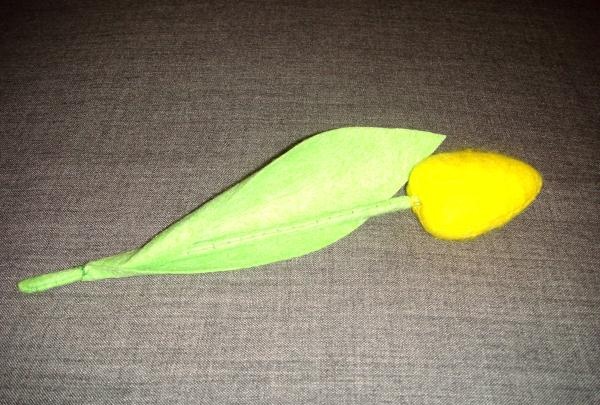
And sew it to the bottom edge, folding the flat side of the leaf around the stick. This is what the finished tulip looks like.
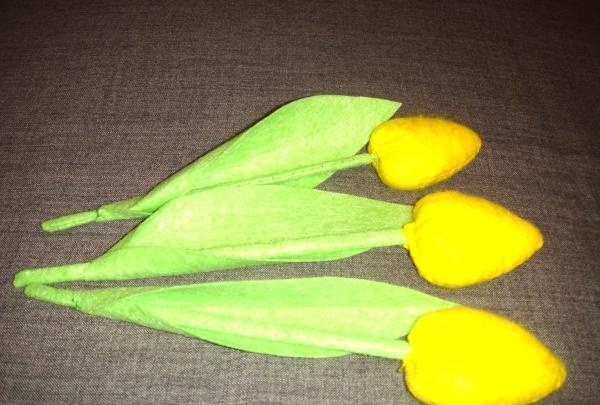
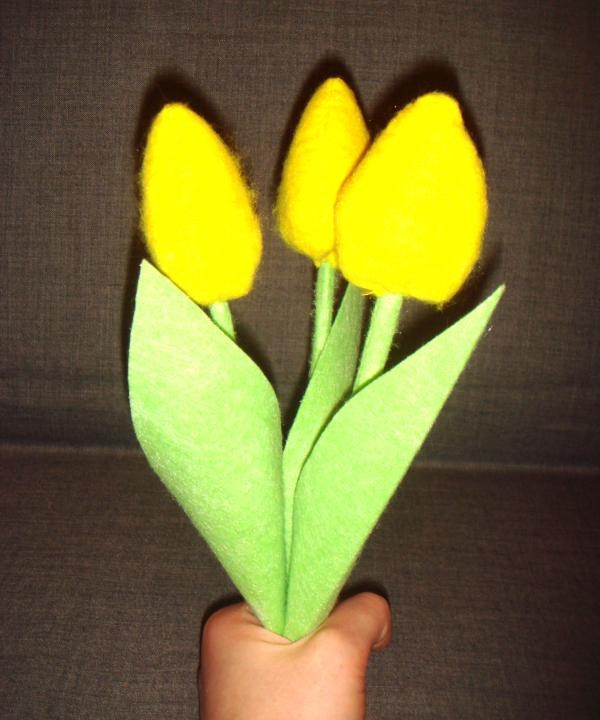
Sew two more yellow flowers using the same principle. You should get three tulips. Although, more is possible.
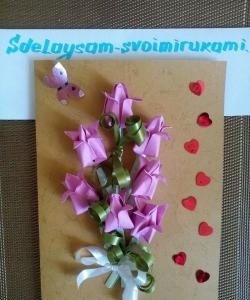
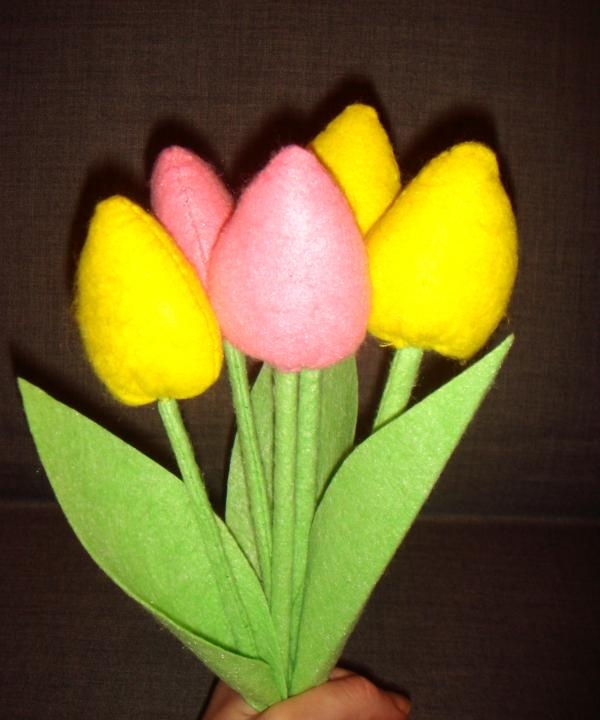
Here is a bouquet with voluminous buds.
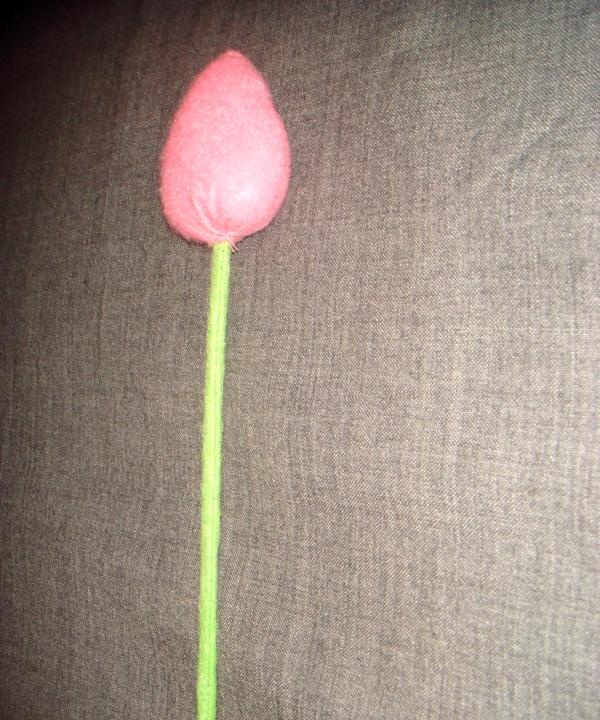
To add a little brightness and tenderness to it, make two more pink tulips.
Comes in 5 beautiful colors.
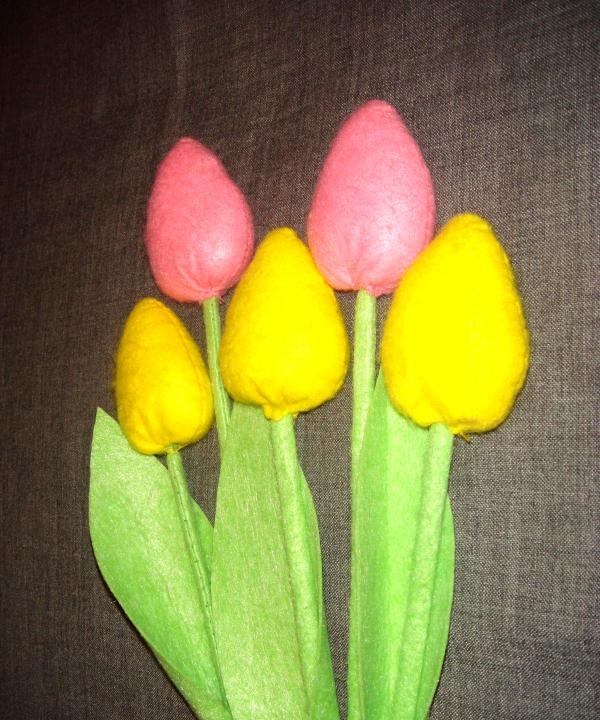
The bouquet looks chic, original and bright.
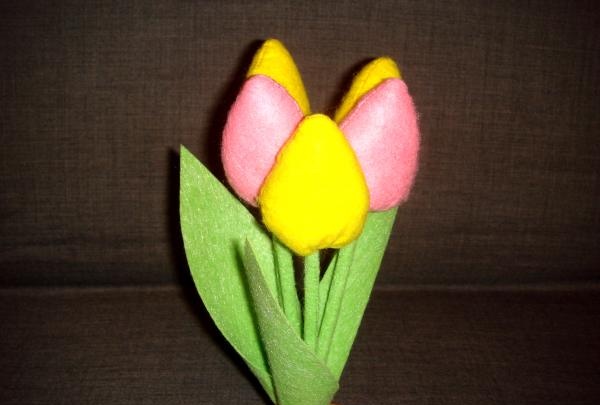
It will be a great gift for any girl or woman.
Sew more of these buds, preferably multi-colored ones, then the composition can fill a small basket and the souvenir will turn out even more interesting.