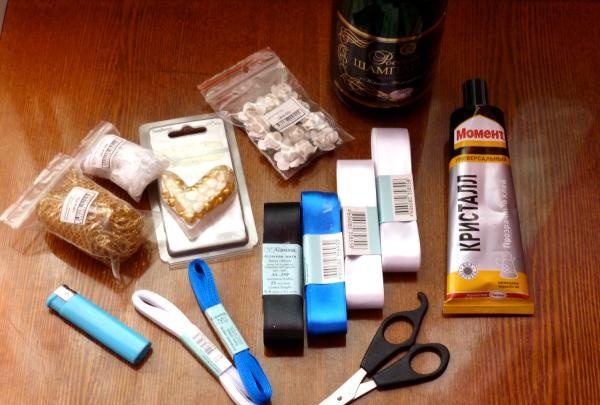
For it I needed:
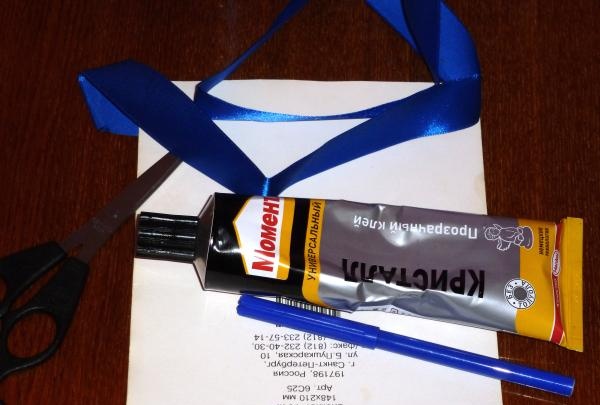
• Satin ribbons of medium thickness;
• glue;
• scissors;
• lighter;
• decorative flowers and half-beads for decoration.
• champagne.
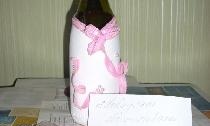
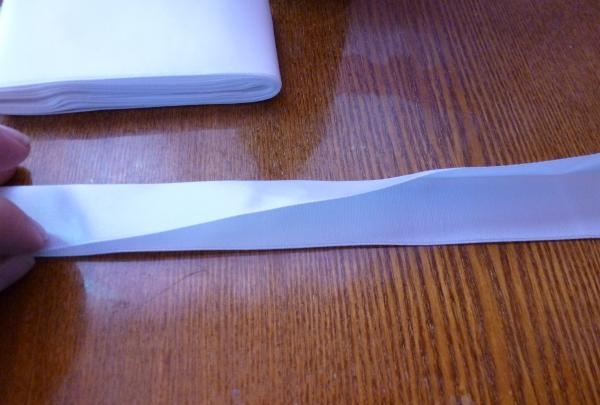
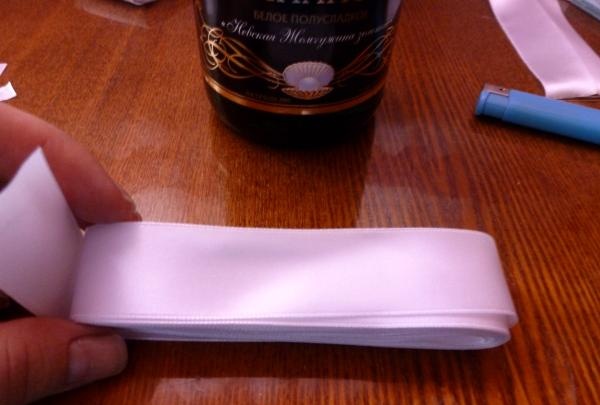
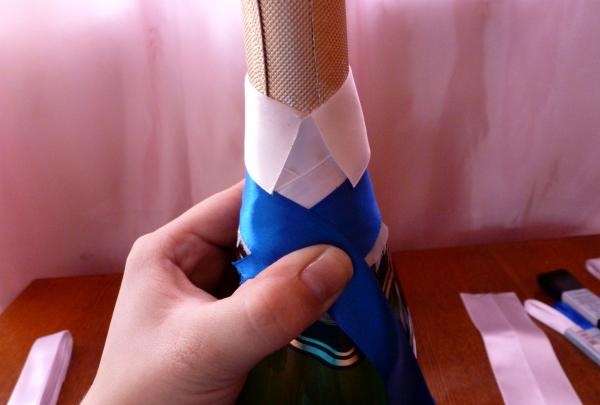
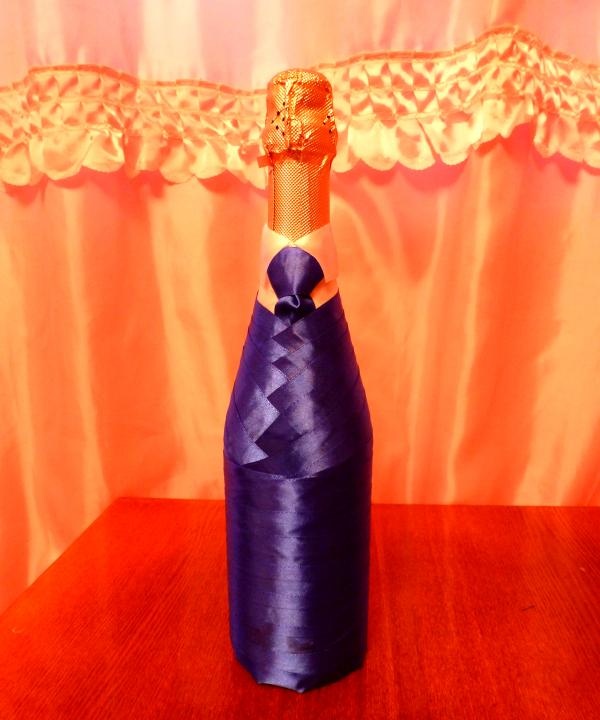
It's best to start at the top, so the first thing we'll do is the collar of the shirt. To do this, cut a small piece of wide satin ribbon, fold it in half like this and measure the required length.
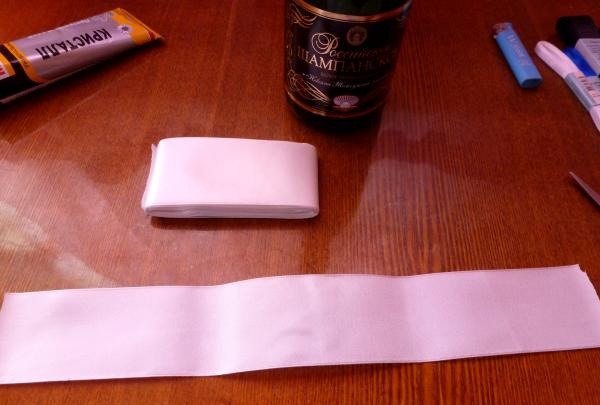
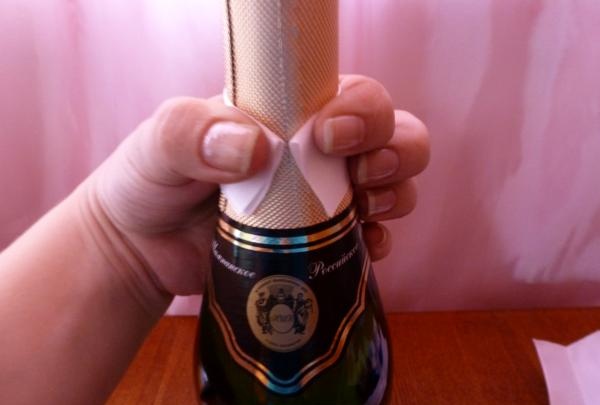
Don't forget to burn the edges with a lighter! Now, lubricate the half of the front side that will be adjacent to the bottle well with glue.
Glue it so that the corners of the fold touch. The bottom corners will eventually close, so don't worry about them.
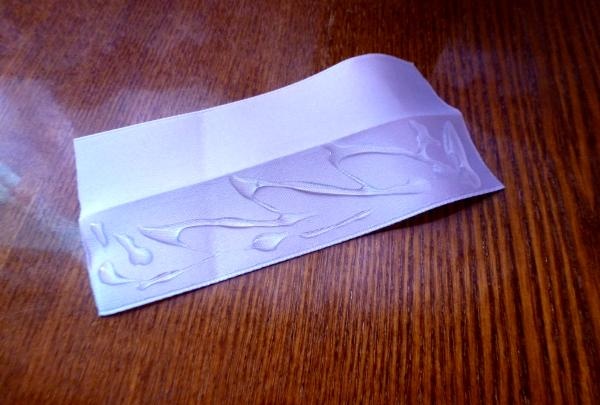
For further work we will need tapes of medium width.
In order to measure the next piece, it is best to place it on top of the collar.
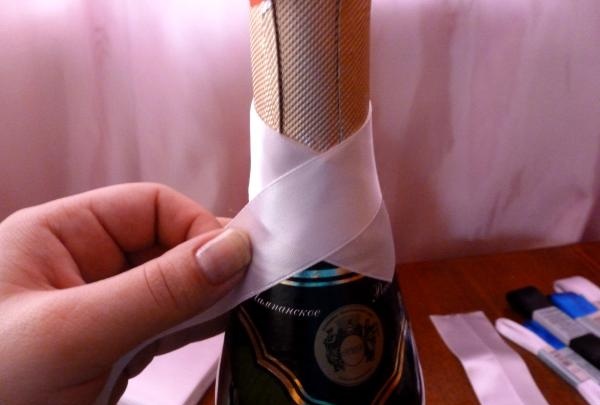
The ends of the tape should slightly overlap each other. Now we glue it directly under the fold of the top tape, having first folded the collar.
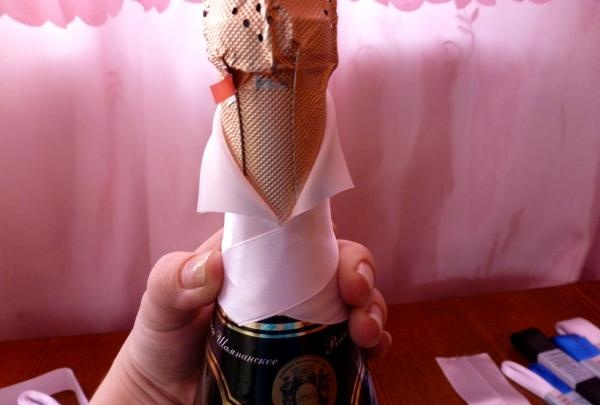
In this way we seal the entire part of the bottle that the shirt occupies.

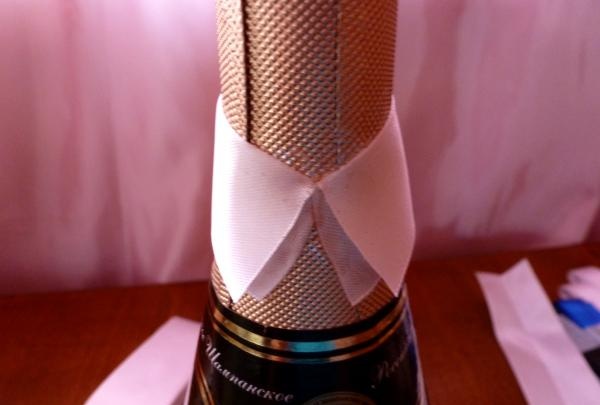
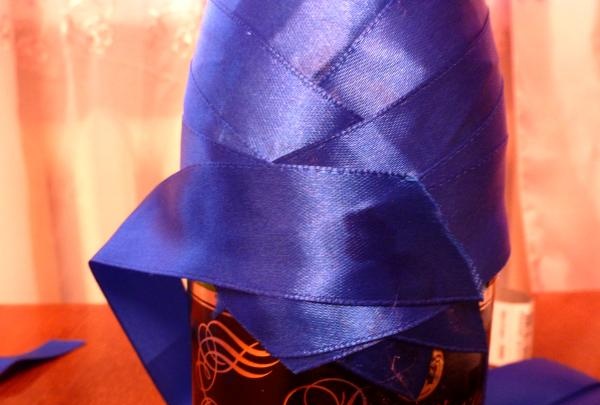
Now it's time for the tie. Having reviewed many MKs on this topic, I came to the conclusion that the best solution would be to tie a very ordinary tie. Having measured the required length of the tape, I made a regular (or whatever it’s called) knot and coated it with a little glue so that it wouldn’t move somewhere.
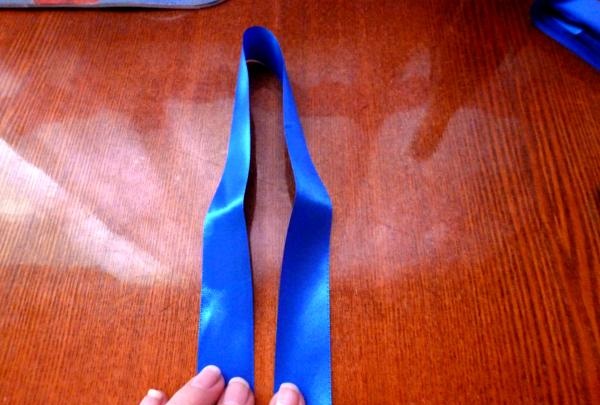
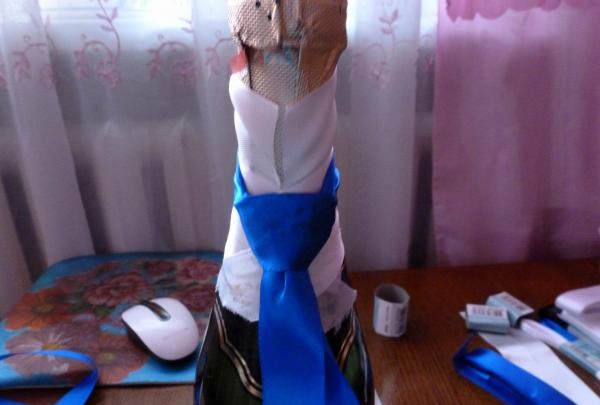
Since we will next be gluing ribbons that imitate a jacket, it is better to first measure a piece before thoroughly gluing the tie to the bottle.
Using this technique, we seal the entire part of the bottle neck until it stops expanding.
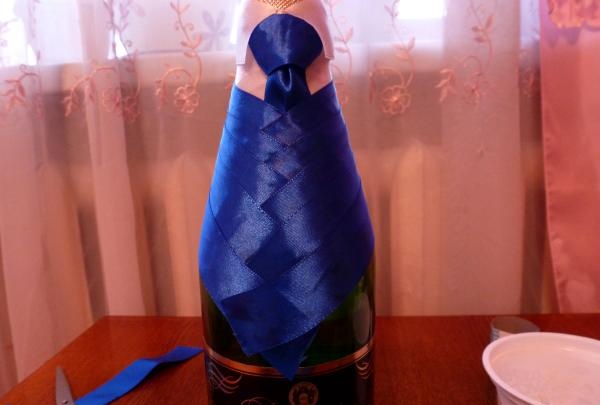
Now you need to slightly reduce the angle of the tape to make a smooth transition.
Then, glue one end of the tape to the bottle perpendicularly, lightly coat the entire empty part of the champagne with glue and wrap it with tape.
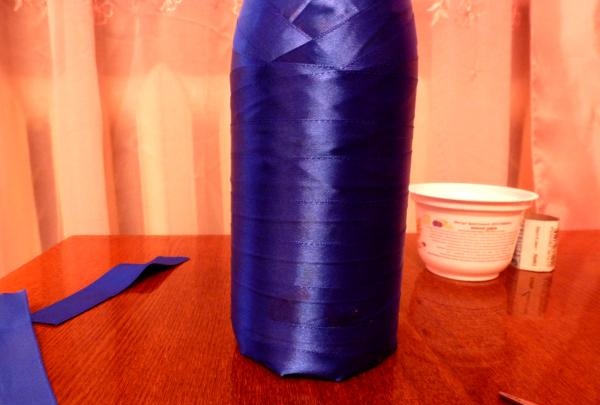
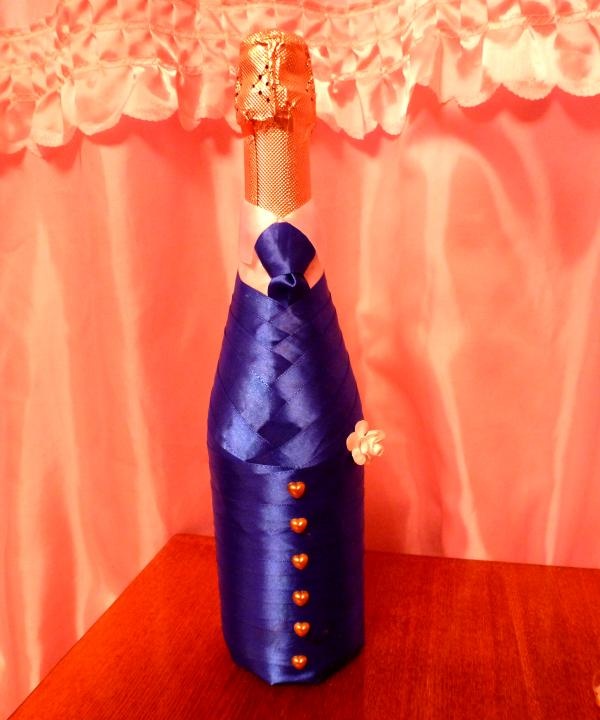
This is the result.
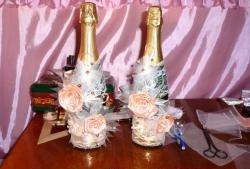
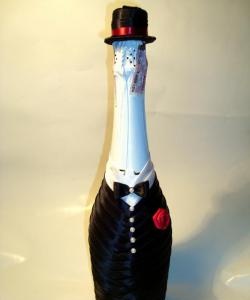
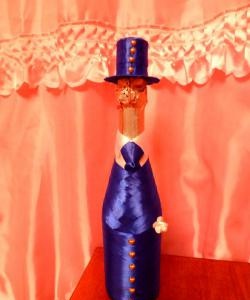
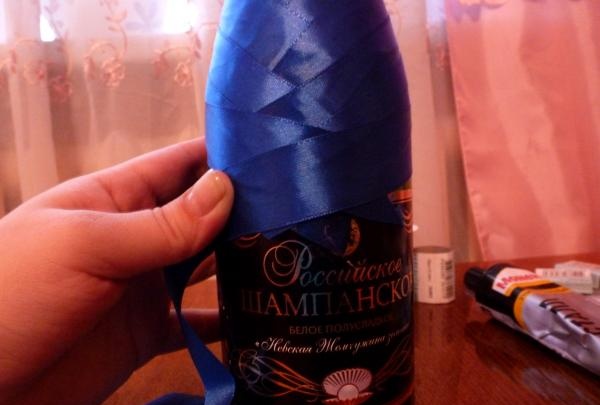
Let's start finishing. To imitate the jacket buttons, I decided to choose gold-colored half beads in the shape of a heart. Carefully glue them onto the glue.
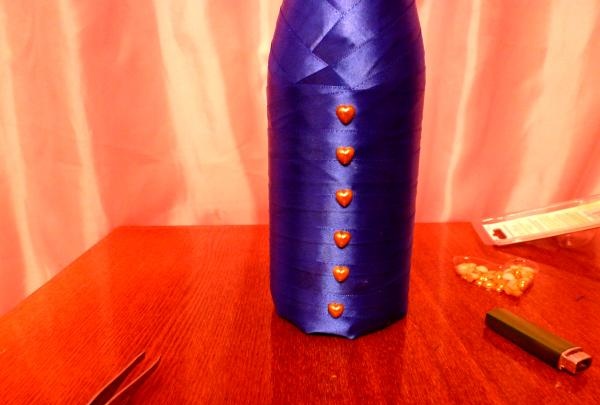
And in the place where the pocket should be located, we glue a flower. The boutonniere is in place.
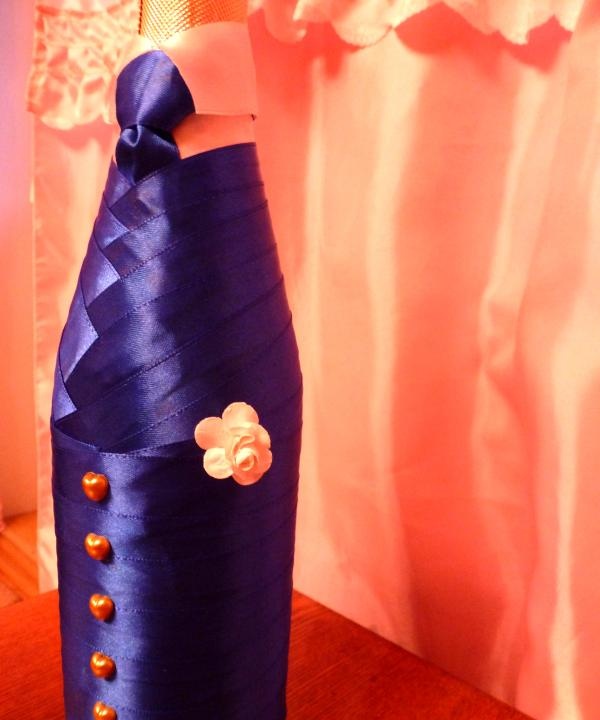
The groom is almost ready.
Now you need to build a cylinder to complete the image. For this I needed:
• A sheet of cardboard (you can use the cover of a general notebook);
• felt-tip pen;
• glue;
• scissors;
• satin ribbons of medium width to match the jacket.
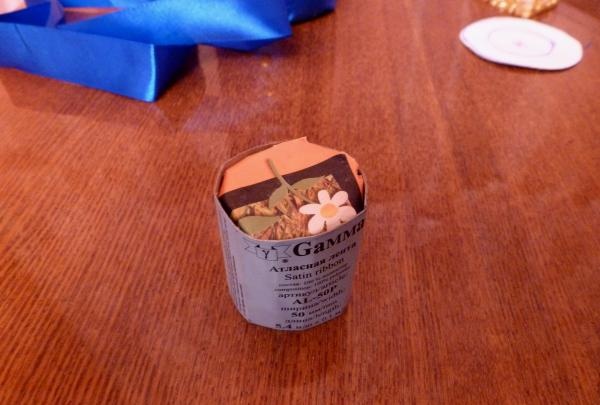
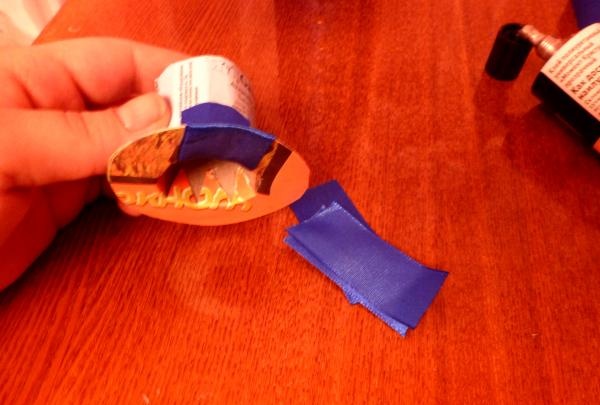
First of all, cut a strip from the cardboard and glue its edges.
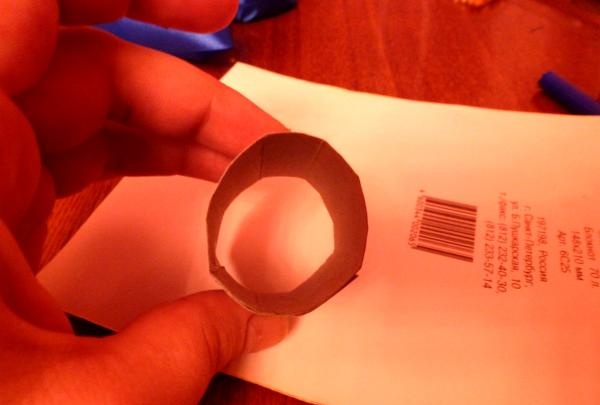
This will be the middle part of the cylinder. The main thing is that it sits well on the bottle cap. Now, placing the middle on the cardboard, draw two circles on it. The inner one should be equal to the circumference of the middle part.
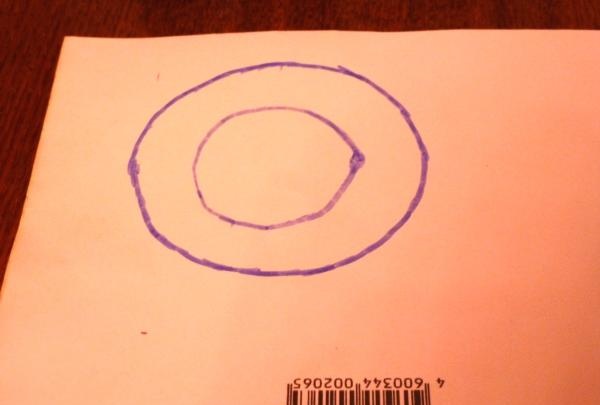
We will need two of these circles: one for the top, the other for the brim of the hat.

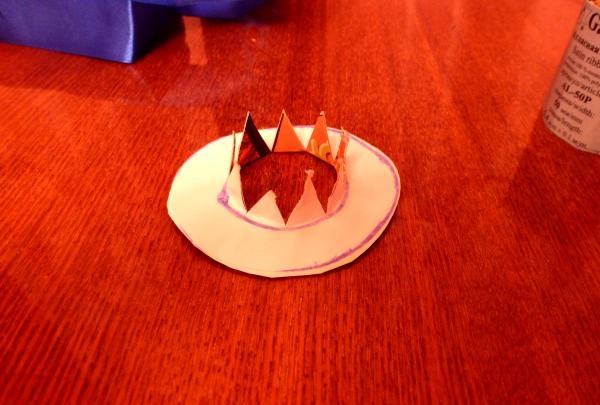
For clarity, I labeled them H - bottom and B - top. We cut out the top part and give it this shape.

We combine the rays, grease them with glue and place them inside the middle part.
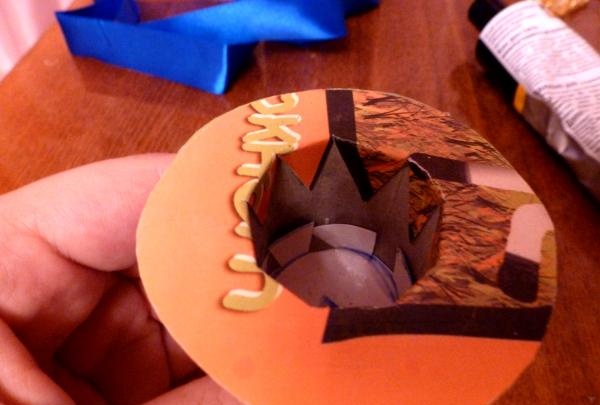
We cut the lower part from the inside and bend the rays upward.
Now we glue the rays to the middle part.
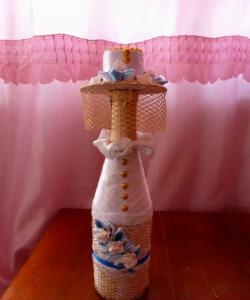
We begin pasting the hat with ribbons. The best place to start this process is in the fields. So in the end it will be possible to hide all the seams and imperfections.
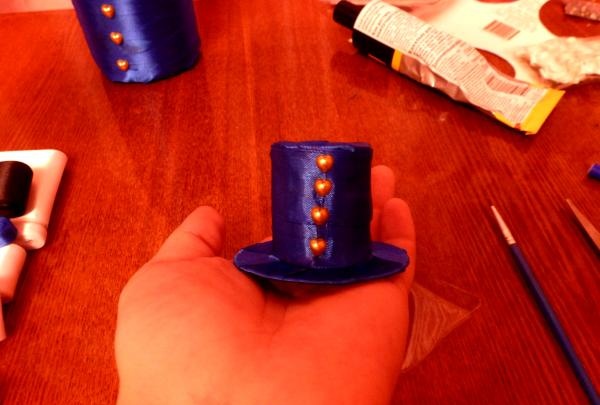
After pasting with ribbons, we decorate the cylinder with half-beads, while covering the seam.
The groom is ready!