The best present one that is made with our own hands, so let's try to make a bouquet of multi-colored paper flowers from what everyone has at home. To work you will need:
• colored double-sided paper;
• PVA glue;
• old newspapers;
• threads;
• wrapping from a flower bouquet;
• desire, patience and free time.
The first stage of work is preparing the base
The base on which the flowers will be attached can be made in two ways. Let's look at each of them.
1. Papier mache. The base can be done by applying paper pieces to the balloon. To do this, you need to inflate a regular balloon to the size that determines the size of our bouquet.
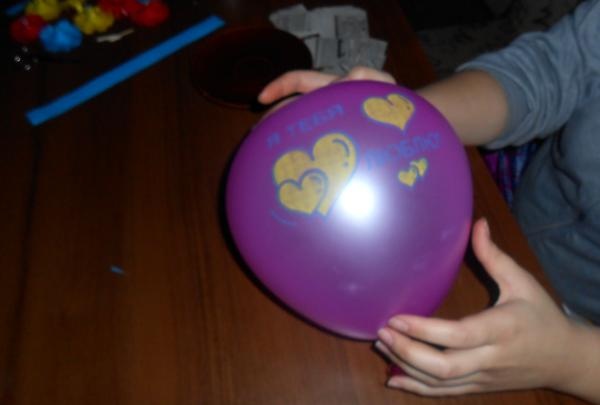

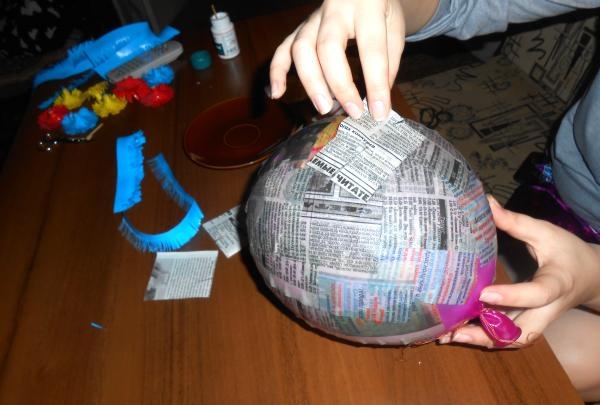
Next, take unnecessary newspapers and cut them into small pieces. Lubricate the surface of the ball with baby cream so that the paper does not stick, and begin to apply pieces of paper pre-moistened in water. When the surface of the ball is completely covered with a layer of paper, you need to apply a second layer, only instead of water you need to use PVA glue. After these procedures, allow 12 hours to dry, then pierce the ball and remove its pieces from the cavity of the base.
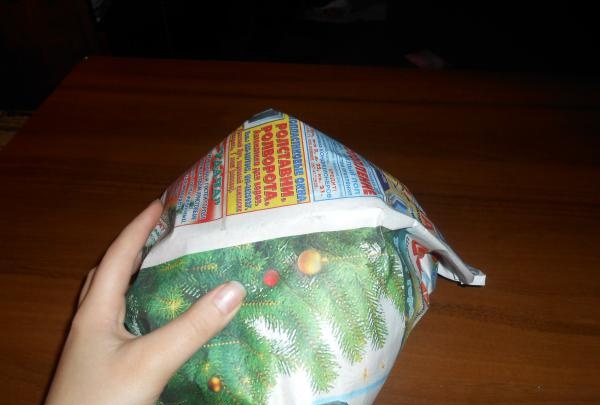
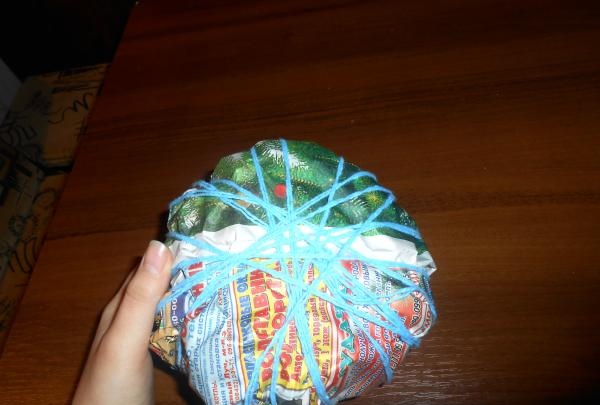
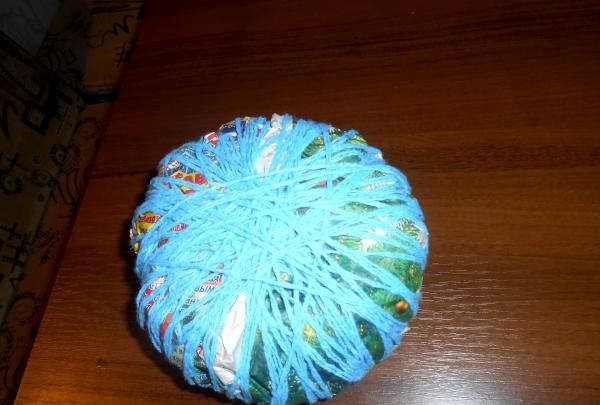
2. Take a lot of unnecessary newspapers and form them into a ball of the required size. After this, fix the shape by pulling along the contour with thick knitting threads. The form is ready.
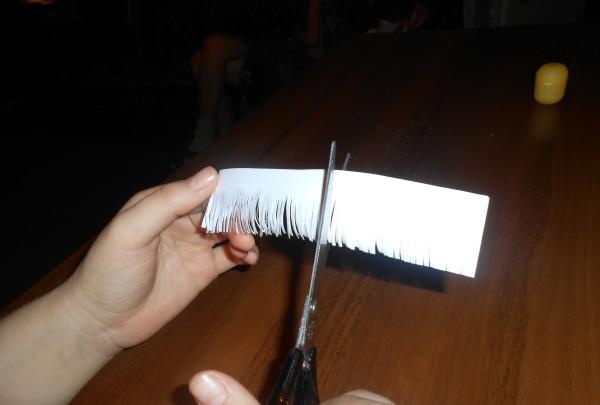
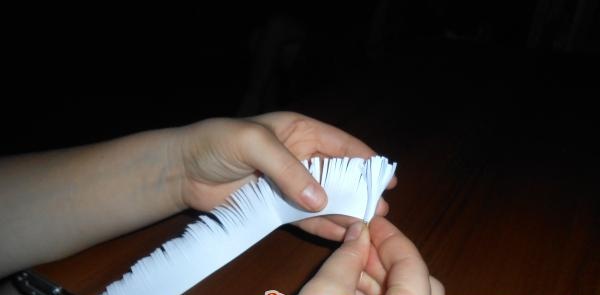
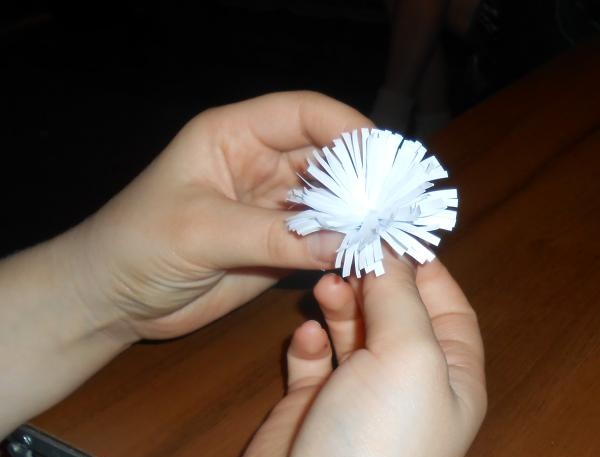
The first method is quite labor-intensive and takes a huge amount of time compared to the second, but with papier-mâché the surface of the ball is perfectly smooth, which makes it easier to glue flowers to it. The base made using the second method is very easy and quick to make, but the process of gluing flowers is complicated by the uneven surface. When the base is ready, you can start making the flowers themselves. Making flowers is the most painstaking work that will require perseverance. The size of the flowers, their color and quantity depend entirely on your imagination. I take double-sided colored paper and first of all, cut it into strips of 3 cm. The size of the flower will depend on the thickness of the strip; the thicker it is, the larger the flower. Next, using scissors, you need to make a fringe on the strips without cutting it all the way. When the fringed strip is ready, you can twist it into a flower using a match or a toothpick. The edge of the strip must be secured with PVA glue to the bottom of the flower.Follow the same pattern for other flowers.
The next step is gluing the flowers to the base. To do this, grease the bottom of the flower with glue and attach it to our base. Let the glue dry and move on to making the bouquet stem.
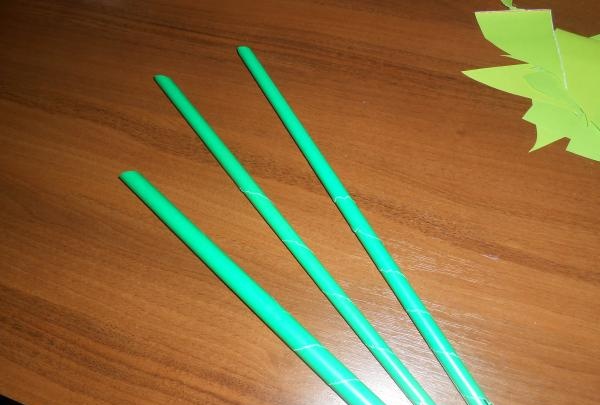
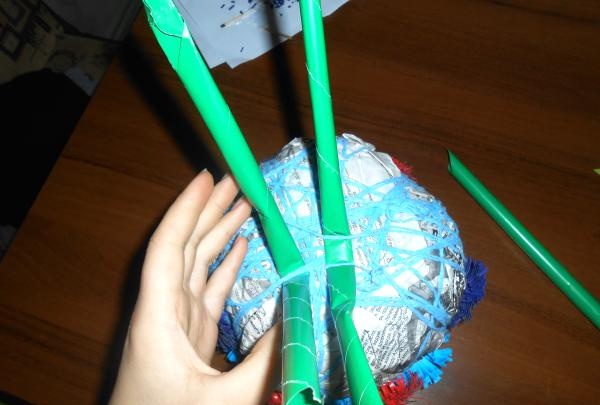
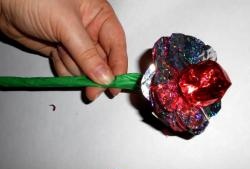
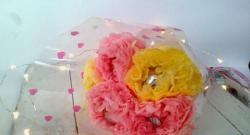
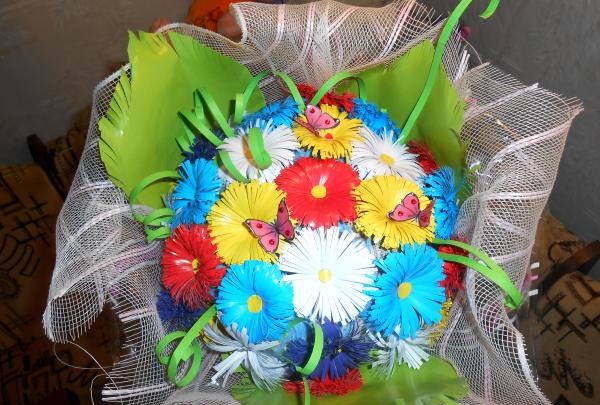
Twist tubes from green paper and carefully pull them under the warp threads; you can additionally secure them with tape. After the flowers are firmly glued to the base, they can be arranged into a bouquet, but before that you should make flower cores. We cut out small circles from different colors of paper and attach them with glue to the center of the flower. To give the bouquet some elegance, you can take an old flower package and place our bouquet there, decorating it with greenery and butterflies. The bouquet is ready! Such a bright gift will always please the eye and bring positivity.